
Windows 11 users sometimes encounter the error message The task image is corrupt or has been tampered with. (0x80041321) when using Task Scheduler or running system backups. This error signals that one or more scheduled task definitions have become unreadable or damaged, often following failed updates, manual changes, or system migrations. As a result, scheduled tasks may fail to run, and backup operations can be blocked, disrupting system maintenance and data protection routines.
The most effective way to resolve this issue is to identify and delete the corrupted task files directly from the system folders, then recreate any essential tasks. This approach restores Task Scheduler’s ability to load and execute scheduled jobs without errors.
Delete the Corrupted Task File from the System Folder
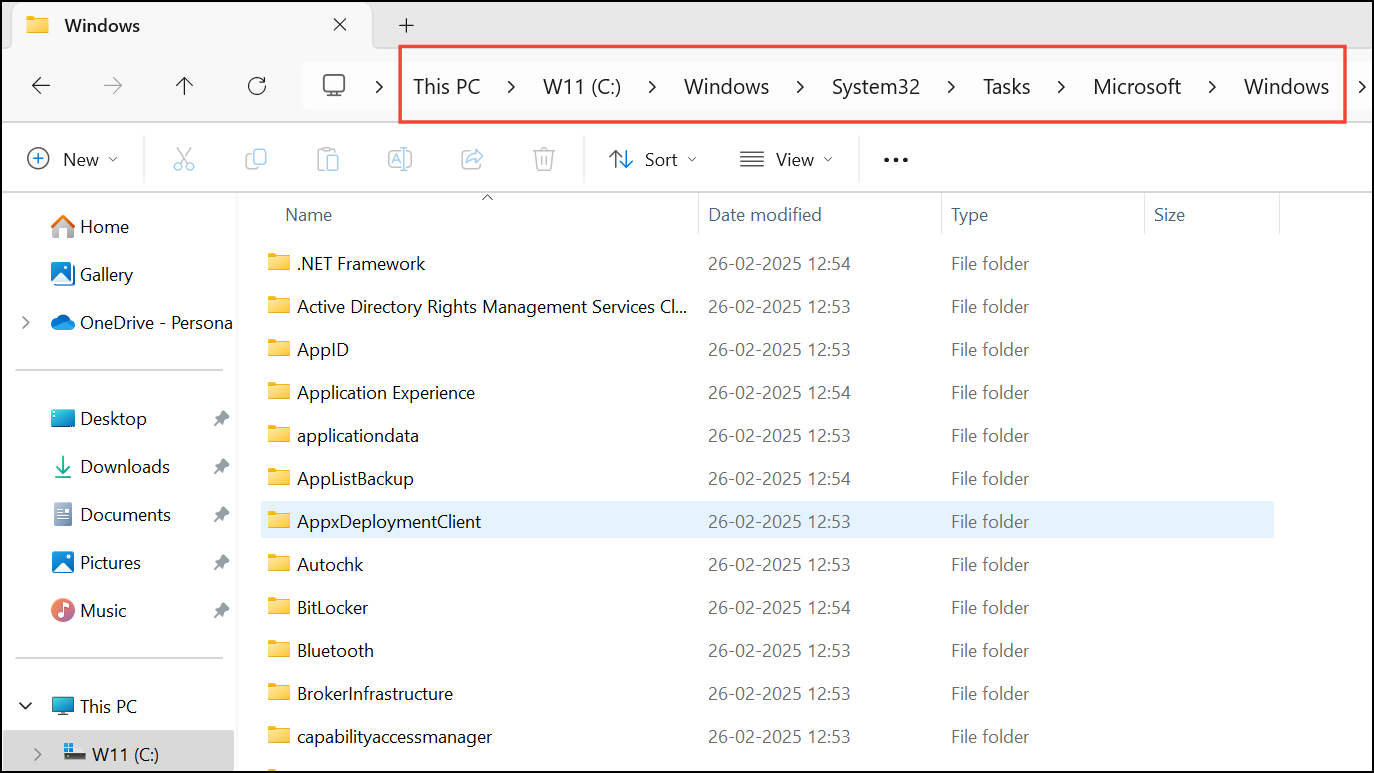
Step 1: Open File Explorer and navigate to the system tasks directory. Enter C:\Windows\System32\Tasks\Microsoft\Windows in the address bar and press Enter. This location contains the XML files for all scheduled tasks.
Step 2: Locate the folder that matches the task name mentioned in the error message (for example, WindowsBackup, Customer Experience Improvement Program, or the specific task name). If you are unsure, you can cross-reference the task name shown in the error dialog or use a command-line query as described below.
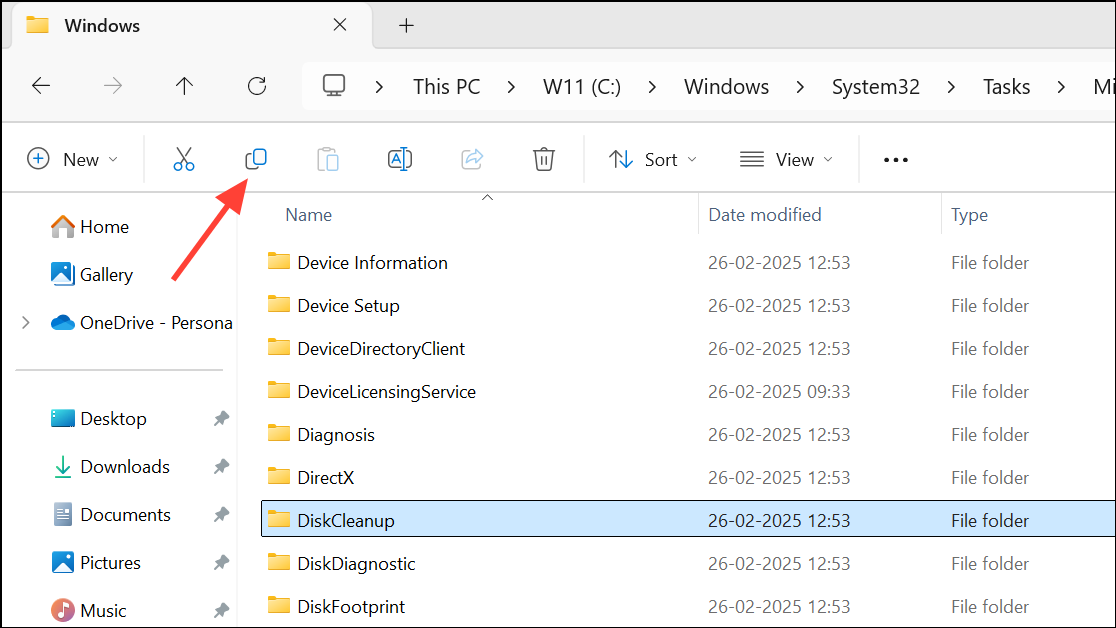
Step 3: Before deleting, right-click the task file and select "Copy" to create a backup in a safe location. This precaution allows you to restore the file if needed.
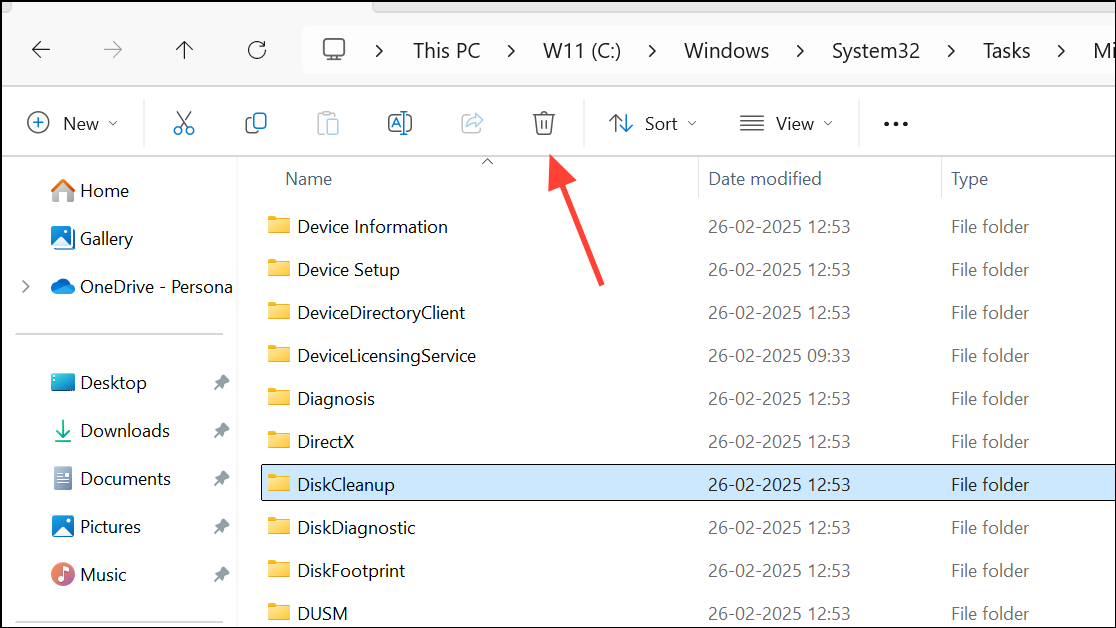
Step 4: Right-click the problematic task file and select "Delete." Confirm the deletion when prompted. Removing the file eliminates the corrupted task definition that causes the error.
Step 5: Open Task Scheduler and check if the error persists. If the error is gone, you can recreate the deleted task manually if it is required for system operations or backup routines.
Remove the Corrupted Task Using Task Scheduler
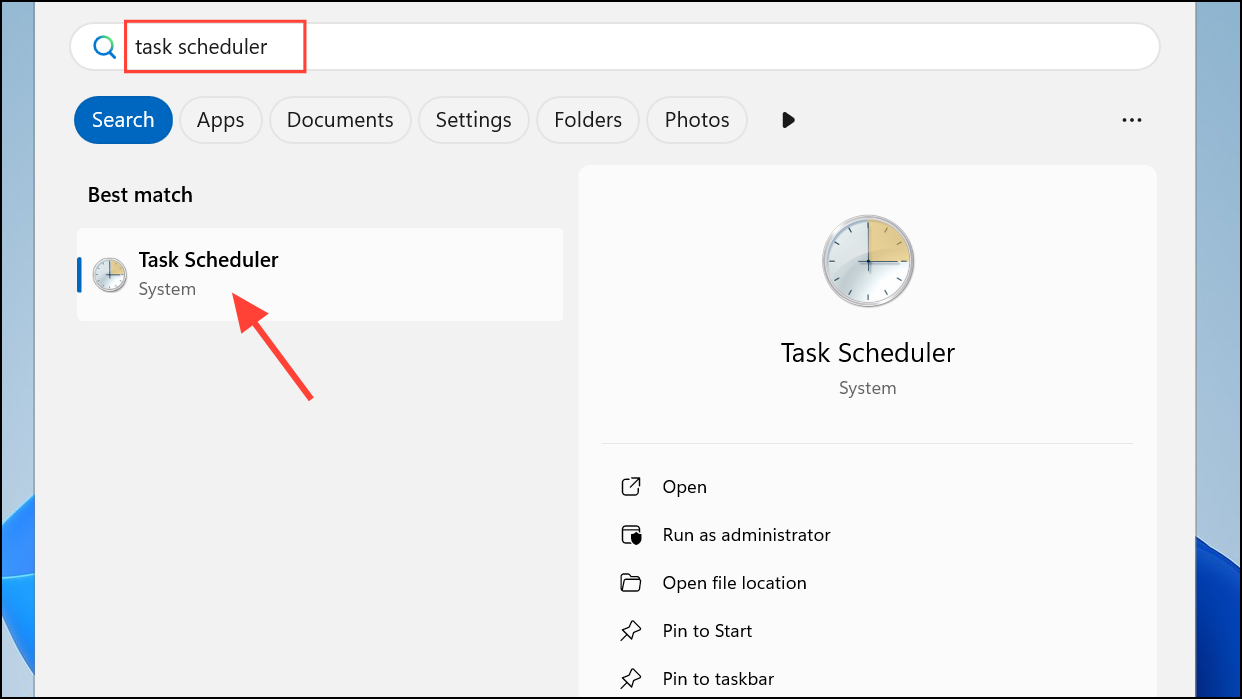
Step 1: Press Windows + S and type Task Scheduler, then press Enter to launch the Task Scheduler application.
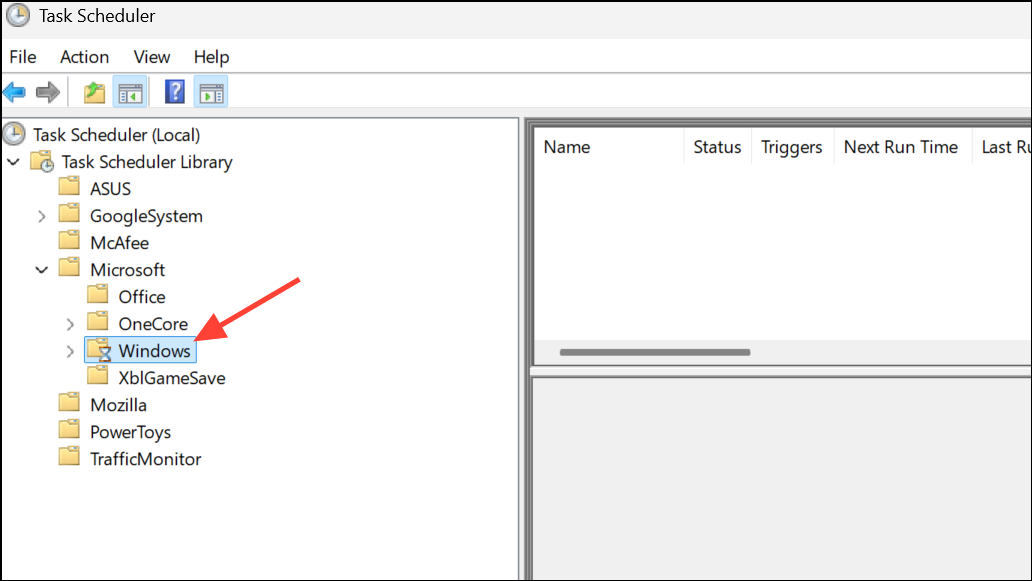
Step 2: In the left pane, expand Task Scheduler Library > Microsoft > Windows. Browse through the subfolders to locate the task associated with the error message.
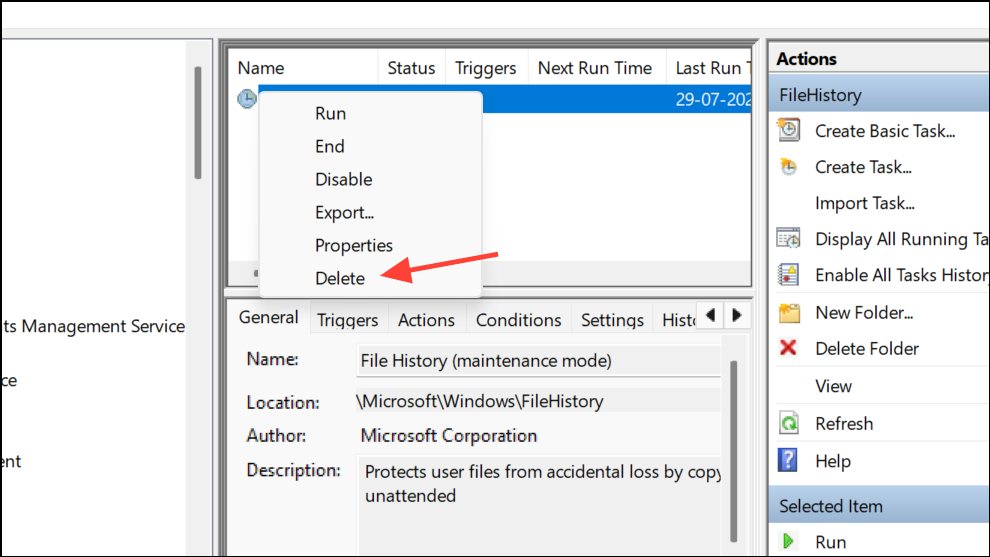
Step 3: Right-click the corrupted task (for example, AutomaticBackup or Windows Backup Monitor) and select "Delete." This removes the task from Task Scheduler and the underlying system folder.
Step 4: Restart Task Scheduler and verify that the error no longer appears. If necessary, recreate the deleted task using Task Scheduler’s "Create Task" feature or by reconfiguring your backup settings.
Delete the Schedule Registry Key
For persistent or widespread task corruption, you may need to reset Task Scheduler’s configuration by deleting the relevant registry key. This method should be used with caution, as it removes all scheduled tasks and requires manual recreation of essential jobs.
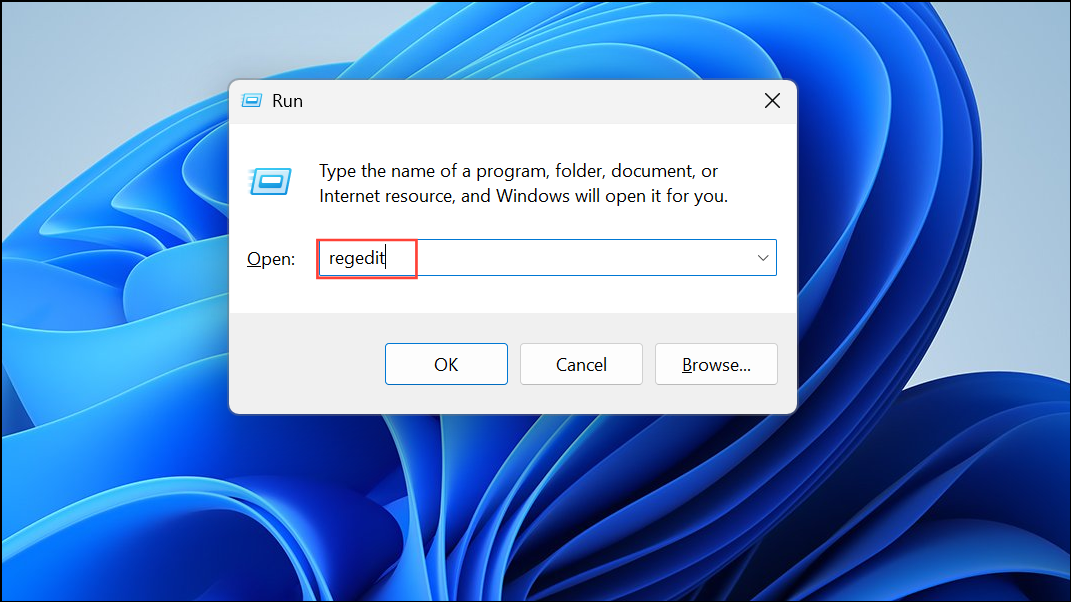
File > Export to save a backup.Step 1: Press Windows + R, type regedit, and press Enter.
Step 2: In Registry Editor, navigate to HKEY_LOCAL_MACHINE\SOFTWARE\Microsoft\Windows NT\CurrentVersion\Schedule.
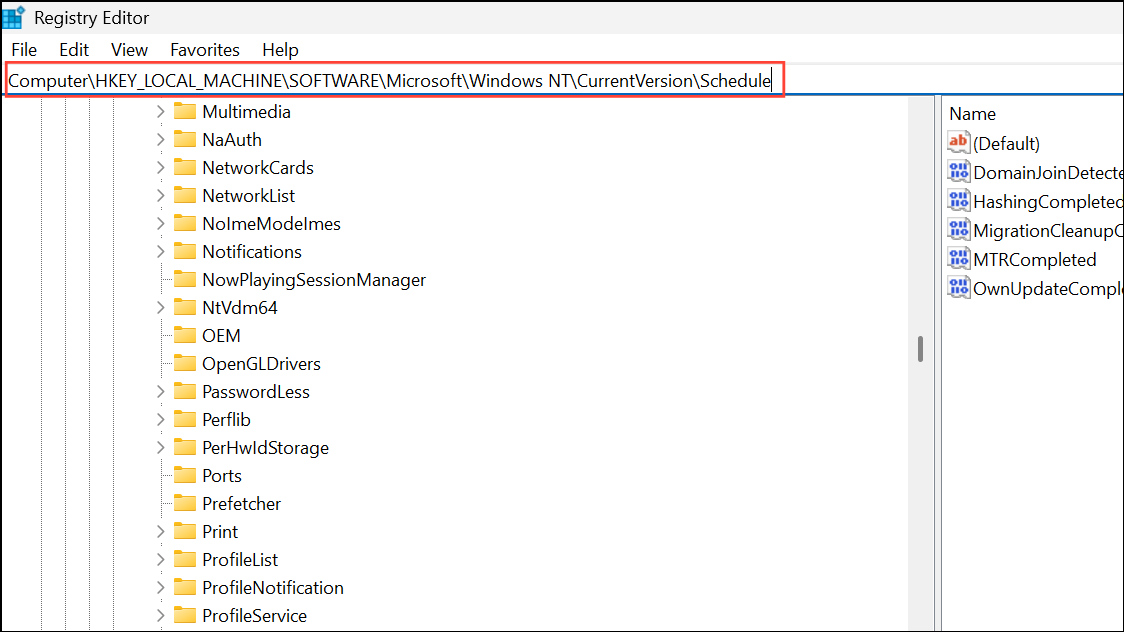
Step 3: Right-click the Schedule key and select "Delete." Confirm the action. This removes all task definitions from the registry.

Step 4: Close Registry Editor and restart your computer. Windows will recreate default Task Scheduler settings on reboot, but you will need to restore any custom or third-party tasks manually.
Identify Corrupted Tasks Using Command Line
Sometimes, corrupted tasks do not appear in Task Scheduler’s graphical interface. The schtasks command can help identify problematic entries.
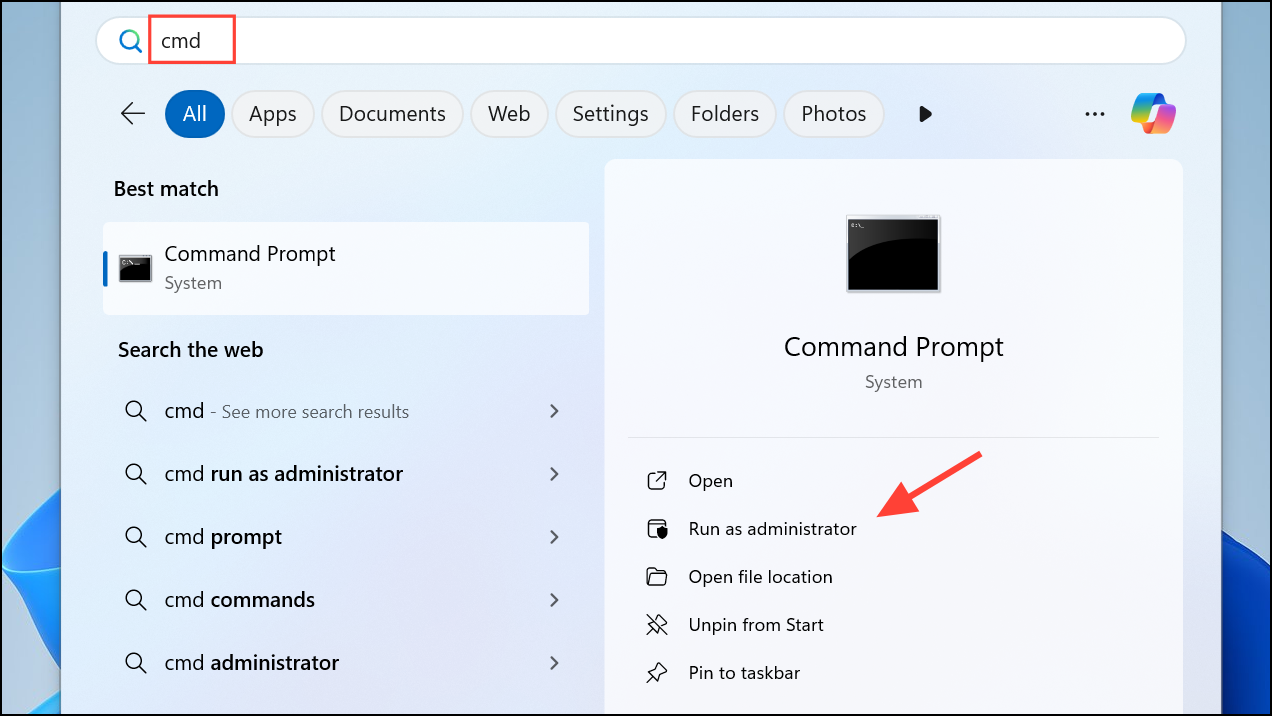
Step 1: Open Command Prompt as administrator. Press Windows + S, type cmd, right-click Command Prompt, and select "Run as administrator."
Step 2: Enter the following command to list all scheduled tasks and identify errors:
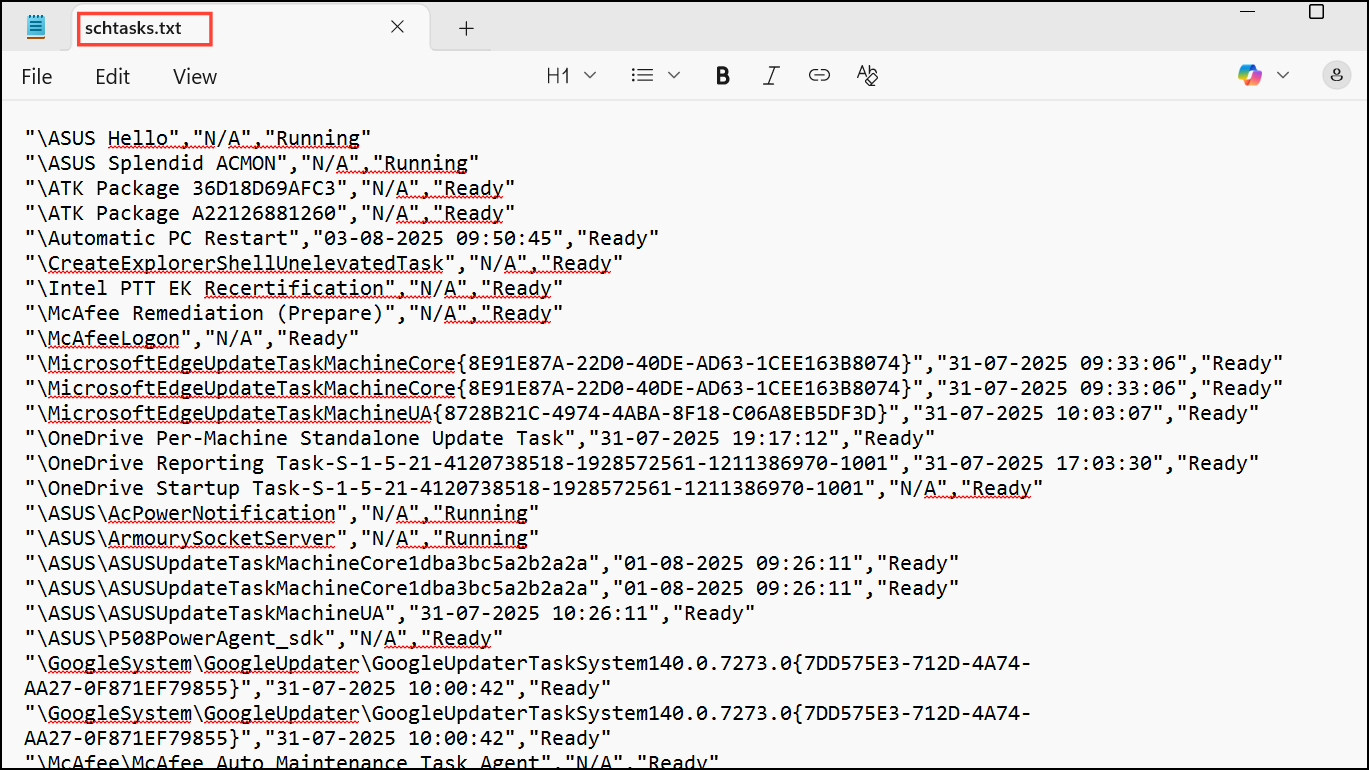
schtasks /query /nh /fo csv > %userprofile%\Desktop\schtasks.txt
Step 3: Open the schtasks.txt file on your desktop. Look for lines containing ERROR: Task cannot be loaded or similar messages. Note the task name or path next to the error.
Step 4: Use File Explorer to navigate to the corresponding task file in C:\Windows\System32\Tasks\Microsoft\Windows\... and delete it as described in the first method.
Optional: Reset System Files with System File Checker
If you suspect broader system corruption, running System File Checker can repair damaged Windows components that may affect Task Scheduler.
Step 1: Open Command Prompt as administrator.
Step 2: Type the following command and press Enter:
sfc /scannow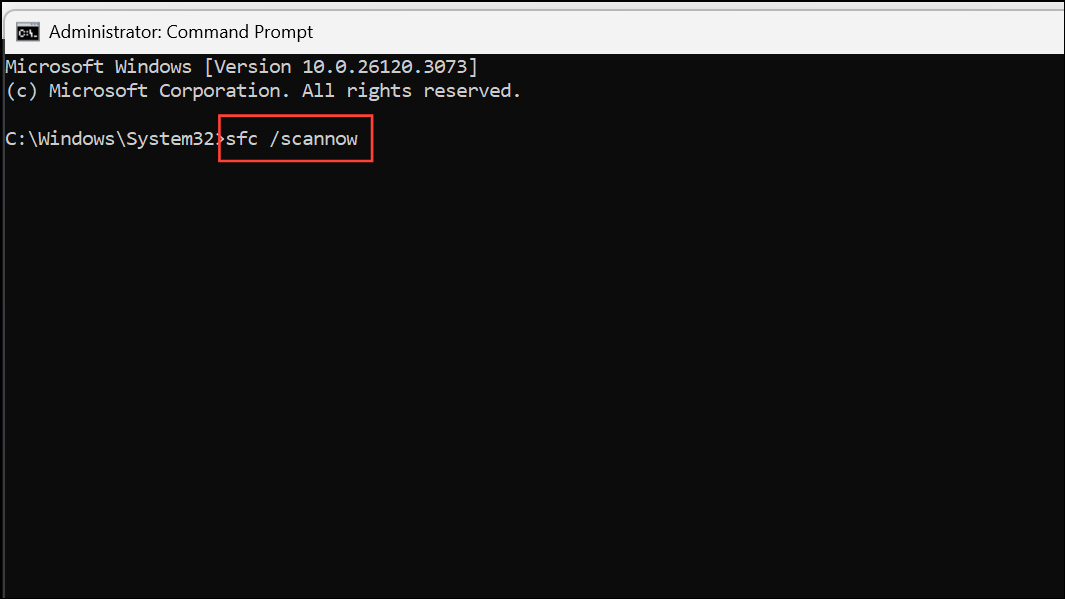
This process will scan and repair protected system files. After completion, restart your computer and check if the Task Scheduler error is resolved.
Addressing the "Task image is corrupt or has been tampered with" error in Windows 11 restores Task Scheduler’s reliability and ensures backup jobs and automated tasks run smoothly. Always back up important data before making system changes, and recreate any necessary scheduled tasks after resolving the issue.