
Task Manager sometimes displays fewer CPU cores than your processor actually has, which can cause confusion about system performance or raise concerns about hardware problems. This discrepancy often stems from specific Windows configuration settings or BIOS options that limit the number of active cores, rather than from a hardware defect or physical CPU failure.
Adjusting Windows Boot Settings Using System Configuration
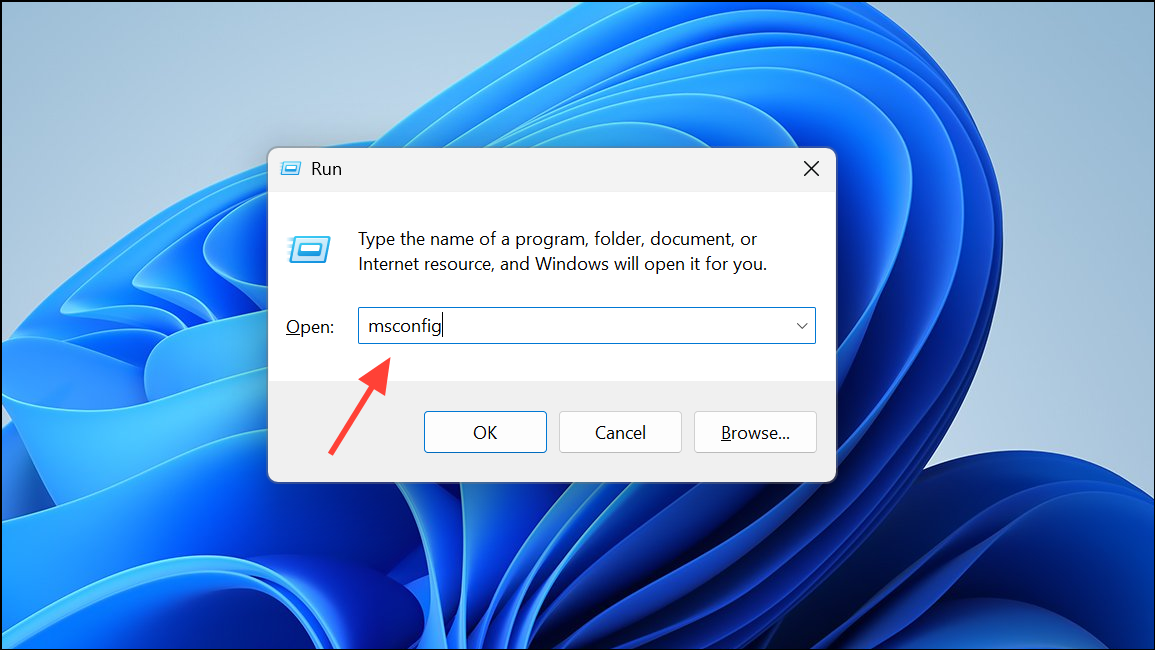
Step 1: Open the System Configuration utility by pressing Windows + R to launch the Run dialog. Then type msconfig and press Enter. This brings up the System Configuration window, where you can manage boot and startup options.
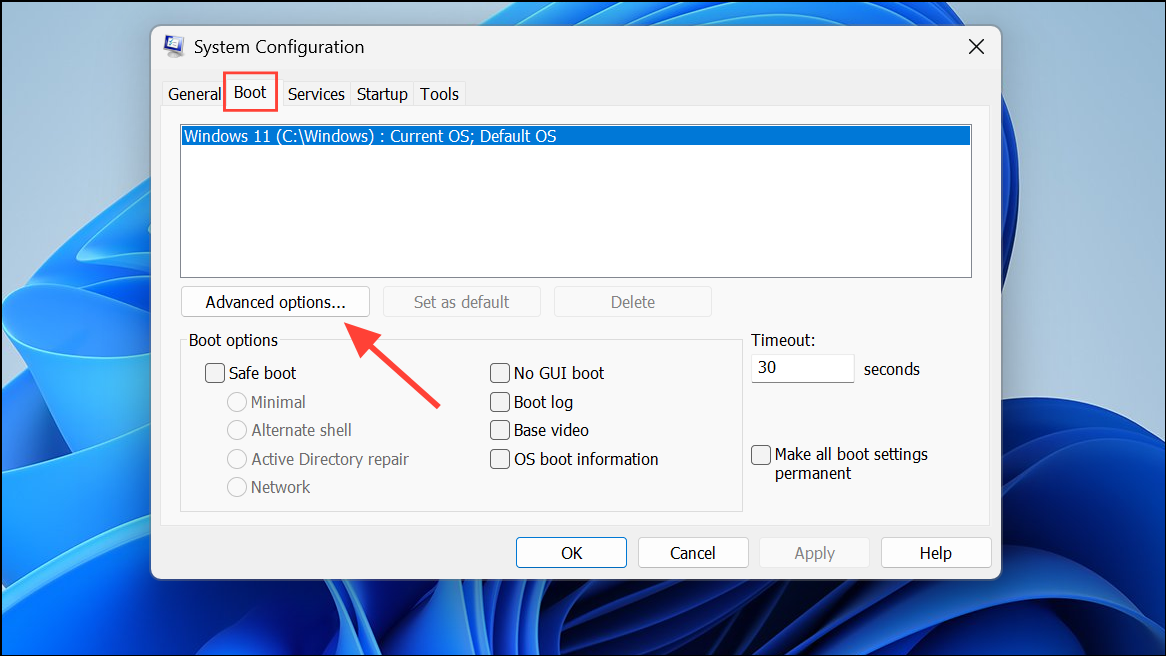
Step 2: In the System Configuration window, select the Boot tab. Click the Advanced options… button to access advanced boot settings.
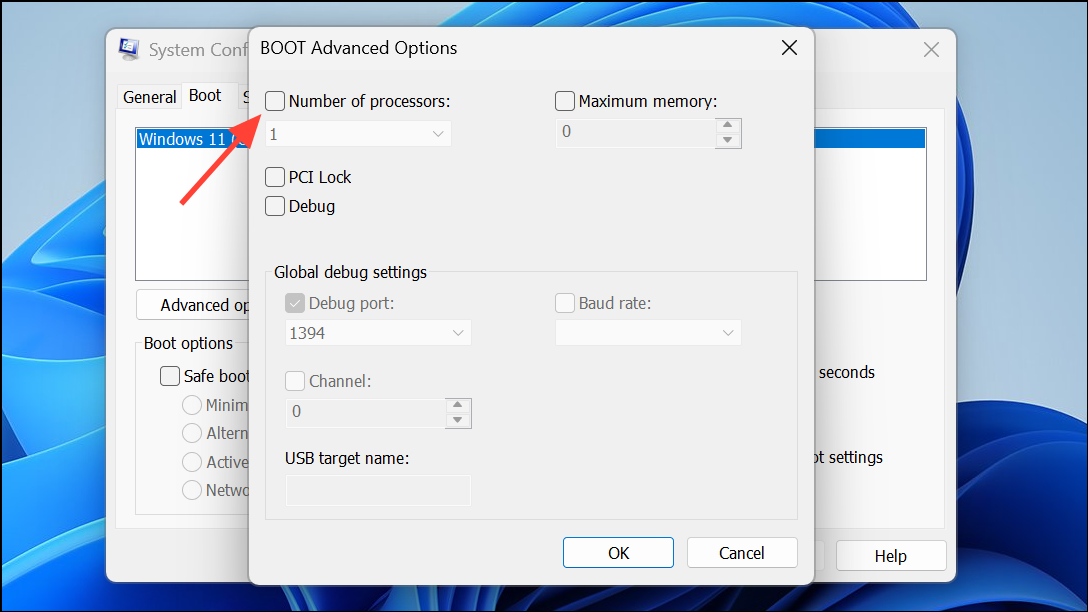
Step 3: In the BOOT Advanced Options dialog, look for the Number of processors checkbox. If this box is checked, Windows restricts the number of CPU cores used during startup to the number specified in the dropdown menu. To allow Windows to use all available cores, uncheck this box. This action removes any artificial core limitation imposed by the operating system.
Step 4: Click OK to close the Advanced Options dialog, then click Apply and OK in the main System Configuration window.
Step 5: Restart your computer to apply the changes. After rebooting, open Task Manager and check the Performance tab under CPU to confirm that all processor cores are now visible and active.
Resetting BIOS Settings to Default
Incorrect BIOS settings can also prevent the operating system from recognizing all CPU cores. For example, after a CPU upgrade or changes to BIOS options, some cores may be disabled or hidden from Windows.
Step 1: Reboot your computer and enter the BIOS or UEFI firmware settings. The key to access BIOS varies by manufacturer, but is often F2, Del, or Esc during startup.
Step 2: Inside the BIOS menu, look for options related to CPU configuration. This may include settings for core enable/disable, hyperthreading, or advanced CPU features. If you see an option to enable all cores or reset CPU settings, select it.
Step 3: If you are unsure about individual settings, locate the option to Load Optimized Defaults or Reset to Default. This will revert all BIOS settings to their factory state, ensuring that all CPU cores are enabled by default.
Step 4: Save your changes and exit the BIOS. Your system will reboot. After Windows loads, check Task Manager to verify that all CPU cores are now detected.
Step 5: If you recently upgraded your CPU, ensure that your motherboard BIOS is up to date. Visit your motherboard manufacturer’s support page to download and install the latest BIOS version if needed, as outdated firmware can sometimes cause core detection issues.
Reinstalling Windows as a Last Resort
On rare occasions, persistent core detection problems may be due to a corrupted Windows installation or incompatible drivers, especially after significant hardware changes. If you have exhausted the previous steps and Task Manager still shows fewer cores than expected, consider reinstalling Windows 11. This process refreshes system files and ensures that hardware is detected correctly.
Additional Checks and Troubleshooting
If Task Manager continues to show fewer cores, use third-party utilities such as CPU-Z to verify how many cores the system hardware actually reports. If CPU-Z and BIOS both show the correct number of cores, but Windows does not, the issue is almost certainly software-based.
Also, check Device Manager under Processors to confirm that all logical processors are listed. If BIOS and hardware tools report the correct core count but Windows does not, focus on Windows configuration and driver updates. For older hardware, be aware that some motherboards may lack official support or drivers for newer Windows versions, which can occasionally cause detection problems.
By carefully adjusting Windows boot settings and reviewing BIOS options, you can usually restore the full visibility of all CPU cores in Task Manager. Keeping BIOS firmware current and verifying system configuration after hardware upgrades helps prevent similar issues in the future.