
“Your printer is not receiving the print command” often signals a breakdown in the communication between your Windows 11 device and the printer, resulting in stalled print jobs or unresponsive devices. This issue can stem from outdated drivers, network changes, incorrect printer status, or residual software conflicts after a Windows upgrade or network switch. Addressing these root causes will restore direct, reliable printing and eliminate frustrating delays.
Run the Windows Printer Troubleshooter
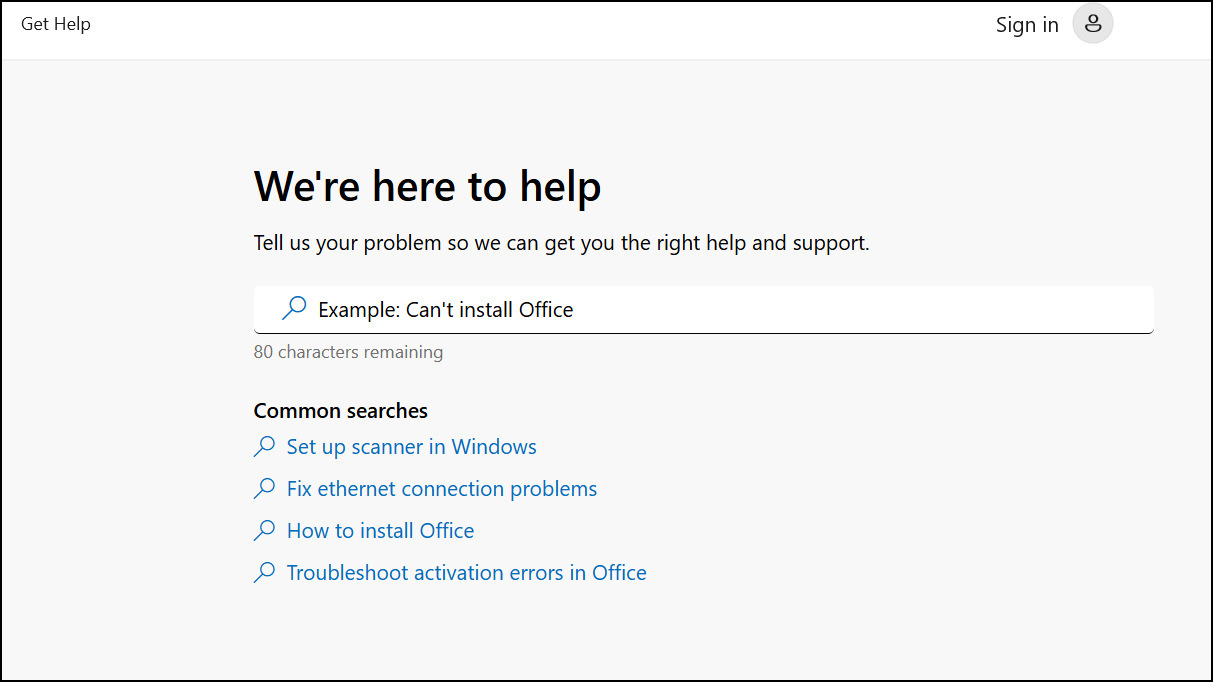
Step 1: Open the Get Help app by selecting Start, typing Get Help, and pressing Enter. In the app, search for “printer troubleshooter.”

Step 2: Launch the printer troubleshooter and allow it to automatically diagnose and attempt to fix common printer issues. This tool checks for connectivity problems, print queue errors, and driver conflicts.
Step 3: Follow any on-screen prompts to apply recommended fixes. If the troubleshooter resolves the problem, try sending a print command to confirm restoration of printing capability.
Check Printer Connections and Power Cycle Devices
Step 1: Verify that your printer is powered on and displays no warning lights or error messages. If the device appears unresponsive, turn it off, unplug the power cord, wait at least 30 seconds, then reconnect and power it back on. Power cycling clears temporary glitches in both the printer and its internal memory.
Step 2: For wired printers, confirm the USB cable is firmly connected at both ends. Try a different USB port if the connection appears loose or if Windows does not recognize the printer. For wireless printers, ensure the printer’s Wi-Fi or Bluetooth is enabled and that it is connected to the same network as your Windows 11 device. Use the printer’s control panel to run a wireless connectivity test if available.
Step 3: If you recently changed routers or Wi-Fi networks, reset the printer’s network settings and reconnect it to the correct network. Refer to your printer’s manual for steps on restoring network defaults and rejoining the network.
Set the Printer as Default and Clear the Print Queue
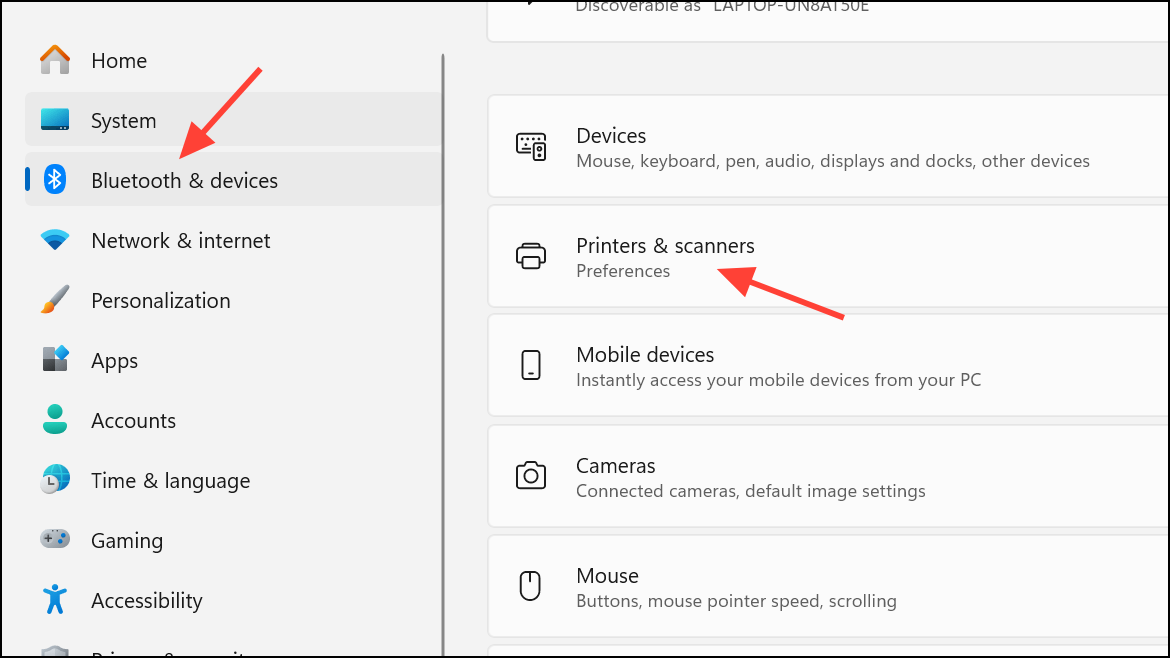
Step 1: Go to Start > Settings > Bluetooth & devices > Printers & scanners.
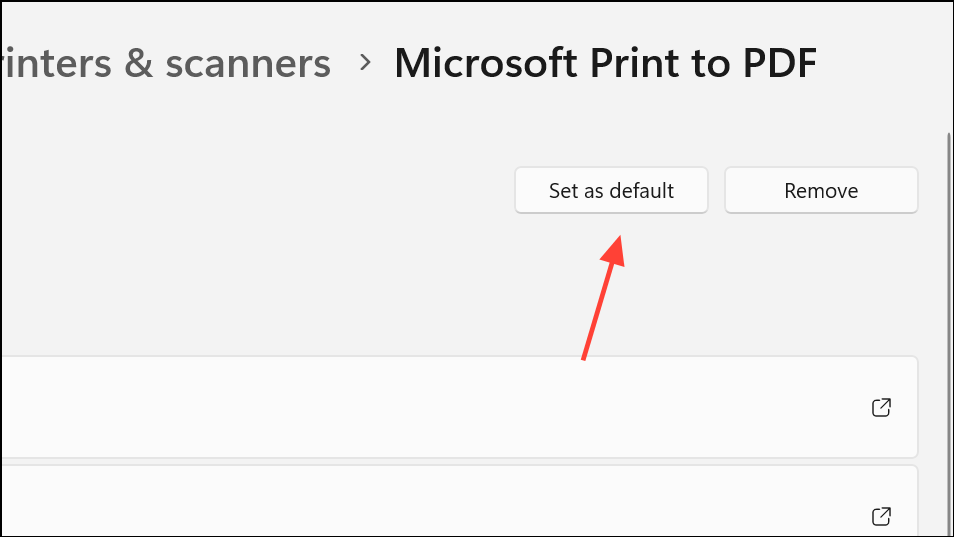
Step 2: Select your printer, then choose Set as default. If the option is unavailable, turn off Let Windows manage my default printer to allow manual selection. Setting the correct default ensures print jobs are sent to the intended device.
Step 3: Select your printer, then click Open print queue. If previous print jobs are stuck, select the ellipsis (...) and click Cancel all. Clearing the queue removes blocked tasks that may prevent new jobs from processing.

Restart the Print Spooler Service
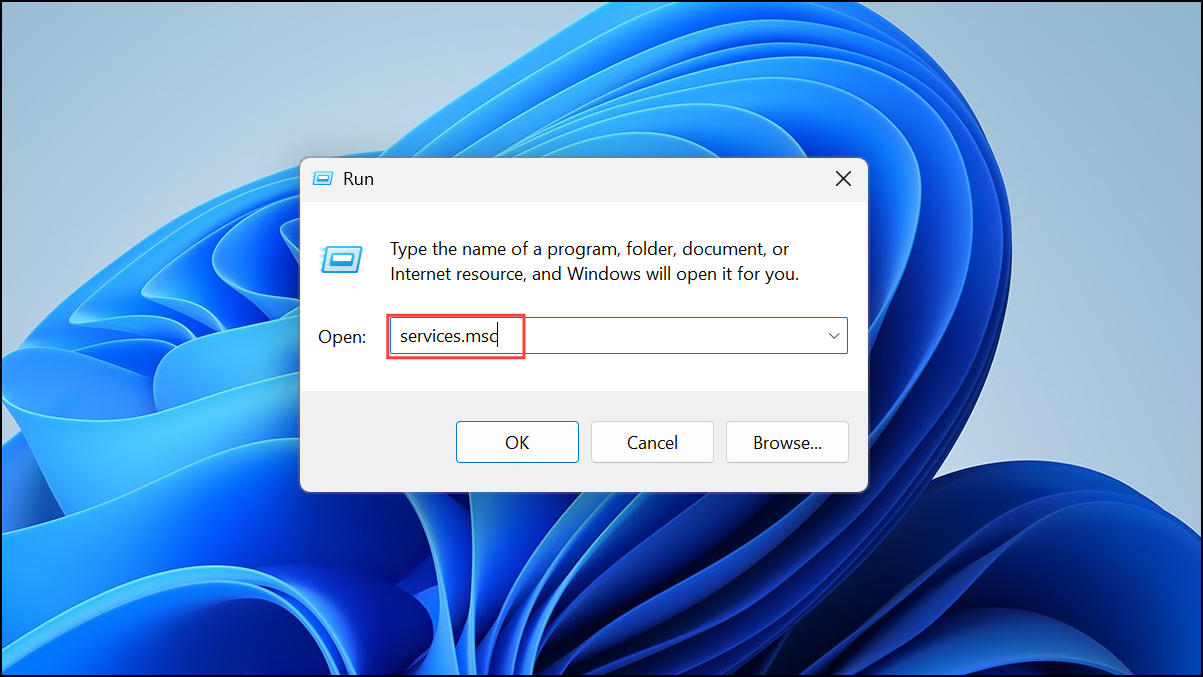
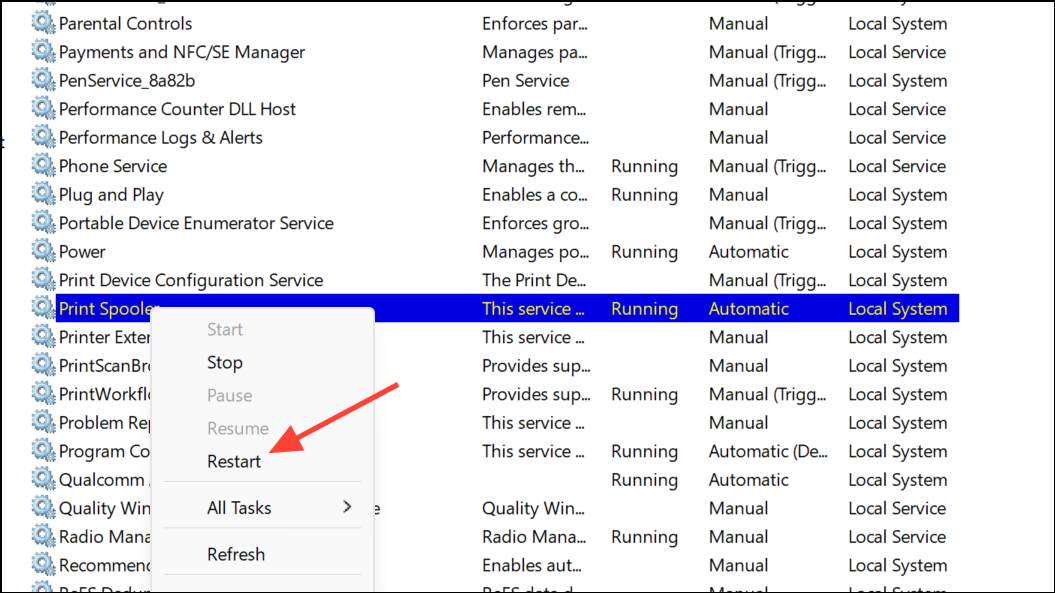
Step 1: Press Win + R, type services.msc, and press Enter to open the Services window.
Step 2: Locate Print Spooler in the list. Right-click it and select Restart. Restarting this service clears communication issues between Windows and the printer, especially when print jobs remain stuck or the print queue fails to update.
Step 3: If issues persist, right-click Print Spooler and select Stop. Open File Explorer and navigate to C:\Windows\System32\spool\PRINTERS. Delete all files in this folder, then return to Services and start the Print Spooler again. This process removes corrupt or stuck print jobs at the system level.
Uninstall and Reinstall the Printer and Drivers
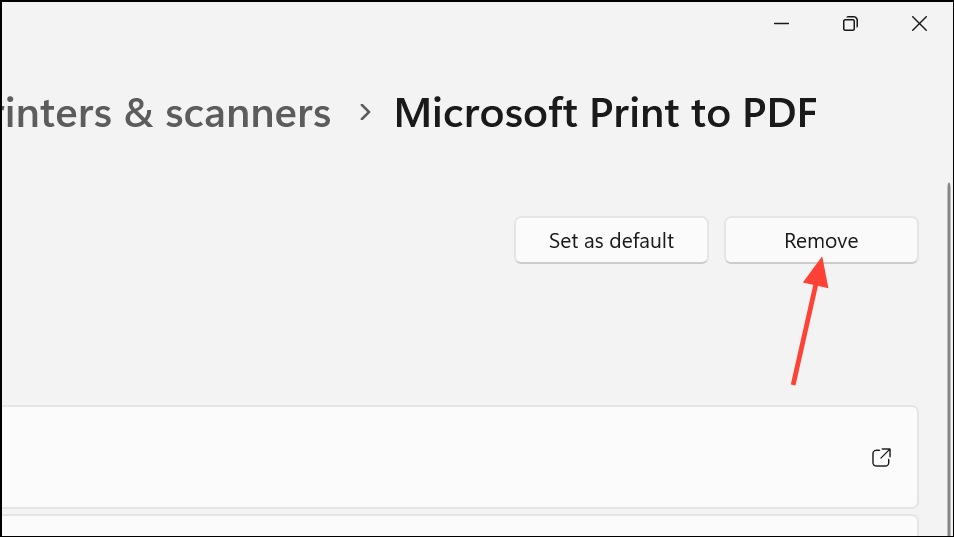
Step 1: In Settings > Bluetooth & devices > Printers & scanners, select your printer and click Remove. Confirm removal. This step disconnects the device and clears its configuration from Windows.
Step 2: Visit the printer manufacturer’s website to download the latest Windows 11-compatible driver and full software package for your specific printer model. Outdated or incompatible drivers are a frequent cause of print command failures, especially after system upgrades.
Step 3: Install the downloaded driver package. During installation, follow prompts to connect the printer—either via USB or by ensuring the device is powered on and network-connected. Avoid plugging in USB cables until prompted, as premature connection may trigger Windows to install generic drivers that lack full functionality.
Step 4: After installation, restart your computer to finalize driver and service updates.
Remove Residual Software and Hidden Devices
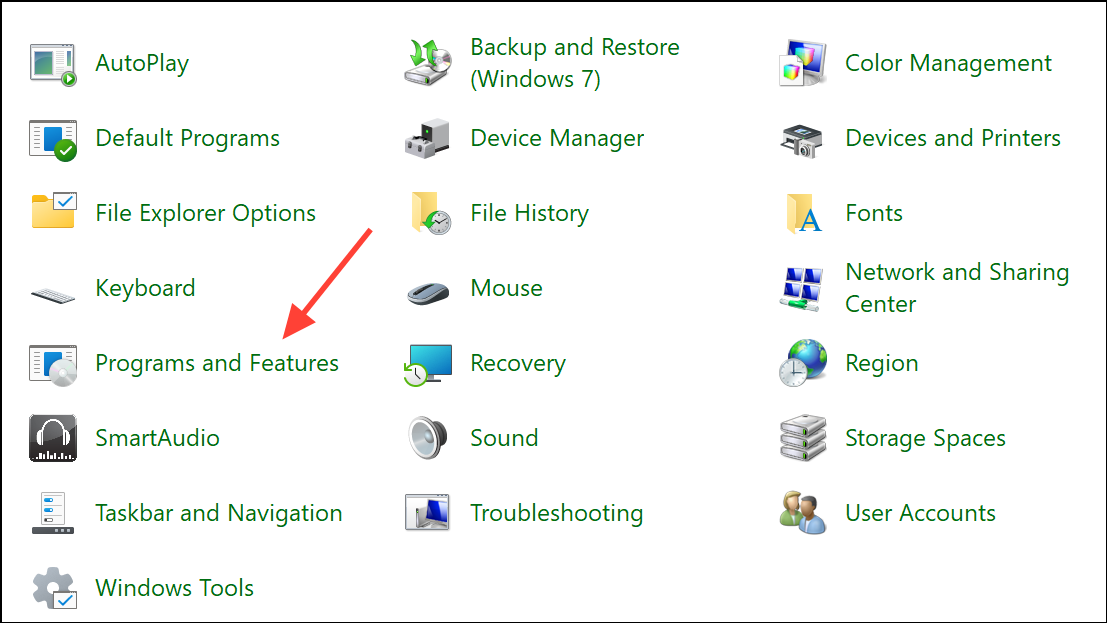
Step 1: Open Control Panel > Devices and Printers.

SRemove any old or duplicate printer entries by right-clicking and selecting Remove device. Residual devices can confuse Windows and prevent successful print commands.
Step 2: In Control Panel > Programs > Programs and Features, uninstall any outdated or unused printer software. If the software fails to uninstall, use third-party tools like Revo Uninstaller or Microsoft’s Program Install and Uninstall troubleshooter.
Step 3: Open Device Manager and expand Printers and Imaging Devices. Right-click and uninstall any “Unknown Device” or entries for printers you no longer use.
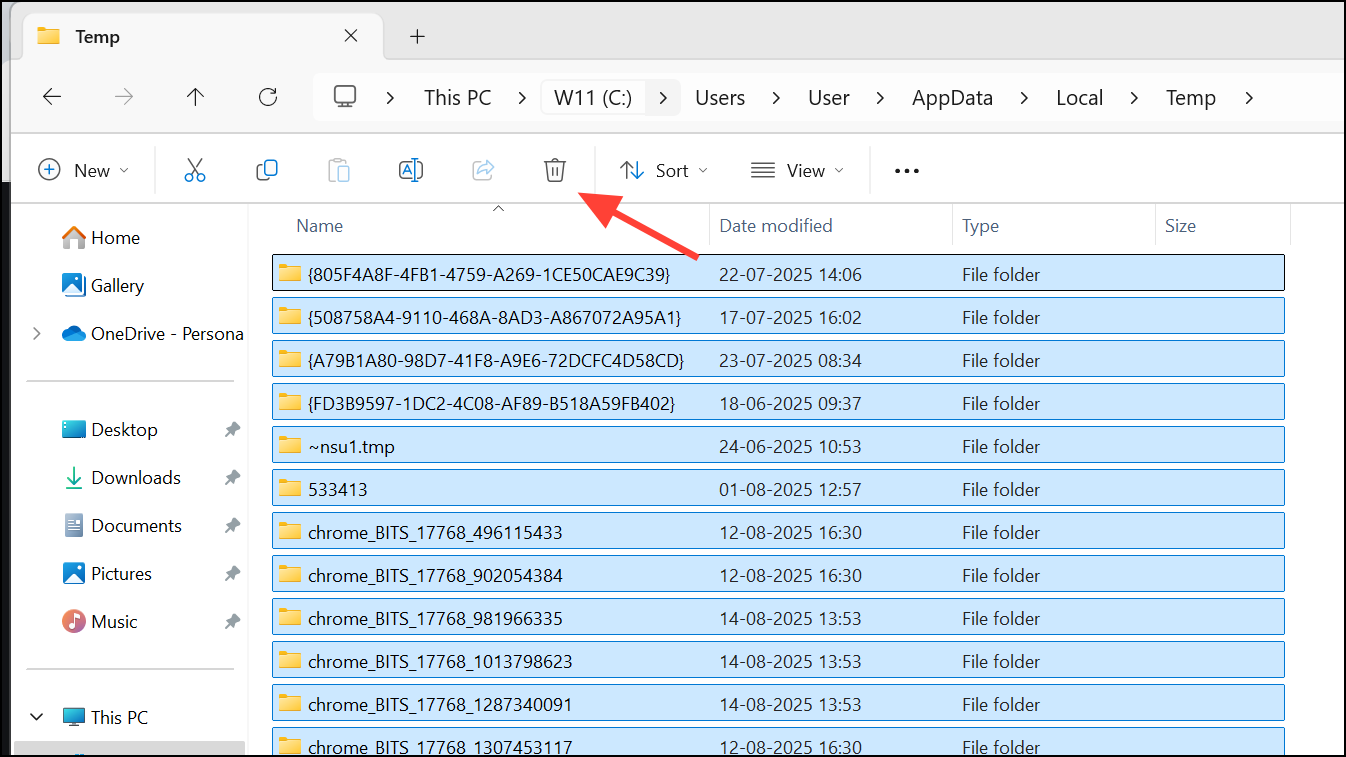
Step 4: Clear temporary files by pressing Win + R, typing %temp%, and deleting all files in the Temp folder. This removes leftover configuration files that could interfere with new installations.
Update Printer Firmware and Security Exceptions
Step 1: Check your printer manufacturer’s website for firmware updates. Download and apply any available updates using the manufacturer’s recommended procedure. Updated firmware addresses communication bugs and compatibility problems with Windows 11.
Step 2: Review your computer’s security software or firewall settings. Add exceptions for the printer software if necessary, as overly restrictive settings can block print commands from reaching the device. After making changes, restart your computer to ensure new rules take effect.
Additional Tips for Network and Shared Printers
Step 1: If you use wireless access points, extenders, or multiple Wi-Fi networks, confirm that your PC and printer are on the exact same network (SSID). Mismatched networks prevent devices from communicating, resulting in failed print commands.
Step 2: For shared printers, verify that printer sharing is enabled on the host device and that file and printer sharing is active on the network. Check firewall and antivirus settings on both the host and client machines for blocks that may prevent access.
Step 3: If problems persist after all troubleshooting, consult your printer’s user manual or support site for model-specific guidance, or use manufacturer diagnostic utilities such as HP Print and Scan Doctor.
Resolving the “Your printer is not receiving the print command” error on Windows 11 restores reliable printing and eliminates workflow interruptions. Regularly updating drivers and checking network connections will keep your printer running smoothly.