
Device Manager displays the message "This device cannot start. (Code 10)" when Windows 11 can’t initialize a hardware component, often halting USB, Bluetooth, Wi-Fi, or audio devices. This issue typically indicates a driver problem, a system conflict, or, less commonly, a hardware failure. Following a structured troubleshooting approach restores device operation and prevents recurring errors.
Update or Reinstall Device Drivers
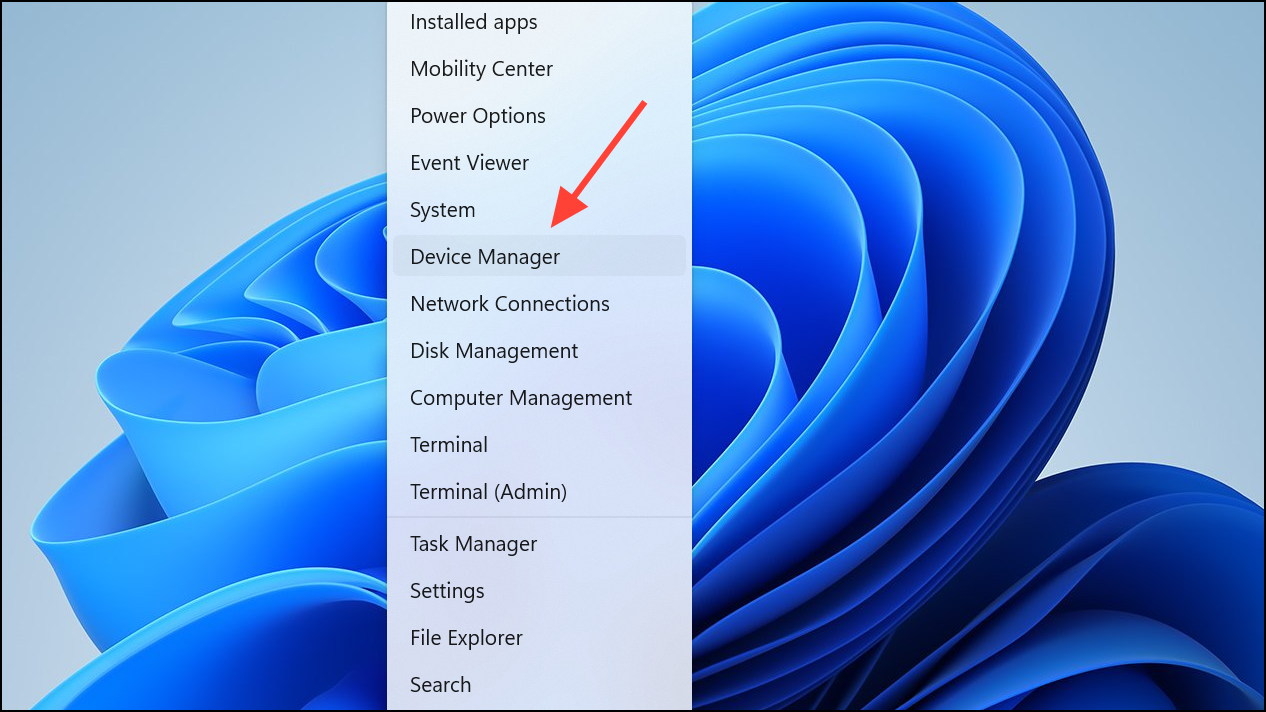
Step 1: Open Device Manager by pressing Windows + X and selecting Device Manager from the menu. This tool lists all hardware components and their current status.
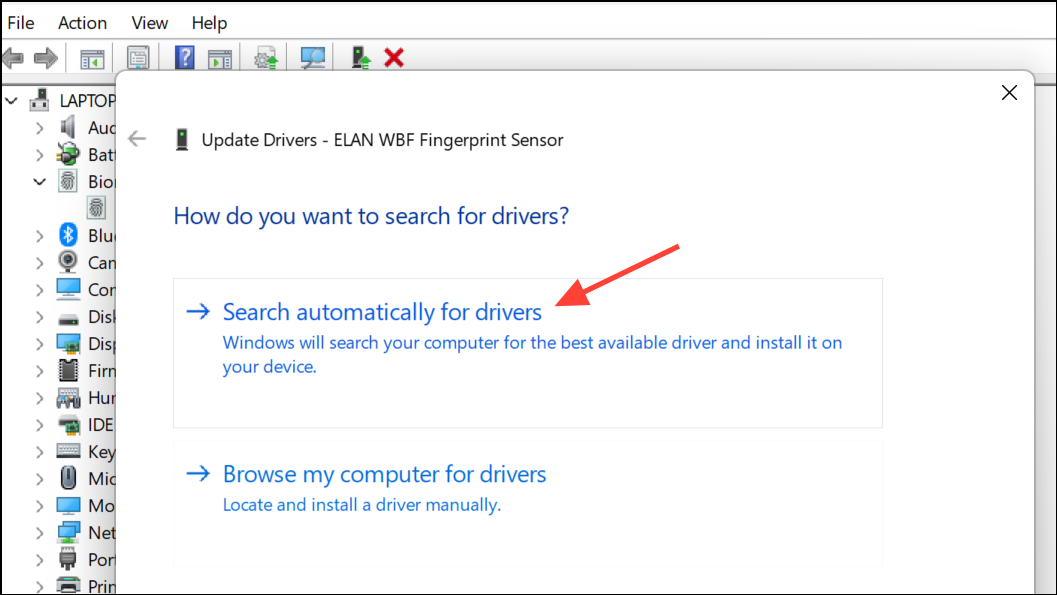
Step 2: Locate the device showing the Code 10 error, typically marked with a yellow exclamation icon. Right-click the device and select Update driver. Choose Search automatically for drivers to let Windows check for the latest compatible version online.
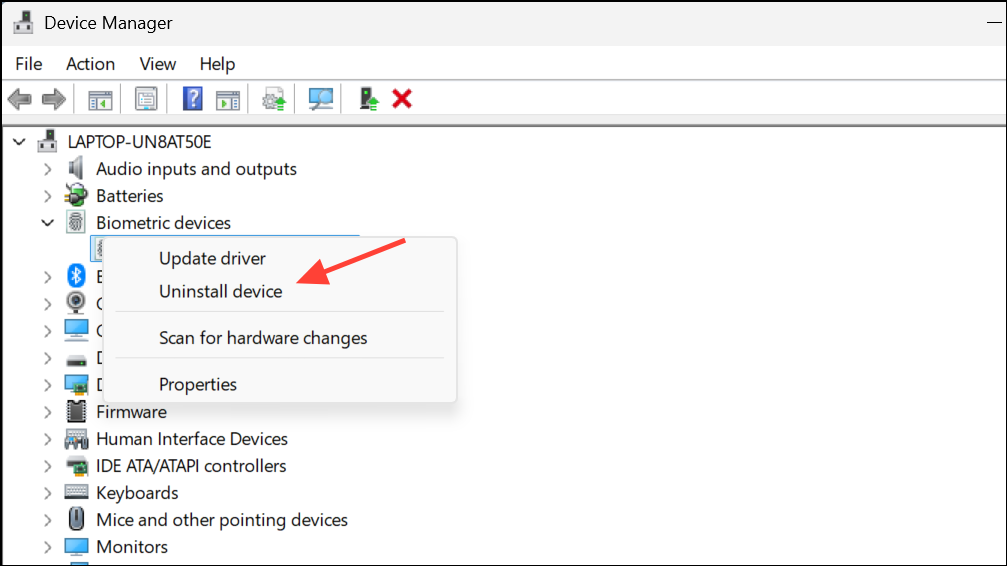
Step 3: If no update is found or the problem persists, right-click the device again and choose Uninstall device. After removal, click the Action menu at the top and select Scan for hardware changes. Windows will attempt to reinstall the driver from scratch. Restart your computer after this step to ensure the new driver loads correctly.
Download and Install Manufacturer Drivers
Step 1: Visit the hardware manufacturer's website (for example, Intel, Realtek, Brother, or your motherboard brand) and locate the latest Windows 11-compatible drivers for your device. Download the installer to your computer.
Step 2: Run the downloaded installer, following on-screen prompts. Some devices require you to completely remove the previous driver before installing the new one. If so, use the manufacturer's dedicated uninstaller or follow the Device Manager removal process above before running the new installer.
Step 3: Restart your PC after installation. This ensures the new driver initializes and the device can start properly.
Perform a Cold Reboot
Step 1: Shut down your computer completely. If you’re using a laptop, remove the battery (if possible) and unplug the power adapter. For desktops, switch off the power supply or unplug the machine.
Step 2: Wait at least 30 seconds to drain residual power. This cold reboot clears temporary hardware states or power glitches that may prevent device initialization.
Step 3: Reconnect power and boot up your system. Check Device Manager to see if the Code 10 error is resolved.
Roll Back to a Previous Driver Version
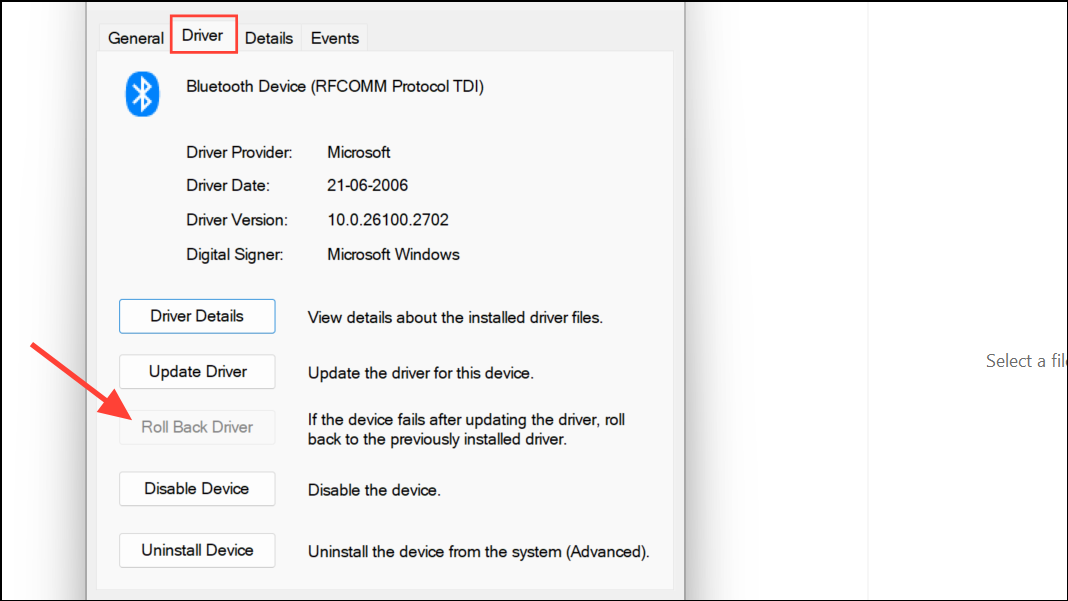
Step 1: In Device Manager, right-click the problematic device and select Properties. Go to the Driver tab and click Roll Back Driver if the button is available. This reverts the device to its previous working driver version, which is useful if the error started after a recent update.
Step 2: Restart your computer and check if the device functions correctly.
Remove UpperFilters and LowerFilters Registry Entries (Advanced)
Corrupted registry entries can interfere with device operation, especially for USB, audio, or optical drives.
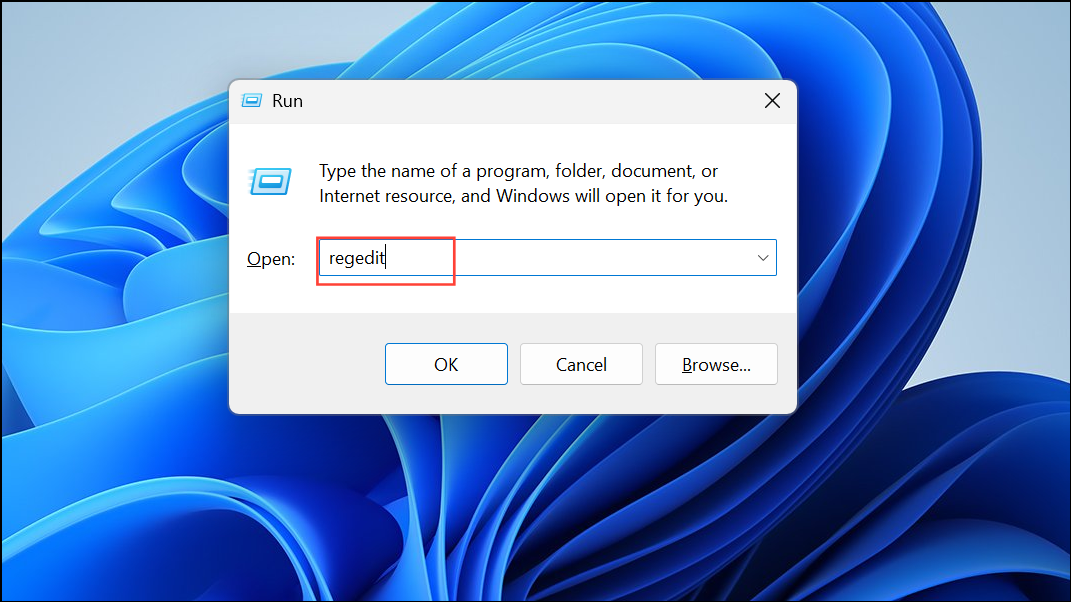
Step 1: Press Windows + R, type regedit, and press Enter to open the Registry Editor. If prompted, allow administrative access.
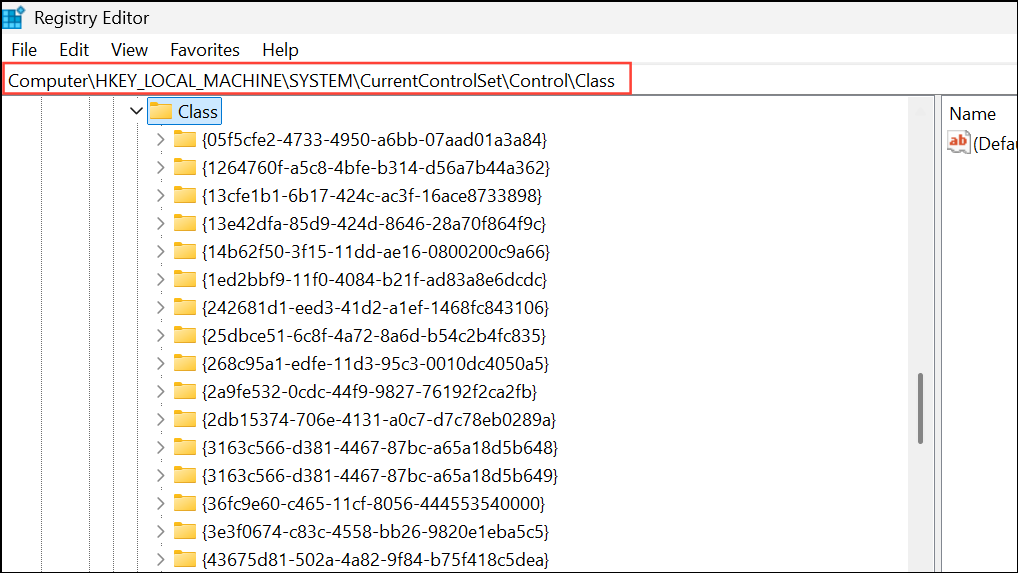
Step 2: Navigate to HKEY_LOCAL_MACHINE\SYSTEM\CurrentControlSet\Control\Class. Identify the correct Class GUID for your device type (for example, {4D36E965-E325-11CE-BFC1-08002BE10318} for network adapters).
Step 3: In the relevant Class GUID folder, right-click and delete any UpperFilters or LowerFilters entries. Confirm deletion when prompted. Close the Registry Editor and restart your computer to apply the changes.
Install Windows and BIOS Updates
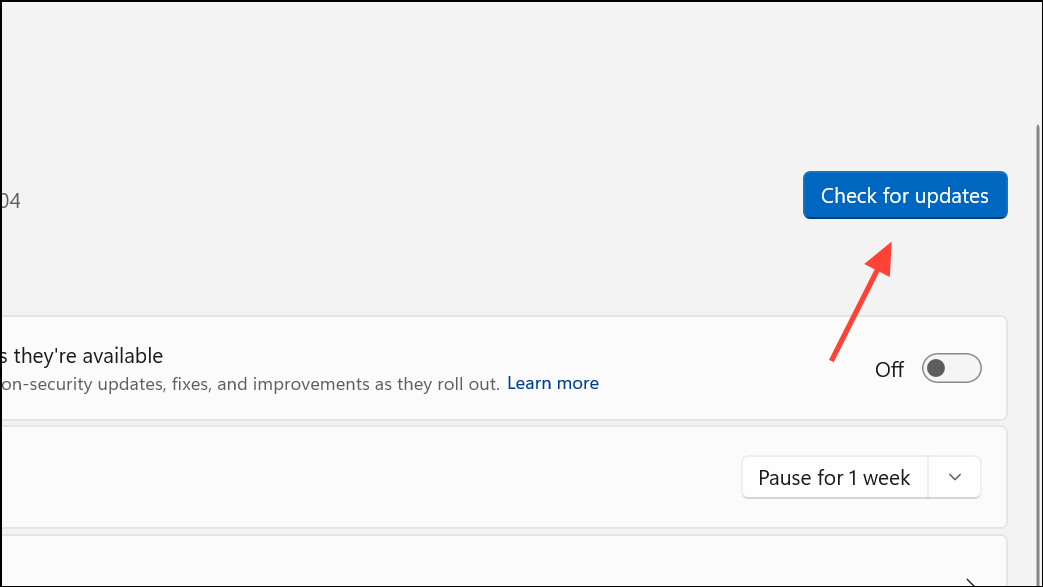
Step 1: Go to Settings > Windows Update and click Check for updates. Install all available updates, including optional driver or firmware updates, as these often resolve compatibility or device initialization issues.
Step 2: For system firmware (BIOS/UEFI), visit your computer or motherboard manufacturer’s support site, download the latest BIOS version, and follow their update instructions. An outdated BIOS can sometimes block proper hardware initialization.
Switch to a Powered USB Hub (for USB Devices)
Some USB devices require more power than a standard port can supply, especially external hard drives or advanced peripherals.
Step 1: Disconnect the device from your computer and plug it into a powered USB hub (one with its own AC adapter).
Step 2: Connect the hub to your PC and power it on. This often resolves Code 10 errors caused by insufficient USB power.
Restore System Using System Restore Point
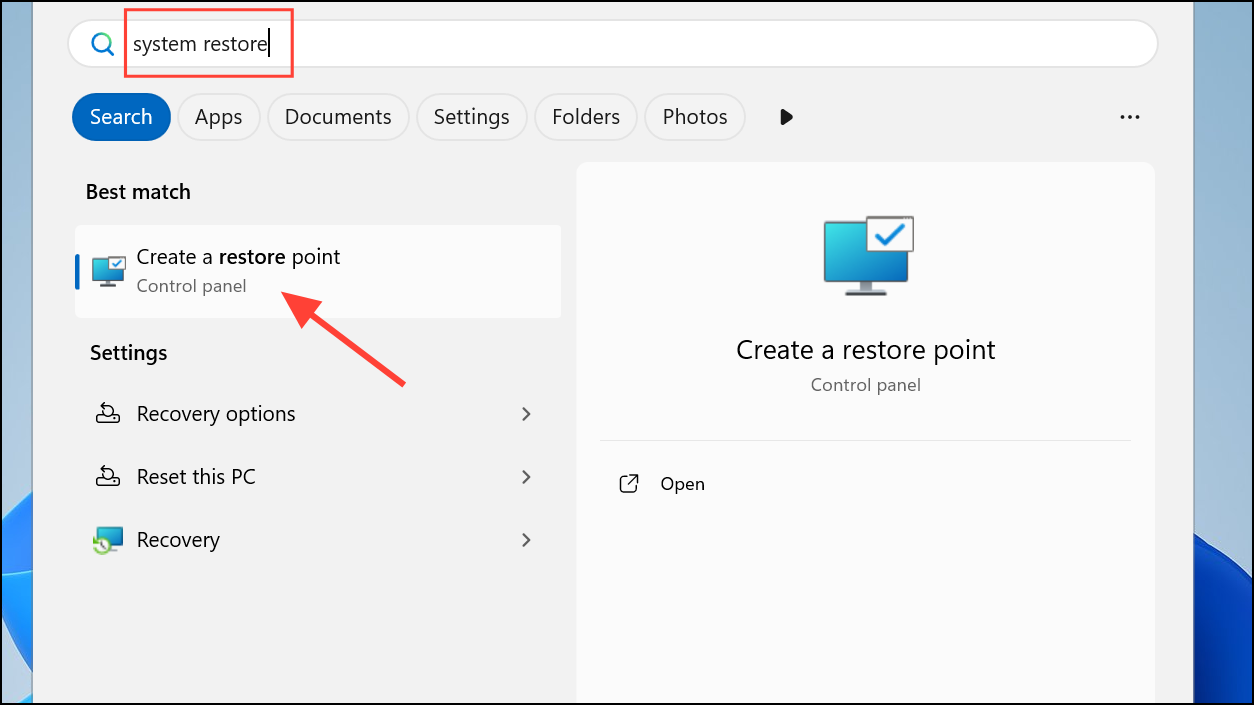
Step 1: If you created a restore point before the error occurred, open the Start menu, search for System Restore, and select Create a restore point.
Step 2: Click Open System Restore and follow the prompts to revert your system to a previous state.
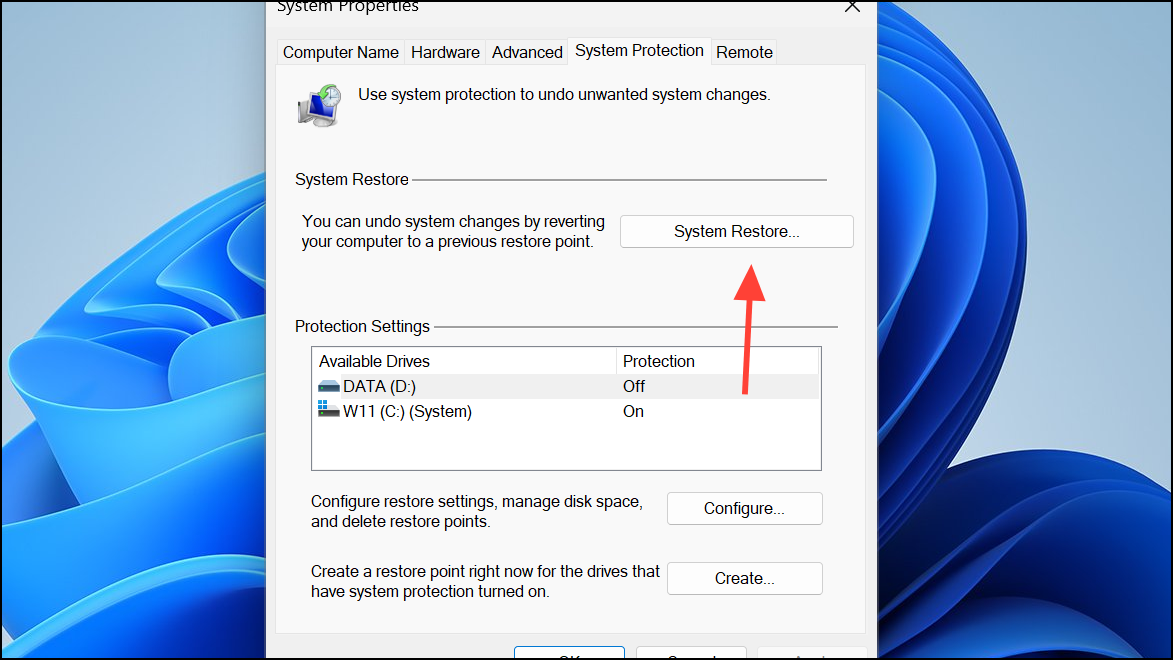
Step 3: After restoration, check Device Manager to confirm if the device is working again. This step reverses recent changes that may have triggered the error.
Check Device and Hardware Connections
Step 1: For internal devices (like Wi-Fi or Bluetooth cards), power off your PC and reseat the hardware component. Ensure all cables and connectors are properly attached. For PCIe devices, try moving the card to a different slot if possible.
Step 2: For external devices, test them on another computer. If the Code 10 error appears elsewhere, the device itself may be faulty and require replacement.
Reset or Clean Install Windows (Last Resort)
Step 1: If none of the above steps resolve the issue, consider resetting Windows or performing a clean installation. Go to Settings > System > Recovery and select Reset this PC. Choose whether to keep your files or remove everything based on your needs.
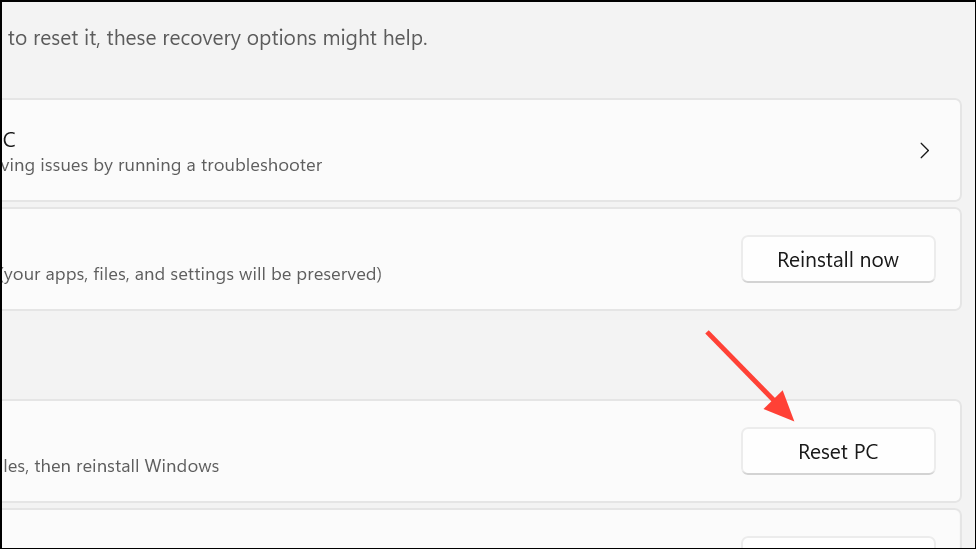
Step 2: Follow on-screen instructions to complete the reset. Afterward, reinstall device drivers and check Device Manager for error resolution.
Code 10 errors on Windows 11 usually trace back to driver or system conflicts, but methodical troubleshooting restores most devices to full operation. Keeping drivers and Windows updated, and periodically checking hardware connections, helps prevent future issues.