
Recovery partitions in Windows 11 are designed to remain hidden and unassigned to a drive letter, housing crucial system files for repair and reset operations. When Windows 11 repeatedly assigns a drive letter to the recovery partition, it not only exposes sensitive files to accidental modification but can also interfere with network drive mappings or backup routines. This issue often arises after system updates, disk cloning, or partition changes, and persists even after manually removing the drive letter. Resolving it requires more than just using Disk Management—adjusting partition attributes and IDs is often necessary to restore intended behavior.
Remove the Drive Letter and Restore Partition Attributes
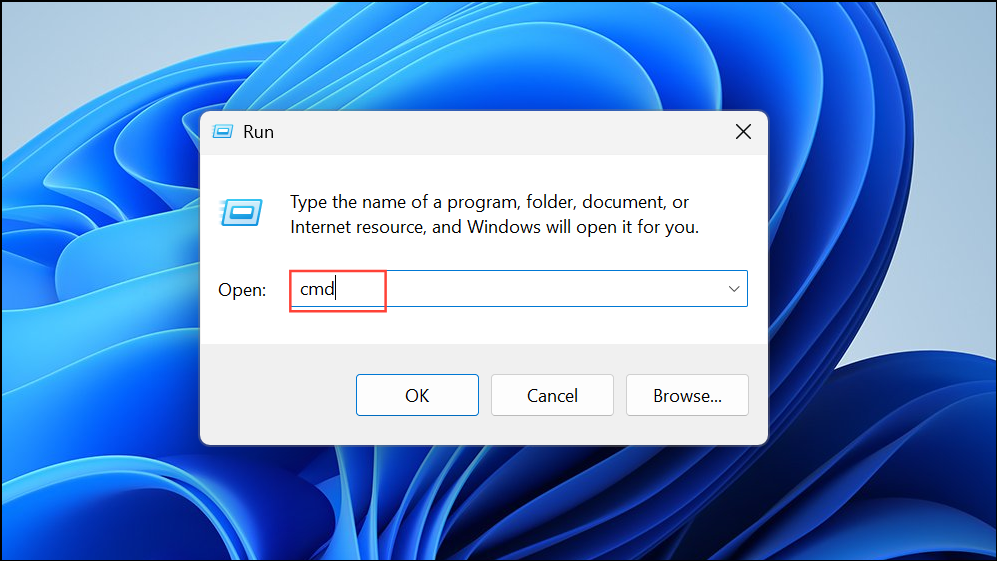
Step 1: Open an elevated Command Prompt by pressing Win + R, typing cmd, and pressing Ctrl + Shift + Enter. This ensures you have administrator rights.
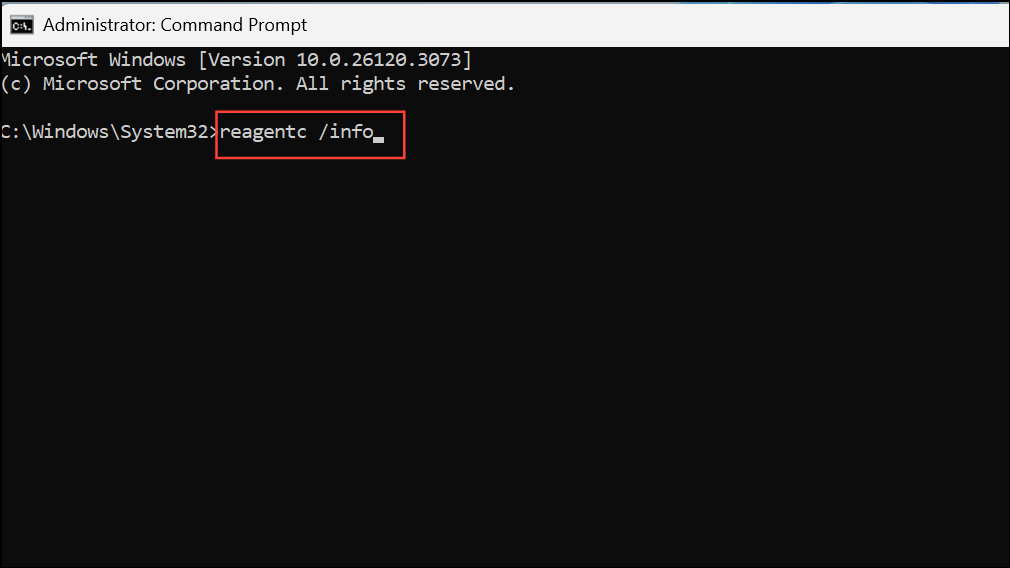
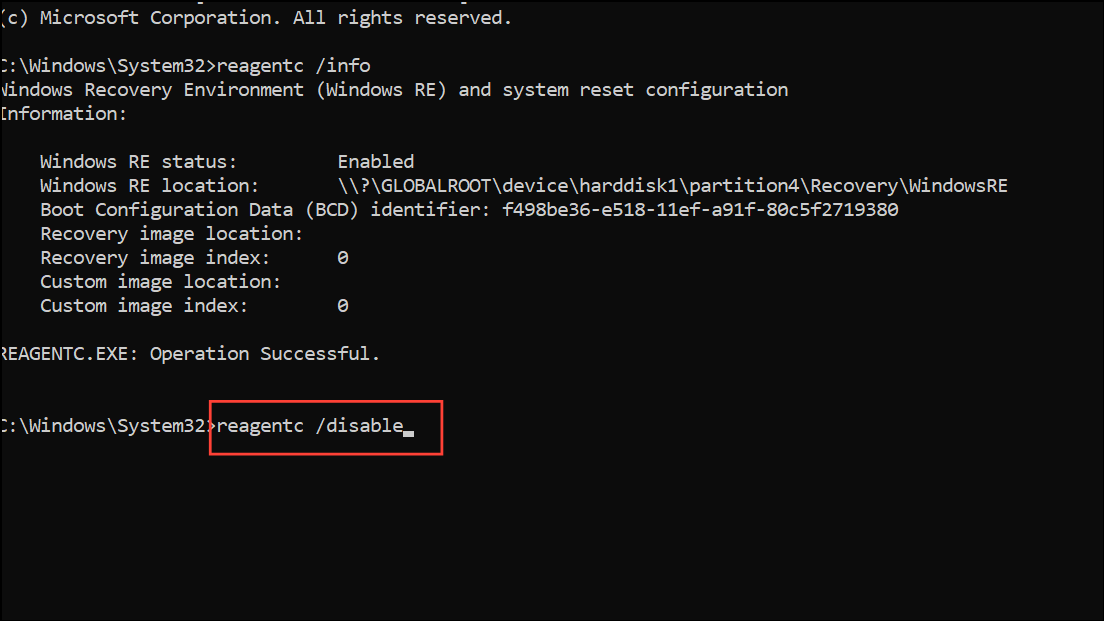
Step 2: Check the status and location of the Windows Recovery Environment by entering reagentc /info. Note the drive letter or partition where WinRE is located. If a letter is present, it needs to be removed.
Step 3: Temporarily disable the Windows Recovery Environment by typing reagentc /disable. This step prevents system conflicts while you modify the partition.
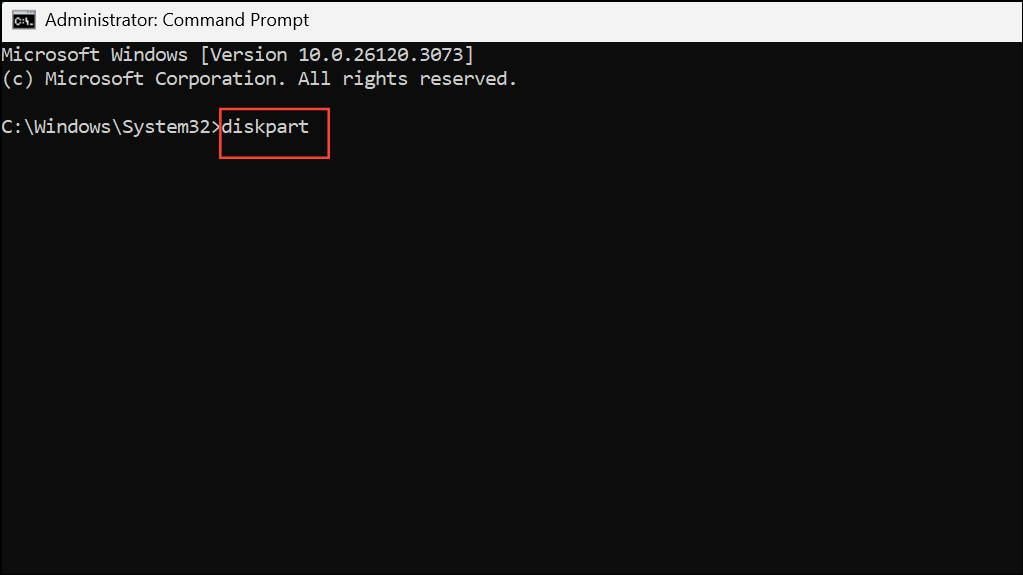
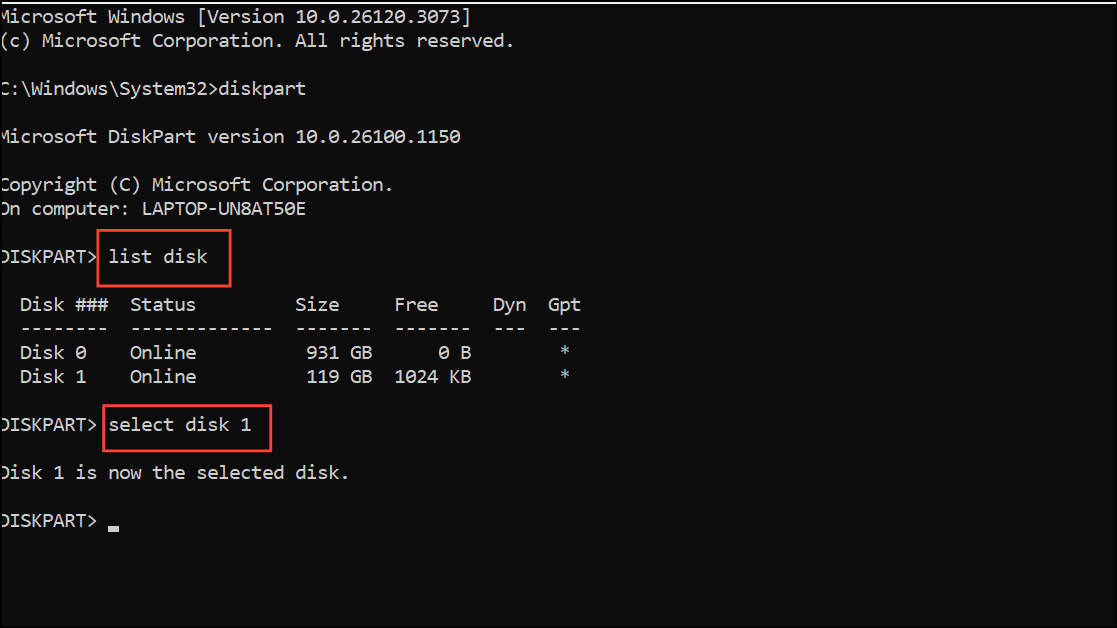
Step 4: Launch the DiskPart utility by typing diskpart and pressing Enter in the Command Prompt.
Step 5: List all disks with list disk, then select the correct disk using select disk X (replace X with your disk number).
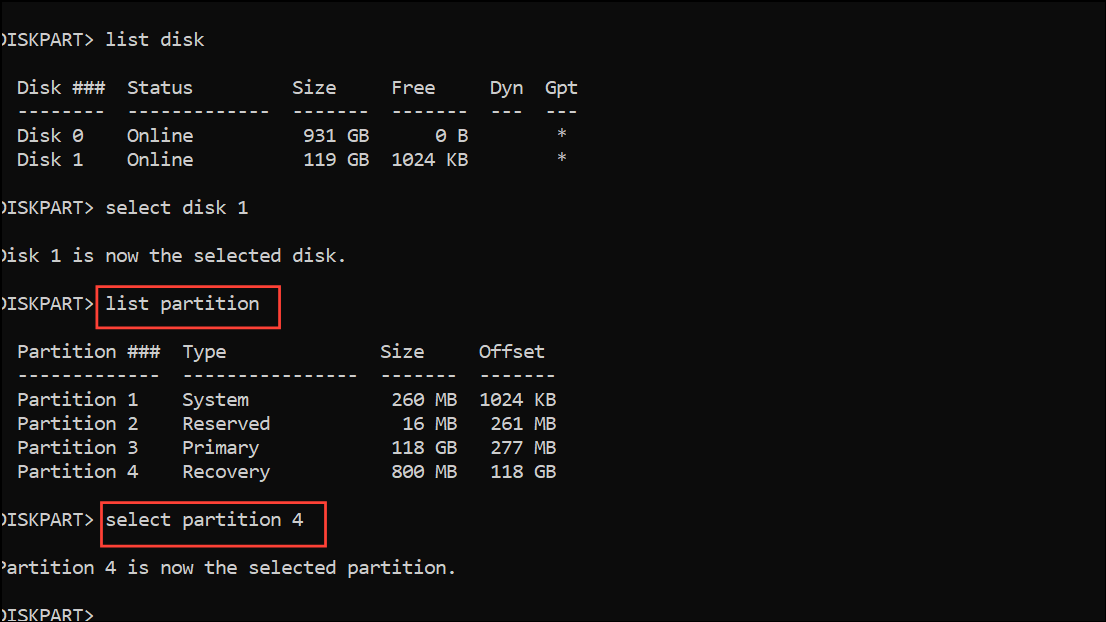
Step 6: List partitions with list partition, and select the recovery partition using select partition Y (replace Y with the partition number).
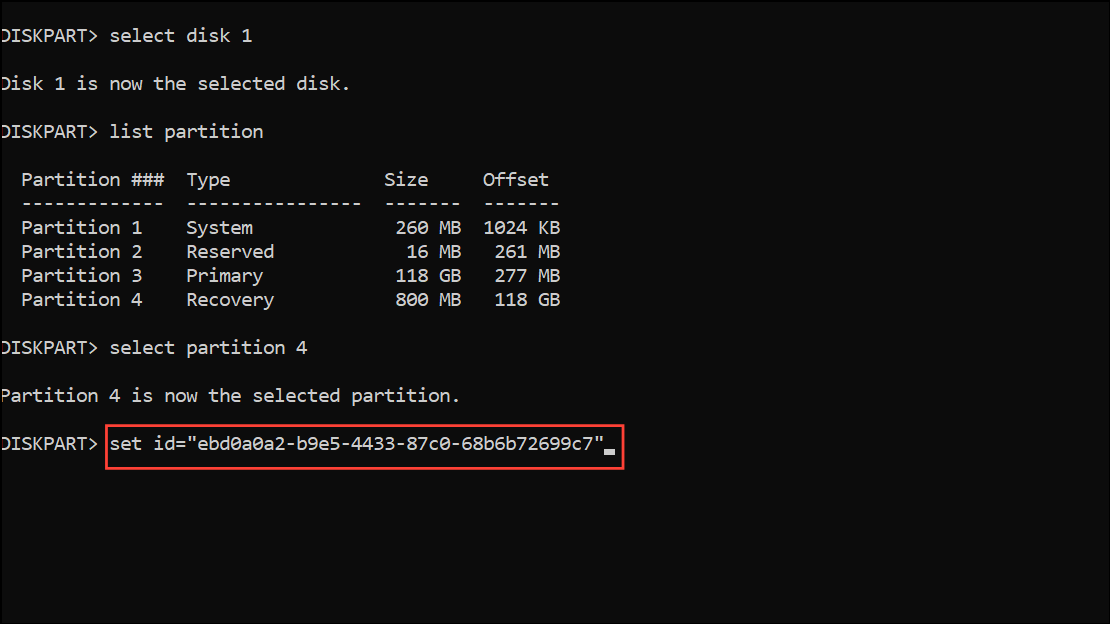
Step 7: Change the partition type to a basic data partition with set id="ebd0a0a2-b9e5-4433-87c0-68b6b72699c7" and remove special GPT attributes using gpt attributes=0x0000000000000000. This step makes the partition manageable in Disk Management.
Step 8: Remove the drive letter by typing remove letter=Z (replace Z with the actual drive letter assigned to the recovery partition).
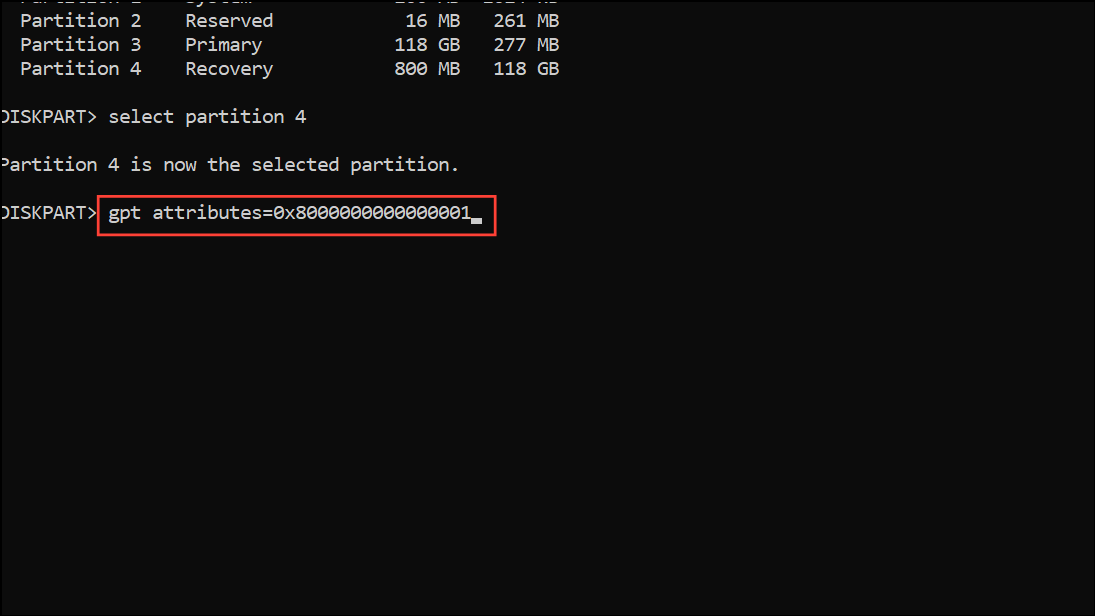
Step 9: Restore the partition to its original role by resetting the ID with set id="de94bba4-06d1-4d40-a16a-bfd50179d6ac" and reapply hidden and read-only attributes using gpt attributes=0x8000000000000001.
Step 10: Re-enable the Windows Recovery Environment by typing reagentc /enable. Verify with reagentc /info that WinRE is active and no drive letter is listed.
Alternative: Remove Drive Letter with Mountvol Command
If the partition is visible but you prefer a simpler approach, use the mountvol utility to unmount the drive letter without altering partition IDs:
Step 1: Open Command Prompt as an administrator.
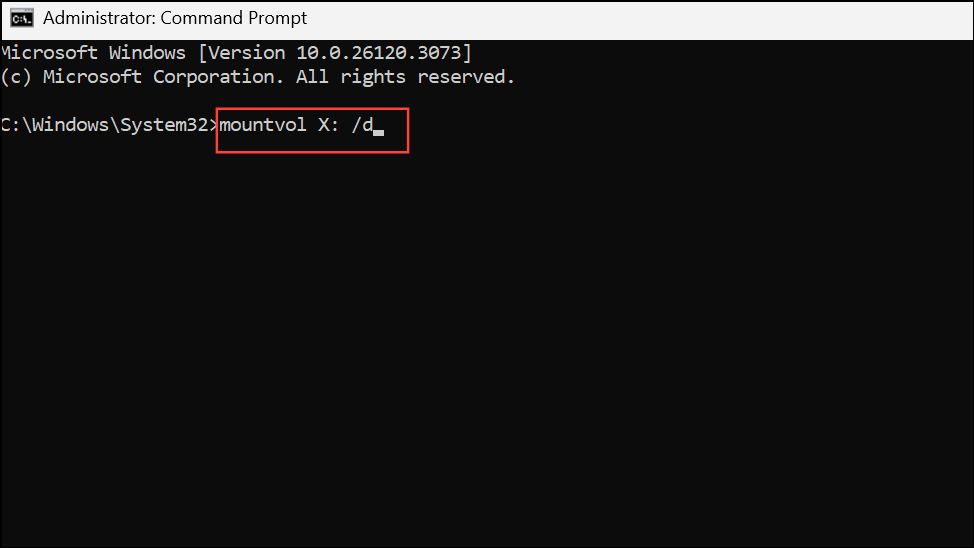
Step 2: Enter mountvol X: /d (replace X with the assigned drive letter). This instantly unmounts the partition, removing it from File Explorer.
This method is quick, but if the root cause is incorrect partition attributes, the drive letter may reappear after a reboot. In that case, follow the attribute correction steps above.
Advanced: Tweak Registry to Remove Persistent Drive Letter
For cases where the drive letter persists due to registry mappings (especially if the same letter is needed for network drives), you can delete the specific mapping in the Windows registry:
Step 1: Press Win + R, type regedit, and press Enter to open the Registry Editor.
Step 2: Navigate to HKEY_LOCAL_MACHINE\SYSTEM\MountedDevices. On the right, locate the entry named \DosDevices\X: (replace X with the problematic drive letter).
Step 3: Right-click the entry and select Delete. This removes the persistent mapping for that drive letter.
Step 4: Restart your computer. The drive letter should no longer be assigned to the recovery partition, and you can use it for network drives or other purposes.
Additional Tips and Maintenance
After resolving the drive letter assignment, confirm that the Windows Recovery Environment is still functional by running reagentc /info and testing recovery options if possible. If the recovery partition is missing or damaged, consider creating a recovery drive or system image backup for future safety. Avoid deleting the recovery partition unless you have a reliable alternative for system repair.
When Windows 11 keeps assigning a drive letter to the recovery partition, adjusting partition attributes and IDs or cleaning up registry mappings restores normal system behavior and keeps crucial partitions hidden. A few careful steps ensure your recovery tools remain secure and your drive letters stay organized.