
Windows 11 sometimes displays a "No Internet" warning despite the device being fully connected and able to browse websites or run speed tests. This misreported status can block essential features such as Windows Updates, the Microsoft Store, and app connectivity, causing confusion and limiting your system's capabilities. The underlying issue often stems from how Windows checks network connectivity, driver conflicts, DNS misconfiguration, or system service failures. Addressing these root causes restores accurate network status and re-enables blocked system features.
Update Windows and Network Drivers
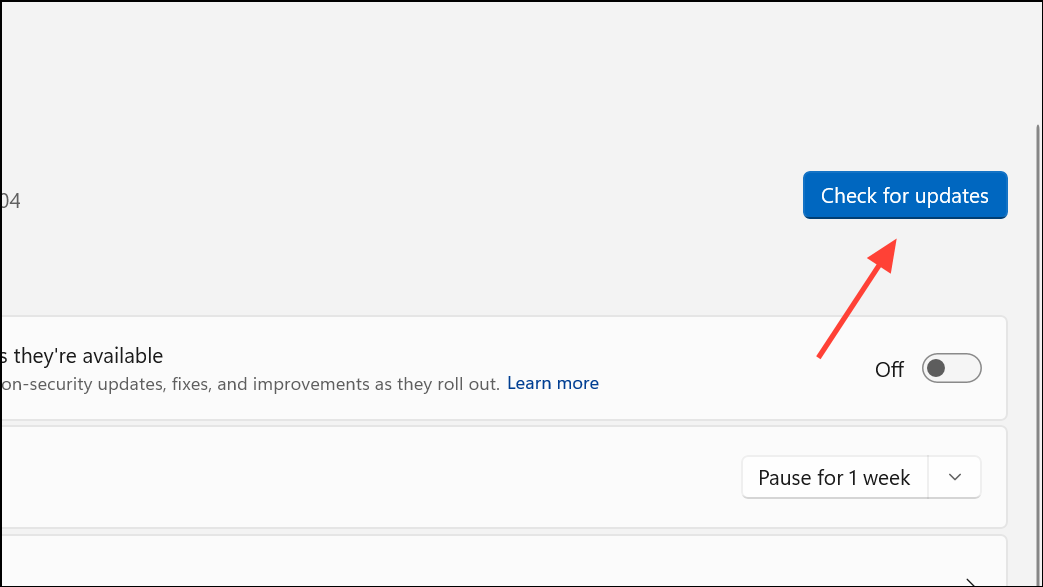
Step 1: Open Settings and navigate to Update & Security > Windows Update. Click Check for updates and install any available updates. Keeping Windows up to date ensures you have the latest fixes for network detection bugs and related system issues.
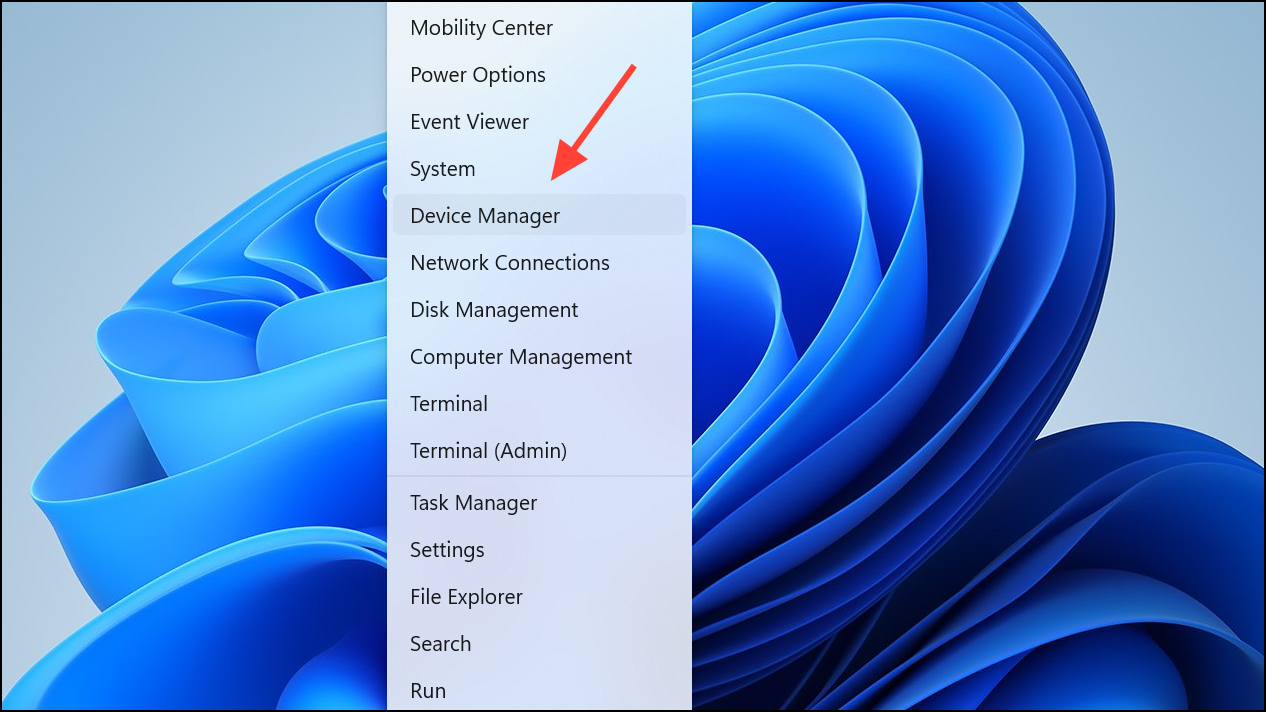
Step 2: To update network drivers, right-click the Start button and select Device Manager.
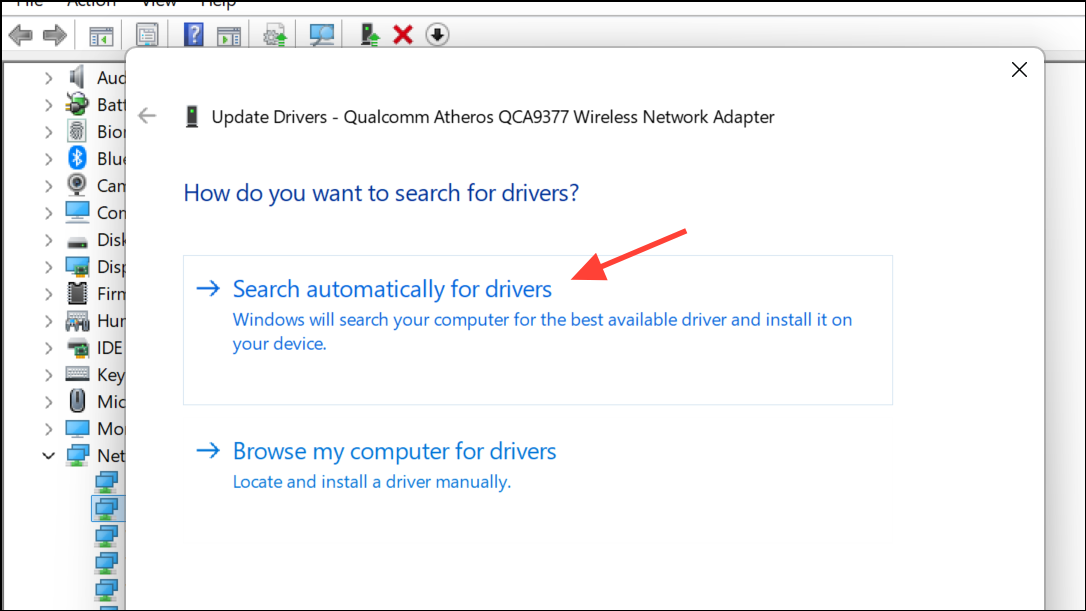
Step 3: Expand Network Adapters, right-click your active network adapter, and choose Update driver. Select Search automatically for drivers or manually install the latest driver from your hardware manufacturer's website. Outdated or corrupted drivers often cause Windows to misreport network status.
Reset Network Configuration and Services
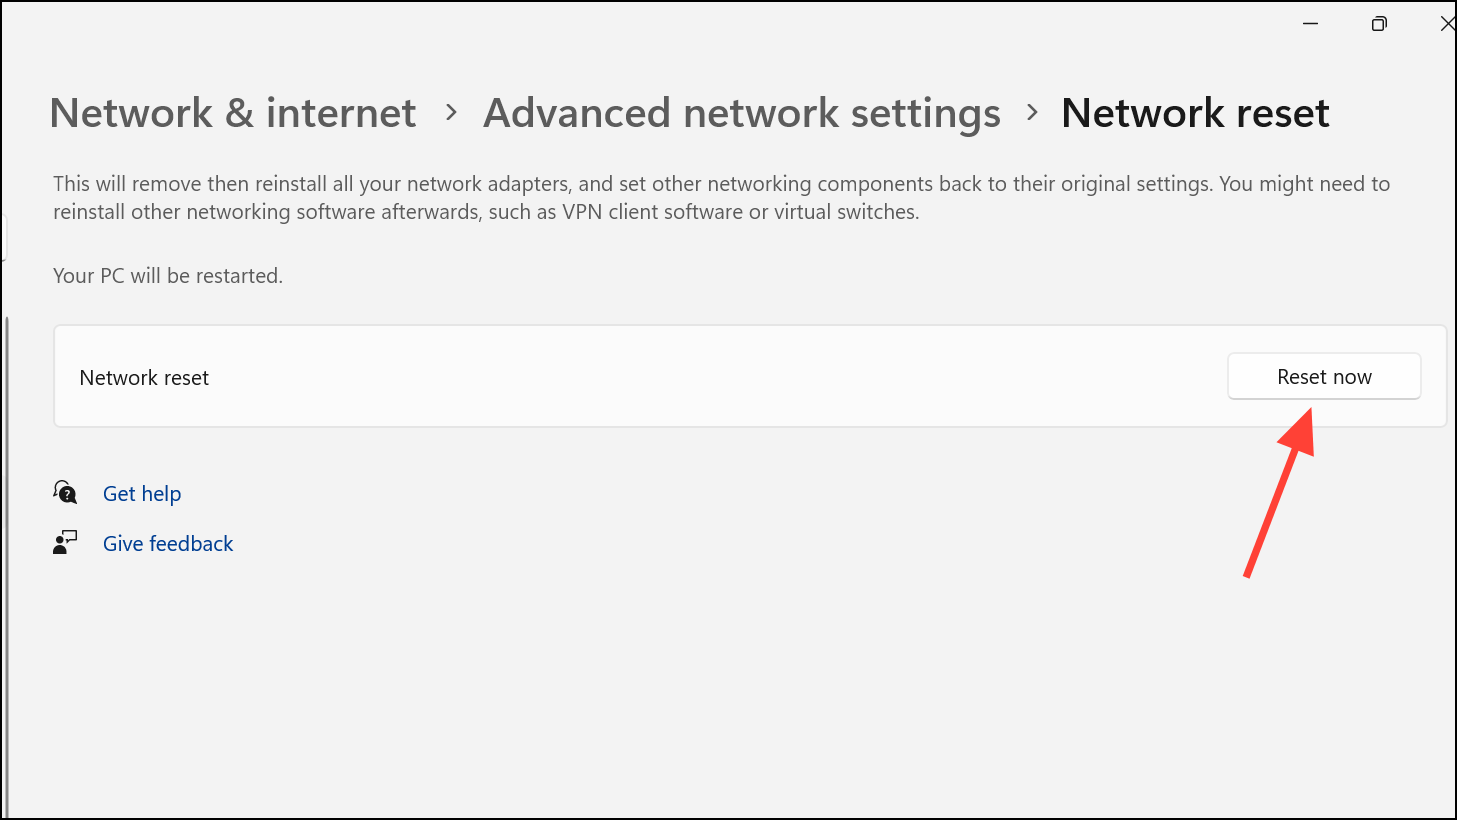
Step 1: Open Settings > Network & Internet > Advanced network settings.

Step 2: Click Network reset and then Reset now. This action clears saved Wi-Fi networks, VPN profiles, and resets all network adapters to their default state, resolving misconfigurations that can cause false "No Internet" reports.
Step 3: Restart your computer after the reset completes. Upon reboot, reconnect to your Wi-Fi or Ethernet network and check if the Internet status reflects correctly.
Step 4: For deeper resets, open Command Prompt as Administrator and enter these commands one at a time, pressing Enter after each:
netsh int ip reset
netsh winsock reset
ipconfig /release
ipconfig /renew
ipconfig /flushdns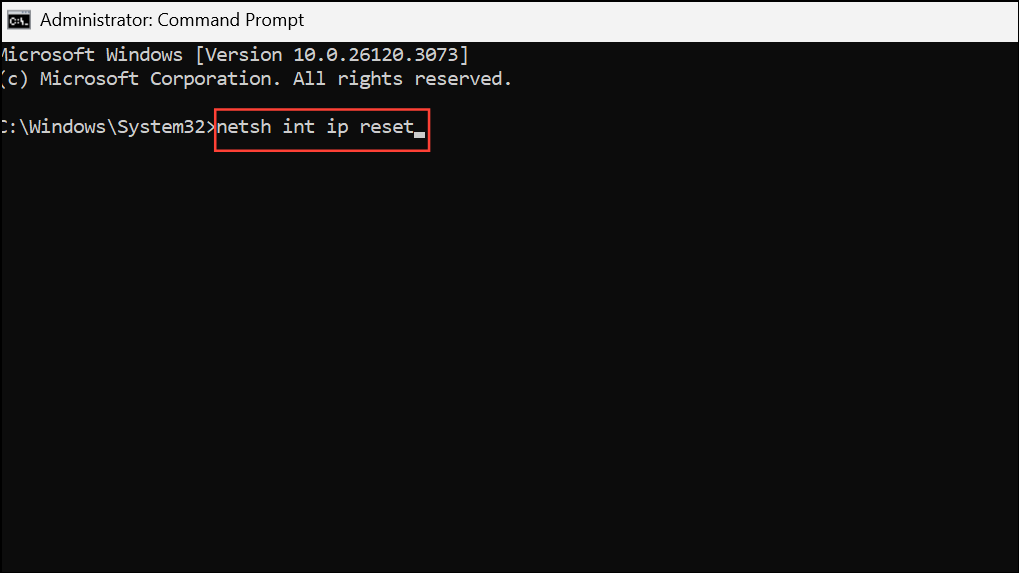
These commands reset the TCP/IP stack, clear DNS cache, and renew your network configuration, which can resolve persistent status errors.
Set a Manual DNS Server
Windows checks connectivity by reaching out to specific Microsoft servers. If your DNS settings are broken or slow, Windows might not receive the expected response and will show "No Internet" even if browsing works.
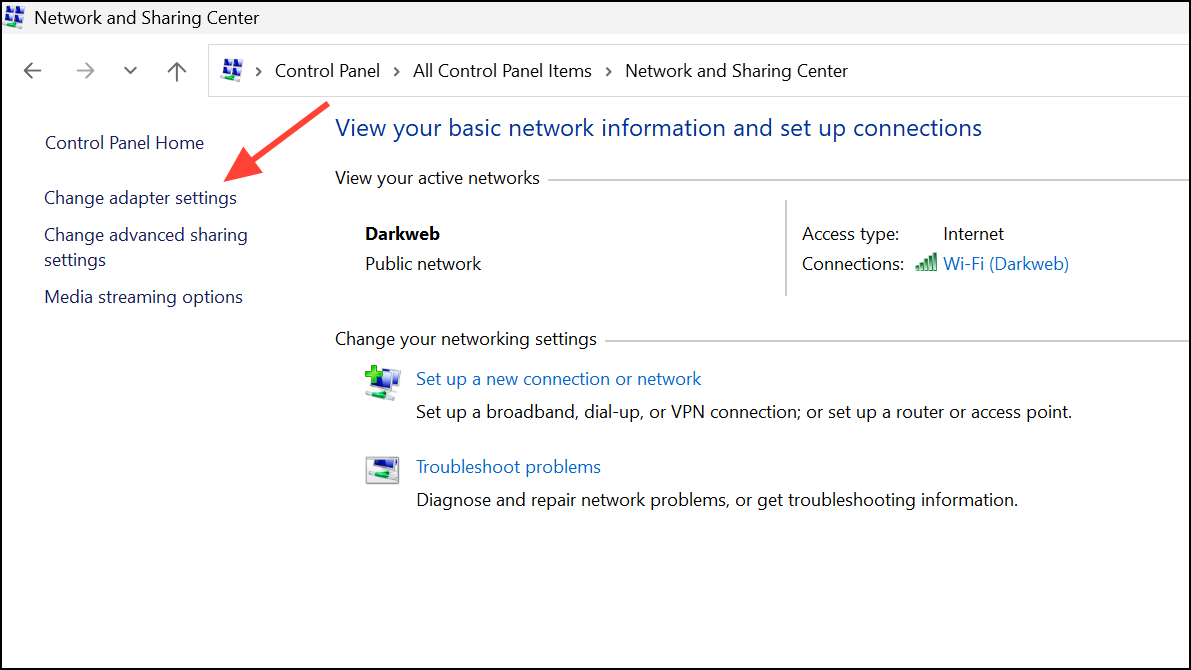
Step 1: Go to Control Panel > Network and Sharing Center > Change adapter settings.
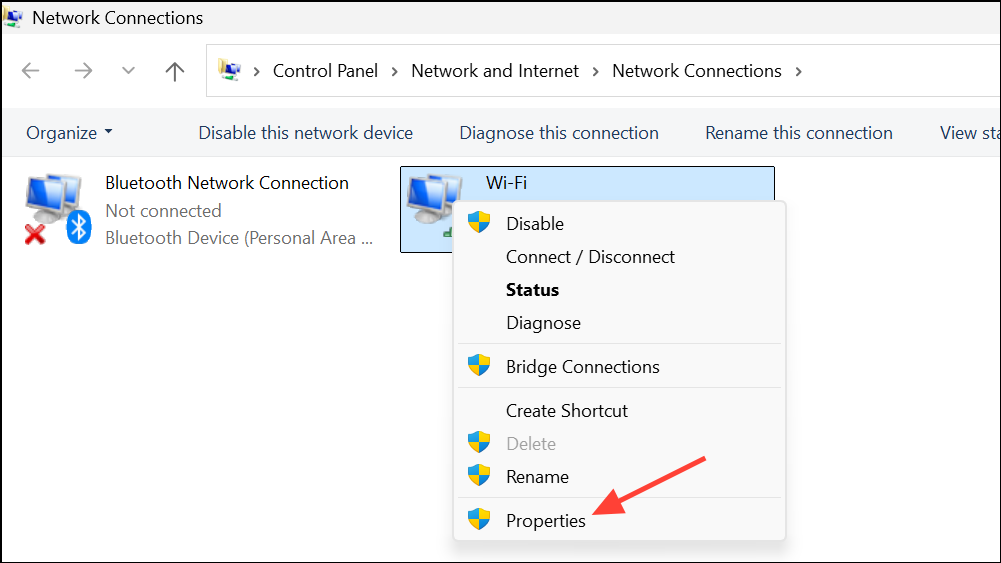
Step 2: Right-click your active network connection and select Properties.
Step 3: Double-click Internet Protocol Version 4 (TCP/IPv4). Choose Use the following DNS server addresses and enter:
- Preferred DNS: 8.8.8.8
- Alternate DNS: 8.8.4.4
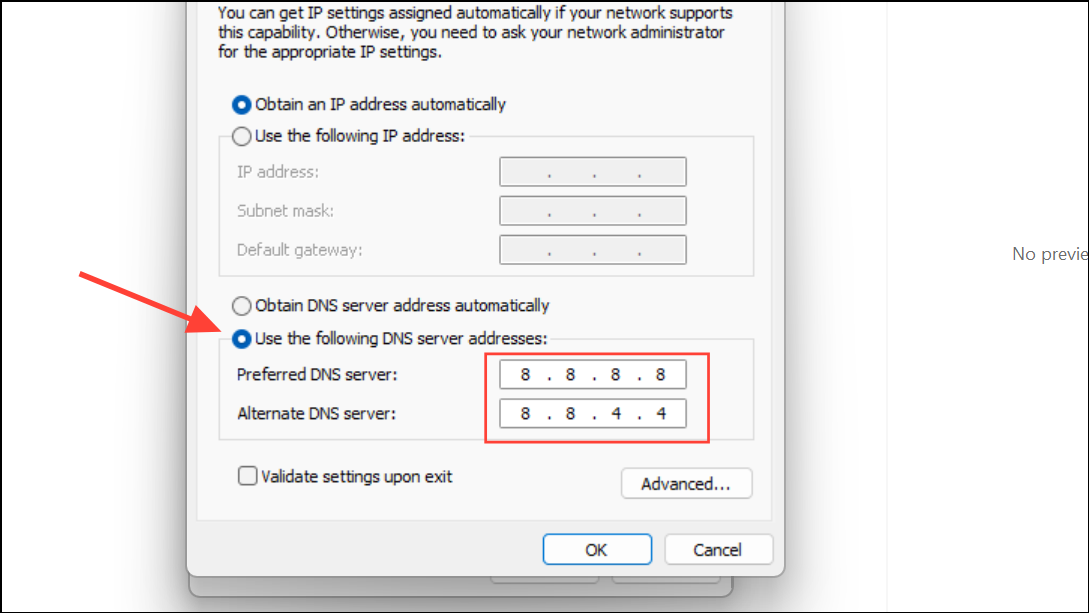
Click OK to save. Switching to a reliable DNS like Google’s can speed up network checks and restore accurate status reporting.
Restart Network Services
Windows relies on background services like Network Location Awareness (NLA) and DHCP Client to detect online status. If these services fail or hang, the system may misreport connectivity.
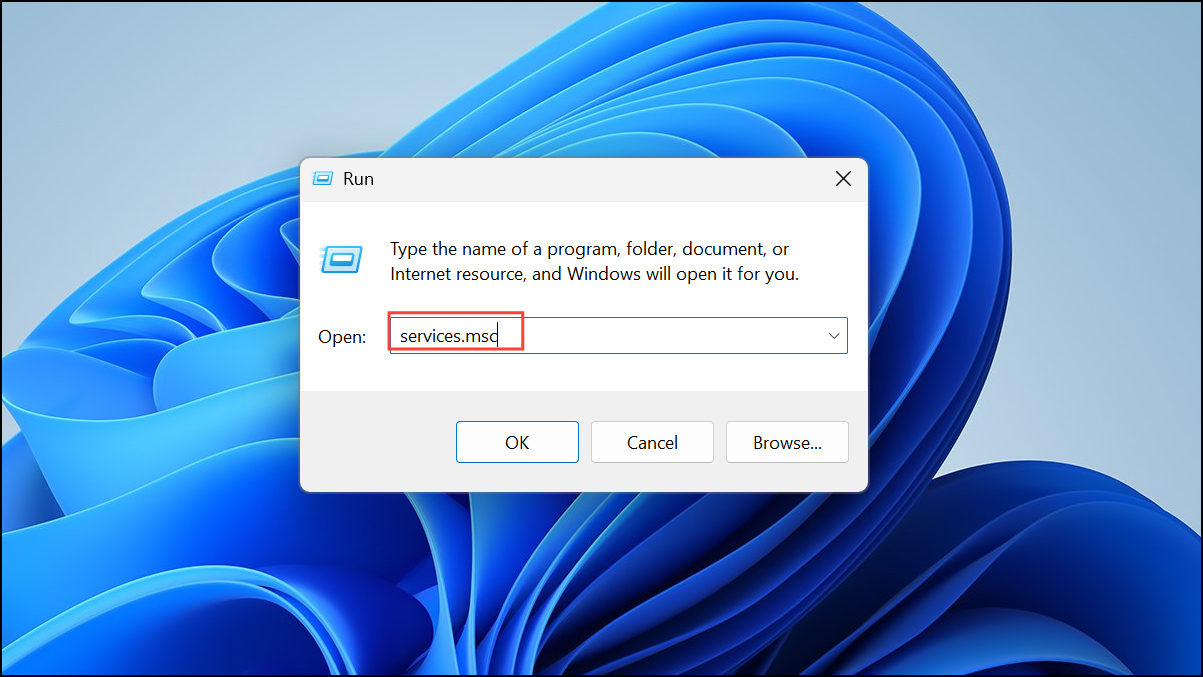
Step 1: Press Windows + R, type services.msc, and hit Enter.
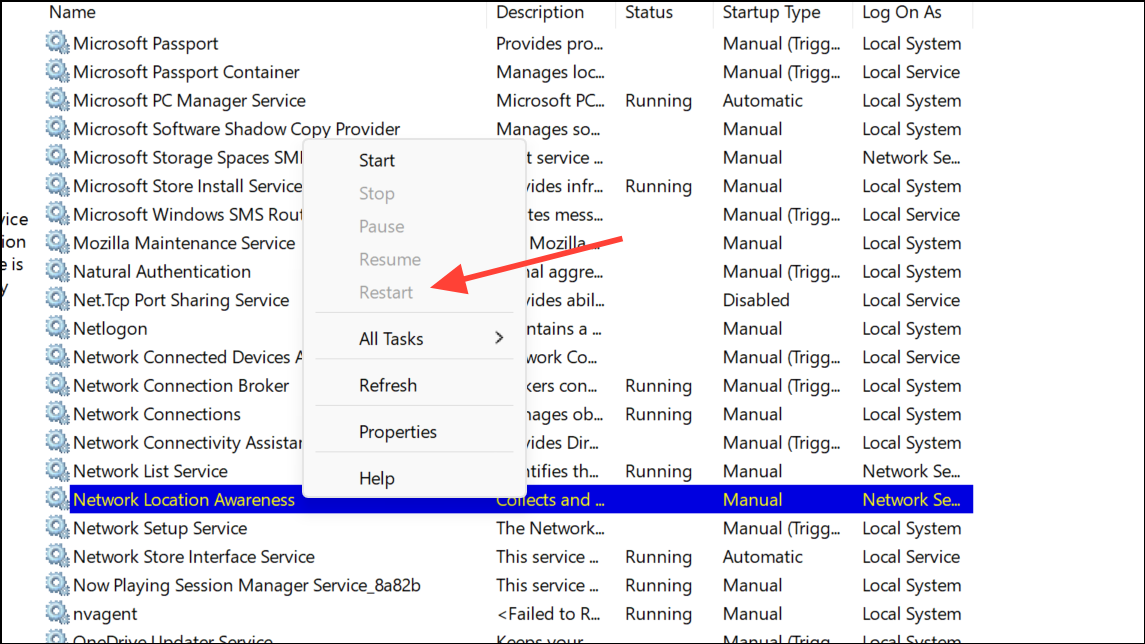
Step 2: In the Services window, find Network Location Awareness and DHCP Client. Right-click each and select Restart.
Step 3: After restarting these services, reboot your computer and verify if the network status updates correctly in Windows.
Disable VPNs, Proxies, and Security Tools
Active VPNs, proxy servers, or certain security applications can interfere with Windows’ ability to check connectivity, leading to false "No Internet" messages. VPNs may reroute traffic in a way that blocks Windows’ test requests, while some security tools block or filter network status checks.
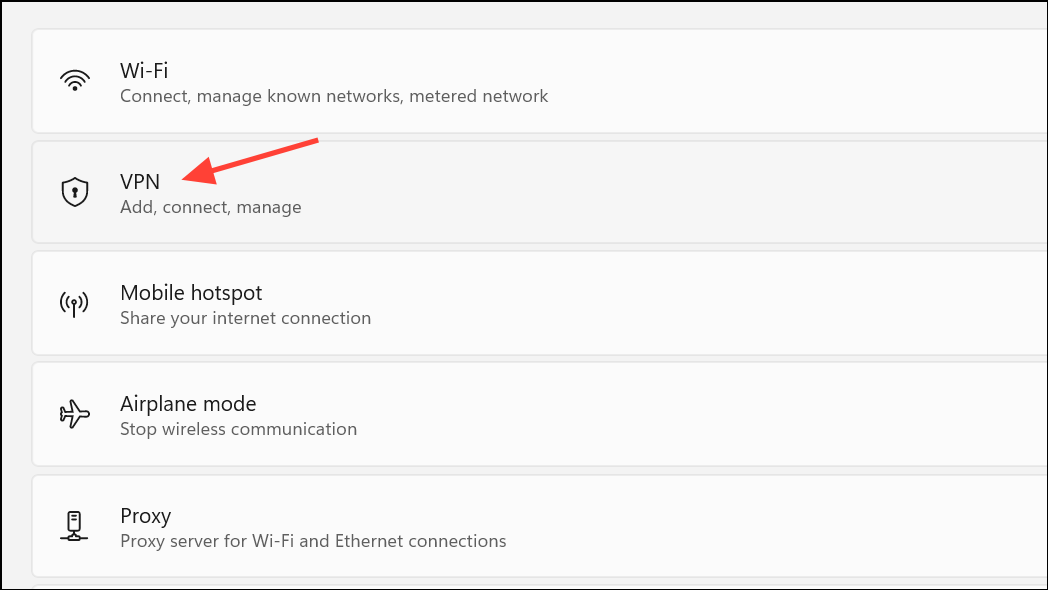
Step 1: Temporarily disable any VPN or proxy by opening Settings > Network & Internet > VPN or Proxy and turning off all active connections.
Step 2: If you recently installed or removed a VPN or firewall, consider re-running the network reset and checking for leftover components. Some VPNs leave behind virtual adapters or registry entries that disrupt network status detection even after uninstallation.
Check Data Limits and Network Profiles
Windows allows users to set data usage limits, which can block internet access once the limit is reached, even if the device remains connected to Wi-Fi or Ethernet.
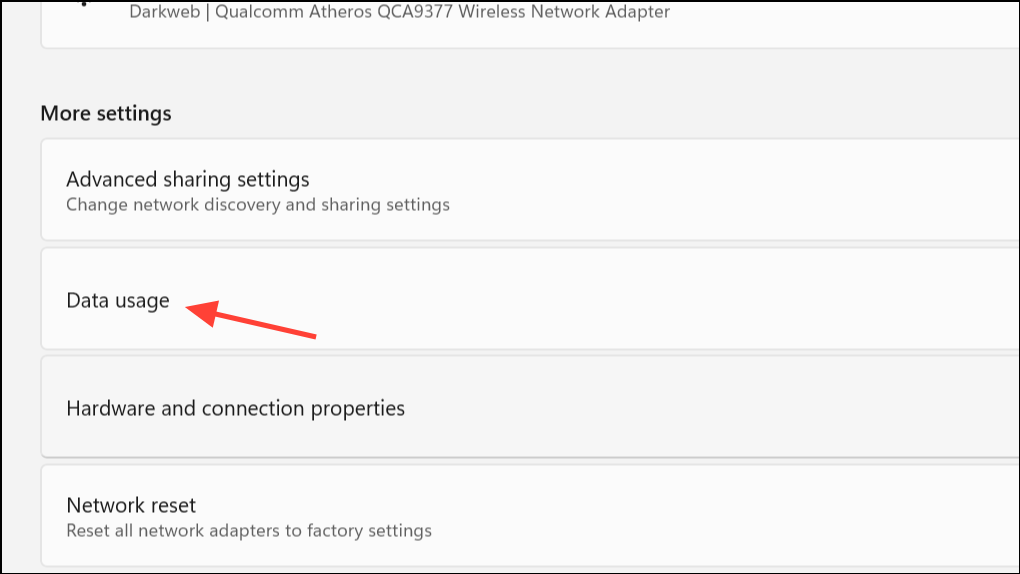
Step 1: Open Settings > Network & Internet > Advanced Network Settings > Data Usage. Remove any active data limit by clicking Remove Limit and confirming the action. This restores normal access if Windows had restricted connectivity due to a data cap.
Step 2: Ensure your network profile is set to "Private" if you are on a trusted home or work network. Public profiles can sometimes limit network discovery and services.
Reinstall or Roll Back Network Drivers
Persistent false "No Internet" status can result from recent driver updates or underlying driver corruption. Reinstalling or rolling back the network driver can resolve these issues.
Step 1: In Device Manager, expand Network Adapters, right-click your network device, and select Uninstall device. Confirm and restart your computer. Windows will reinstall the default driver upon reboot.

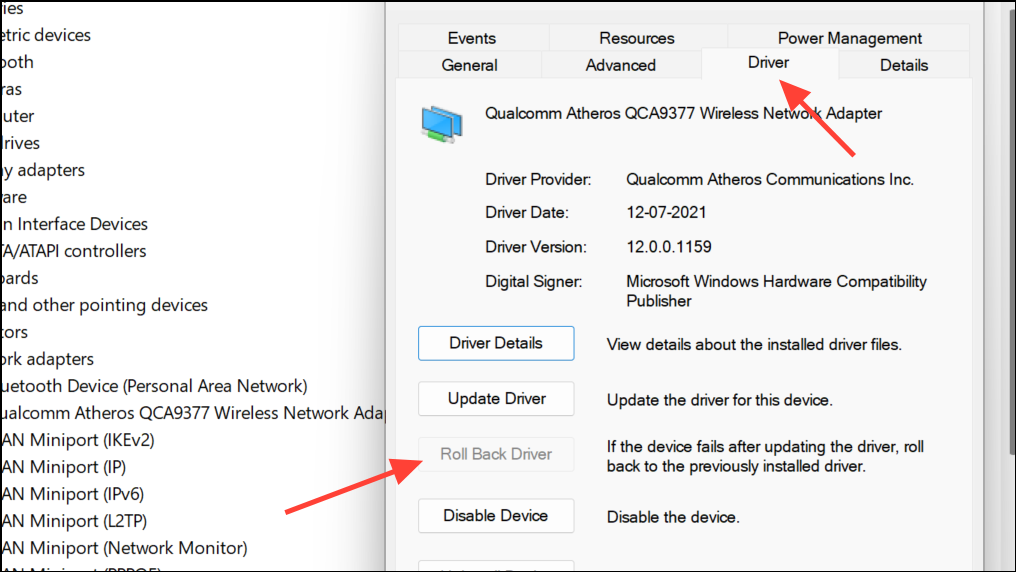
Step 2: If the issue began after a recent driver update, right-click the adapter, select Properties, go to the Driver tab, and use Roll Back Driver if available.
Additional Steps and Workarounds
Step 1: Wait for the network icon at the Windows login screen to show a connected status before logging in. Some users report that logging in too soon after startup causes Windows to skip network checks, resulting in a persistent "No Internet" warning for that session. Waiting a few seconds at the login screen can allow the system to complete its connectivity checks before loading your user profile.
Step 2: If network settings crash or remain unresponsive, consider performing a system file check. Open Command Prompt as Administrator and enter:
sfc /scannow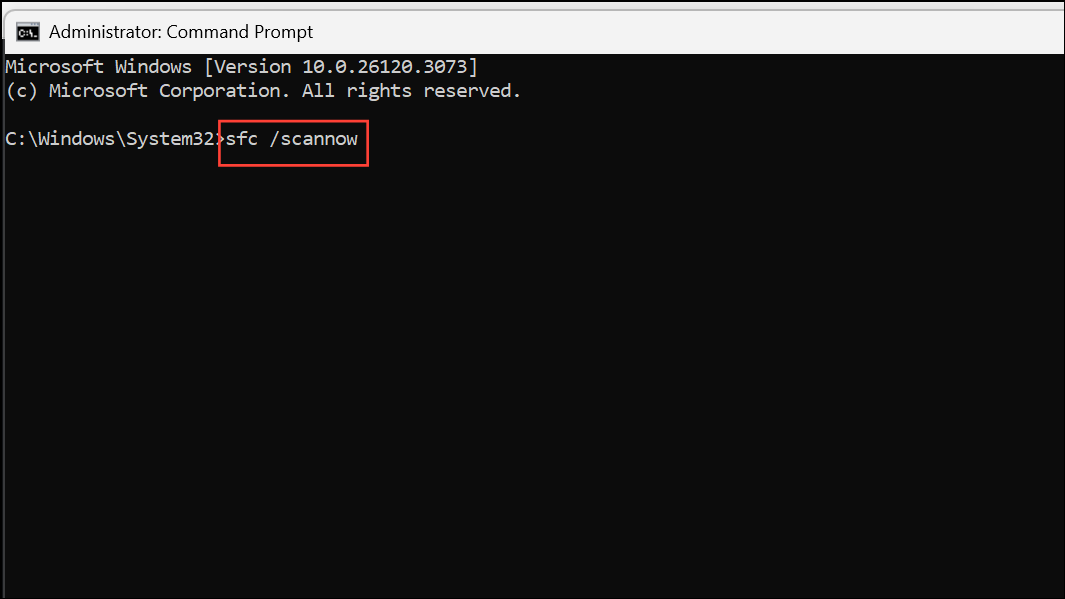
This scans and repairs corrupted Windows system files that may affect networking components.
Resolving the "No Internet" warning in Windows 11 restores access to updates, the Microsoft Store, and connected apps, keeping your system running smoothly. If these methods do not resolve the issue, a full Windows reinstall or professional support may be necessary, but most users find success with the steps above.