
Windows 11’s Start menu search sometimes fails to display results, even when the search bar appears responsive or you know matching files and apps are present. This issue disrupts workflows by making it harder to launch programs, access settings, or find documents. The underlying causes range from corrupted system files and search index problems to recent Windows updates or user profile errors. Here’s how to methodically address and resolve the problem, starting with the most effective fixes based on user reports and official guidance.
Clear Registry PackageStatus Value and Restart Explorer
Corrupted registry data tied to the Windows Search package can prevent search results from rendering, even when the search engine itself is working. Clearing a specific registry value and restarting Windows Explorer has resolved the issue for many users, especially after recent Windows updates.
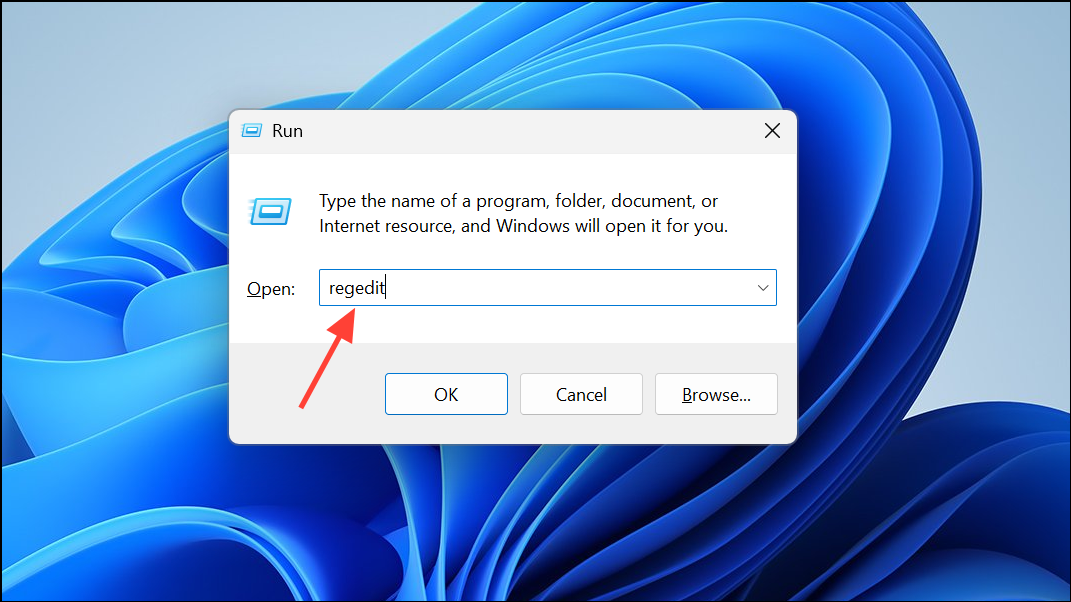
Step 1: Open the Registry Editor by pressing Windows + R, typing regedit, and pressing Enter. Confirm any User Account Control prompts.
Step 2: Navigate to the following key (the version number may differ on your device):
HKEY_LOCAL_MACHINE\SOFTWARE\Microsoft\Windows\CurrentVersion\AppModel\StateChange\PackageList\MicrosoftWindows.Client.CBS_1000.26100.121.0_x64__cw5n1h2txyewyIf your registry lists a different version number, select the key with the highest version.
Step 3: Locate the PackageStatus value in the right pane. Right-click it and select Delete. Confirm the deletion.
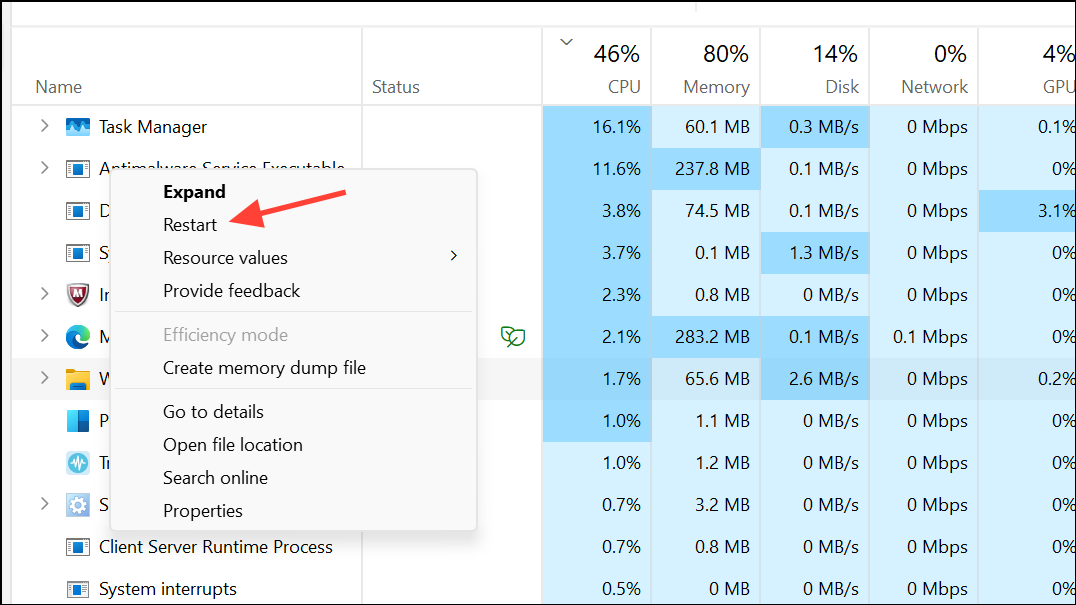
Step 4: Restart Windows Explorer to apply the change. Press Ctrl + Shift + Esc to open Task Manager, find Windows Explorer in the Processes tab, right-click it, and choose Restart.
After completing these steps, test the Start menu search. Results should now display as expected.
Rebuild the Search Index
A corrupted or incomplete search index can block results from appearing in Start menu searches. Rebuilding the index forces Windows to re-catalog all files and apps, correcting many common search issues.
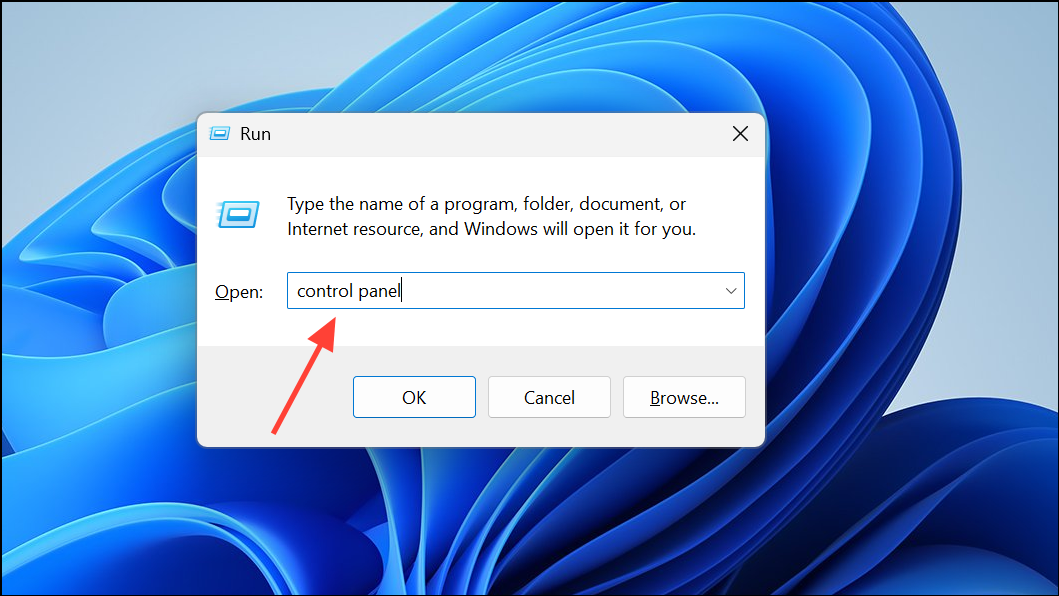
Step 1: Open the Run dialog with Windows + R, type control panel, and press Enter.
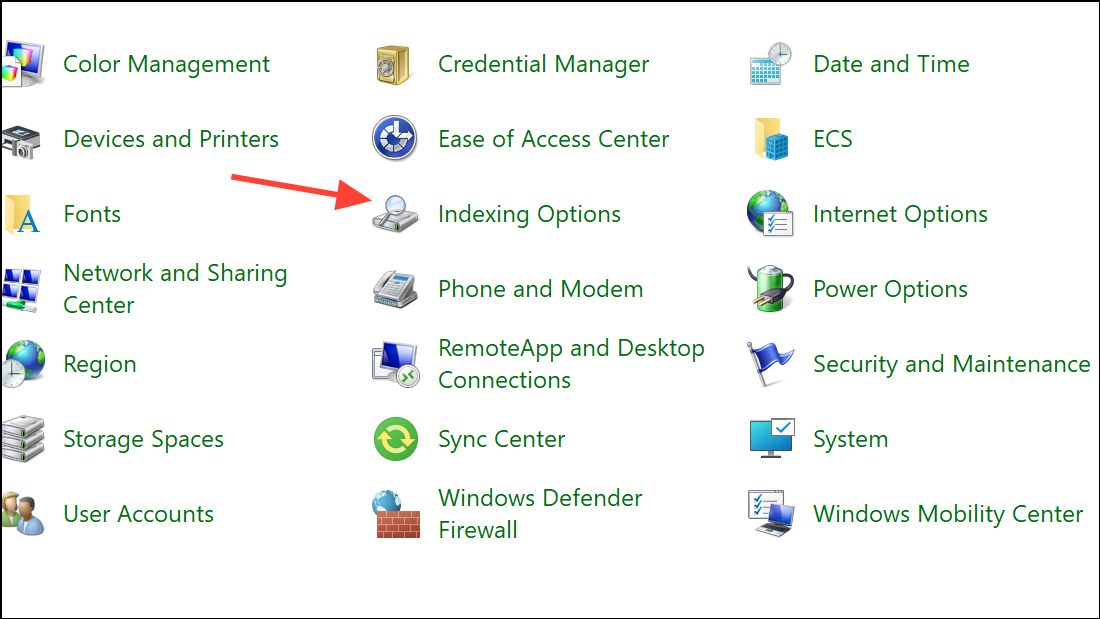
Step 2: Switch the Control Panel view to Large icons, then click Indexing Options.
Step 3: In the Indexing Options window, click Advanced. In the Advanced Options dialog, under the Troubleshooting section, click Rebuild. Confirm when prompted.
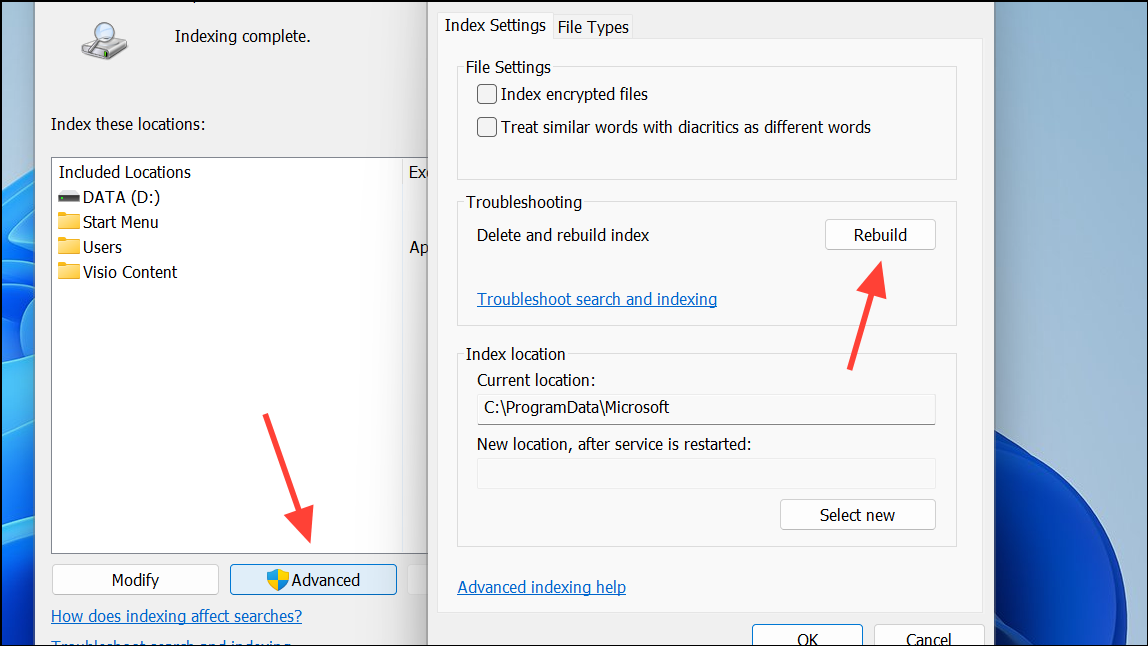
Step 4: Wait for Windows to rebuild the search index. This process may take several minutes to hours, depending on the number of files and system speed. Once finished, try searching again from the Start menu.
Run the Search and Indexing Troubleshooter
Windows includes a dedicated troubleshooter for search and indexing problems. This utility can detect and fix issues with search services and index corruption.
Step 1: Open the Settings app with Windows + I.
Step 2: Navigate to System > Troubleshoot > Other troubleshooters.
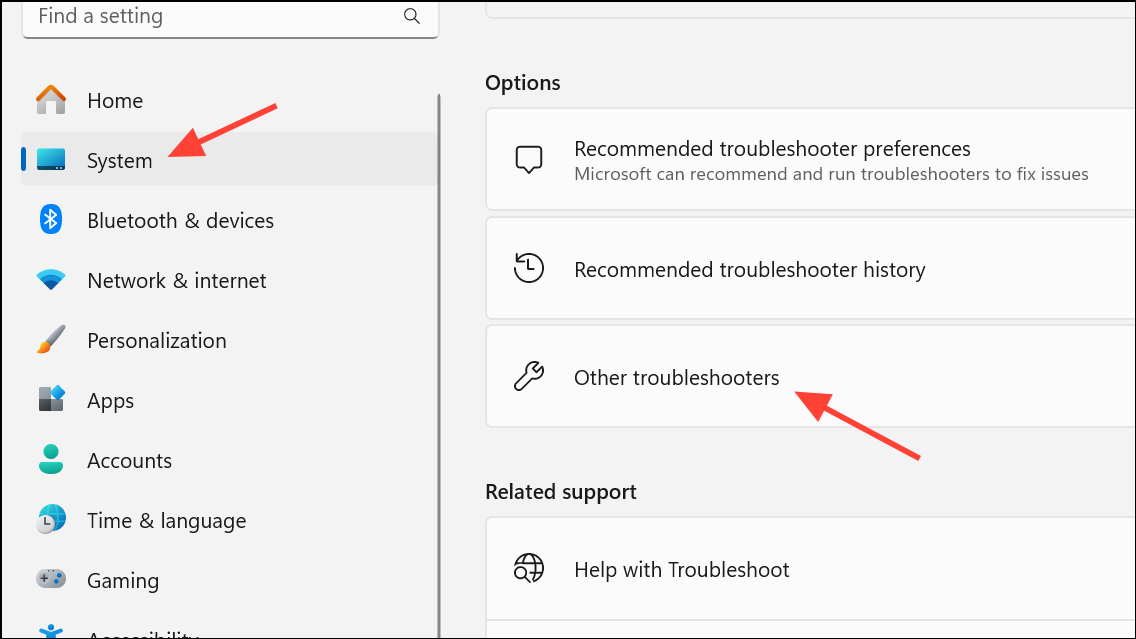
Step 3: Find Search and Indexing in the list and click Run.
Step 4: Follow the on-screen prompts, selecting the issues that best match your symptoms (e.g., “Files don’t appear in search results”). Apply any fixes the troubleshooter suggests, then restart your computer and re-test search functionality.
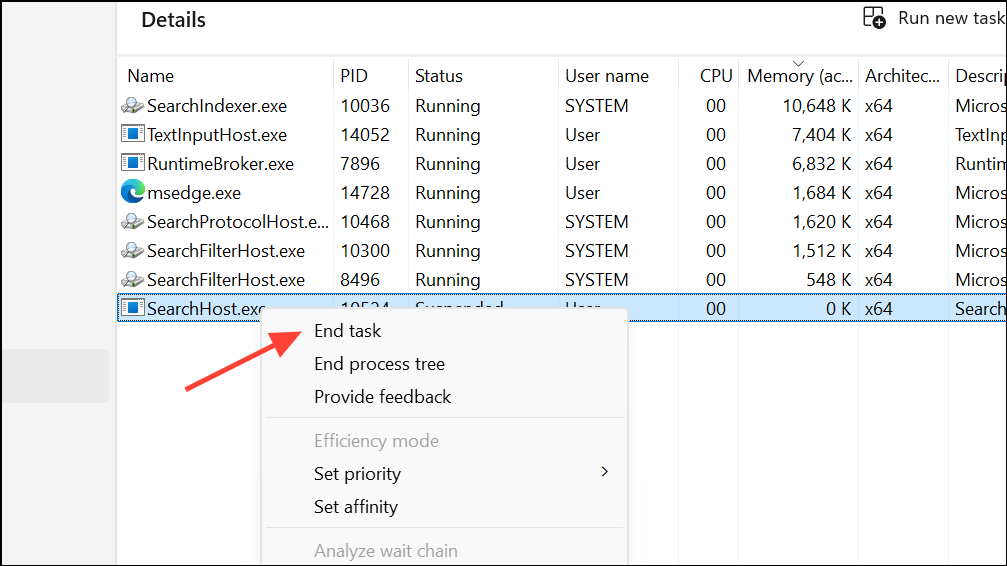
Restart Windows Search and Related Services
Search-related background processes can become unresponsive or stuck, preventing results from displaying. Restarting these services often resolves temporary glitches.
Step 1: Open Task Manager with Ctrl + Shift + Esc. Go to the Details tab.
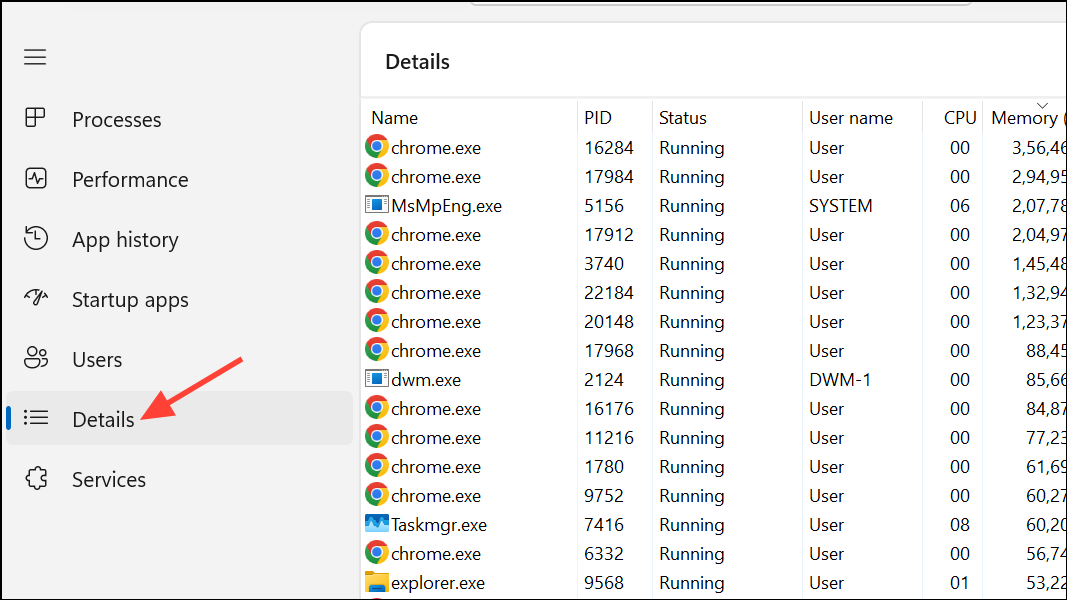
Step 2: Locate SearchHost.exe or SearchUI.exe. Right-click the process and choose End task. Windows will automatically restart the process the next time you search.
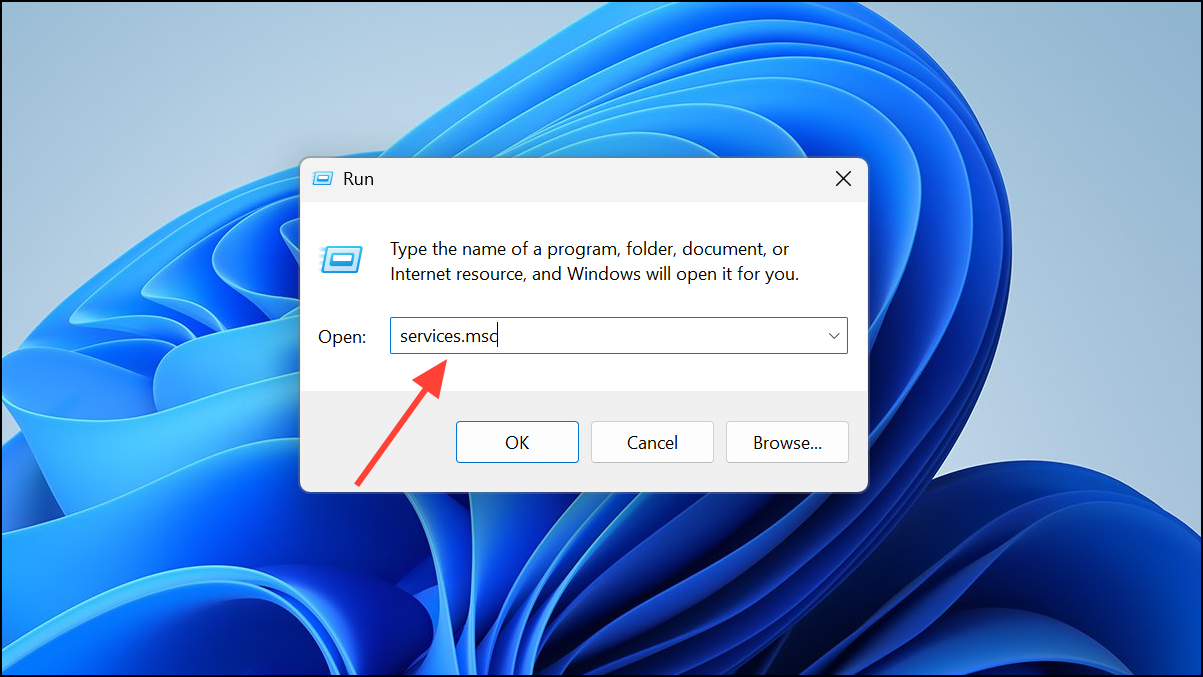
Step 3: Optionally, restart the Windows Search service. Open the Run dialog (Windows + R), type services.msc, and press Enter.
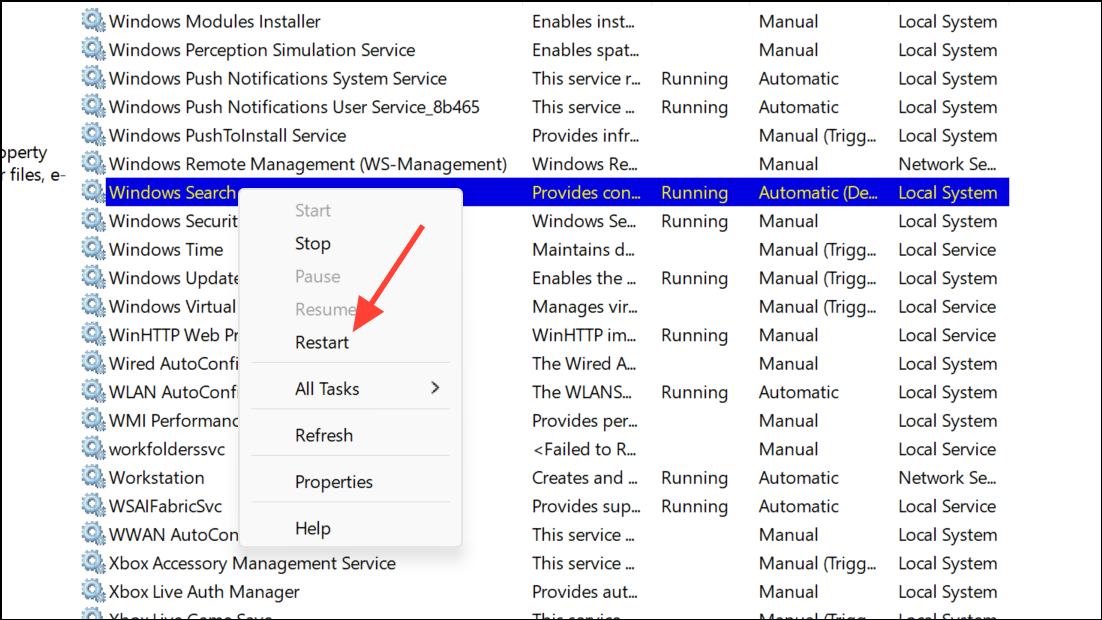
Step 4: Find Windows Search, right-click it, and select Restart.
Repair System Files Using SFC and DISM
Corrupted system files can cause the Start menu search to malfunction. Running the System File Checker (SFC) and Deployment Image Servicing and Management (DISM) tools repairs these files and restores normal search behavior.
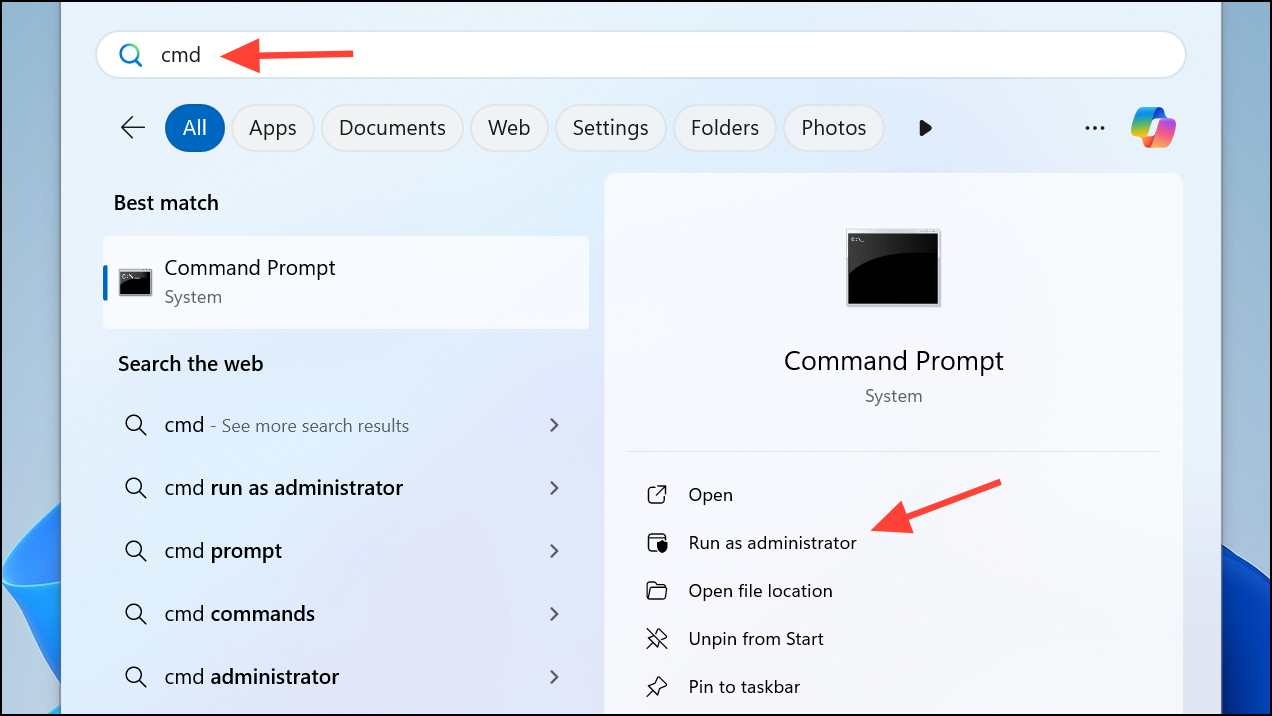
Step 1: Open Command Prompt as administrator. Search for cmd in the Start menu, right-click Command Prompt, and select Run as administrator.
Step 2: Type the following command and press Enter:
sfc /scannow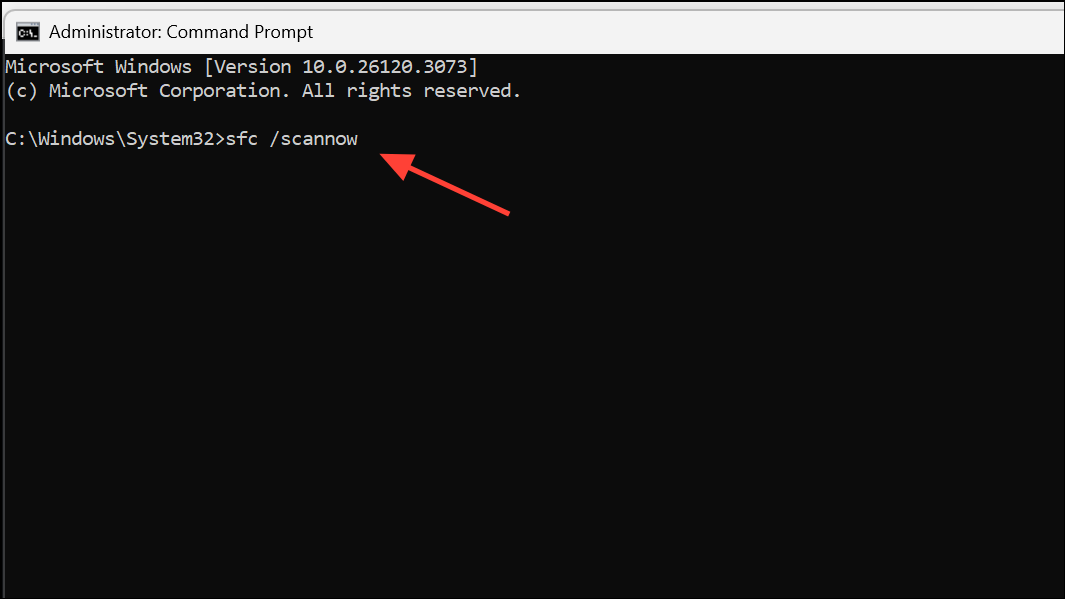
Wait for the scan to complete and follow any instructions if repairs are made. Restart your computer.
Step 3: If SFC reports unrepairable files, run the DISM tool:
DISM /Online /Cleanup-Image /RestoreHealth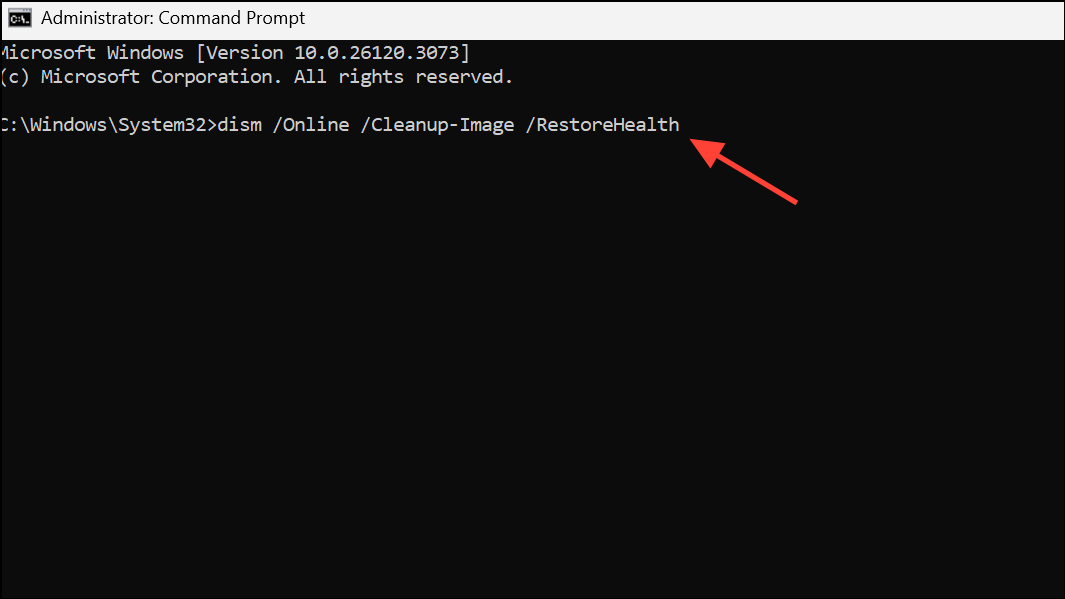
After DISM completes, run sfc /scannow again. Reboot and test the Start menu search.
Reset or Re-register the Windows Search Package
Corruption in the Windows Search app package can block results from appearing. Resetting or re-registering the package reinstalls necessary components.
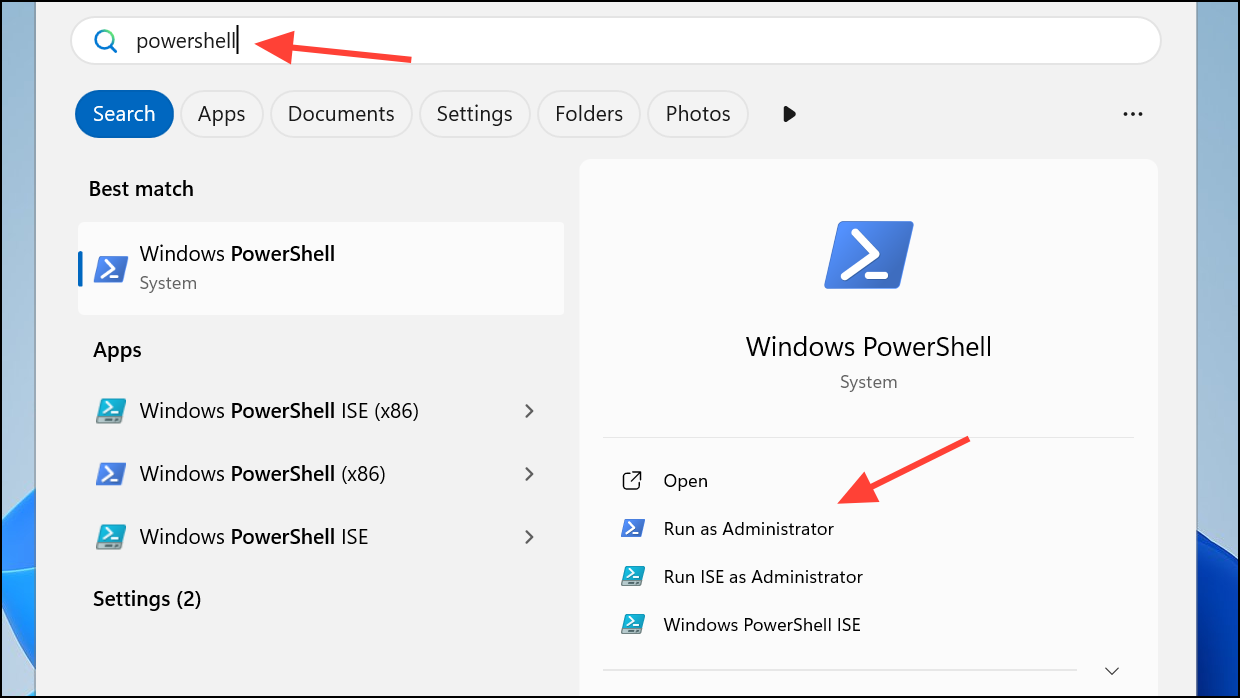
Step 1: Open Windows PowerShell as administrator. Search for PowerShell, right-click, and select Run as administrator.
Step 2: To re-register the Search package, use:
Get-AppxPackage Microsoft.Windows.Search | Foreach { Add-AppxPackage -DisableDevelopmentMode -Register "$($_.InstallLocation)\AppXManifest.xml" }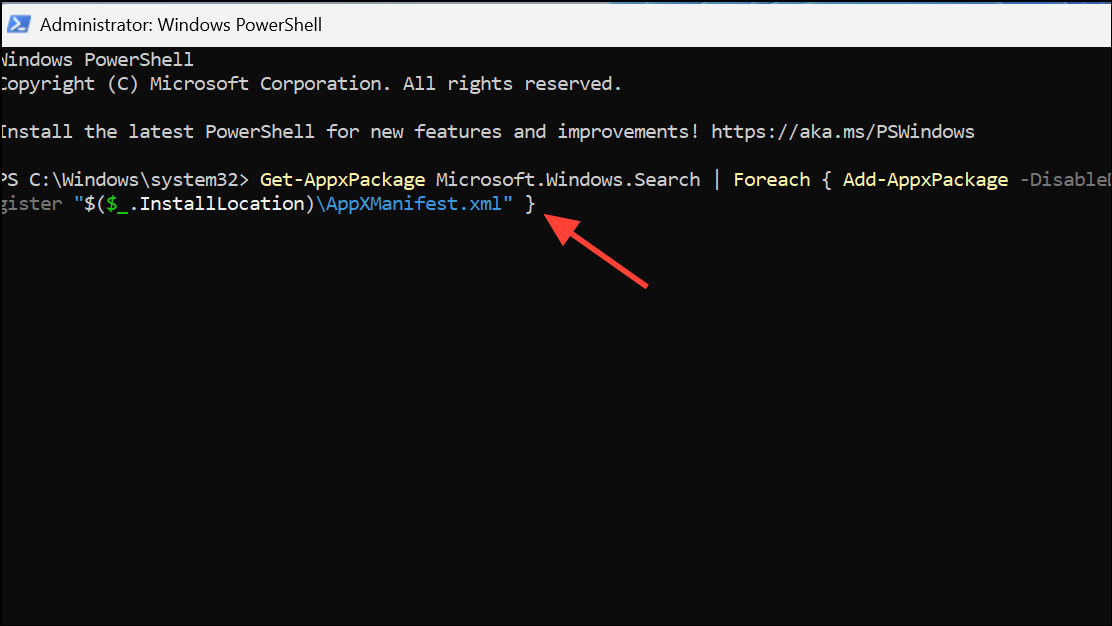
Step 3: On Windows 11 23H2 or later, you can reset the package with:
Get-AppxPackage -Name Microsoft.Windows.Search | Reset-AppxPackage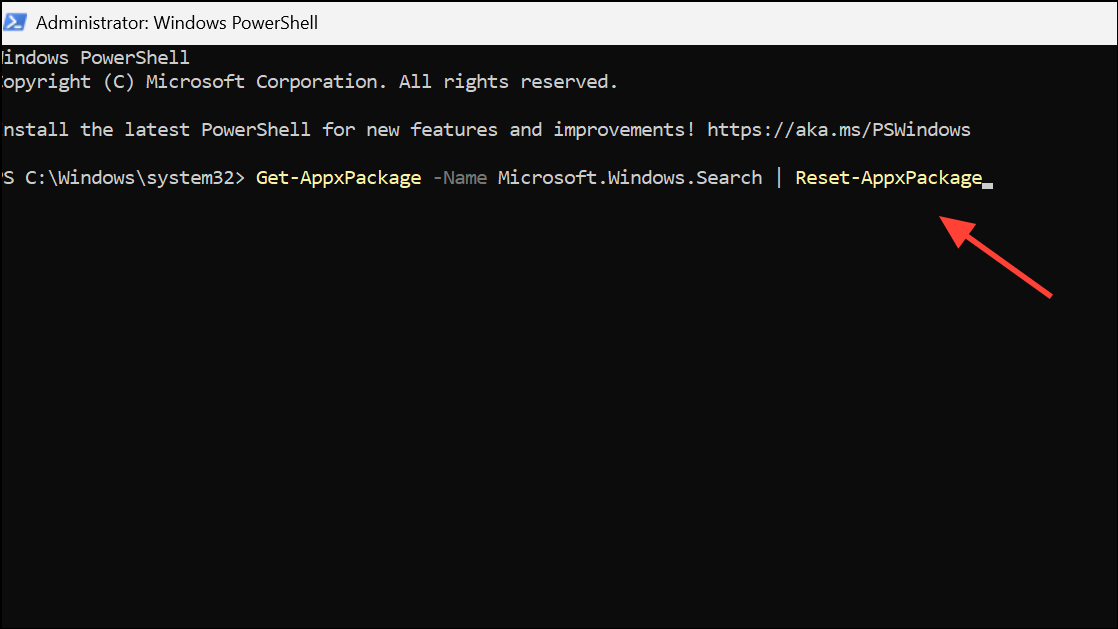
After running these commands, sign out and back in or restart your device, then check if Start menu search results display correctly.
Check for Problematic Updates and Roll Back if Needed
Recent Windows updates can occasionally introduce bugs affecting Start menu search. If the issue began after an update, rolling it back may restore functionality.
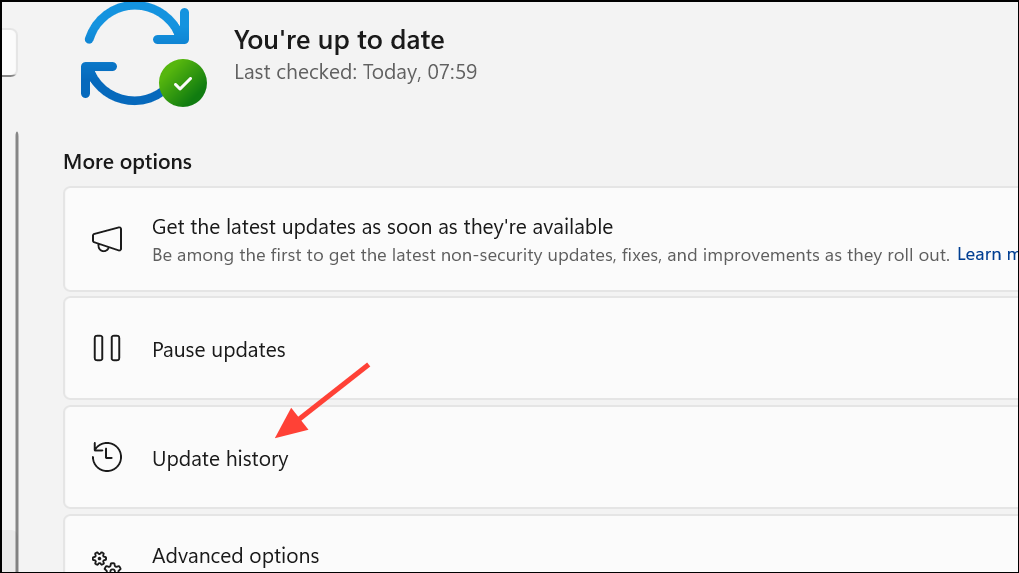
Step 1: Open Settings > Windows Update > Update history.
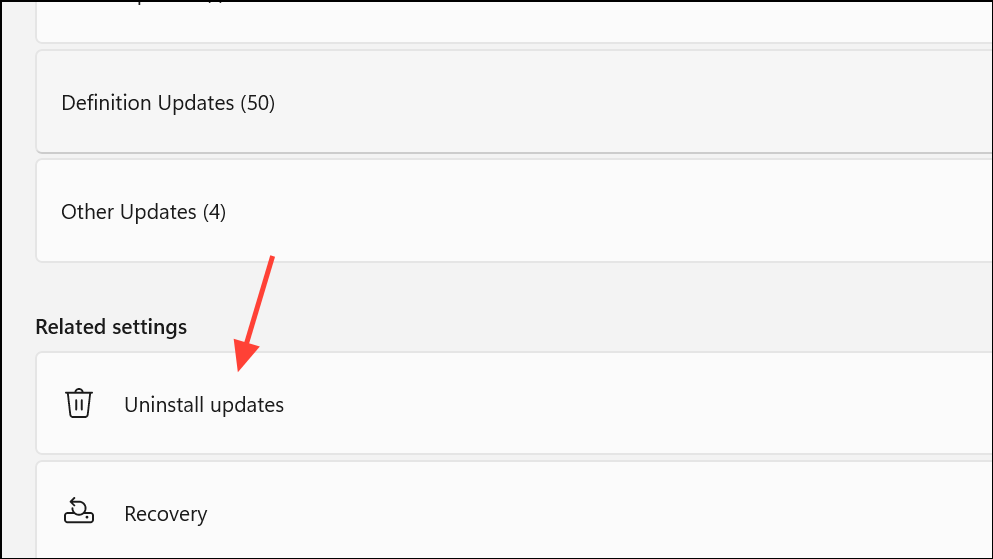
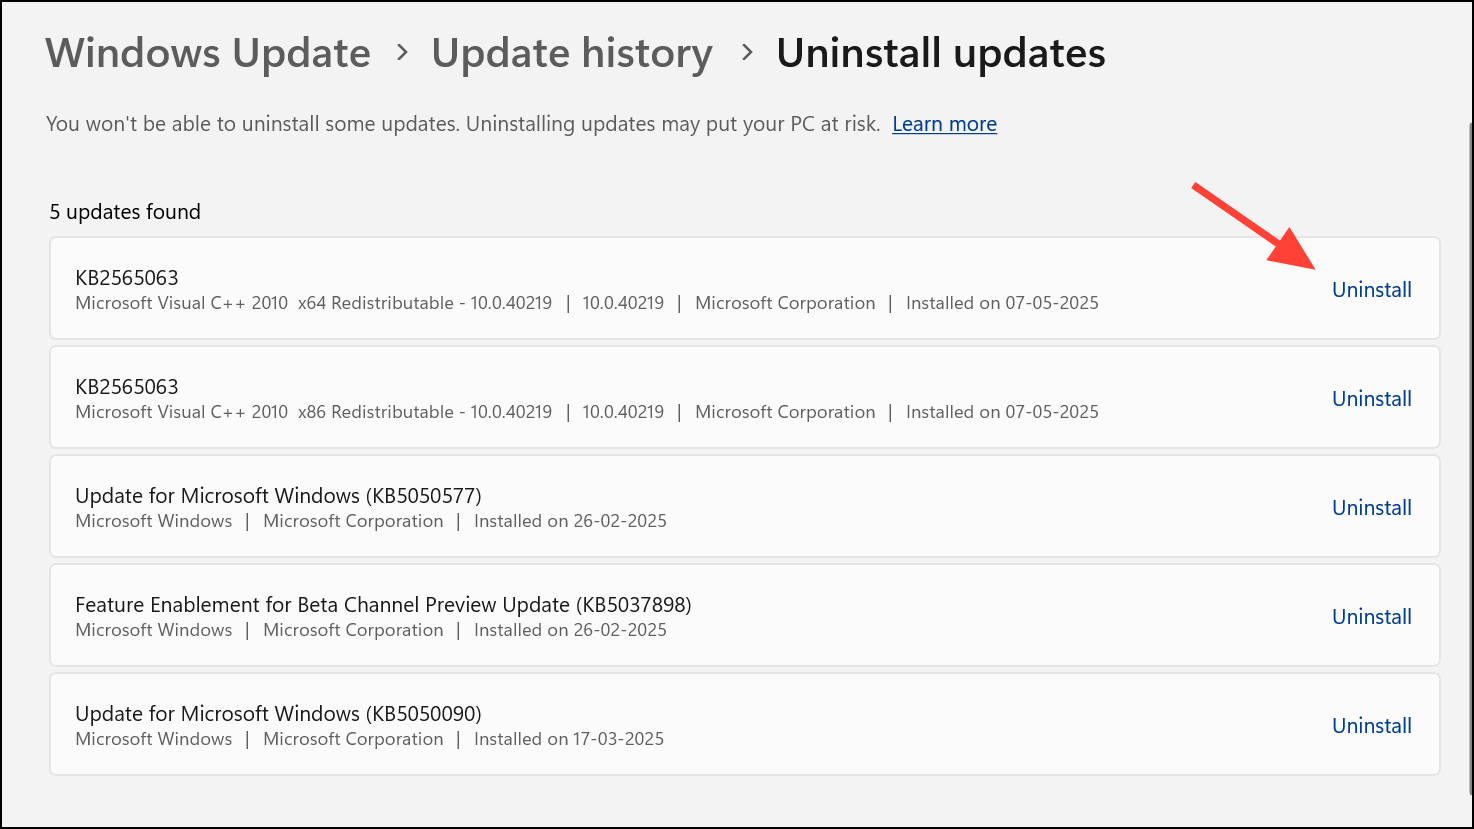
Step 2: Click Uninstall updates and identify any recent updates (e.g., KB5058411, KB5054979) that coincide with the search issue.
Step 3: Select the update and click Uninstall. Restart your computer. If search resumes working, pause updates temporarily to prevent reinstallation until Microsoft issues a fix.
Test with a New User Profile or Repair User Data
Sometimes, search problems are isolated to a specific user profile. Testing with a new profile can determine if the issue is profile-related.
Step 1: Create a new local user account via Settings > Accounts > Other users> Add account.

Step 2: Log in with the new account and test the Start menu search. If it works, your original profile may be corrupted.
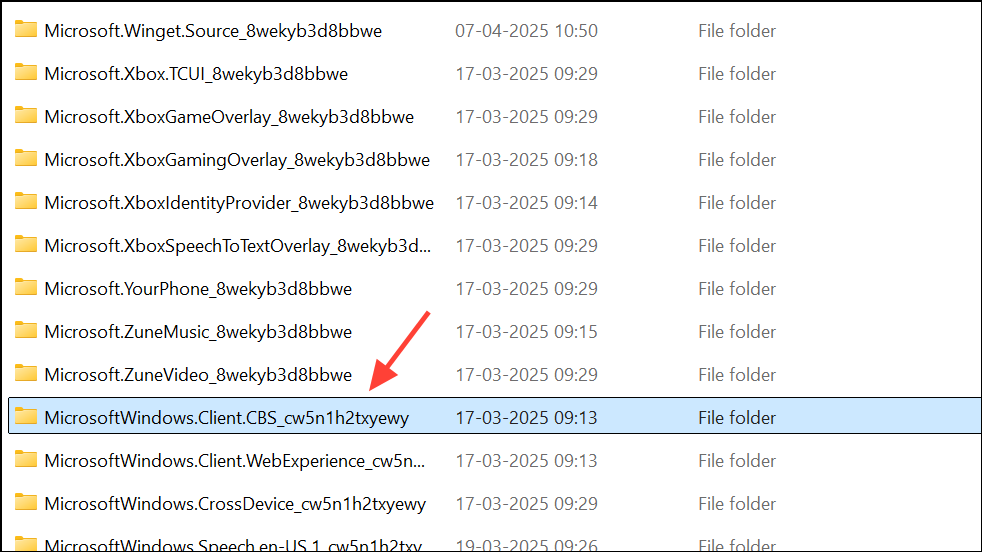
Step 3: Optionally, copy the Microsoft.Windows.Search or MicrosoftWindows.Client.CBS folder from the new user’s %USERPROFILE%\AppData\Local\Packages directory into the same location in your main account. This can restore search functionality in some cases.
If search only works in the new account, consider migrating your files to the new profile or using the copied package method above.
Additional Steps and Considerations
- Restart the Windows Font Cache Service, as font cache corruption can affect UI rendering in the Start menu.
- Check for and remove any third-party Start menu or UI customization tools, which may interfere with search display.
- Temporarily disconnect any secondary Microsoft accounts or work profiles, as these can sometimes cause search issues after updates.
- If none of the above methods work, consider performing an in-place upgrade with the latest Windows ISO to repair system files without data loss.
By following these structured steps, you’ll restore missing or blank search results in the Windows 11 Start menu and regain reliable access to apps, files, and system settings. If problems persist, keep your system updated and provide feedback to Microsoft via the Feedback Hub for further support.