
Event ID 7043, stating "The Windows Security Service did not shut down properly after receiving a pre-shutdown control," appears in Windows 11’s Event Logs when the system’s security service fails to terminate as expected during shutdown or restart. This issue can disrupt system shutdowns, trigger reliability warnings, and potentially affect third-party services that depend on the Windows Security Service. Addressing this error is crucial to maintain system integrity and dependable security operations.
Restart the Windows Security Service
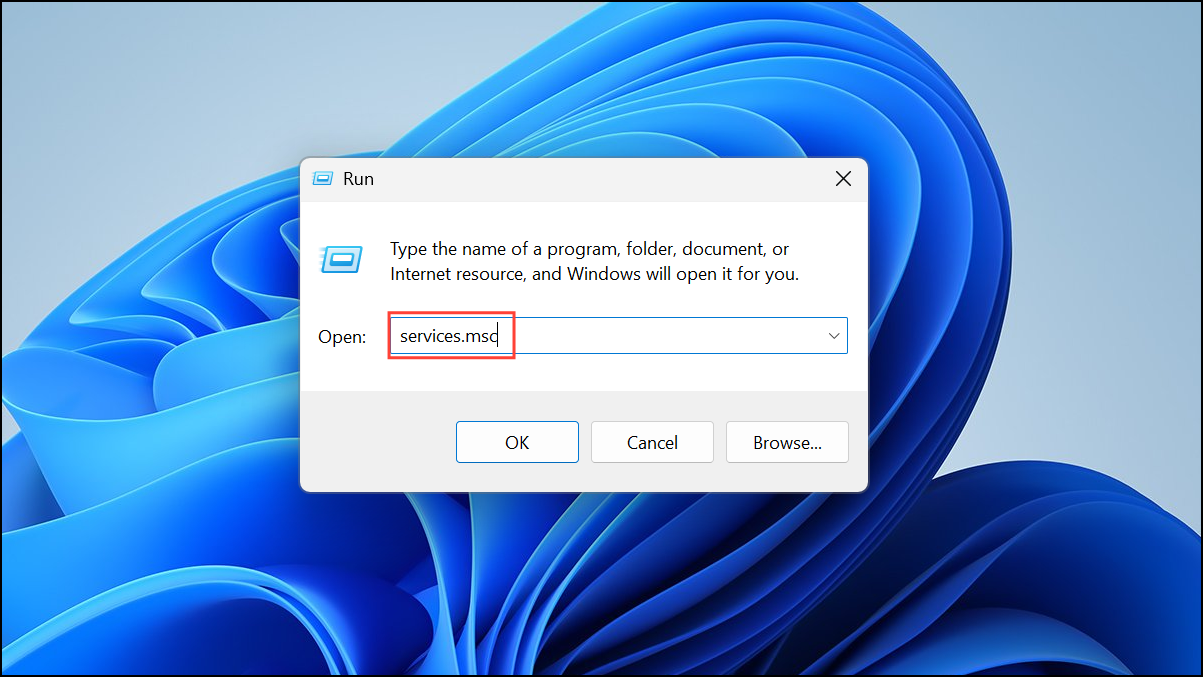
Step 1: Open the Run dialog by pressing Win + R. Type services.msc and press Enter to launch the Services management console.
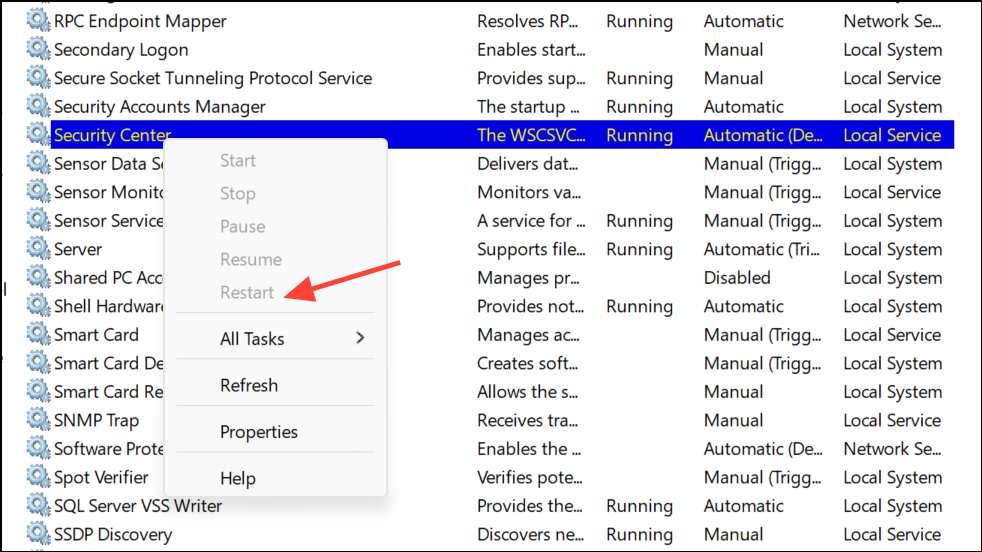
Step 2: Scroll through the list to find Security Center. Right-click it and select Restart.
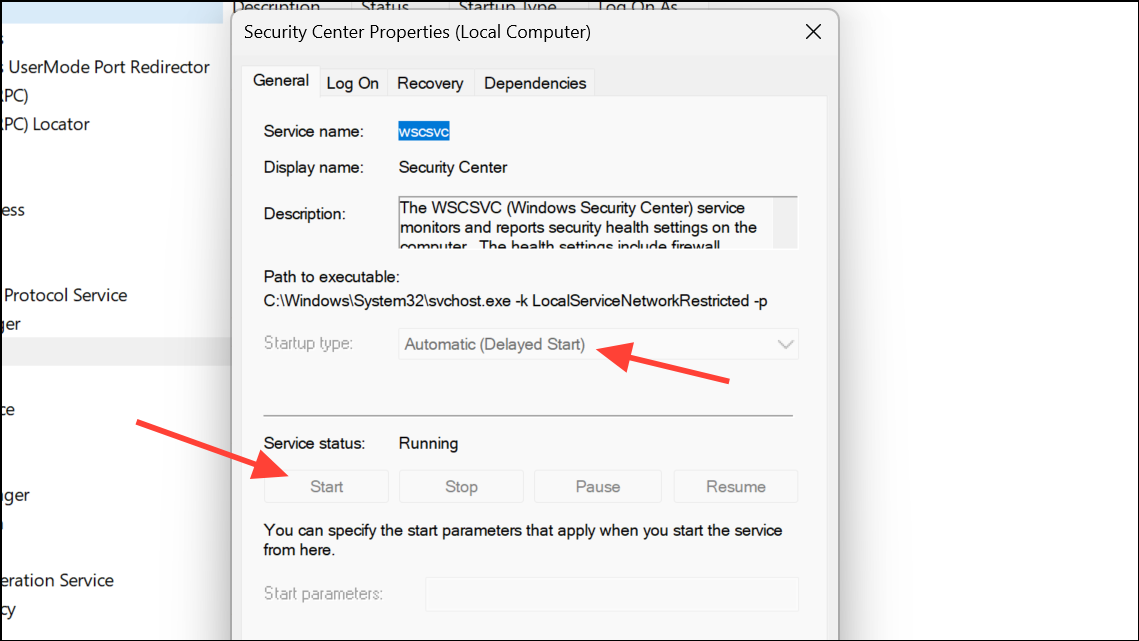
Step 3: If the service is not running, right-click, choose Properties, set Startup type to Automatic, then click Start, followed by Apply and OK.
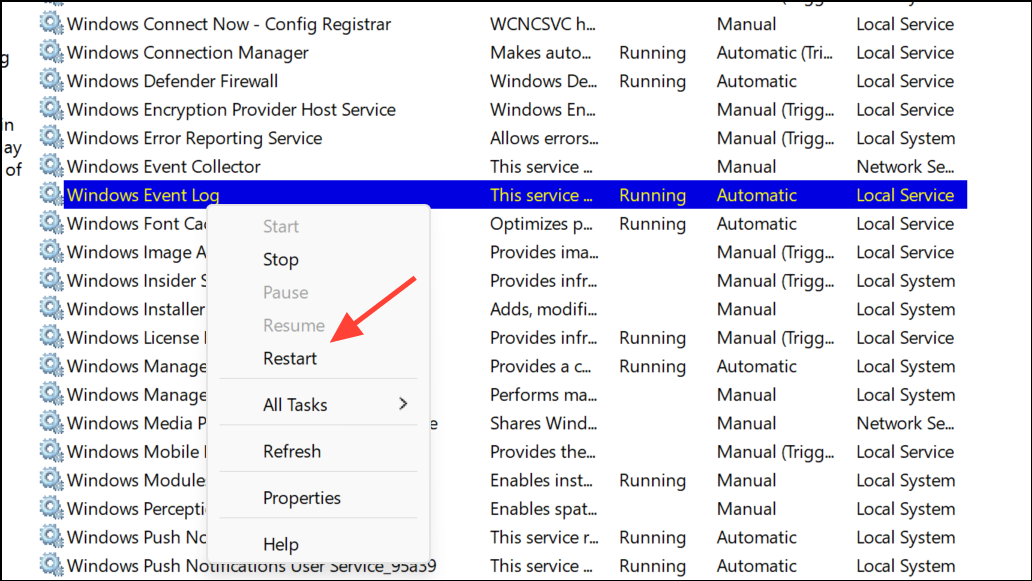
Step 4: Repeat this process for related services like Windows Defender Antivirus Service, Windows Event Log, and Windows Management Instrumentation. Restarting these services can clear up lingering shutdown conflicts.
Reset the Windows Security App
Corrupted app data can prevent the Security Service from shutting down cleanly. Resetting the Windows Security app restores its default state without affecting your files.
Step 1: Press Win + I to open Settings. Navigate to Apps > Installed Apps.

Step 2: Locate Windows Security in the list, click the three-dot menu next to it, and select Advanced options.
Step 3: Scroll down and choose Reset. Confirm your choice. Alternatively, open PowerShell as an administrator and run:
Get-AppxPackage Microsoft.SecHealthUI | Reset-AppxPackage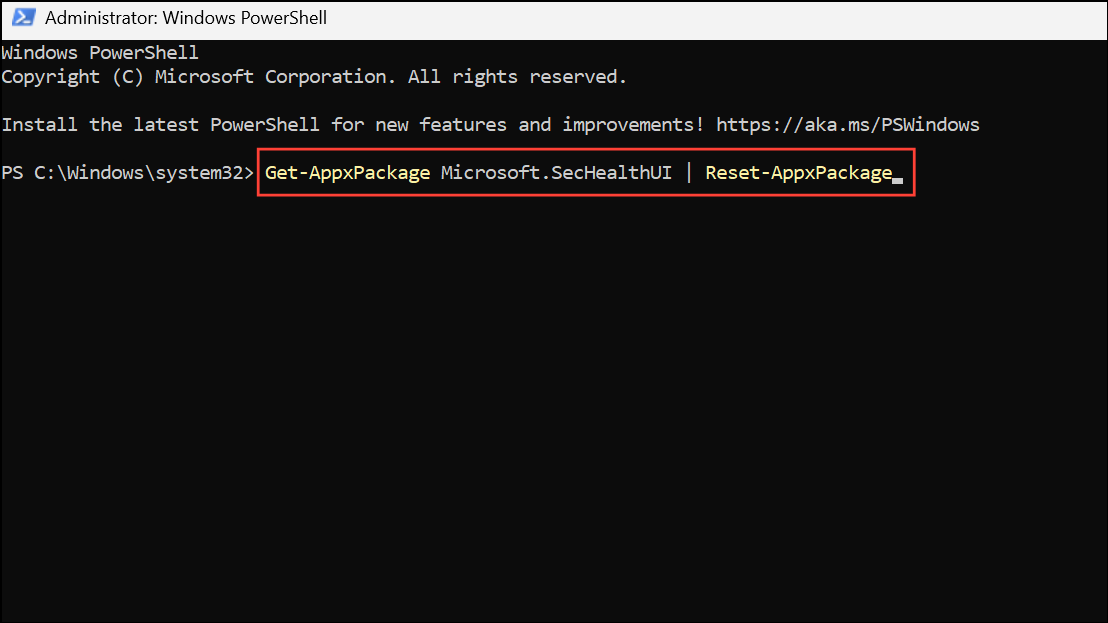
For all users, use:
Get-AppxPackage Microsoft.SecHealthUI -AllUsers | Reset-AppxPackage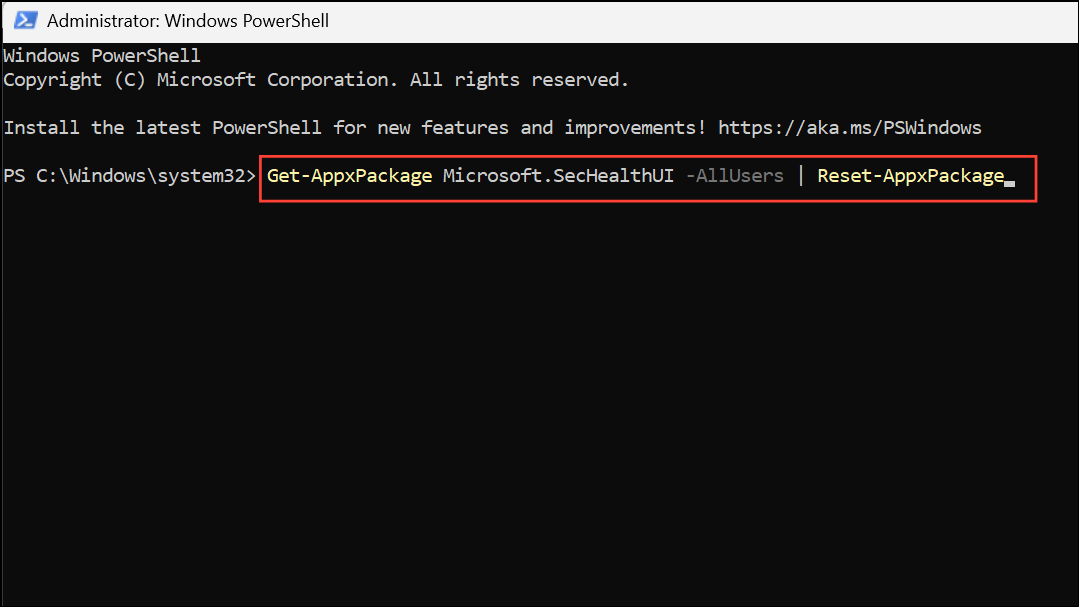
After resetting, restart your PC to apply changes.
Run Antivirus and Malware Scans
Malware or conflicting security software can interfere with Windows Security Service. Running a full system scan helps identify and remove threats that may block proper shutdown.
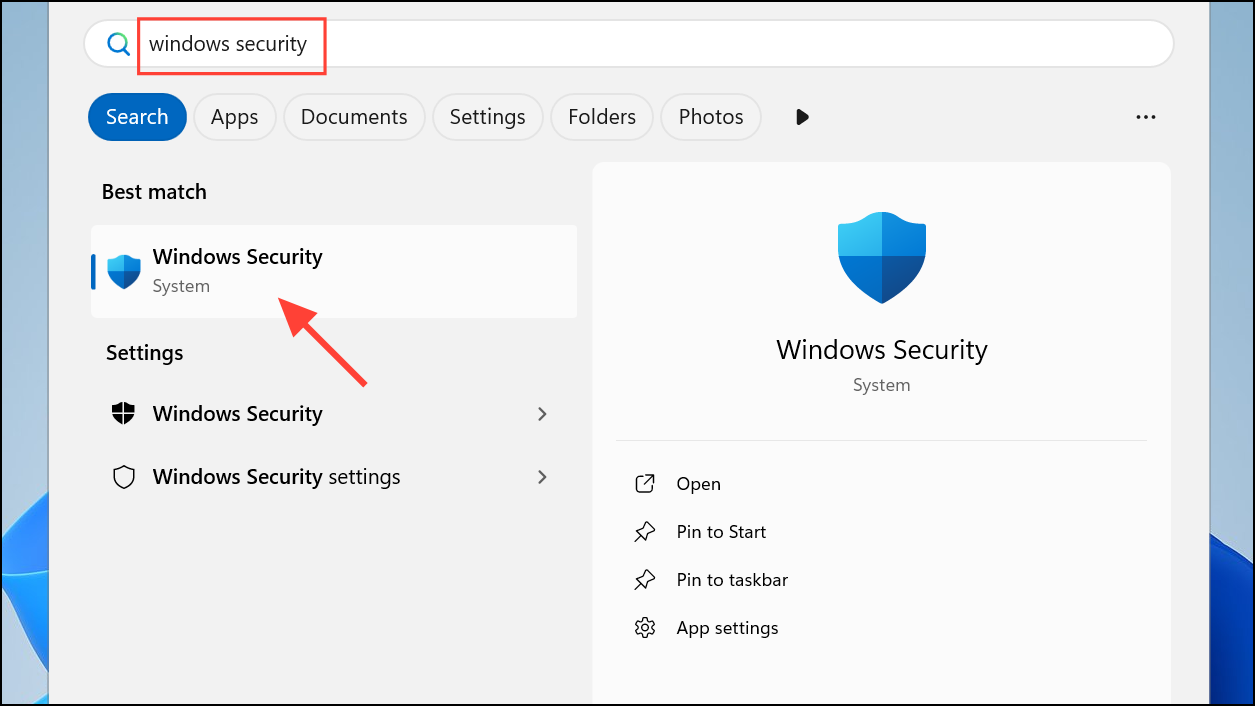
Step 1: Open Windows Security from the Start Menu.
Step 2: Go to Virus & threat protection > Scan options.

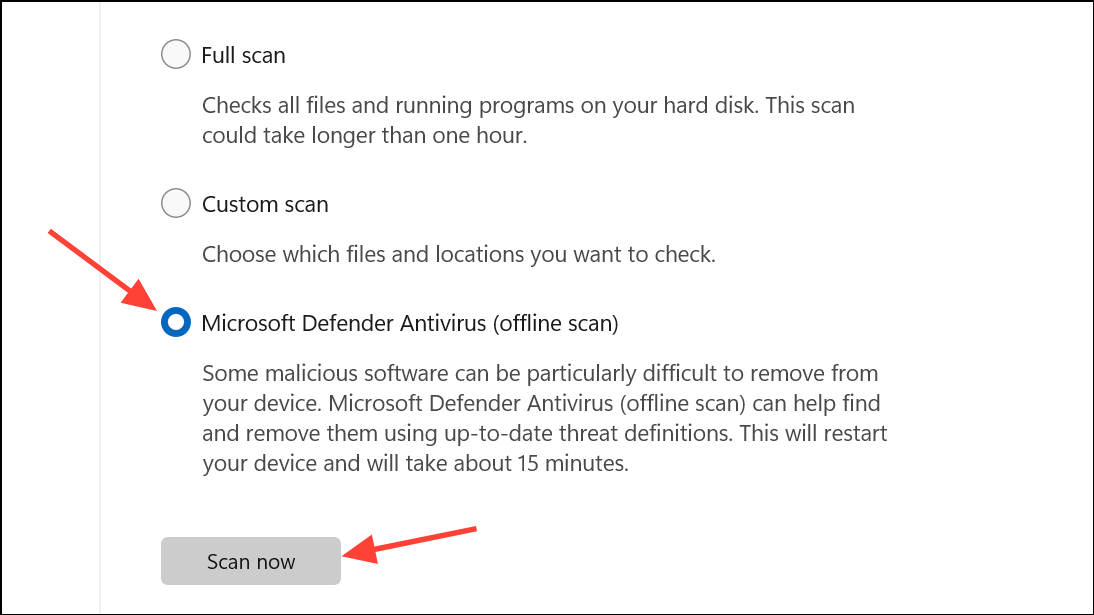
Step 3: Select Microsoft Defender Antivirus (offline scan) and click Scan now. This scan runs before Windows fully loads, targeting persistent threats. If you use a third-party antivirus, run its full scan as well.
Repair System Files with SFC and DISM
Corrupted system files can prevent services from shutting down or starting correctly. System File Checker (SFC) and Deployment Imaging Service and Management Tool (DISM) can repair Windows components automatically.
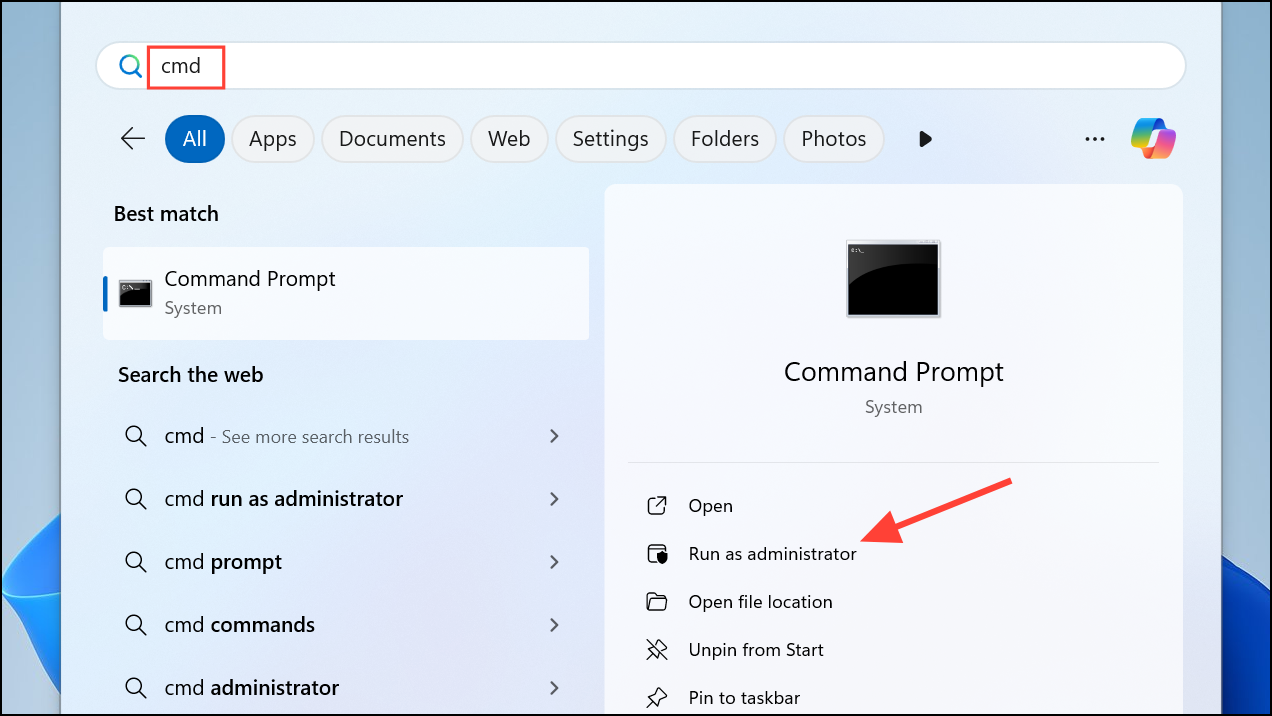
Step 1: Open Command Prompt as administrator by searching cmd in the Start menu, right-clicking Command Prompt, and choosing Run as administrator.
Step 2: Run the SFC scan by typing:
sfc /scannow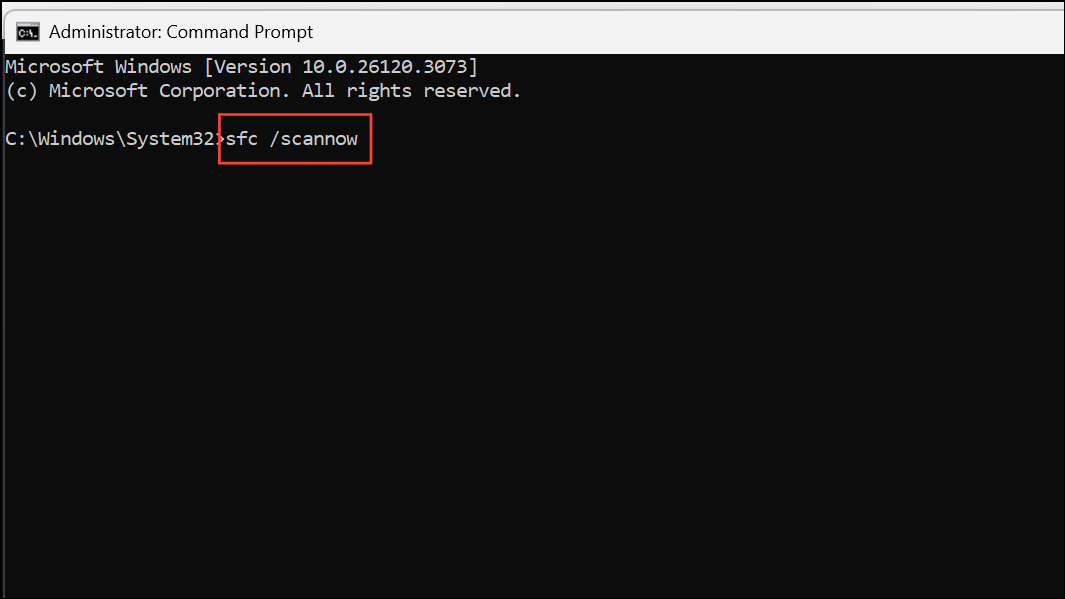
Wait for the scan to finish and follow any on-screen instructions.
Step 3: If SFC reports issues it cannot fix, run:
DISM /Online /Cleanup-Image /RestoreHealth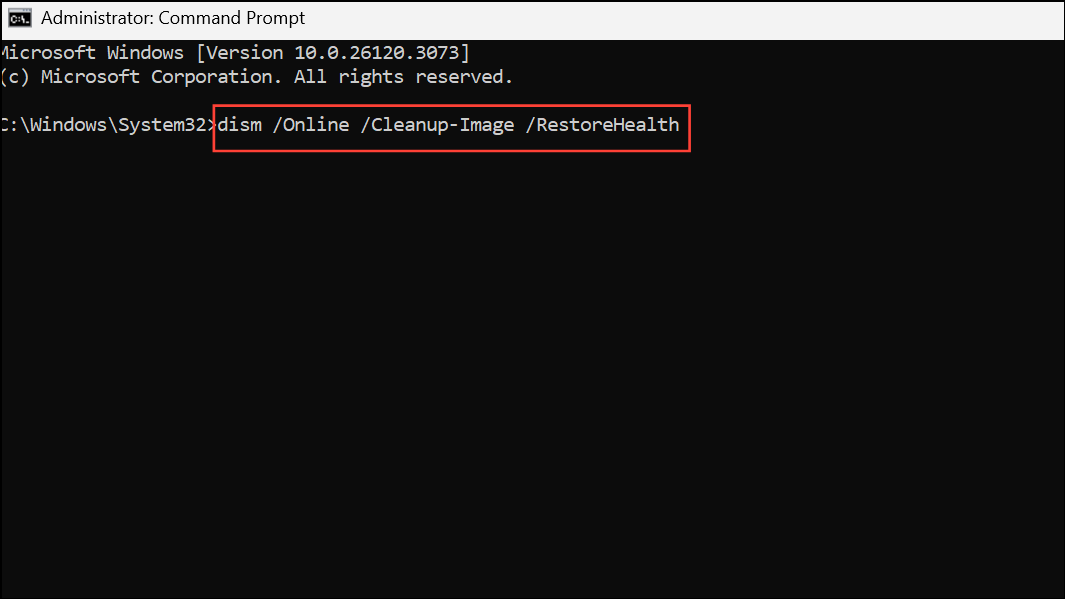
After the process completes, restart your computer to ensure repairs are applied.
Perform a Clean Boot to Isolate Conflicts
Background applications or startup services can interfere with Windows Security Service during shutdown. A clean boot loads Windows with only essential drivers and services, helping you pinpoint problematic software.
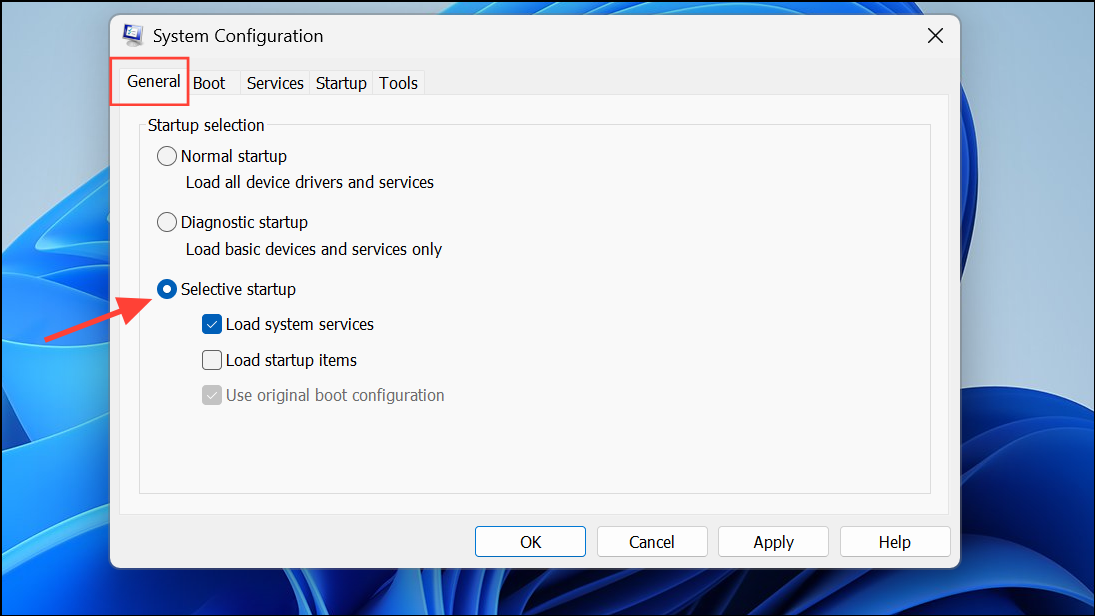
Step 1: Type msconfig in the Start menu and press Enter to open System Configuration.

Step 2: On the General tab, select Selective Startup and uncheck Load startup items. Ensure Load system services and Use original boot configuration remain checked.
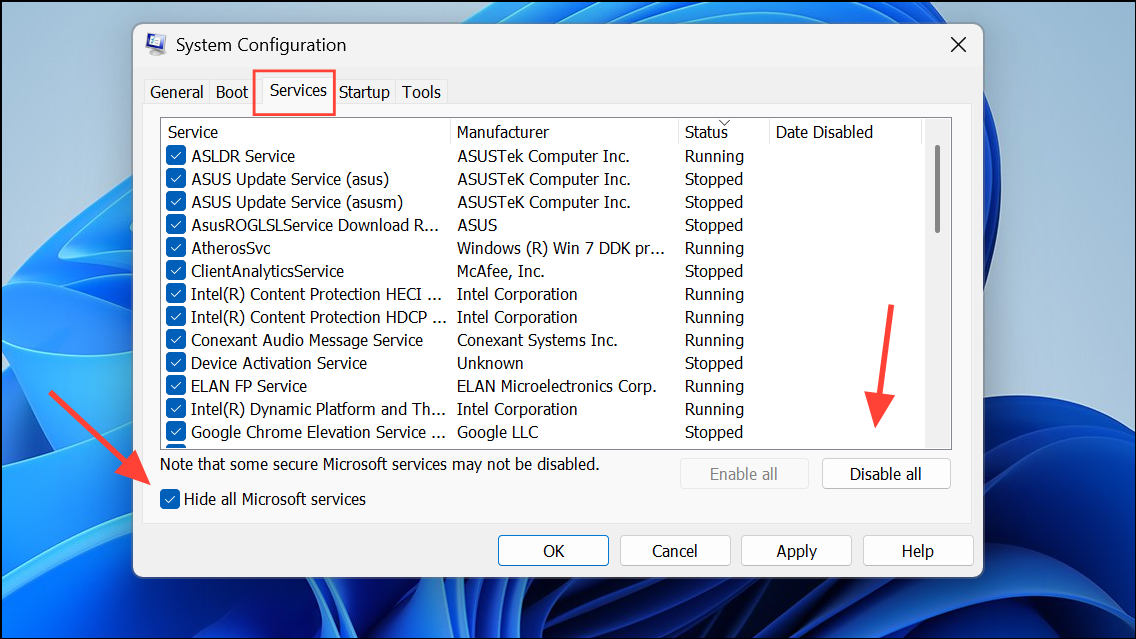
Step 3: Go to the Services tab, check Hide all Microsoft services, then click Disable all.
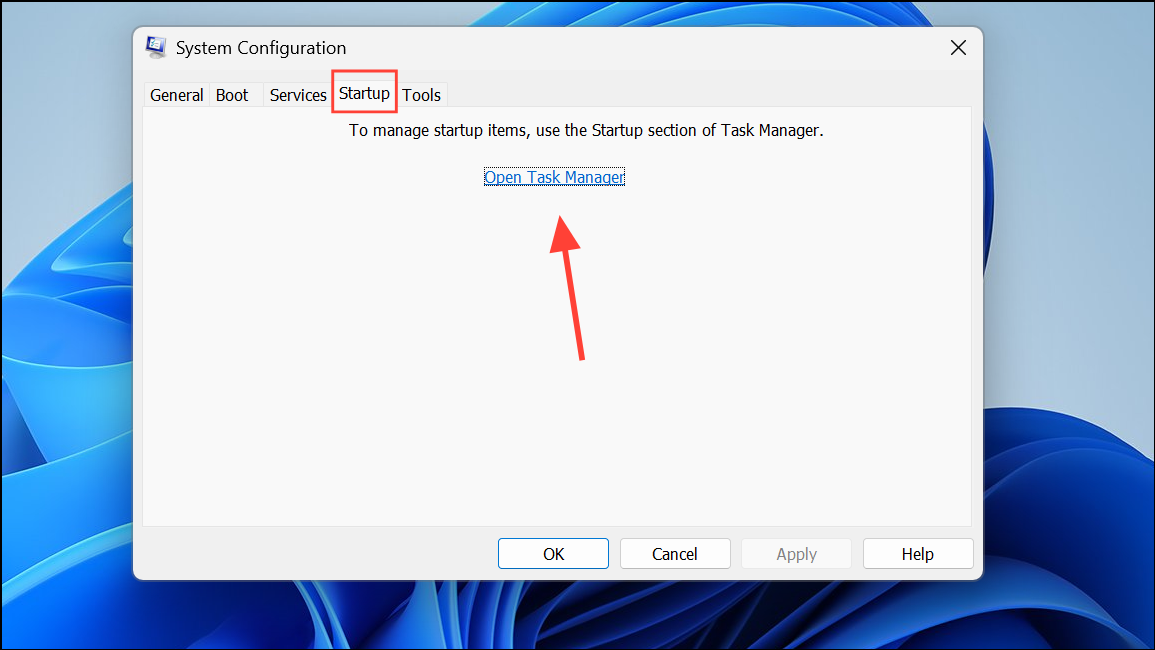
Step 4: Switch to the Startup tab and click Open Task Manager. Disable all startup items, close Task Manager, then click OK in System Configuration and restart your PC.
If the error disappears, re-enable services and startup items one at a time to identify the culprit.
Check Group Policy and Registry Settings
Incorrect Group Policy or Registry settings can prevent the Security Center from running or shutting down properly.
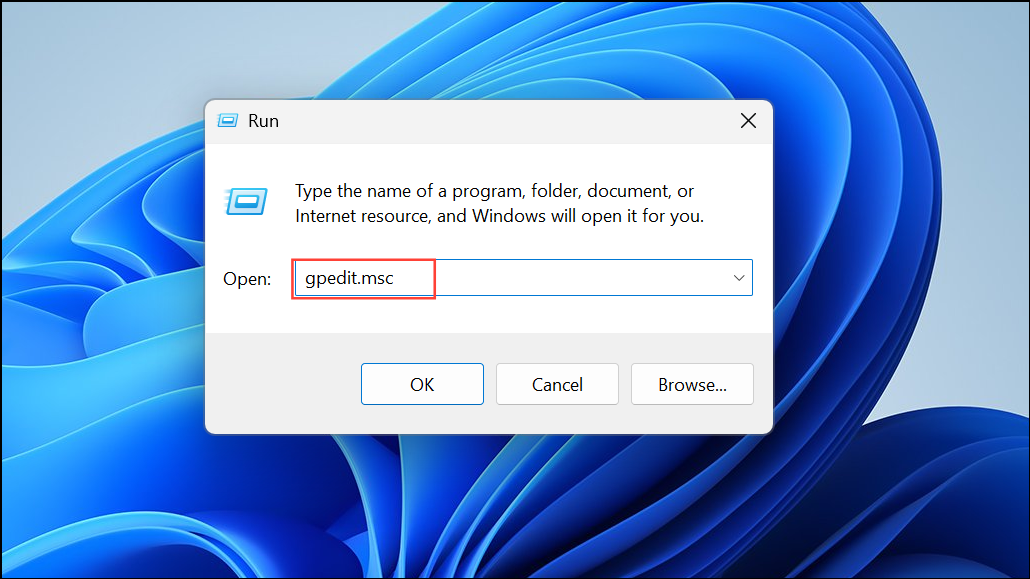
Step 1: Press Win + R, type gpedit.msc, and press Enter to open the Local Group Policy Editor.
Step 2: Navigate to Computer Configuration > Administrative Templates > Windows Components > Security Center. Ensure the Turn Off Security Center policy is set to Not Configured or Disabled.
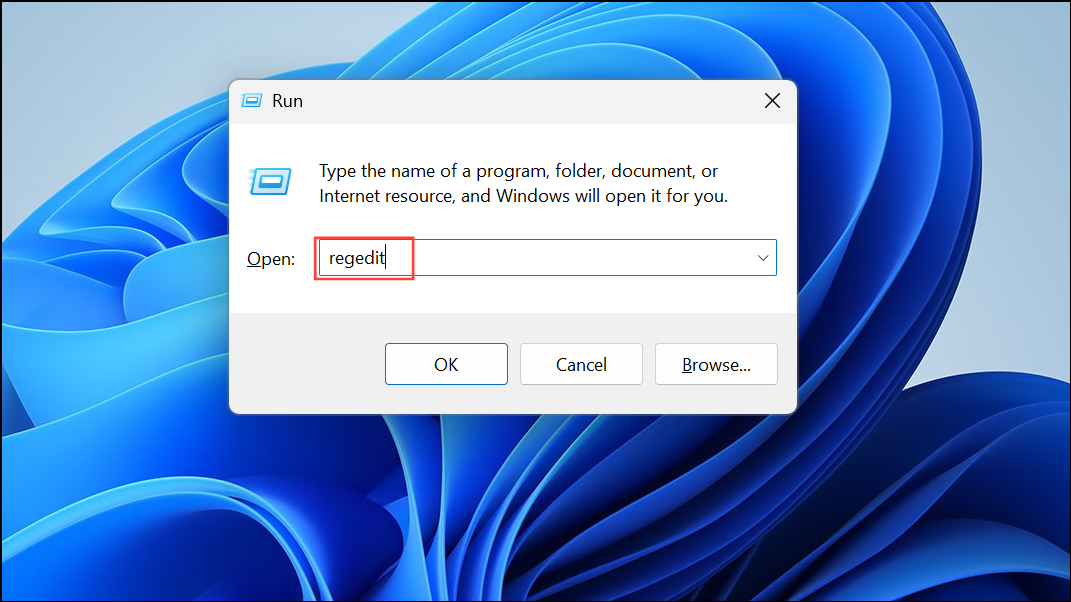
Step 3: If you prefer using the Registry Editor, open it by running regedit.
Step 4: Back up your registry first. Go to:
HKEY_LOCAL_MACHINE\SOFTWARE\Policies\Microsoft\Windows Security CenterCheck the Start value and set it to 2 (which means enabled). Close the editor and restart your system.
Repair or Reinstall Windows Security Components
If none of the above methods resolve the issue, a repair install (in-place upgrade) of Windows 11 can fix deep-seated system corruption without affecting your files or most applications.
Step 1: Download the latest Windows 11 installation media from Microsoft’s official website.
Step 2: Run the setup file and select Upgrade this PC now. Follow the prompts, ensuring you keep personal files and apps during the process.
This approach reinstalls Windows system files and resets built-in components, often resolving persistent service errors. Users have reported that this method typically resolves stubborn shutdown and security service issues, though in rare cases the problem may reappear if underlying bugs or hardware faults exist.
Addressing the "Windows Security Service did not shut down properly" error improves shutdown reliability and restores full security functionality. Regularly updating Windows and scanning for malware can help prevent future occurrences.