
Receiving the error message You've entered an incorrect PIN too many times on the Windows 11 login screen prevents you from accessing your system until you take corrective action. This lockout is a security measure to block brute-force attempts, but it can disrupt your workflow, especially if you need immediate access to files and applications. Below are the most effective methods to resolve this issue and regain access to your device.
Method 1: Reset Your PIN from the Sign-In Screen
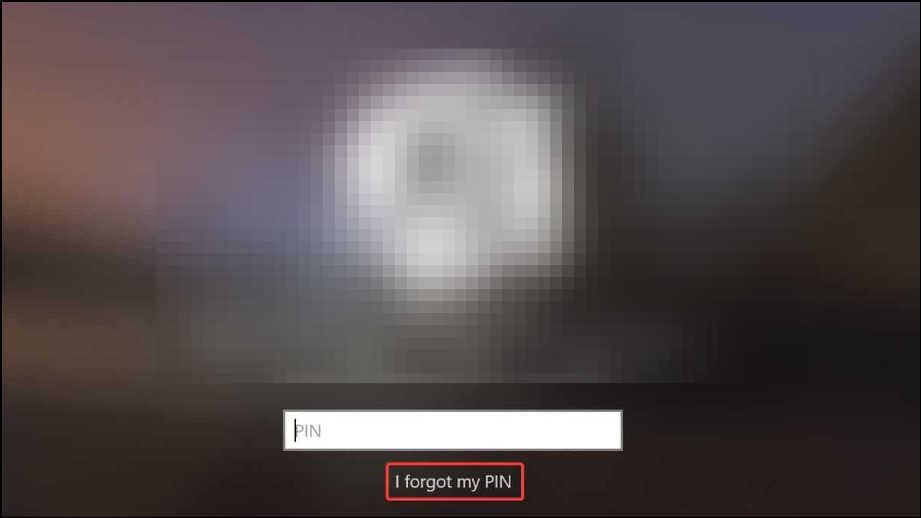
Step 1: On the Windows 11 sign-in screen, locate and select the I forgot my PIN link beneath the PIN entry box. This option allows you to start the PIN reset process without logging in.
Step 2: When prompted, select the user account for which you want to reset the PIN. If your device has multiple users, ensure you choose the correct one.
Step 3: Enter your Microsoft account password on the next screen. This step verifies your identity before allowing you to change the PIN.
Step 4: Choose how you want to receive a security code—either via email or text message. If you select text, you’ll need to enter the last four digits of your registered phone number before proceeding.
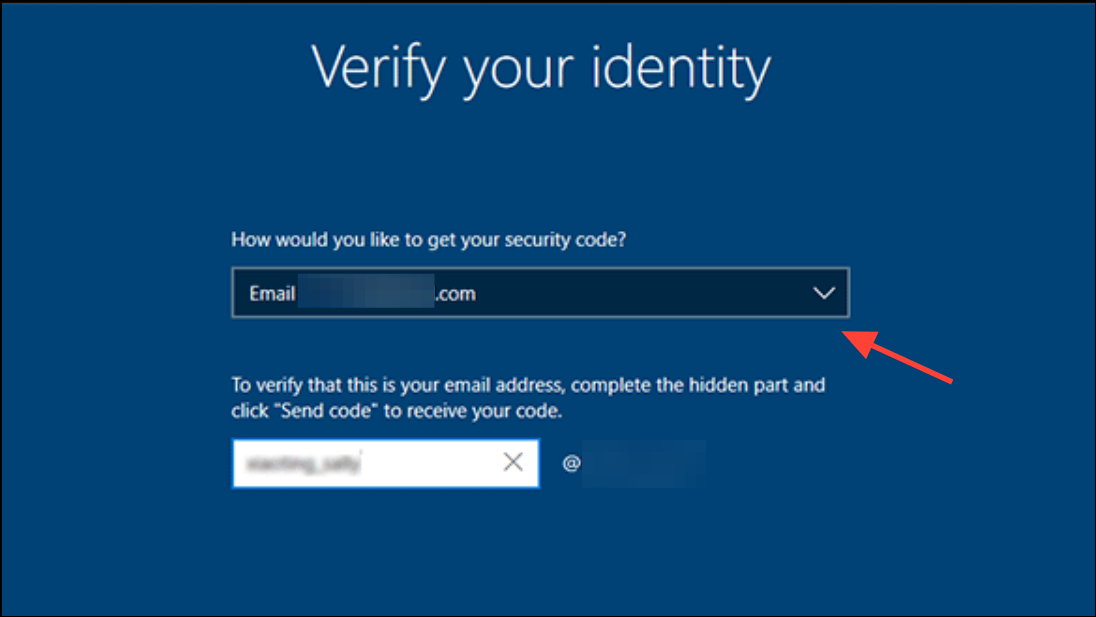
Step 5: Retrieve the security code from your chosen method and enter it in the provided field. This confirms you have access to your recovery options.
Step 6: Set a new PIN in the dialog box that appears. Enter the new PIN twice to confirm, then complete the setup. Make sure your device is connected to the internet; you can check or change network connections from the lock screen if necessary.
Method 2: Use the "A1B2C3" Challenge Phrase
Step 1: If you see a prompt to enter A1B2C3 below the PIN entry box, type this phrase exactly as shown. This step is intended to slow down automated attacks and confirm you are a human user.
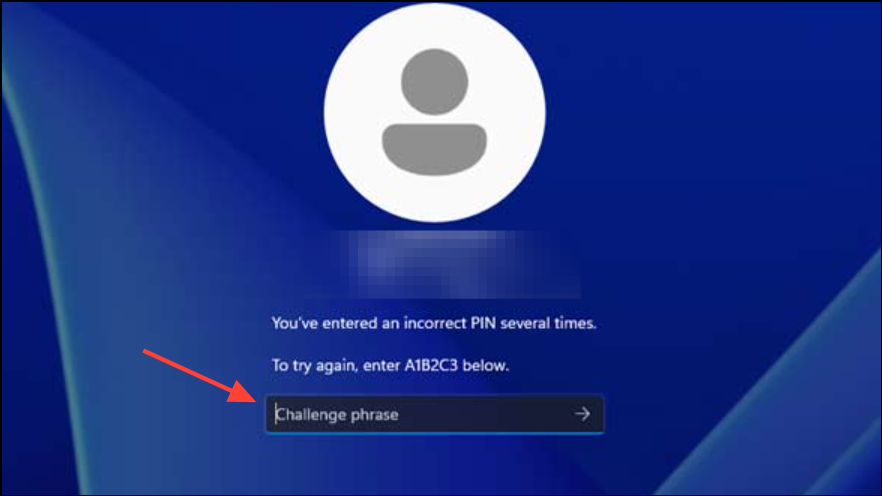
Step 2: After entering the challenge phrase, you should be able to attempt your PIN again. If you remember your correct PIN, enter it to log in. If you still cannot access your account, proceed to reset your PIN as described above.
This method is only available if the system displays the challenge phrase. It does not appear in all lockout scenarios.
Method 3: Sign In Using Your Account Password
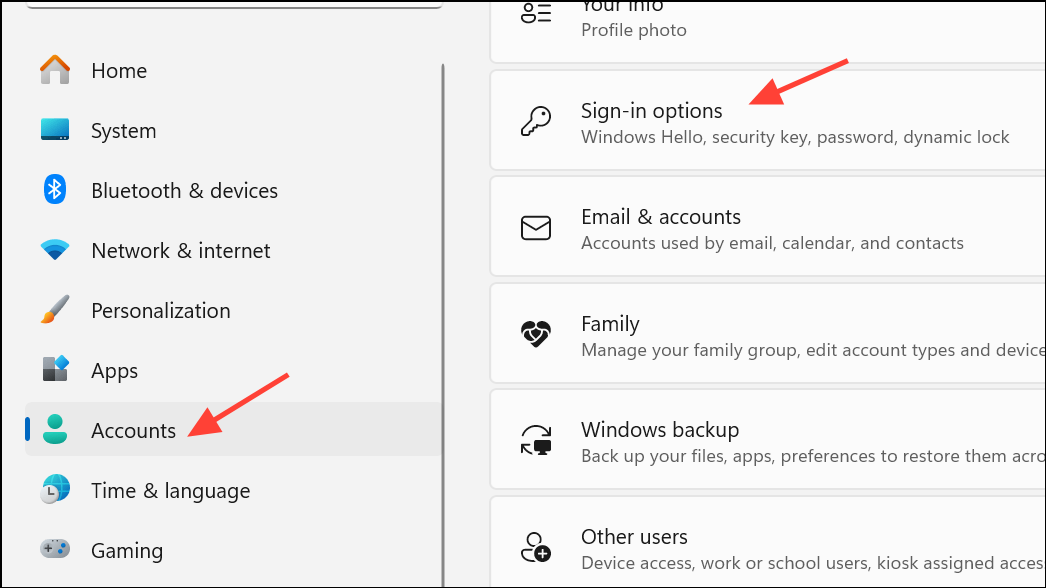
Step 1: On the sign-in screen, look for the Sign-in options link, often represented by an icon such as a key or a smiley face. Click it to display alternative login methods.
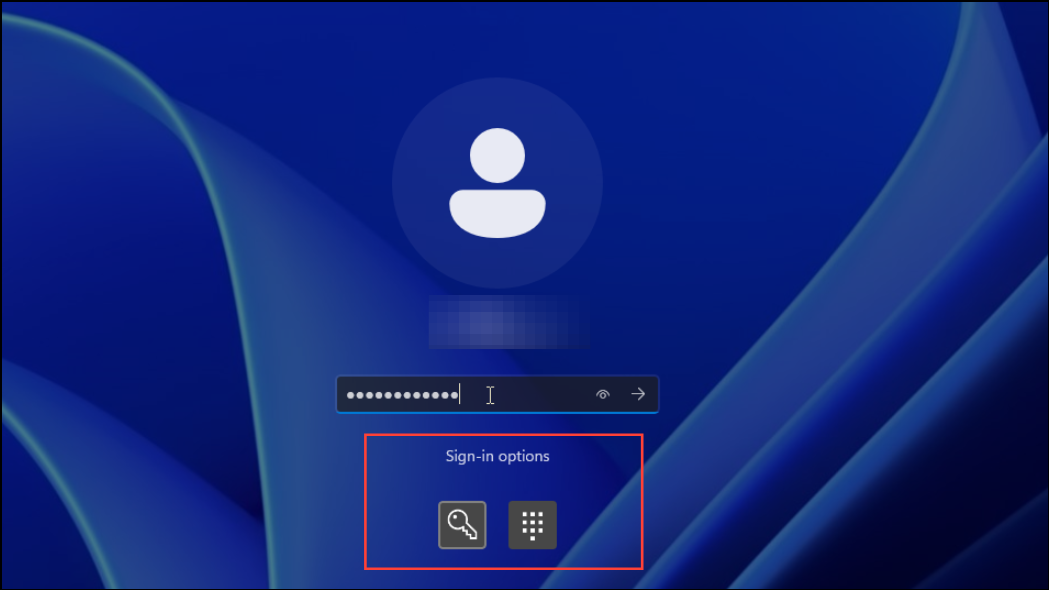
Step 2: Select the password option and enter your Microsoft account password instead of the PIN. This can bypass the PIN lockout if your password login is enabled.
Step 3: If you successfully log in, navigate to Settings > Accounts > Sign-in options to reset or remove your PIN as needed.
Method 4: Disconnect Network Connection and Restart
Step 1: Physically disconnect your device from the internet by unplugging the Ethernet cable or disabling Wi-Fi. This can sometimes allow the login screen to reset its state.
Step 2: Restart your computer while it is disconnected from the network. Wait for the sign-in screen to appear.
Step 3: Attempt to log in again using your PIN or password. Some users have found that removing the network connection temporarily restores access to PIN entry or alternate sign-in options.
This workaround may not resolve the issue for every system but has proven effective in certain cases where the error persists after multiple restarts.
Method 5: Power Cycle the Device
Step 1: Shut down your computer completely by holding the power button for 60 seconds. For laptops, also disconnect the power cable and remove the battery if possible.
Step 2: Wait a minute, then reconnect the power and turn the device back on. This hard reset can clear temporary glitches that prevent the login screen from updating after a lockout.
Step 3: Try logging in again with your PIN or use the reset options described earlier.
This method is particularly useful if the sign-in screen is unresponsive or frozen on the lockout message.
Method 6: Modify Registry Lockout Policy (Advanced)
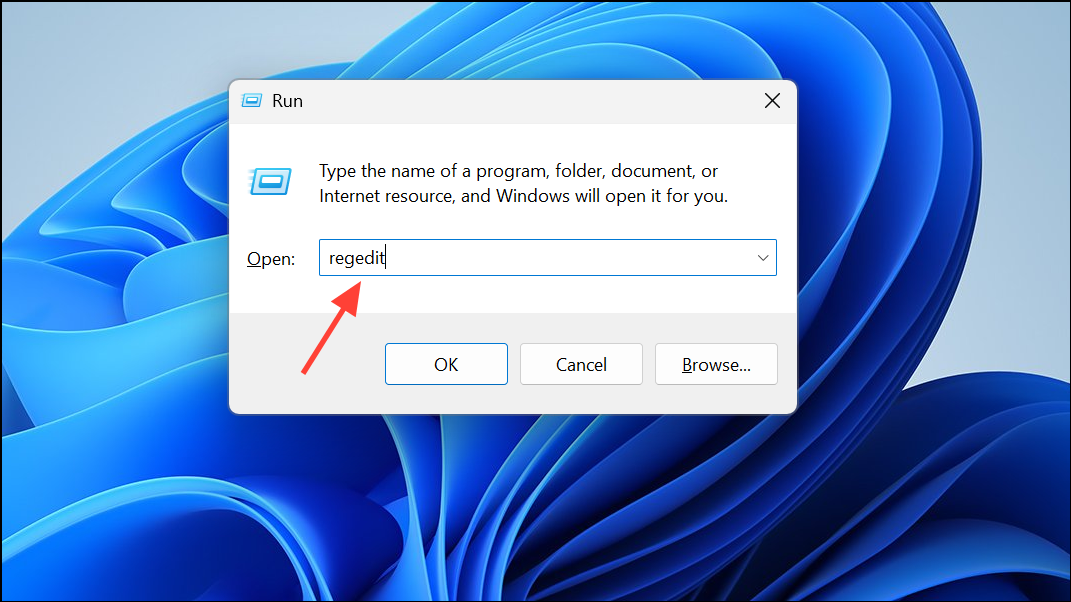
Step 1: If you want to adjust or disable the lockout threshold, log in as an administrator (using password or another account if available), then press Win + R, type regedit, and press Enter to open the Registry Editor.
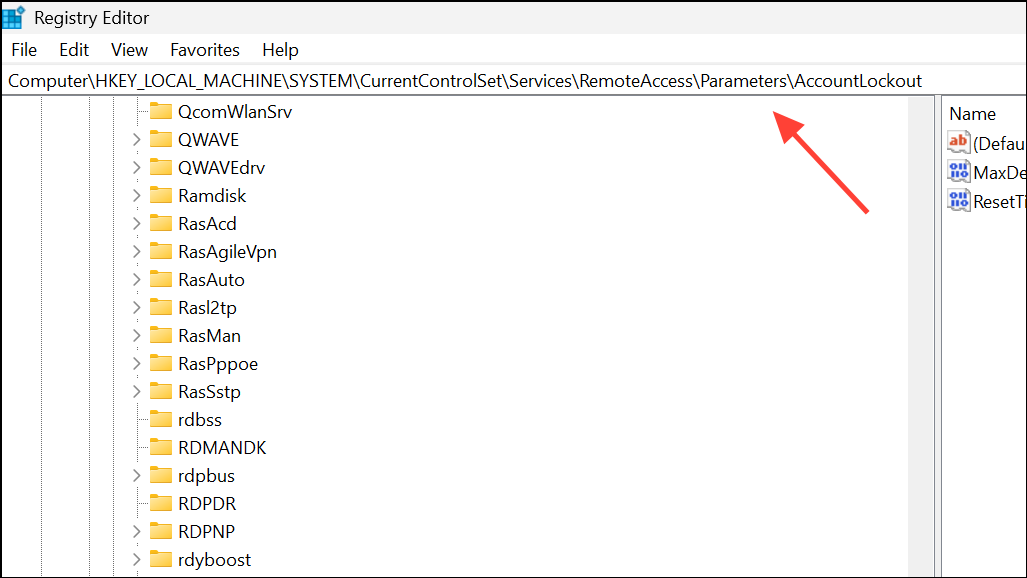
Step 2: Navigate to HKEY_LOCAL_MACHINE\SYSTEM\CurrentControlSet\Services\RemoteAccess\Parameters\AccountLockout.
Step 3: Locate the MaxDenials entry. Right-click it, select Modify, and set its value to 0 to disable lockouts, or increase the value to raise the number of allowed failed attempts.
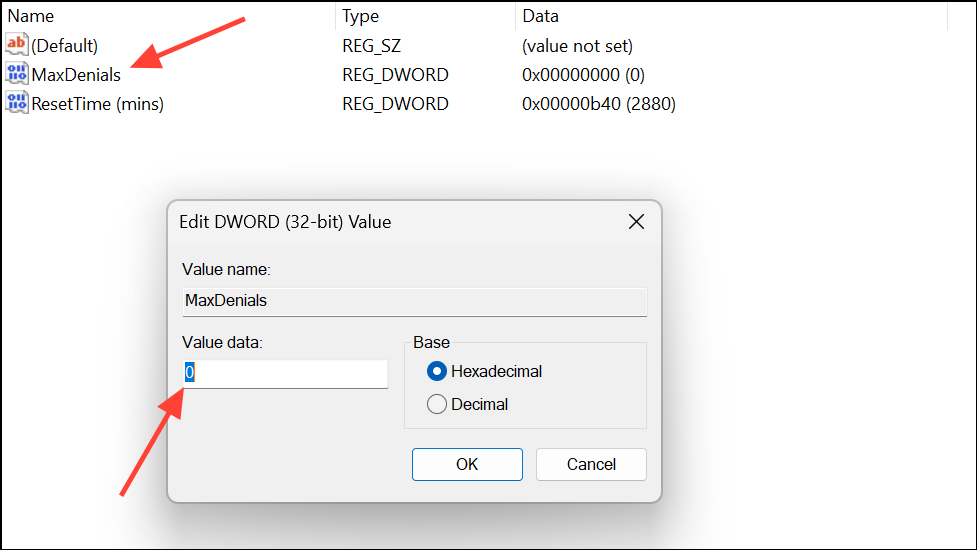
Step 4: Click OK and close the Registry Editor. Restart your computer to apply the changes.
Additional Tips and Recommendations
- Always ensure you have a backup login method enabled, such as a password or security key.
- Consider creating a local account with a password as a fallback for emergencies.
- If you use Windows Hello features (face or fingerprint), verify these are configured as alternative sign-in options.
- Keep your device updated to the latest Windows 11 version, as Microsoft occasionally refines sign-in policies and options.
- For persistent or unusual lockout issues, consult official Microsoft support or a trusted technician, especially if registry edits do not resolve the problem.
Resolving the PIN lockout error on Windows 11 can be quick if you follow the right recovery steps. Setting up alternative sign-in methods and understanding lockout policies helps you avoid future disruptions.