
Adamantite sits near the top of Hytale’s progression curve. It unlocks one of the strongest armor and weapon tiers in the game, but it’s locked to a single high‑risk region. If you’re searching in the wrong zone, you will never see a single vein.
What Adamantite is and why it matters
Adamantite is a rare ore used for high‑tier weapons, armor, shields, and tools. It is stronger than copper, iron, and thorium gear and functions as the penultimate metal tier for most characters.
Key traits:
- Tier: Late game (around the sixth equipment tier).
- Uses: Fifth set of weapons, armor, shield; required for tier‑6 tools.
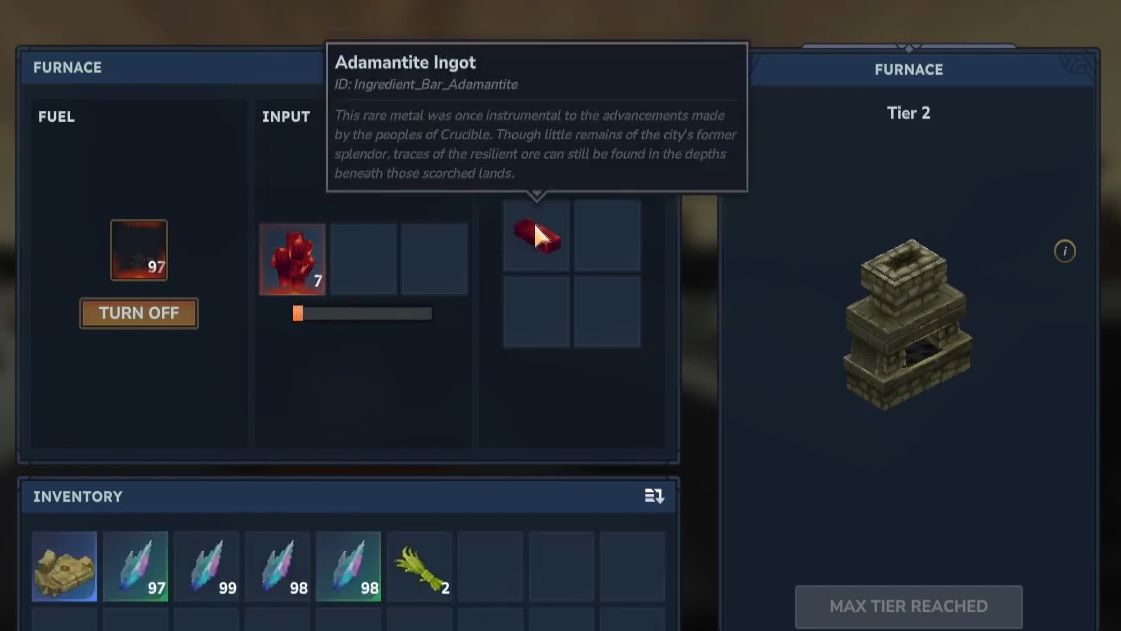
- Form: Found as Adamantite Ore blocks, smelted into Adamantite Ingots.
- Smelting ratio: One Adamantite Ore smelts into one Adamantite Ingot in a furnace.
Crafting the full kit is expensive. An Adamantite pickaxe or axe needs 8 bars each, and a complete armor set plus shield consumes about 85 bars, on top of the bars needed for your weapons and tools. All relevant crafting stations must be upgraded to tier 3 before Adamantite recipes become available.
Where Adamantite spawns in Hytale
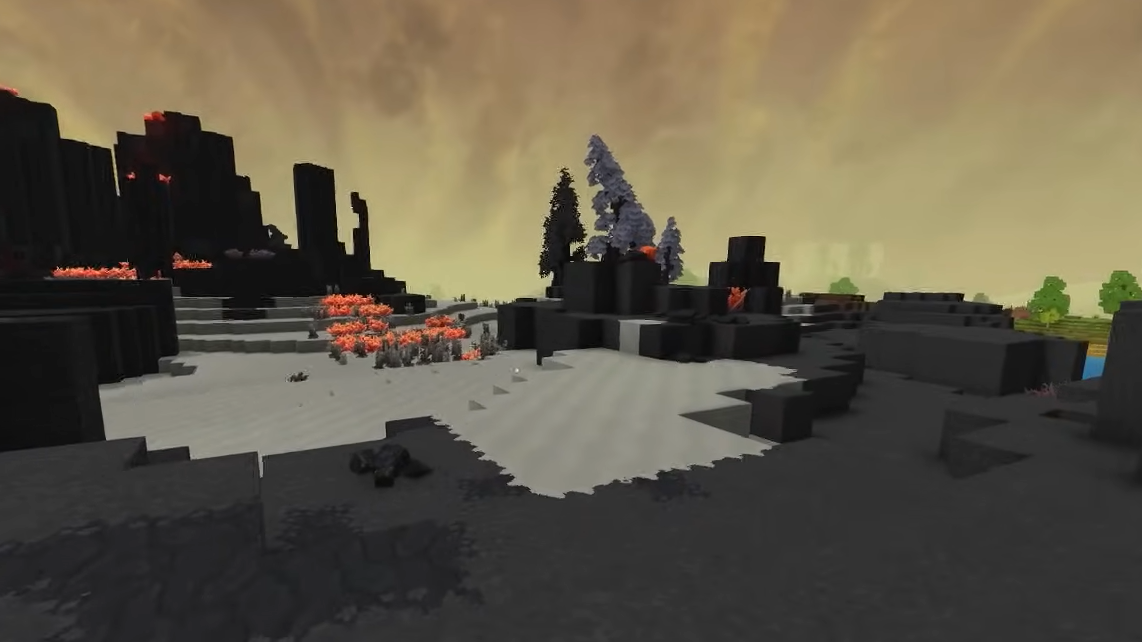
Adamantite only appears in Hytale’s Zone 4, the Devastated Lands. This region shows up on the world map as dark, volcanic islands with barren or burned forests.
There are two main ways players typically reach Adamantite:
- Devastated Lands continent/region: The canonical Zone 4 area with volcanic rock, lava, and ice. It’s often attached to or beyond snowy regions like the Winter Frontiers.
- Volcanic “fire” islands off your mainland: In some worlds, Devastated Lands content appears as separate volcanic islands offshore. Walking the coastline while watching your map will eventually reveal them.
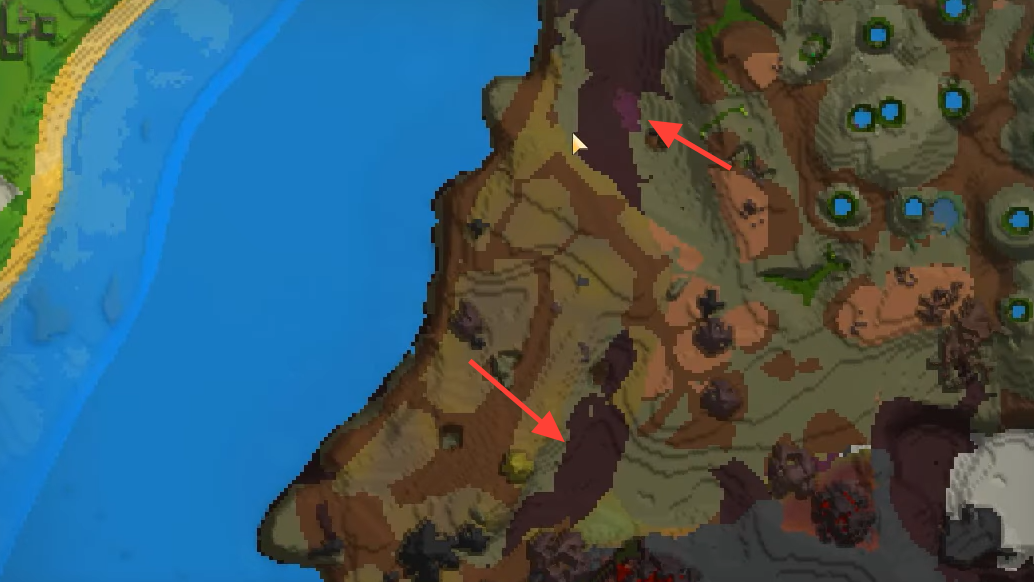
On the surface map, Adamantite‑rich sub‑biomes tend to show as darker or red‑purple areas among the blackened rock. These are the first places you want to scout once you’re in Zone 4.
Best surface locations for Adamantite
On the surface of Zone 4, Adamantite is visible in several specific biomes and micro‑biomes, but it is never as common as copper or iron in earlier zones. The most reliable surface hotspots are:
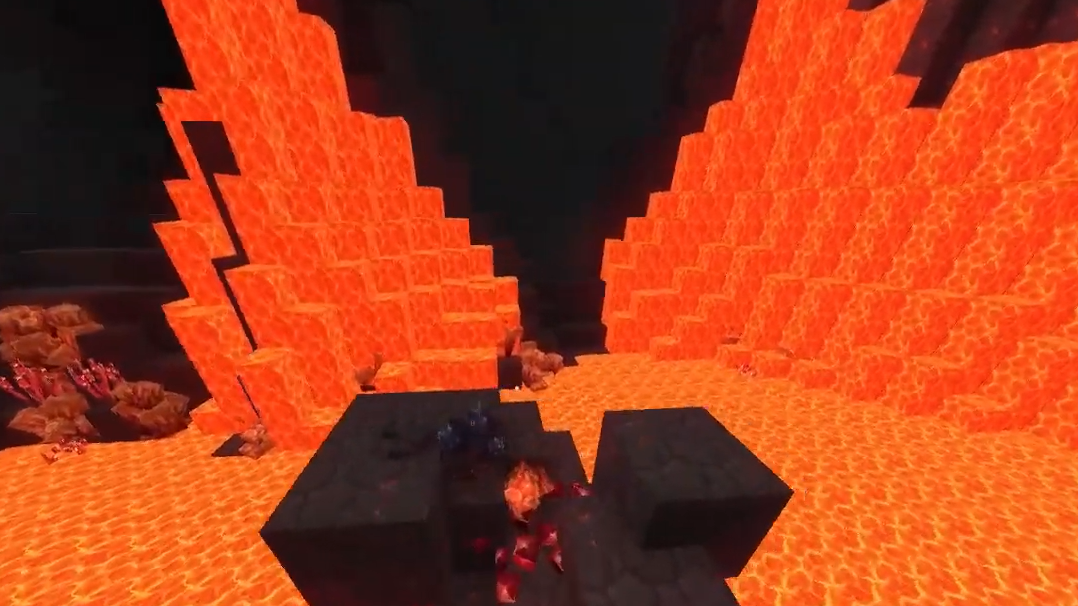
- Cinder Wastes: A Zone 4 sub‑biome marked by red‑purple dots or tiles on your map. Adamantite often appears here, frequently near lava flows or lakes.
- Small patches around active volcanoes can generate “silly amounts” of Adamantite and Cobalt directly on the surface.
- Crystal or “deep crystal” surface variants: Some dark islands with crystalline terrain in Zone 4 host dense clusters of Adamantite together with Cobalt and Silver on exposed rock.
Visual cues help you pick it out from a distance:
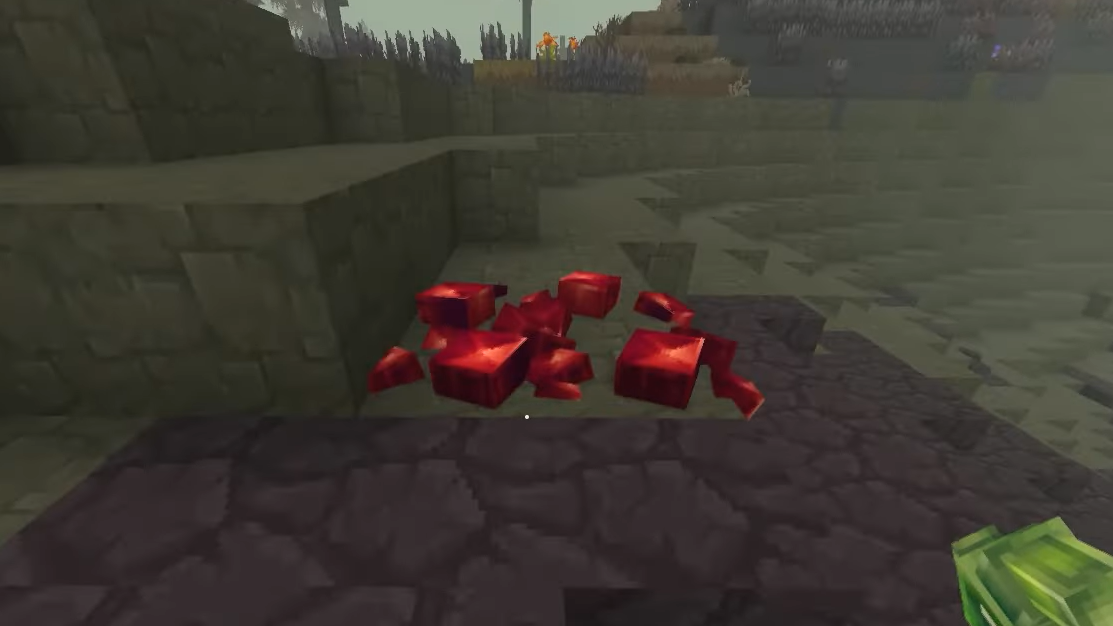
- On some world seeds, Adamantite appears as a dark stone block with bright red ore veins.
- On others, the ore is a red‑toned metal embedded in darker volcanic rock, often very close to visible lava.
Surface scouting is efficient if you chain together multiple points of interest. Outposts, ruined towns, and temple structures in Zone 4 often contain chests that can spawn Adamantite ore, ingots, or even finished gear.
Underground Adamantite in Devastated Lands
Devastated Lands has an extensive underground layer, and not all of it is good for mining. There are two broad cave types worth knowing:
- Vast jungle caverns: Huge underground biomes full of lush vegetation and pink crystal trees. These look impressive but tend to be poor for ore in general, including Adamantite. You might see the occasional node in the walls, but yields are low.
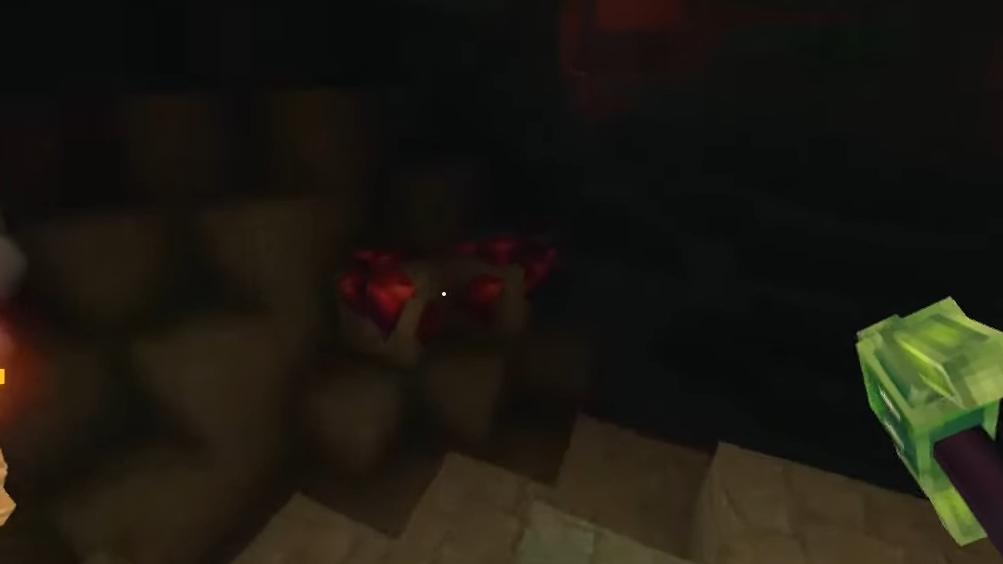
- Smaller “lush” tunnels and caverns: More constrained, tunnel‑like caves with greenery, grass, and plants under the less‑destroyed surface biomes. These are the real mining veins, with large amounts of Adamantite, Cobalt, Silver, and Iron.
Players consistently report heavy Adamantite deposits in grassy, plant‑covered caverns beneath Zone 4’s grey or partially recovered surface biomes, not directly under the most charred landscapes.
In practice, that means:
- Diving past the huge jungle vaults and exploring side tunnels that look more like traditional caves.
- Favoring underground areas under the “less devastated” segments of Zone 4 rather than the darkest, most obliterated surface patches.
Adamantite from chests and structures
Mining is not the only way to obtain Adamantite. Zone 4 is packed with structures that can shortcut your grind:
- Ruined settlements and small towns: Houses and huts often contain high‑tier chests with Adamantite and Thorium gear, bars, or ore. In some worlds, these settlements are the single fastest way to get outfitted.
- Forgotten Temple Gateways and similar dungeons: Large dungeons in Devastated Lands hold high‑tier loot chests that frequently roll Adamantite among other late‑game drops.
- Underground jungle settlements: In the lush forest systems under Devastated Lands, small villages with bamboo structures can spawn chests that include Adamantite ore or ingots.
If ore generation feels inconsistent on your seed, leaning on chest routes through multiple towns and temples can get you Bars and even finished armor faster than strip‑mining underground.
How to reach Devastated Lands efficiently
Devastated Lands is always Zone 4, but its exact position relative to your spawn differs per world. Several patterns are common:
- Dark Zone 4 islands may appear beyond the icy Whisperfrost Frontiers or other snowy “Winter Frontiers” style regions.
- Following the coastline from your starting continent eventually reveals dark volcanic islands sticking out of the ocean.
- Exploring the broader ocean may trigger the Crystaline Sea, but this ocean zone itself has no caves or ore beneath it, so it’s only a waypoint, not a mining target.
Preparation matters more than the exact route. Zone 4 enemies, such as Burnt Skeleton Praetorians, Wraiths, and various Outlander,s hit hard, especially in burned forests and lava fields.
Recommended baseline before committing to Adamantite:
- A full set of Thorium or Cobalt weapons, armor, and tools.
- Tier 3 defensive and weapon stations ready at your base so you can use Adamantite as soon as you bring it back.
- Enough fuel and materials to build a teleporter chain back to your main base once you locate a good Zone 4 foothold.
Tool and station requirements for mining Adamantite
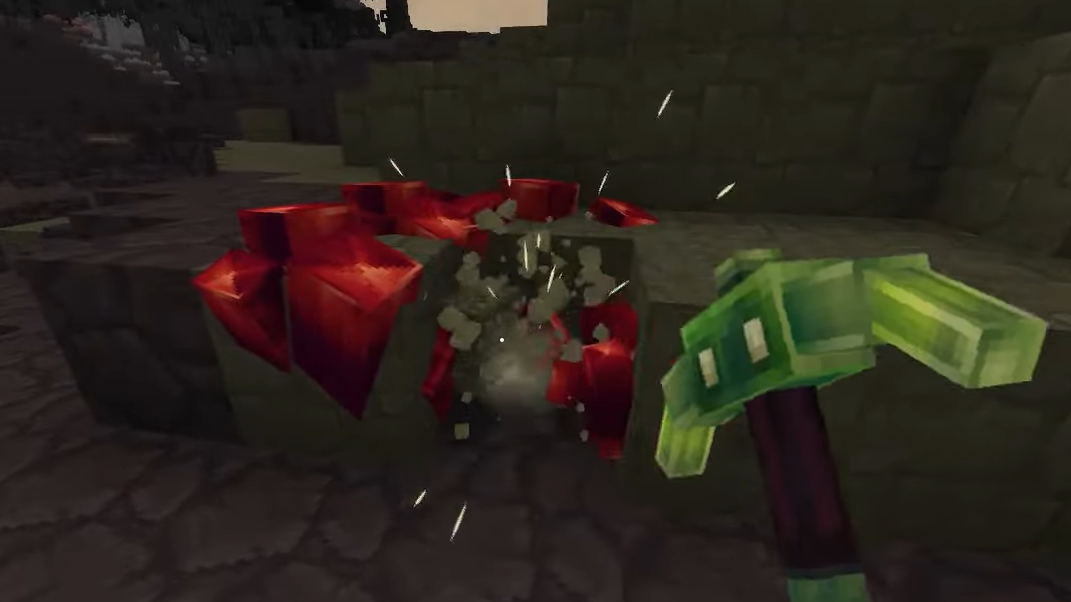
Breaking Adamantite Ore requires better tools than early‑game metals.
- Minimum pickaxe: An Iron Pickaxe is required to mine Adamantite blocks at all.
- Better picks: Thorium or Cobalt pickaxes speed things up, especially in lava‑heavy zones where you want to minimize time spent exposed.
Back at base, you also need the right crafting infrastructure:
- Furnace: Used to smelt Adamantite Ore into Adamantite Ingots, one‑for‑one.
- Tier 3 workstations: Weapon, armor, and tool stations (like the blacksmith’s anvil and armor station) must be at level 3 to unlock Adamantite recipes.
Without these station upgrades, you can stockpile ore and ingots, but you will not see any Adamantite equipment in your crafting menus.
How to smelt Adamantite Ore into Ingots
Once you’ve brought ore home, turning it into usable metal is straightforward.
Step 1: Place or locate a furnace in your base. Any standard furnace that smelts copper and iron works for Adamantite as well.
Step 2: Put Adamantite Ore into the furnace’s input slot and add fuel to the fuel slot. Use a fuel source you already rely on for other metals to keep things simple.
Step 3: Wait for the smelting process to complete, then collect Adamantite Ingots from the output. Each ore becomes one ingot.
Adamantite Ingots also sometimes drop directly as loot from enemies or chests in Devastated Lands, but smelting your own ore is the only reliable, repeatable method.
How much Adamantite you need for gear
The metal cost of a full Adamantite kit is substantial. While exact numbers vary by weapon choice, the known costs give a sense of scale:
| Item | Adamantite Bars Required |
|---|---|
| Adamantite Pickaxe | 8 |
| Adamantite Axe | 8 |
| Full Adamantite Armor Set + Shield | 85 |
This does not include weapons like swords, hammers, or bows, nor any extra tools you might want. In practice, expect to mine and smelt well over 100 bars if you want several weapon variants plus full tools and armor.
Many players prioritize in this order:
- One primary weapon for your build.
- Pickaxe and axe for smoother late‑game resource gathering.
- Armor set and shield once your everyday tools are upgraded.
Practical farming patterns in Zone 4
Because Adamantite can appear sparsely and the region is dangerous, it helps to approach Devastated Lands with a repeatable loop rather than random wandering.
Surface loop:
Step 1: Land on a dark Zone 4 island and quickly mark a safe base spot away from the densest enemy patrols, ideally near but not inside burned forests.
Step 2: Open your map and identify dark purple or red‑purple patches, volcano icons, and structure silhouettes (villages, towers, temples).
Step 3: Run a circuit through those markers, mining any visible Adamantite and Cobalt nodes and looting every chest in settlements and ruins before returning to your base or teleporter.
Underground loop:
Step 1: From the safer surface biomes in Zone 4 (especially grey or partially overgrown ones), descend into caves until you reach grassy, plant‑covered caverns rather than the massive pink‑crystal jungles.
Step 2: Follow smaller tunnels branching off the big caverns, focusing on areas where walls show multiple types of ore (Adamantite, Cobalt, Silver, Iron) in close proximity.
Step 3: Once your inventory is heavy with ore, backtrack using placed torches or markers and return via teleporter or a pre‑dug elevator to avoid fighting your way back up.
Adamantite sits at the point where exploration, combat, and crafting all collide. The ore only appears in one hostile late‑game zone, but the payoff is a massive step up in survivability and damage. If Devastated Lands feels overwhelming at first, gear up with Thorium or Cobalt, set a teleporter foothold, and treat the region like a long‑term mining expedition rather than a quick detour. Once the bars start piling up, your character’s power level jumps fast.