
Leaper Pulse Units sit right at the intersection of progression and risk in ARC Raiders. They are epic-tier drops from Leapers, used in key projects and workshop upgrades, and they double as powerful throwables. The trouble is that Leapers hit hard, draw a lot of attention, and their loot is prime bait for other raiders.
What the Leaper Pulse Unit is and why it matters
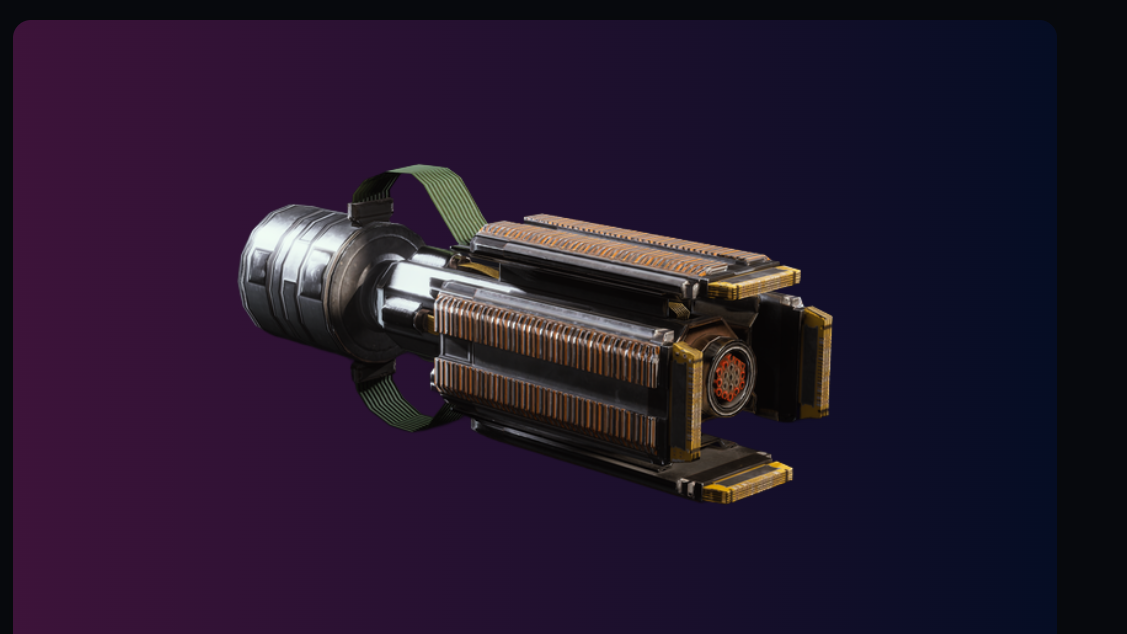
The Leaper Pulse Unit is an epic material item carried by Leapers (the large, spider-like ARC machines sometimes still called Bison). It has several distinct roles:
- Throwable singularity – When equipped in your quick-use slot and thrown, it detonates into a small but violent singularity, dealing around 100 damage in roughly a 10‑meter radius and pulling enemies into the blast.
- High-value loot – It stacks up to 3, weighs 1.0, and sells for about 5,000 coins each, making it a lucrative extraction target.
- Progression material – It is required for late-stage Outfitting projects (for example, 3 units alongside items like Magnetic Accelerators and Advanced Electrical Components) and for upgrading Utility Station 2 to Utility Station 3, where you need 4 units plus other advanced parts.
- Recycling component – Recycling one Pulse Unit typically yields multiple ARC Alloy and Advanced Mechanical Components, while salvaging returns basic Mechanical Components.
On top of that, Leaper Pulse Units are required for expedition stages and the Into the Fray quest, which asks you to destroy a Leaper and retrieve a unit from its body.
Where to find Leapers in ARC Raiders
Leapers patrol fixed regions on each map. The most reliable early target is Dam Battlegrounds, which also gives good sightlines to manage the fight.
On Dam Battlegrounds, two spots are especially consistent:
- East of Hydroponic Dome Complex – A Leaper often roams the open ground just outside the domes.
- Near the Water Treatment Control elevator – Another Leaper usually patrols around the Water Treatment area.
On Dam, you can also use the elevated terrain and structures, such as the electrical substation south of the Water Treatment elevator, to control the engagement. Other maps, like Buried City, can spawn Leapers near choke points such as subway entrances or dense urban corners where you can trap them.
Leapers can be kited a long way. As soon as you tag the big red eye with damage, it will often leap huge distances toward your last known position. That lets you pull it away from high-traffic extraction zones into safer corners of the map before committing to the kill.
How to safely kill a Leaper (solo or squad)
Leapers are mini-bosses with heavy armor and more than 1,000 HP, but they have clear weaknesses: fire damage, heavy ammo, and bad pathfinding in tight spaces. There are a few consistent patterns that work even when you queue solo.
Recommended loadout for Leaper fights
| Slot | Examples | Why it helps |
|---|---|---|
| Primary weapon | Ferro, Anvil, Venator, Renegade | Use heavy or at least medium ammo with good ARC armor penetration; DPS matters more than range. |
| Secondary weapon | Any reliable mid‑range gun, Hullcracker if you have it | Clean up when the Leaper is burning or crippled; Hullcracker can finish a Leaper in roughly 5–6 shots to the “chops.” |
| Explosives | Blaze Grenades, basic impacts, Snap Blast grenades, Wolfpack rounds | Explosives chew through armor and HP quickly. Fire specifically is a major weakness. |
| Utility | Smoke grenades | Cover you while looting if other raiders show up. |
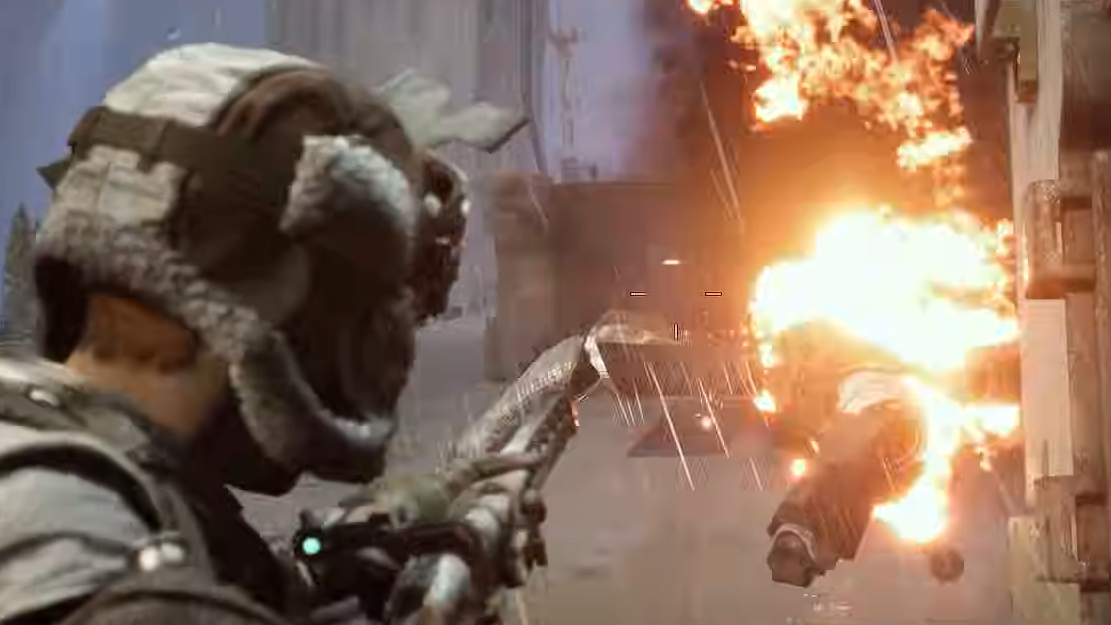
Fire-based tools such as Blaze Grenades and Flame Sprays are very effective and remain strong even after balance tweaks to some fire grenades and mines. Fireballs and fire grenades can burn a Leaper down with just a handful of well-placed throws.

Method 1: “Doorway cheese” with Blaze Grenades
This method leans on cover and fire damage, and it lines up neatly with Into the Fray’s objective of looting the eye.
Step 1: On Dam Battlegrounds, start near either the Hydroponic Dome Complex or the Water Treatment Control elevator and locate the Leaper. Before shooting, identify a doorway, window, or narrow building entrance where the Leaper cannot fit fully inside.
Step 2: Clear out surrounding ARC drones, such as Wasps or Hornets, so they do not harass you during the boss fight. Keep line of sight to your chosen doorway while doing this.
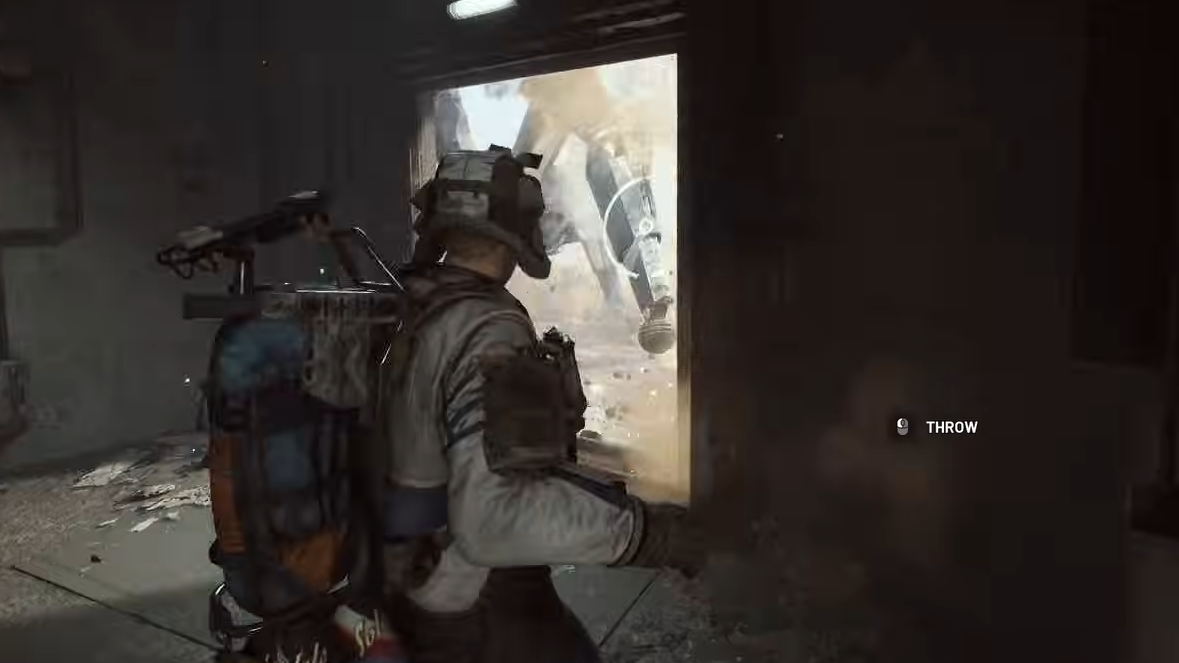
Step 3: From or near your safe spot, tag the Leaper’s eye with a Ferro or Anvil shot. This will draw it toward you. As it approaches, retreat fully into the doorway or small interior so it cannot land directly on you.
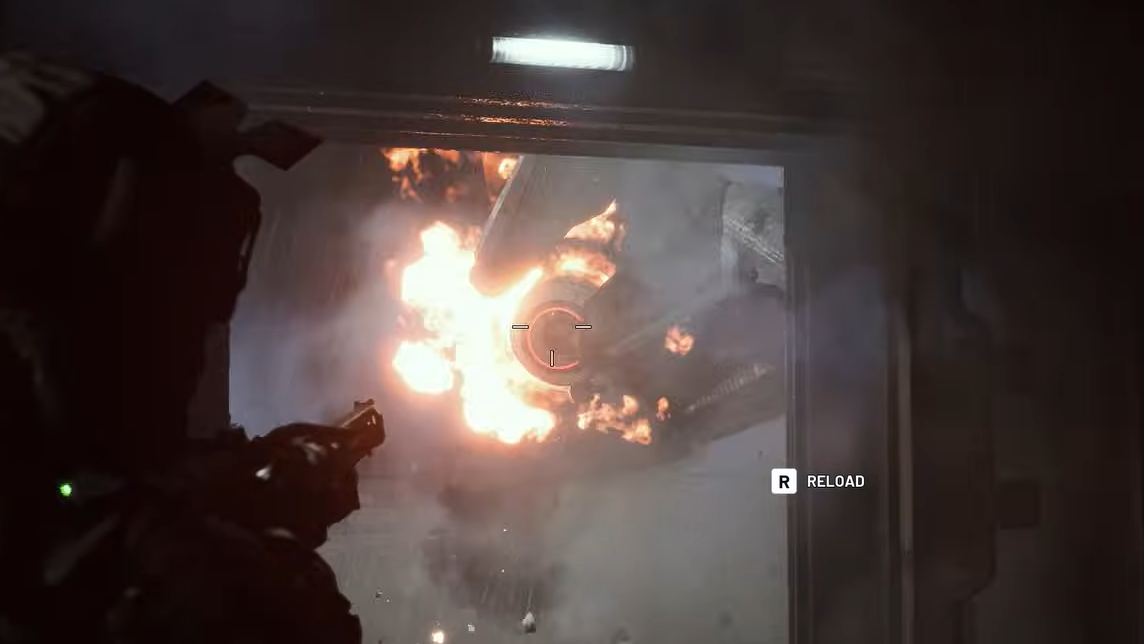
Step 4: Once it is close and stuck outside, throw a Blaze Grenade directly at the eye and keep shooting into that weak spot while it burns. When the fire goes out, repeat with another Blaze Grenade.

Step 5: Watch for two attacks: the long-distance leap and the EMP surge. If it backs away to set up a jump, stay covered in the doorway until it lands, then peek to shoot and reapply fire.
Step 6: After a few cycles of blaze + heavy ammo, the Leaper will collapse. Prioritize looting the destroyed eye module first to grab the Leaper Pulse Unit, then check legs and other wreckage for extra units or parts.

Method 2: Leg‑breaking from hard cover
If you prefer pure gunplay over fire, you can dismantle a Leaper by stripping its legs from a bunker-like position.
Step 1: On Dam Battlegrounds, head to the electrical substation south of the Water Treatment elevator. Take up a position inside the small building that faces toward the elevator area.
Step 2: Use a heavy‑ammo weapon (Ferro, Anvil) to tag the Leaper roaming near the Water Treatment elevator, then retreat fully inside the building. The walls will block its jump and most melee attacks.
Step 3: Aim for the upper part of a leg rather than the eye. As you pour rounds in, you will see armor plating, insulation, and thicker structural pieces break away until only a thin black pipe remains.
Step 4: Once that inner pipe is exposed, keep firing into it until the leg shears off. The Leaper remains dangerous but becomes clumsier and easier to manage. If it leaps, sidestep deeper into cover, then re‑engage.
Step 5: Repeat this process on the remaining legs. With enough heavy ammo (around 80 rounds is a safe buffer), you will eventually cripple and destroy the machine entirely.
Step 6: When it explodes, step out, quickly loot all body parts for Leaper Pulse Units and other rare components, then get moving toward an extraction route before other raiders arrive.
Method 3: Grenade‑heavy farming and kiting
For repeated farming runs, explosives alone can do most of the work while you focus on positioning.
Step 1: Load into Dam Battlegrounds with a backpack full of grenades. Even basic impact grenades add up; 10–15 of them can take a Leaper down if you land most throws. Higher-end options like Wolfpack rounds or Snap Blast grenades speed the kill.
Step 2: From elevated terrain, scan the map and locate a Leaper. Tag it with a single bullet to the eye or body, then immediately fall back toward a secluded structure or bunker you chose beforehand.
Step 3: As soon as the Leaper closes in, time its jump animation. When you see it launch toward you, dive behind solid cover so it lands harmlessly nearby.
Step 4: Each time it recovers from a jump, step out, throw one or two grenades at its legs or eye, then duck back behind cover. Do not stay exposed long enough for it to chain an EMP or melee hit.
Step 5: If you are using Wolfpack rounds or other homing explosives, throw them from relative safety and let the tracking do the work while you stay protected behind walls or terrain.

Step 6: Once the Leaper goes down, search every piece of wreckage. Players often grab the core and leave the legs; those can also contain Leaper Pulse Units, which makes abandoned battlefields a quiet source of extra units.
Dealing with other players while farming Leaper Pulse Units
Leapers are loud, and their health bars invite third parties. The risk is not just losing the fight but also losing the Pulse Unit between the kill and extraction.
- Use Safe Pockets – As soon as you pick up a Leaper Pulse Unit, stash it in your Safe Pocket. That protects it from loss if you die on the way out.
- Fight away from extraction – Pull the Leaper off popular routes and extraction points. The farther you are from the noise of hatches and big POIs, the fewer raiders wander into the fight.
- Smoke while looting – Keep smoke grenades specifically for the post-fight window. Drop smoke on the carcass as you loot so any arriving raiders lose line of sight.
- Talk when it helps – Proximity chat can occasionally save a run. Let nearby players know you are farming a Leaper for a quest and invite them to share the loot instead of fighting for it.
Some players prefer to go “full load” with high-end weapons and grenades to ensure a fast kill before anyone else can respond. Others run light and rely on in‑raid scrounging, reserving their serious loadouts for raids where they find friendly neighbors or quieter lobbies.
Alternative ways to get Leaper Pulse Units
Leaper kills are the primary method, but they are not the only way Leaper Pulse Units enter your stash.
- First Wave Husks and Husk Graveyard events – During Husk Graveyard variants of events, First Wave Husks can drop rare machine parts, including Leaper Pulse Units. The west side of Dam is a popular spot during these events.
- ARC wreckage on the ground – Abandoned ARC bodies and husks scattered around the Rust Belt sometimes contain rare components from multiple machine types. Scavenging these thoroughly can produce units even without a direct Leaper kill.
- Forgotten wrecks – On high‑traffic servers, raiders will often down a Leaper, grab one or two items, and leave. Checking seemingly “dead” legs and cores after the shooting stops can quietly top up your stock.
These side paths are slower than focused boss hunts but they are safer if you struggle to win direct Leaper fights or solo PvP skirmishes.

How to use Leaper Pulse Units once you have them
Once they are safely in Speranza, you can turn Leaper Pulse Units into progression, currency, or raw materials.
- Project requirements – Outfitting projects in the mid‑to‑late chain use three Pulse Units along with Humidifiers and Magnetic Accelerators to advance your expedition readiness.
- Workshop upgrades – Upgrading Utility Station 2 to Utility Station 3 calls for four Pulse Units plus advanced electronics and Fried Motherboards, unlocking better crafting capabilities.
- Recycling vs. salvaging – Recycling a unit returns ARC Alloy and Advanced Mechanical Components, good for higher-end blueprints. Salvaging instead yields basic Mechanical Components if you are short on low‑tier parts.
- As a weapon – When equipped in your quick menu and thrown, the Pulse Unit acts as a heavy grenade with a small singularity effect. It can clear clustered ARC machines or turn a tight PvP push in your favor, though spending them this way slows workshop progression.
- Selling for coins – If your projects are done and your stations are upgraded, selling spare units for 5,000 coins each is a straightforward way to fund expensive weapons and ammo.
Because they are needed for both expeditions and Utility upgrades, it is usually smarter to prioritize project and workshop requirements first, then recycle or sell surplus units later in the season.
Farming Leaper Pulse Units is less about raw aim and more about controlling the battlefield. With fire, heavy ammo, solid cover, and a plan for other raiders, Leapers shift from roadblock to routine chore — and their cores become a reliable pipeline into ARC Raiders’ late‑game projects and upgrades.