
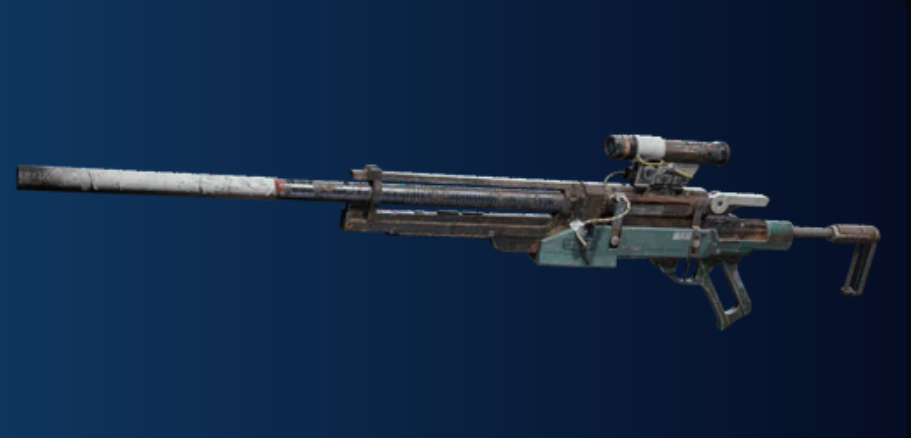
The Osprey is one of Arc Raiders’ craftable weapons, unlocked by extracting with its Blueprint and learning it at your Workshop. It’s not the rarest weapon Blueprint in the game, but it competes in a busy loot table and can be frustrating if you’re looking in the wrong places.
Two things matter most when hunting it: the map you’re on and the type of containers you open.
What the Osprey blueprint unlocks
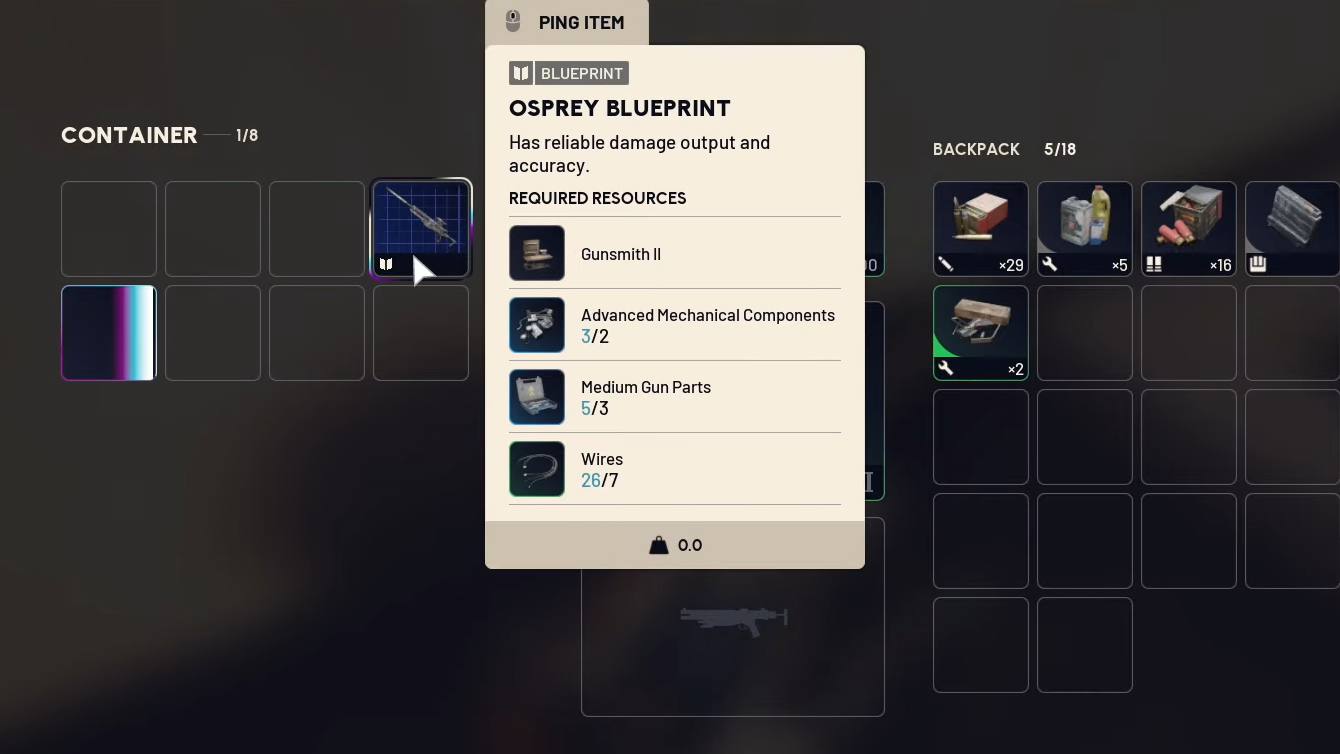
The Osprey blueprint gives permanent access to the Osprey weapon at Gunsmith 3. Its recipe is:
| Blueprint | Type | Recipe | Crafted at |
|---|---|---|---|
| Osprey | Weapon | 2x Advanced Mechanical Components, 3x Medium Gun Parts, 7x Wires | Gunsmith 3 |
Once learned, you can craft the Osprey as often as you want, provided your Workshop and Gunsmith are upgraded and you have the materials.
How rare the Osprey blueprint is
Overall, Blueprint drop rates in Arc Raiders sit around the low single digits per container. Within that pool, the Osprey sits on the “uncommon weapon Blueprint” tier:
- Players regularly report multiple Osprey drops across a few dozen hours of play rather than single-digit lifetime drops.
- It is rarer than very common weapon plans like Bettina, but notably more frequent than chase items such as the Snap Hook Blueprint.
- It tends to repeat once you “break into” its loot table; multiple Ospreys in one play session are not unusual on the right routes.
That mix makes it feel rare if you’re looting low-yield areas, but fairly ordinary if you’re farming the correct containers on the right maps.
Best maps and locations for the Osprey blueprint
Blueprints can technically appear in many places, but the Osprey has much higher odds in certain regions and maps. Two patterns stand out: Blue Gate as a primary farm, and specific weapon-crate-heavy spots on other maps.
Osprey blueprint on Blue Gate
Blue Gate is the most reliable map for Osprey blueprints. Players who grind this map heavily report double-digit Osprey drops there and none on easier maps over similar playtime. The game doesn’t surface that in the UI, but the distribution lines up with how other “advanced” weapons are biased towards higher-tier zones.
Within Blue Gate, focus on areas with lots of Raider containers and weapon cases:
- Pilgrim’s Peak – Dense with containers and Raider caches, which have above-average Blueprint rates.
- Raider’s Refuge – Fewer containers overall, but a high concentration of Raider-specific containers that skew toward weapon-related blueprints.
- Ancient Fort – Good verticality and container density; gun cases and lockers spawn in towers and interior rooms.
- Underground Complex beneath the Warehouse – Long interior chain of crates, lockers, and Raider containers that can all roll weapon blueprints.
Running a loop through these four spots in a single raid is one of the most consistent ways to see repeated Osprey drops over time.
Osprey blueprint on other maps
The Osprey does not appear to be strictly exclusive to Blue Gate, but its presence elsewhere is both rarer and more container-specific. Key locations to hit when you’re not on Blue Gate:
Dam Battlegrounds
- Control Tower – Large interior space with many containers and a chance for high-tier Security Lockers. Historically, a keyed room here could be reached with a ledge-jump exploit for extra weapon cases, but that route has since been patched, so assume you need keys or the Security Breach skill.
- Power Generation Complex – Mid-tier on the map legend but high in raw container count, which matters more for Blueprint odds.
- Residentials (Ruby Residence and Pale Apartments) – Out-of-the-way clusters with many searchable interiors and fewer players contesting them.
Players have also reported picking up Osprey BPs here during extreme weather (electromagnetic storms), but storms mainly seem to raise rare-drop chances rather than switch on entirely new loot tables.
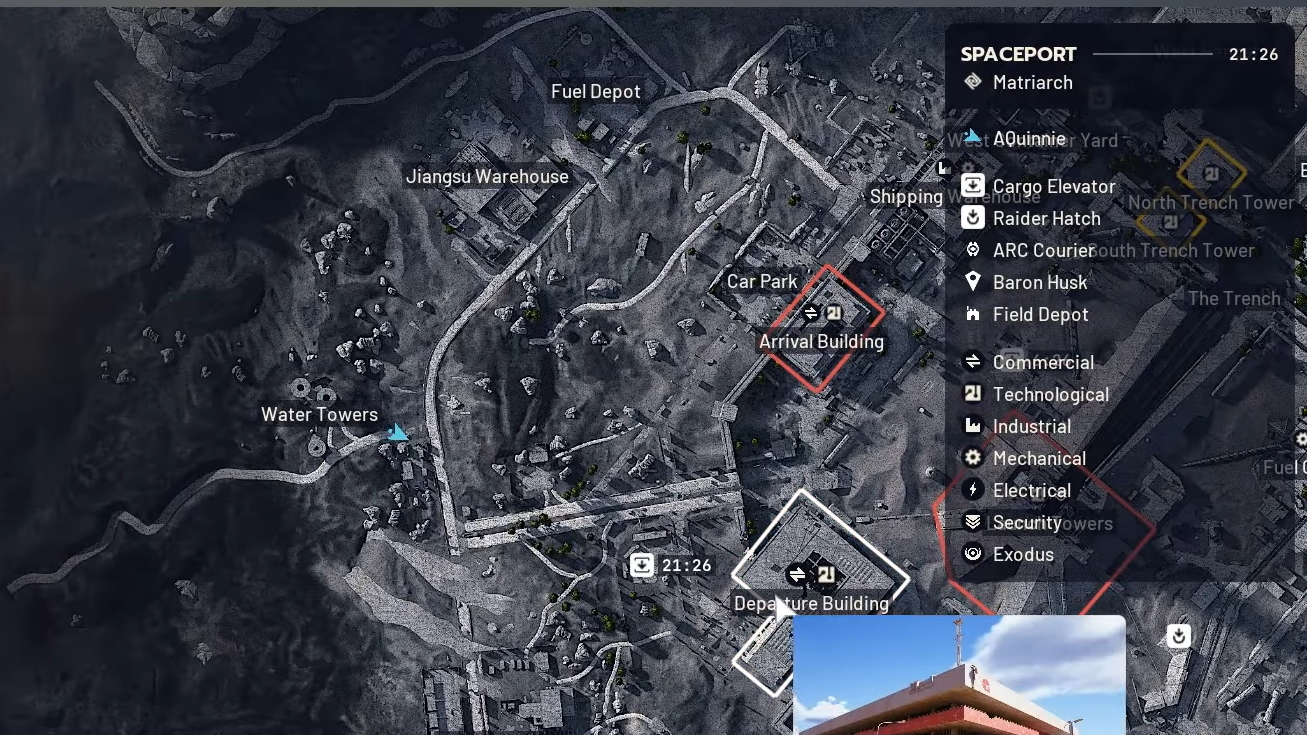
Spaceport
Spaceport leans into high-value loot and has several weapon-crate-heavy structures. Focus on:
- Arrival and Departure Buildings – High-tier regions linked by the wall, with multiple Raider containers and Security Lockers up top.
- Control Tower A6 and Launch Towers – Guard towers along the perimeter and tower tops frequently roll weapon crates, and repeated Osprey drops from those crates are common when you farm them hard.
Expect heavy PvP around these buildings, especially in Duos and Squads. If your only goal is Osprey blueprints, Blue Gate is usually less punishing.
Buried City and Stella Montis
These maps can drop weapon blueprints, but are not stand-out Osprey farms.
- Buried City – Locations such as Santa Maria Houses, Grandioso Apartments, Town Hall, and the New District are strong for generic blueprints, and interior weapon cases there lean towards other weapons like Venator.
- Stella Montis – In general, has a lower blueprint rate. Medical Research, Assembly Workshop, Business Center, and Western Tunnel (for Security Lockers) are the places worth checking, but this map is better for other high-tier loot than for Ospreys.
Containers and events with the highest Osprey blueprint odds
The Osprey shares its drop rules with other weapon blueprints, so container type matters more than the specific item you’re chasing.
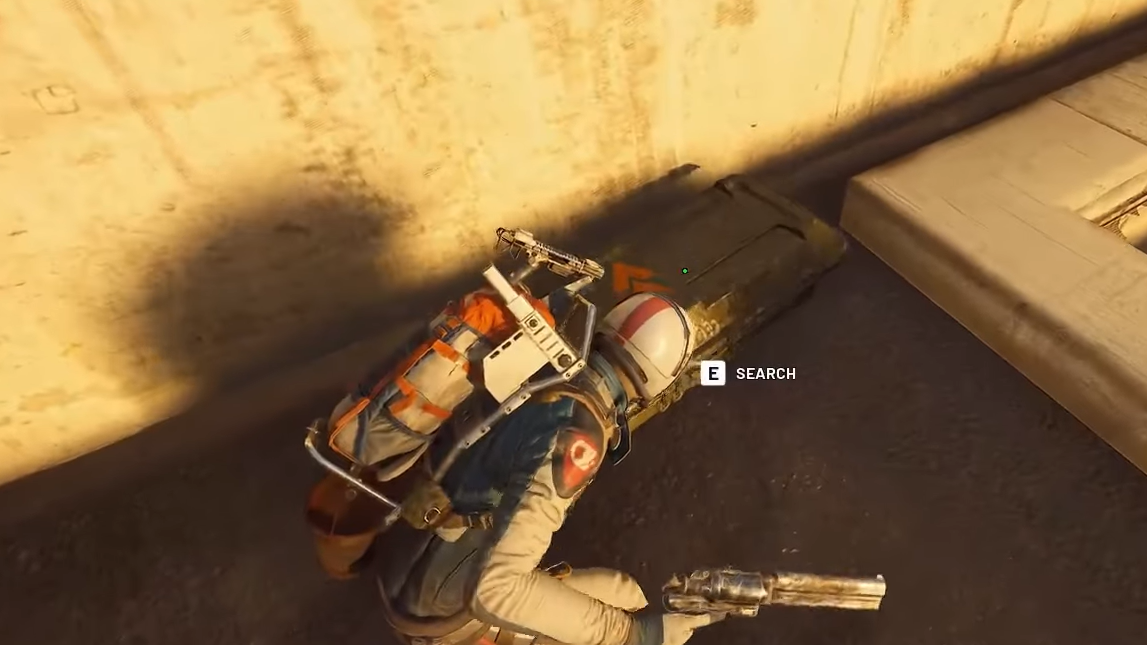
- Raider containers – Raider Caches, Weapon Boxes, Medical Bags, and Grenade Tubes all have elevated blueprint chances. Weapon Boxes are the main target if you only care about guns.
- Security Lockers – Red or high-tier lockers in POIs like towers and control rooms roll weapon blueprints more often than regular lockers.
- High-capacity crates – Any crate that spits out multiple items has a slightly better chance of predicting at least one blueprint roll.
On top of that, some match-level modifiers and events indirectly increase your odds:
- Uncovered Caches / “Freigelegte Geheimvorräte” – A map modifier that spawns Raider containers with yellow Raider symbols around the map. These events are extremely efficient for weapon blueprints; Osprey drops are common when you sweep every cache.
- Night Raids and Electromagnetic Storms – These conditions increase rare blueprint spawn rates in general. Certain BPs are hard-gated behind specific events (for example Tempest in Night Raids, Vulcano in Hidden Bunkers), while the Osprey simply benefits from the raised rarity without being fully locked to a particular event.
Outside of containers, you can occasionally loot the Osprey blueprint from other Raiders’ bodies or from large ARC units like Surveyors, but that is both low-frequency and opportunistic rather than something you can target-farm.
Practical farming routes for Osprey
Efficient farming comes down to prioritizing blueprint-heavy containers, avoiding overgearing, and extracting safely once you get what you came for.
Method 1: Blue Gate Raider container circuit
Step 1: Load into Blue Gate with a modest build that still includes at least one safe pocket. Avoid free loadouts, since they don’t give you safe storage for a blueprint if you find it.
Step 2: Push toward Pilgrim’s Peak first, looting every Raider Cache, Weapon Box, and locker along the way. Prioritize multi-item crates and anything marked with a Raider icon.
Step 3: Move to Raider’s Refuge and clear the interior and surrounding shacks. This area has fewer total containers but a very high proportion of Raider-specific ones that roll weapon blueprints.
Step 4: Continue to the Ancient Fort and then drop into the Underground Complex beneath the Warehouse. Work systematically through each level, opening all crates and lockers.
Step 5: As soon as you pick up an Osprey blueprint, put it into your safe pocket and pivot your route toward the nearest extraction rather than extending the farm. Losing a blueprint during an extraction fight is far more painful than cutting a run short.
Method 2: Spaceport tower and terminal sweep
This route is more dangerous, but it can throw multiple weapon blueprints at you in a short time.
Step 1: Spawn on Spaceport and head straight for the perimeter wall, climbing up toward the guard towers. Open every weapon crate and locker you find in each tower.
Step 2: Move along the wall between Control Tower A6 and the Launch Towers. These structures often hide Security Lockers and Raider containers at the top.
Step 3: Drop down into the Arrival and Departure Buildings, then work through each floor, focusing on Raider containers and high-capacity crates. Expect other squads; move quickly and avoid overstaying in one building.
Step 4: When you secure an Osprey blueprint, stash it in your safe pocket, then choose the least crowded extraction based on gunfire and ARC activity. Route around open sightlines where other Raiders can snipe you while you use the terminal.
General blueprint farming habits that help with Osprey
Because the Osprey competes with dozens of other blueprints, consistent habits matter almost as much as route choice.
- Open everything you see – Even plain cabinets and smaller boxes can roll blueprints. Many “lucky” finds come from containers that are easy to skip while chasing PvP.
- Favor loot-dense POIs over “hard” maps – It’s usually better to hit a mid-tier region with 50 containers than a high-tier zone with 10. Raw roll count drives blueprint frequency.
- Leverage Trials and quests – Trials reward chests, and vendor quests award some specific blueprints (for items like Burletta, Hullcracker, and Trigger Nade). While none of these are Osprey, they trim your remaining loot table and give you more value out of each raid while you grind.
- Don’t hoard duplicate Ospreys – Once the recipe is learned, extras are best sold or gifted. Keeping a couple for future Expedition donations is reasonable, but they’re not so rare that you need a huge stockpile.
Blueprint drops in Arc Raiders are heavily luck-driven, but they are not pure chance. Favoring Blue Gate, prioritizing Raider containers and weapon crates, and bailing out as soon as an Osprey blueprint hits your inventory will consistently turn a “never seen it” frustration into a solved progression step.