
Star Reacher is an Epic Inner Way (Internal Art) in Where Winds Meet that rewards players who specialize in launching enemies into the air. It belongs to the Silkbind - Jade path and pairs especially well with Inkwell Fan and Vernal Umbrella builds that constantly juggle targets.
Star Reacher location (Snake Doctor world boss)
Star Reacher is obtained from the Snake Doctor world boss in Qinghe.
- Region: Moonveil Mountain, Qinghe
- Area landmark: Twinbeast Ridge / Encircling Lake area
- Activity type: Mysterious Boss / World Boss
The boss is hidden inside a snake-filled cave in a stream north of the Encircling Lake Boundary Stone in Moonveil Mountain. The actual cave entrance sits a little west of the boundary stone’s map pin, tucked into the rock wall near the water.
Use the nearest southern or Back Mountain fast travel point in Moonveil Mountain, then ride or glide north toward Encircling Lake. From the Boundary Stone, follow the stream west until you see the low, dim opening to the snake cave.
How to reach the Snake Doctor cave safely
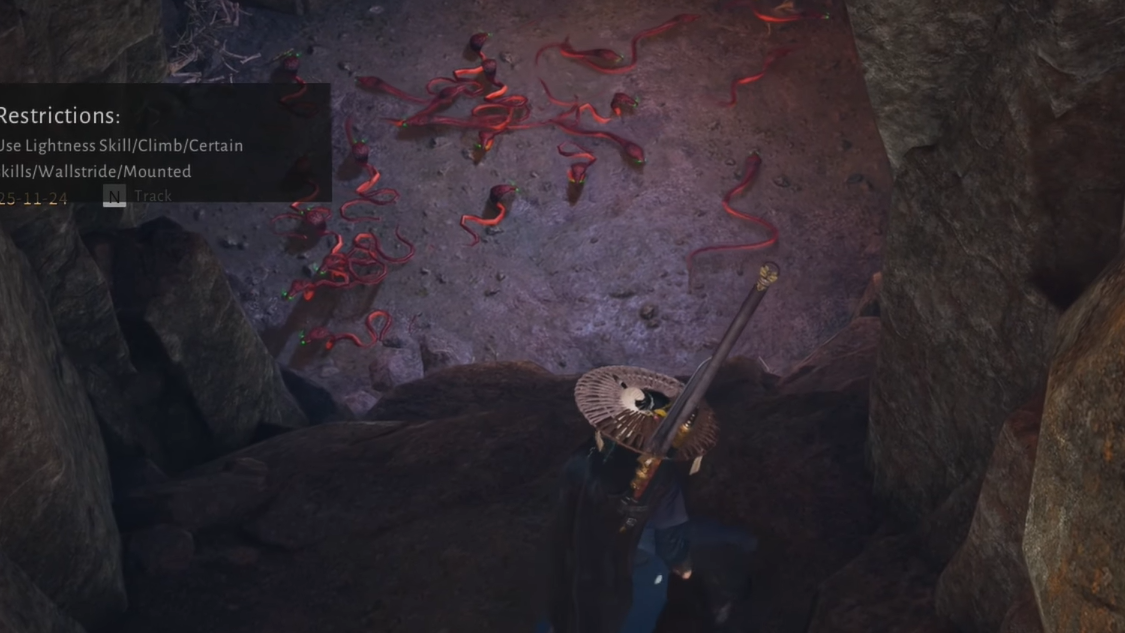
The cave entrance and the drop into the boss arena are surrounded by aggressive snakes that can quickly shred you if you move slowly or stop in place. There are two practical approaches: brute-force your way through, or prepare a quest reward that neutralizes the snakes.
Method 1: Quick route through the snakes
Step 1: Teleport to the southern Moonveil Mountain waypoint or Back Mountain and ride to the cave stream north of Encircling Lake. Stop just outside the cave opening so you can see the snakes inside.
Step 2: Sheathe heavy weapons or movement-slowing tools, then sprint and spam jump through the snake-infested tunnel. Do not stop to fight; rely on invulnerability frames from movement and your health pool to carry you through.

Step 3: Once you exit the main snake cluster and reach the deeper part of the cave, heal up, prepare your combat skills, and move on to the Snake Doctor arena deeper inside.
Method 2: Use Celestial Seize and Snake King’s Bone
The intended route lets you acquire a unique item that stops the snakes from attacking you in this cave.
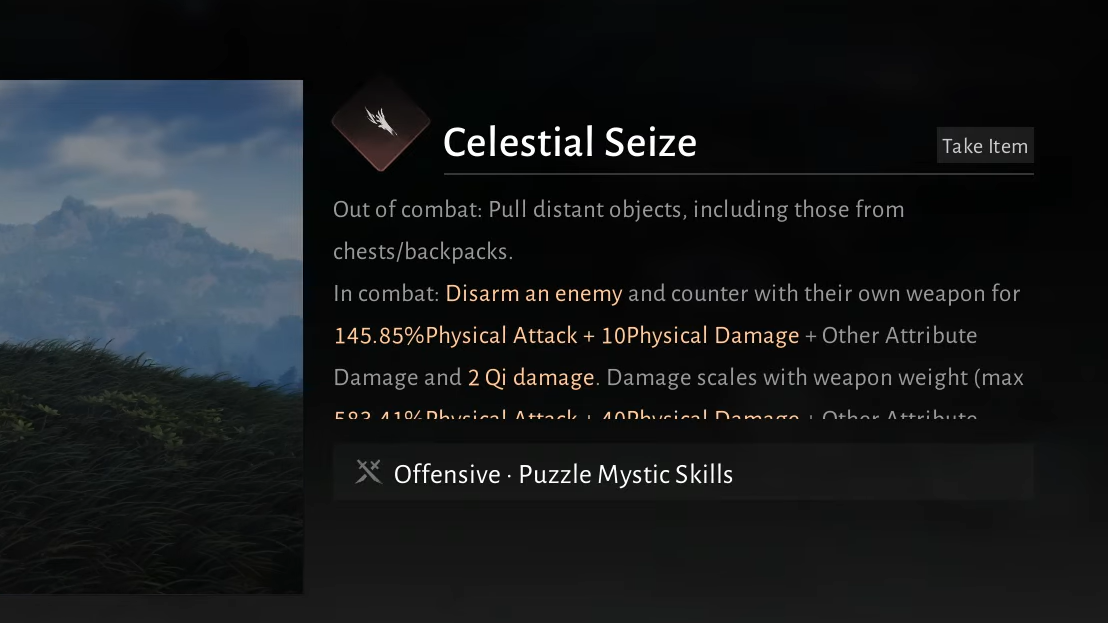
Step 1: Unlock the Celestial Seize mystic skill.
Celestial Seize comes from the “Foul Play” quest in Qinghe. Speak to the NPC that starts this quest, use Celestial Seize during his event to expose a cheating peddler, then report back to complete the quest and keep Celestial Seize permanently as a mystic art.

Step 2: Return to the NPC outside the Snake Doctor cave.
The NPC in front of the cave will now provide a special letter showing three locations nearby. Each location has a snake guarding a key item you must retrieve with Celestial Seize.
Step 3: Collect the first snake item on the rock face.
Climb the rocks just ahead of the cave, move onto the next ledges, and look left for a small snake coiled around a glowing object. Use Celestial Seize from a safe distance to pull the item away. This is the first of the three components.
Step 4: Collect the second item in the ruined house.
Travel a bit further into the hills until you spot the remains of a collapsed house—effectively just a roofed frame. Inside, another snake guards a key item. Use Celestial Seize again to grab it without stepping into melee range.
Step 5: Break the rock structure and drop into the snake pit.
Move on toward the edge of the nearby cliffs until you find a distinctive rock formation that can be destroyed with a downward smash (a lightness skill Mighty Drop or equivalent). Jump above it, perform your smash, and you’ll break through into a pit full of snakes.
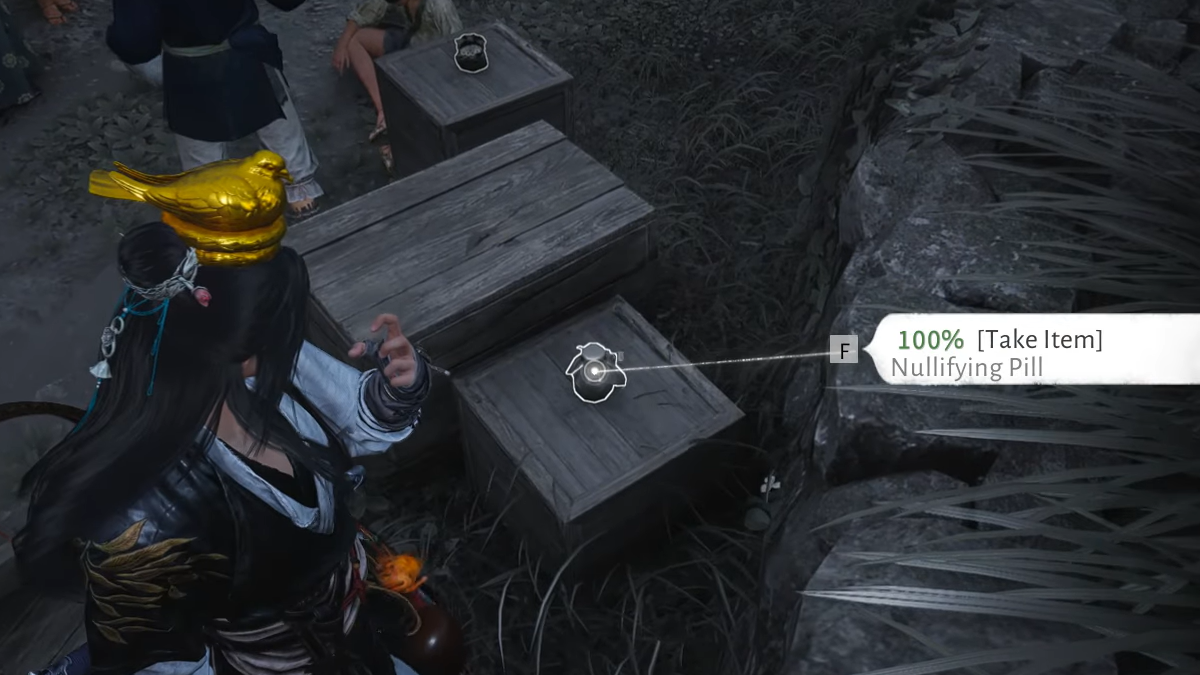
Step 6: Stealth your use of Celestial Seize.
In the snake pit, avoid drawing attention. If human enemies or signposts crowd your line of sight, deal with them first so Celestial Seize can properly target the snake-held item. Use Celestial Seize one more time from concealment to pull the final component away from the snakes.
Step 7: Return to the cave NPC for Snake King’s Bone.
Hand all three components to the NPC back at the cave entrance. In return, you receive the Snake King’s Bone. When this item is in effect, the snakes inside the Snake Doctor cave will ignore you, letting you walk through the area safely to reach the boss arena.
How to unlock Star Reacher after the boss
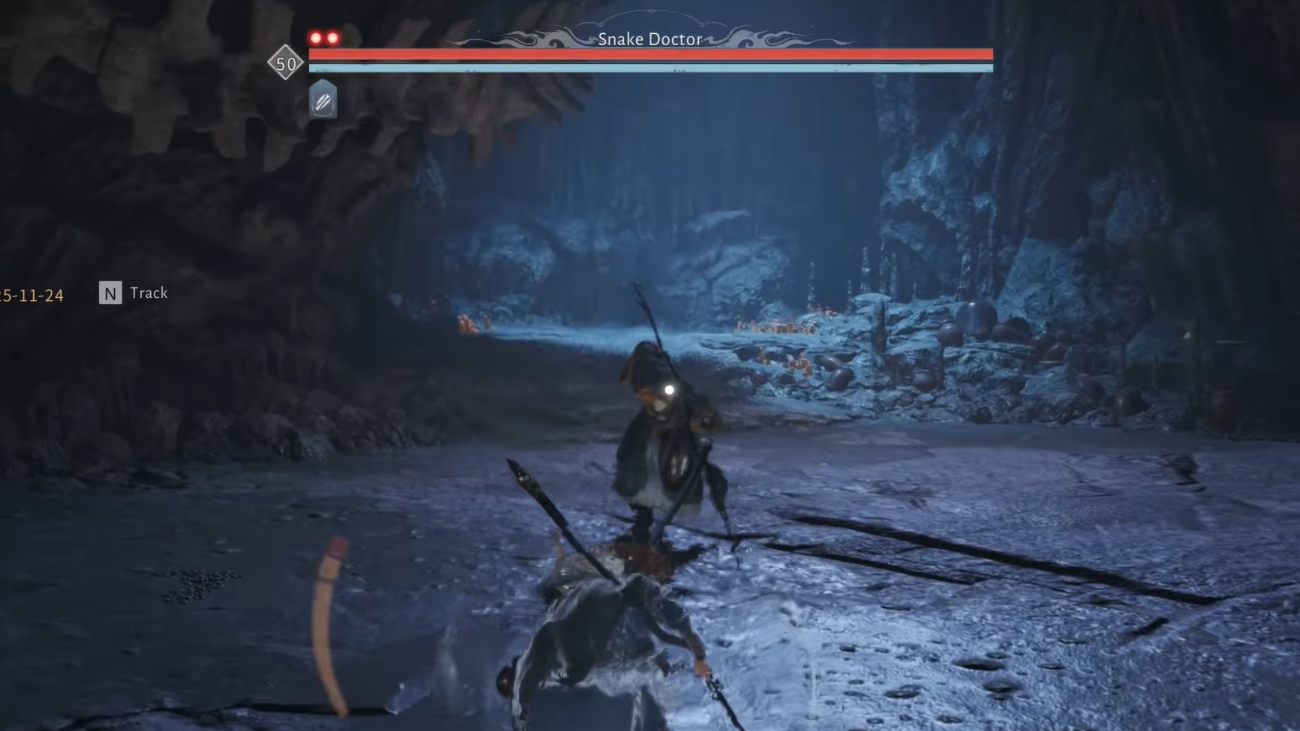
Step 1: Enter the deeper cave and defeat Snake Doctor.
With your chosen method, push through the snake zone and continue further in until you reach the Snake Doctor world boss arena. Defeat this Mysterious Boss to earn the Star Reacher reward. The Inner Way Tome or unlock is granted for the first clear; you do not need to rely on a chest drop.
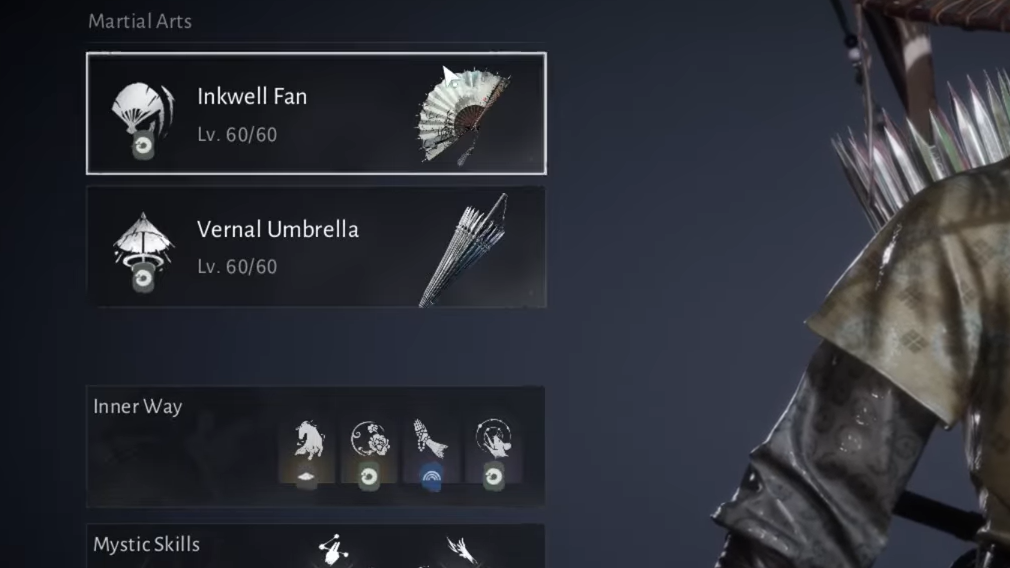
Step 2: Open the Inner Ways menu.
After the fight, open the character menu and switch to the Inner Ways (Internal Arts) section. Scroll through the list until you find Star Reacher under the Silkbind - Jade path, tagged as Attack / Pursuit / Buff.
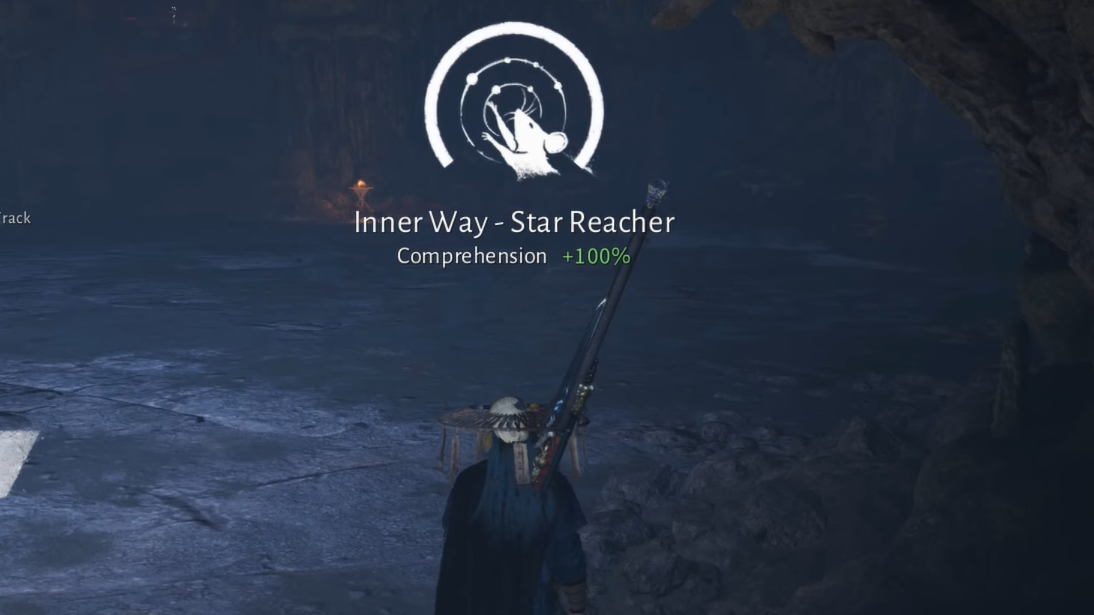
Step 3: Comprehend Star Reacher.
Select Star Reacher and use the Comprehend Inner Way button in the bottom-right corner of the screen. This consumes the Star Reacher tome entry and permanently unlocks the Internal Art for your build.
Star Reacher core effect and stats
Star Reacher focuses on amplifying damage after you launch enemies into the air and then gradually adds more conditional bonuses as you upgrade it.
| Tier | Bonus |
|---|---|
| Base | Gain 10% Physical Attack bonus for 8 seconds after knocking an enemy airborne. |
| Tier 1 | Increases the Physical Attack bonus to 15%. |
| Tier 2 | Further increases Physical Attack based on Solo Mode Level. |
| Tier 3 | If the target is Exhausted or has less than 20% Qi, gain an additional 10% Physical Attack bonus. |
| Tier 4 | Extends the duration of the Physical Attack bonus to 12 seconds. |
| Tier 5 | Increases Physical Penetration by 5.1. |
| Tier 6 | When damaging a target under Launch state or affected by your Lingering Bone mark, if your HP is above 75%, damage dealt is increased by 3%. Otherwise you recover HP equal to 10% of the damage dealt. |
Earlier information described a simpler Tier 6 effect where hitting airborne targets restored HP for 10% of damage dealt. The current version adds the extra conditional damage increase when your health is high, making the capstone both offensive and defensive.
Star Reacher build synergy and weapon pairing
Star Reacher is tuned for kits that frequently launch targets and keep them in the air.
- Path: Silkbind - Jade
- Tags: Attack, Pursuit, Buff
- Recommended pairing: Inkwell Fan + Vernal Umbrella
Inkwell Fan and Vernal Umbrella together create reliable airborne setups, allowing you to trigger Star Reacher’s base effect on cooldown. The extended duration at Tier 4 and the extra conditional bonuses at Tier 3 and Tier 6 mean that in sustained juggle combos, the buff is active for most of the fight.
Because several tiers increase Physical Attack directly and add Physical Penetration, Star Reacher scales especially well in Solo Mode, where you can push your Solo Mode Level and make full use of the Tier 2 scaling bonus.
How to upgrade Star Reacher efficiently
Star Reacher, like other Internal Arts, ranks up through breakthrough tiers that unlock its additional bonuses.
Step 1: Reach Solo Mode Level 4 (Roaming 4).
Tier upgrades are locked behind progression; you must first hit Solo Mode Level 4, also referenced as Level 4 Roaming. Before that, Star Reacher will remain at its base effect plus any earlier unlocked tiers.
Step 2: Acquire Star Reacher: Notes.
Upgrading Star Reacher beyond its initial tier requires Internal Art Advance items specific to it, labeled as Star Reacher: Notes. These can drop from several in-game sources and can be acquired reliably using the Tips Exchange feature in towns.
Step 3: Spend Notes on breakthrough tiers.
With enough Notes and the level requirement met, open the Inner Ways interface, select Star Reacher, and invest your materials into its Breakthrough tiers. Prioritize Tier 1 and Tier 3 first for the biggest flat damage gains, then Tier 4 and Tier 6 to extend uptime and add healing or extra damage during high-HP windows.
Once Snake Doctor is on farm and Star Reacher is fully unlocked, Silkbind - Jade players gain a dependable, always-on damage engine that rewards aggressive airborne play. Pair it with Inkwell Fan and Vernal Umbrella, keep enemies in the air, and the buff will quietly carry a large share of your physical damage output while also offering valuable sustain at its highest tier.