
Windows 11 Pro typically comes with a significant price tag, but occasionally, limited-time deals allow users to upgrade their systems at a fraction of the normal cost. Currently, you can take advantage of a special offer to obtain Windows 11 Pro for just $10. Follow the detailed instructions below to secure your discounted upgrade quickly and easily.
Method 1: Purchasing Windows 11 Pro License at Discounted Price
Step 1: Visit the official deals page or a trusted third-party retailer currently offering the discounted Windows 11 Pro license. Ensure the website you're using is legitimate and secure by verifying its URL and security credentials (look for "https://" and a padlock icon in your browser address bar).
Step 2: Once you're on the deals page, locate the promotion for Windows 11 Pro. Typically, these promotional offers will clearly indicate the limited-time nature of the deal and the discounted price of approximately $10.
Step 3: Add the Windows 11 Pro license to your shopping cart. Double-check the price to confirm you're receiving the promotional rate before proceeding to checkout.
Step 4: Proceed to the checkout page. You'll likely need to create an account or log in if you already have one. Fill out your payment information carefully, ensuring accuracy to prevent delays in the purchasing process.
Step 5: Confirm your purchase. After payment, you will receive an email containing your Windows 11 Pro license key. Keep this email safe, as you'll need the license key for activation.
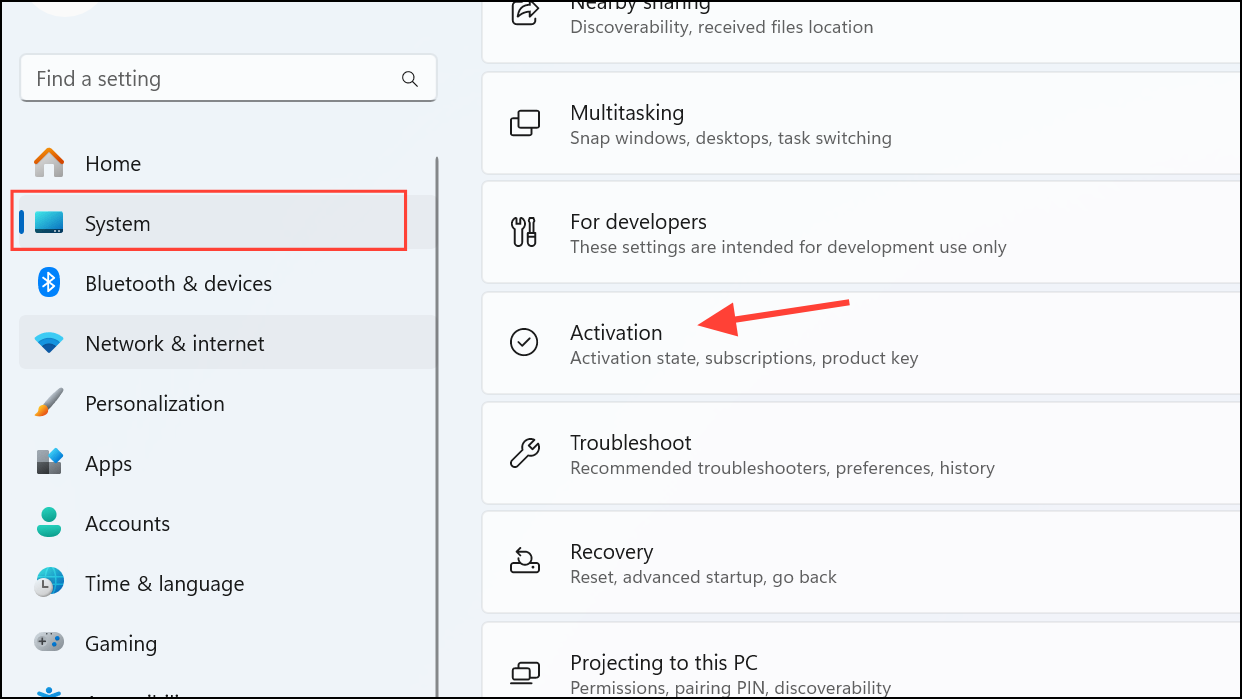
Step 6: Activate your Windows 11 Pro license on your computer. Go to the "Settings" app on your Windows 11 system, select "System," then "Activation."
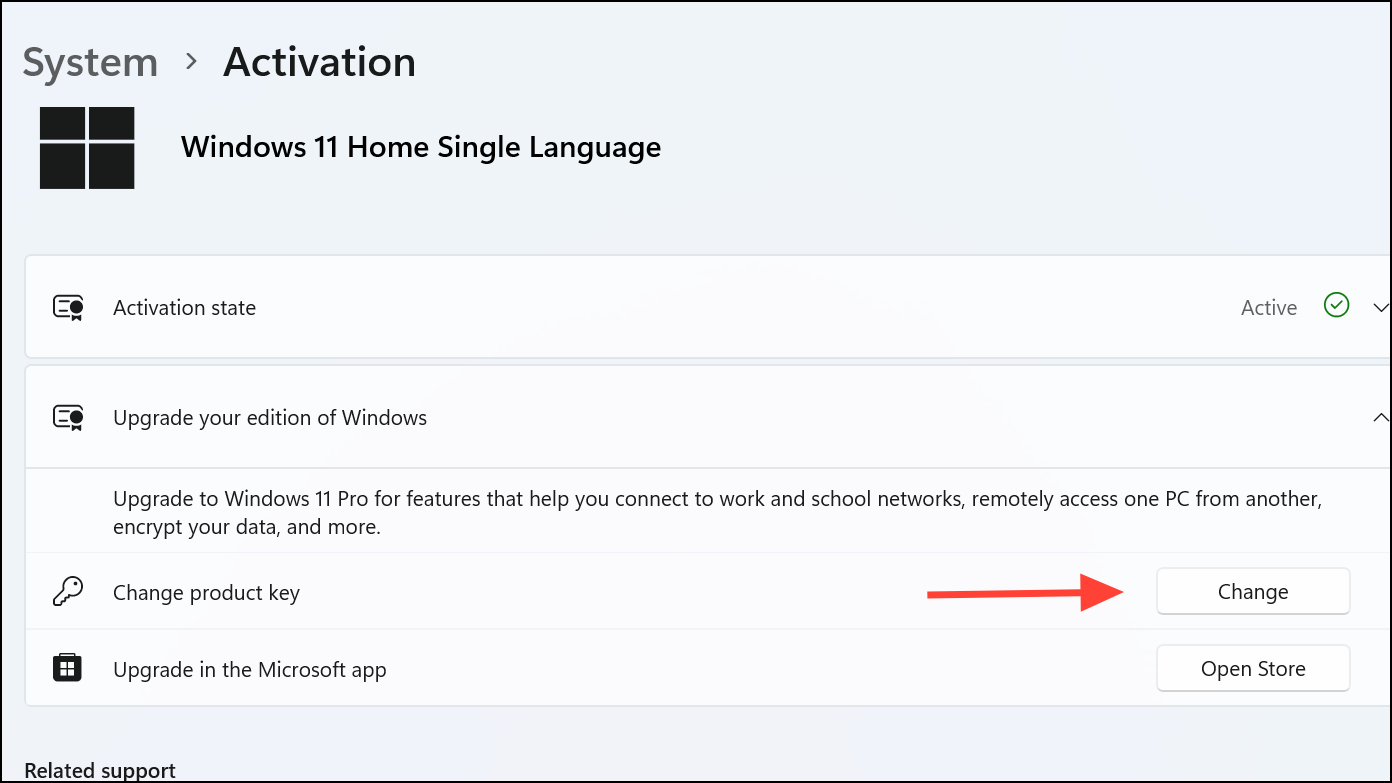
Step 7: Click on "Change product key." Enter the license key you received and follow the prompts to complete activation. After successful activation, your system will confirm that you're running Windows 11 Pro.
Step 8: Restart your computer to ensure the license activation fully applies. Once restarted, your Windows 11 Pro installation is complete and ready to use.
Method 2: Upgrading from Windows 11 Home to Pro via Microsoft Store (Less Cost-Effective)
Step 1: Open your Windows 11 Home device and navigate to "Settings." From there, select "System," then click on "Activation."
Step 2: Under the activation settings, you'll see an option labeled "Upgrade your edition of Windows." Click on "Open Store."
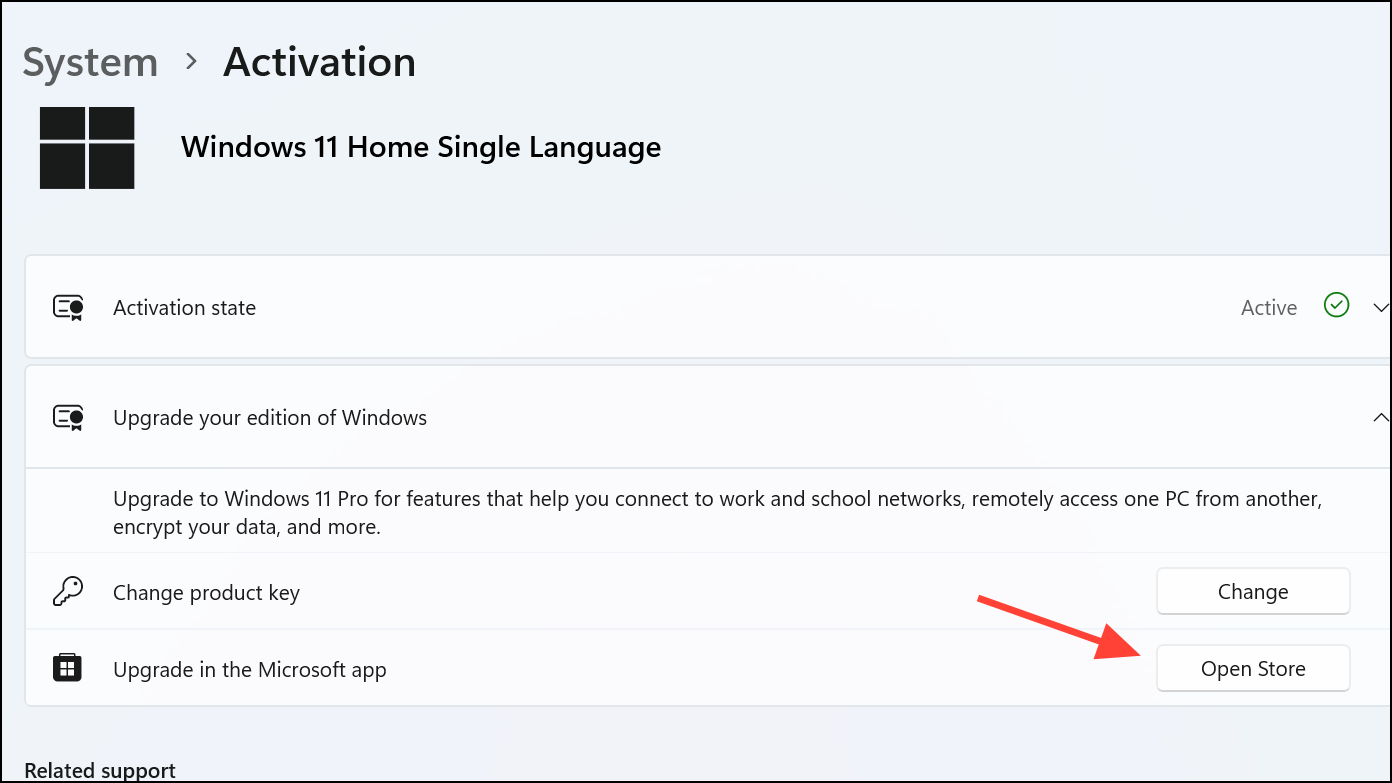
Step 3: The Microsoft Store will launch, showing the standard upgrade price for Windows 11 Pro. This method is convenient but significantly more expensive than the promotional deal described in Method 1.
Step 4: If you choose to proceed, click "Buy" and follow the on-screen instructions to complete your purchase through the Microsoft Store. After payment confirmation, the upgrade will automatically download and install on your system.
Make sure to regularly check trusted deal websites and official retailer pages for similar limited-time offers, as they can save you a substantial amount on software upgrades like Windows 11 Pro.