ChatGPT’s launch showcased the power of generative AI. Now, the rumored “world’s first AI software engineer,” Devin, is making waves. While Devin remains in closed beta, Devika offers a similar experience as an open-source AI software engineer from an Indian developer. Ready to try it yourself? Below’s how to install and set up Devika AI.
What is Devika AI? Devika AI is an open-source alternative to Devin, the world’s first AI software engineer. Inspired by Devin, Devika helps you write programs but with the key advantage of being completely free. This powerful tool was developed by 21-year-old Mufeed VH, founder of Lyminal and Stition.AI.
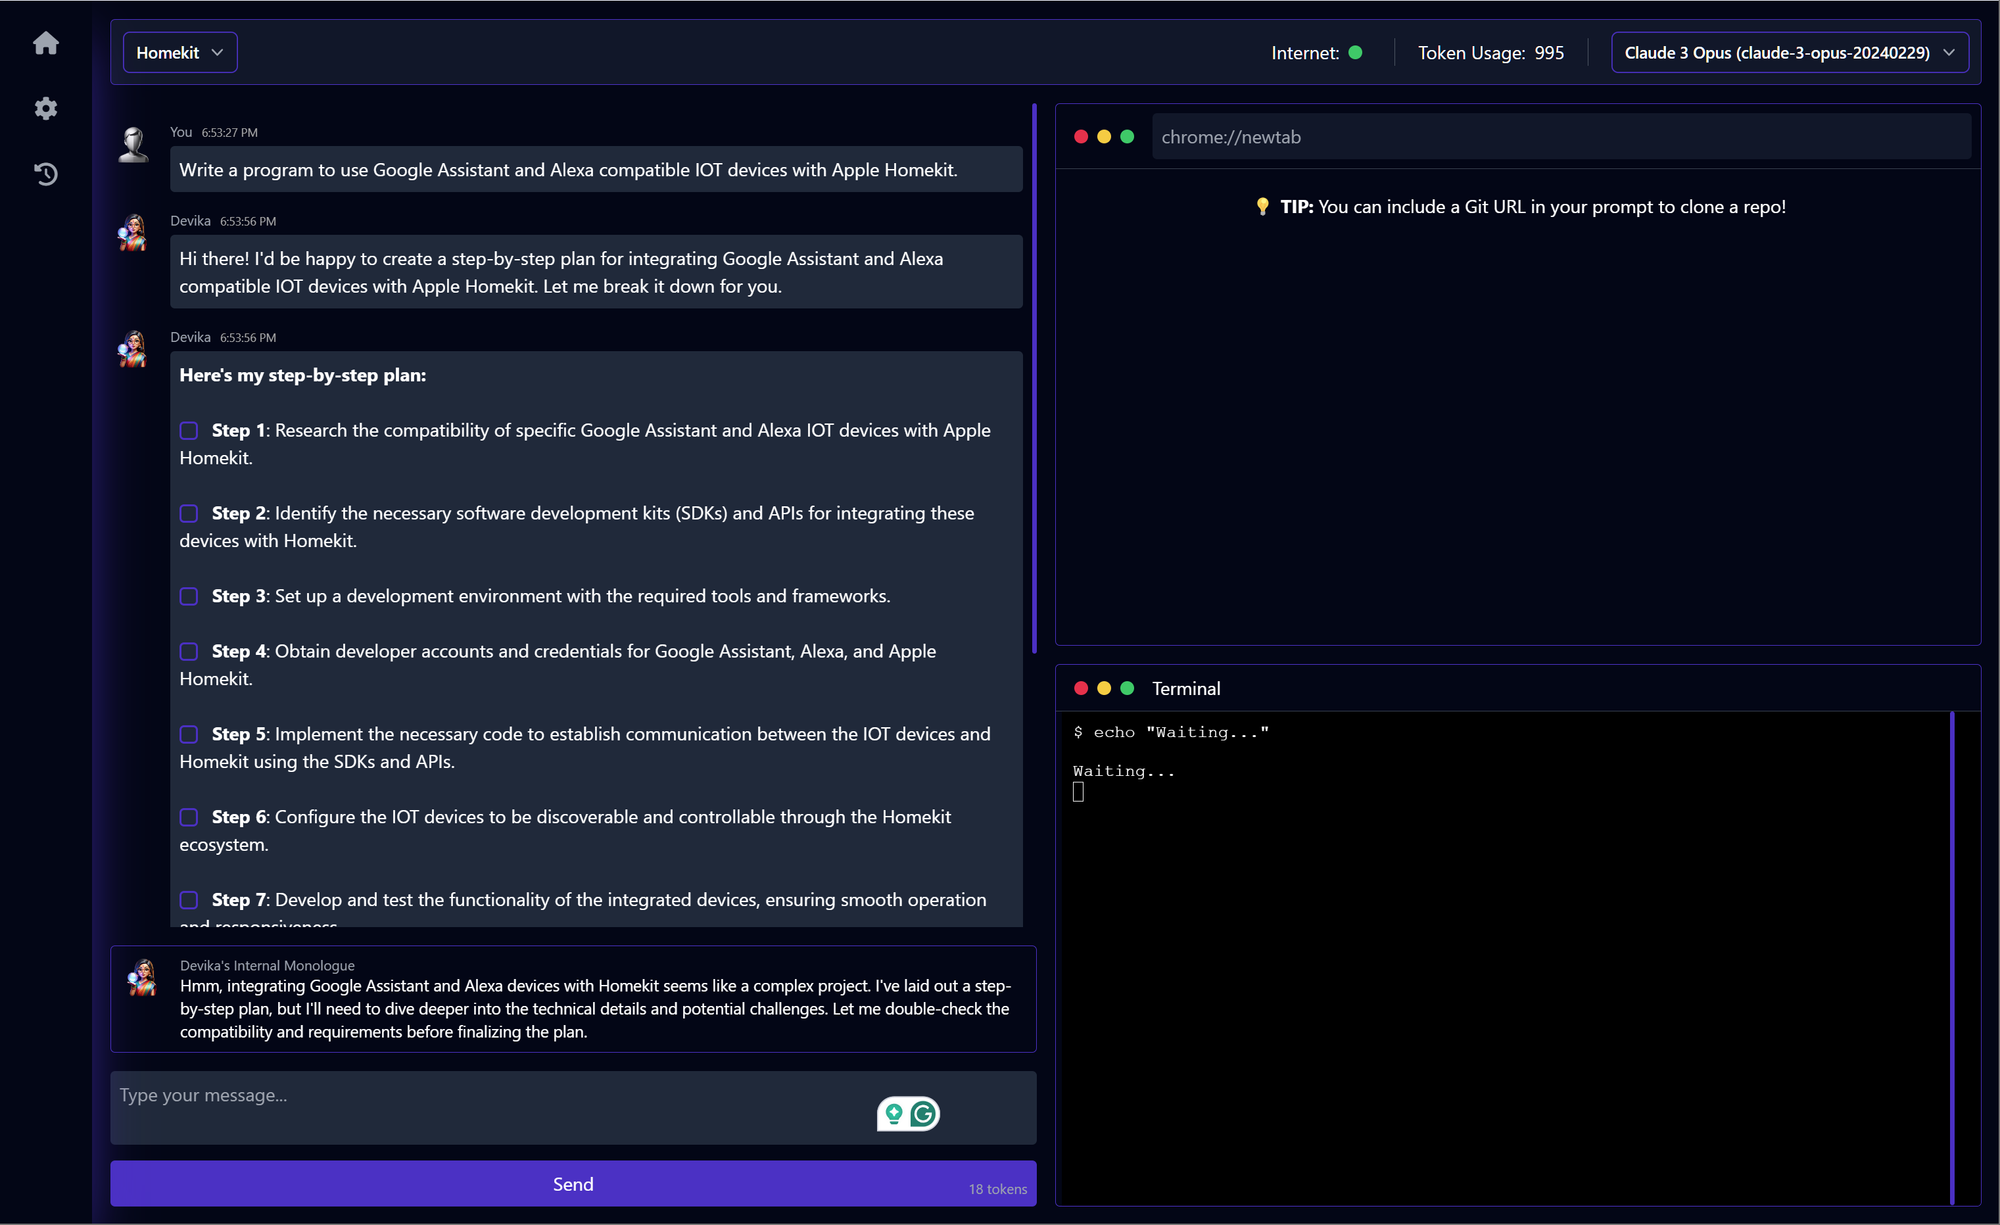
Devika AI offers a collaborative experience – anyone can use, share, and improve its codebase. It understands natural language prompts, researches for optimal coding solutions, and acts as a smart assistant, offering ways to enhance your code. Devika’s capabilities stem from advanced AI models like Claude and GPT-4, enabling it to tackle complex coding tasks.
Downloading And Installing Dependencies
To run Devika AI, you need a few dependencies, including Ollama and Bun.
Installing Ollama And Bun
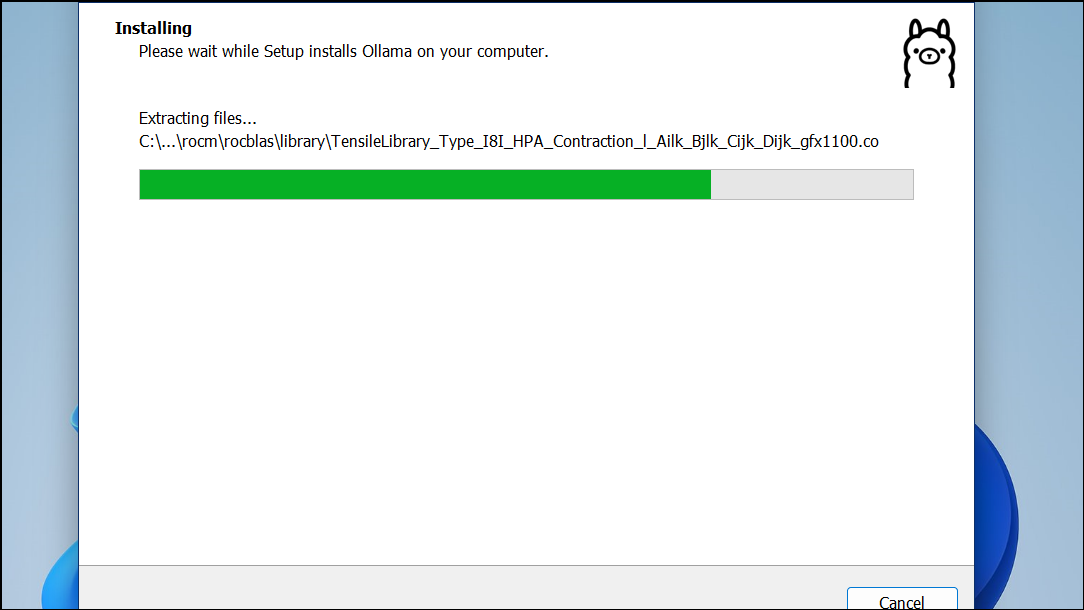
- Visit the Ollama website and click on the ‘Download For Windows’ button. If you are on MacOS or Linux, select the respective options.
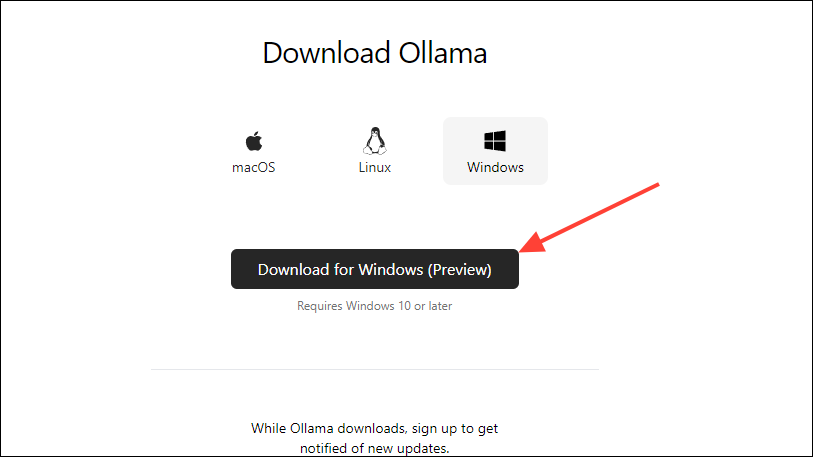
- Once the setup is downloaded, run it to install Ollama.
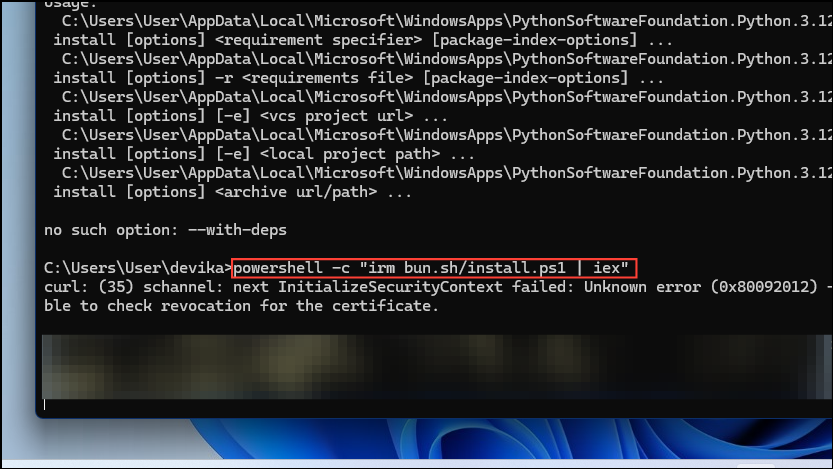
- Next, you need to install Bun. To do so, go to your cmd window and type
powershell -c "irm bun.sh/install.ps1 | iex"
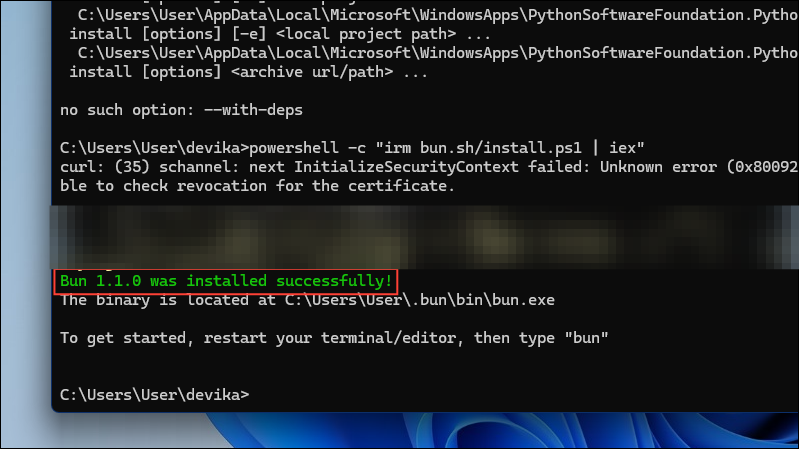
- You will see the message ‘Bun was installed successfully’ once the process is complete.
Cloning The Devika Repository
Now you need to clone the Devika repository from GitHub to get the files required for installation.
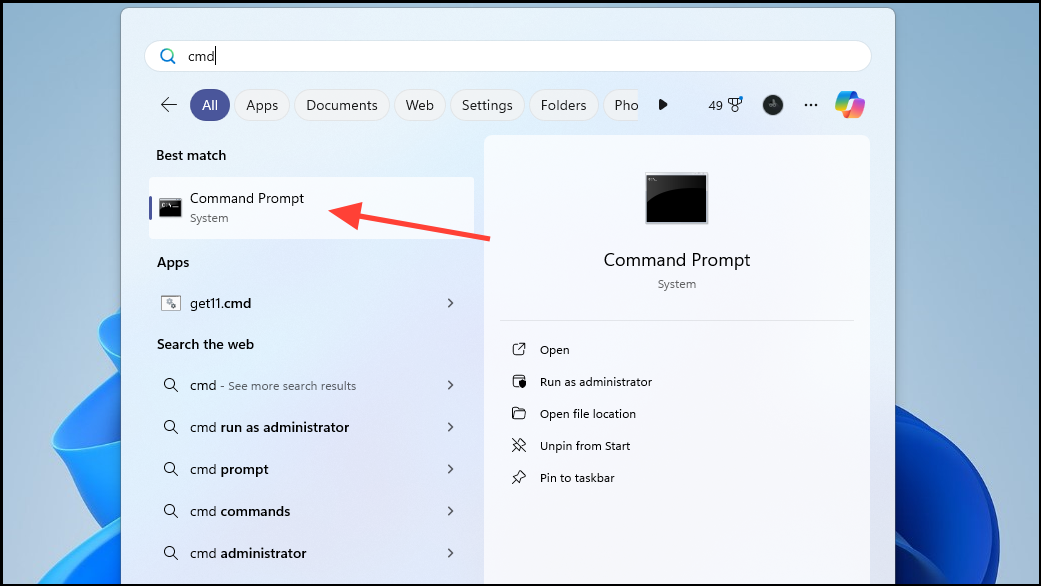
- Launch the command prompt on your Windows PC by typing in
cmdorcommand promptin the Start menu and selecting the application from the results.
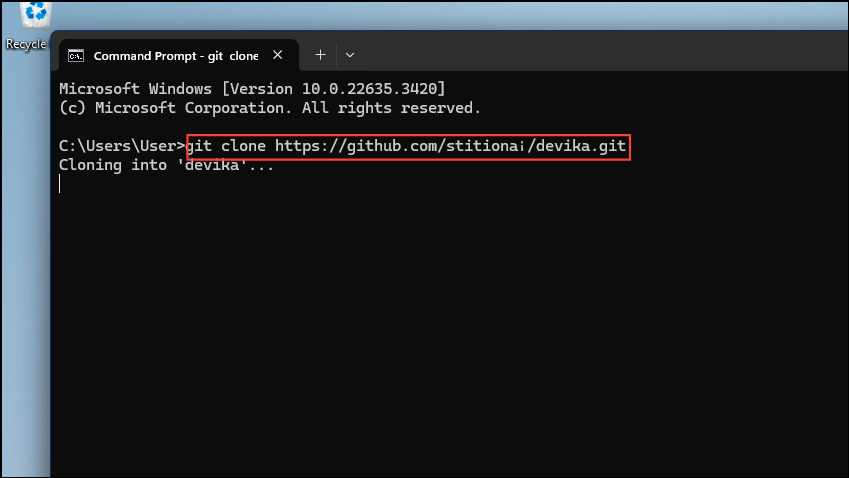
- Copy and paste this command in the command prompt,
git clone https://github.com/stitionai/devika.git. Press the ‘Enter’ key to allow your system to copy all the files needed from the repository to your machine.
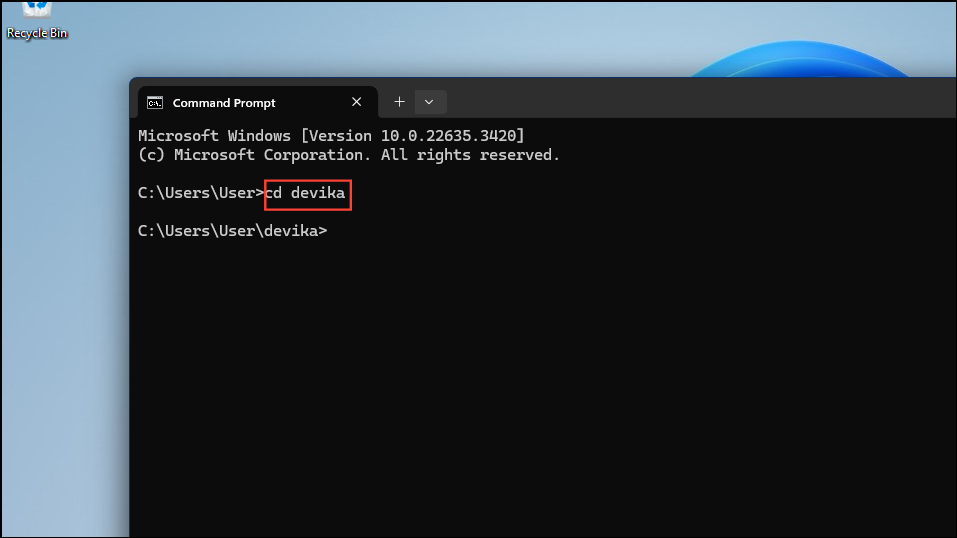
Your system now has the files it needs and has created a directory named ‘Devika’. The next step is to install additional dependencies.
Installing Required Dependencies
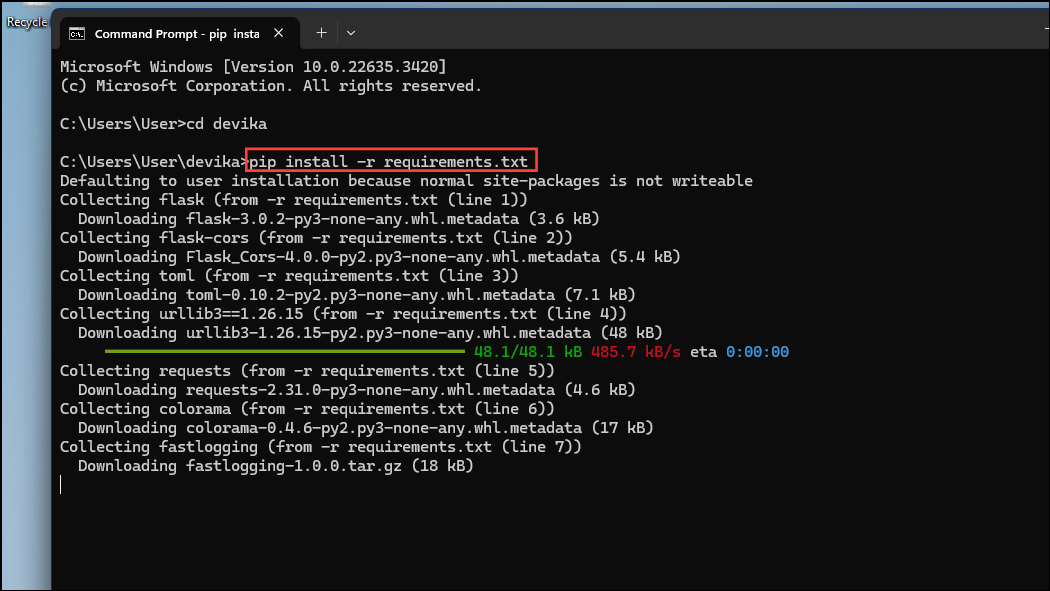
To install the required dependencies, you need to navigate to the Devika directory.
- Type
cd devikaand press the ‘Enter’ key.
- Next, type
pip install -r requirements.txtto install the needed Python dependencies and press the ‘Enter’ key.
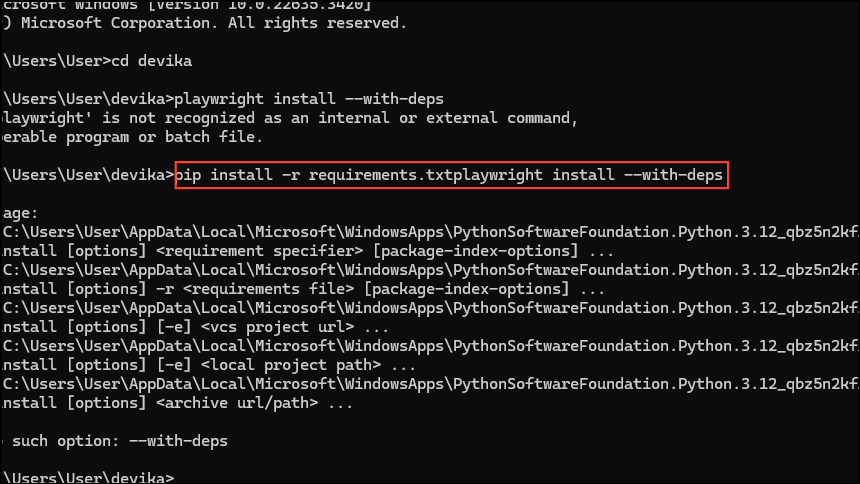
- Follow this up with the command
pip install -r requirements.txtplaywright install --with-deps. It can take some time to install the dependencies.
Setting Up The API Keys And Configuration
Depending on which features you want to use, Devika AI may need specific API keys to function correctly. You can configure these to establish parameters that the AI tool will use in the config.toml file in the Devika directory.
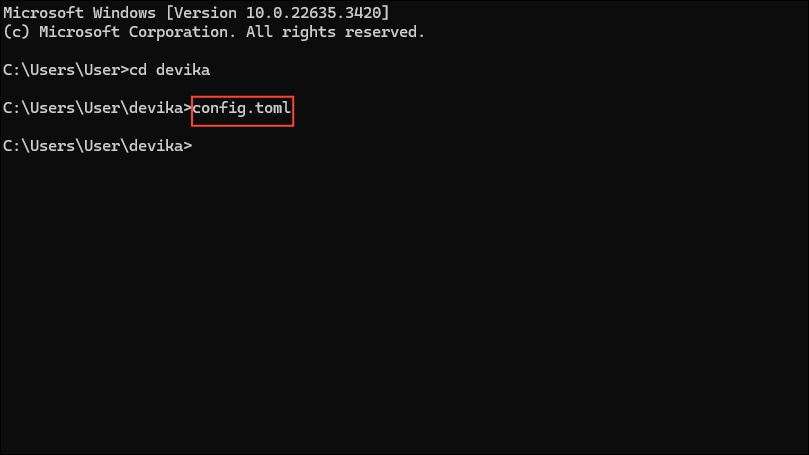
- In the root directory, type
config.tomlto access the configuration file.
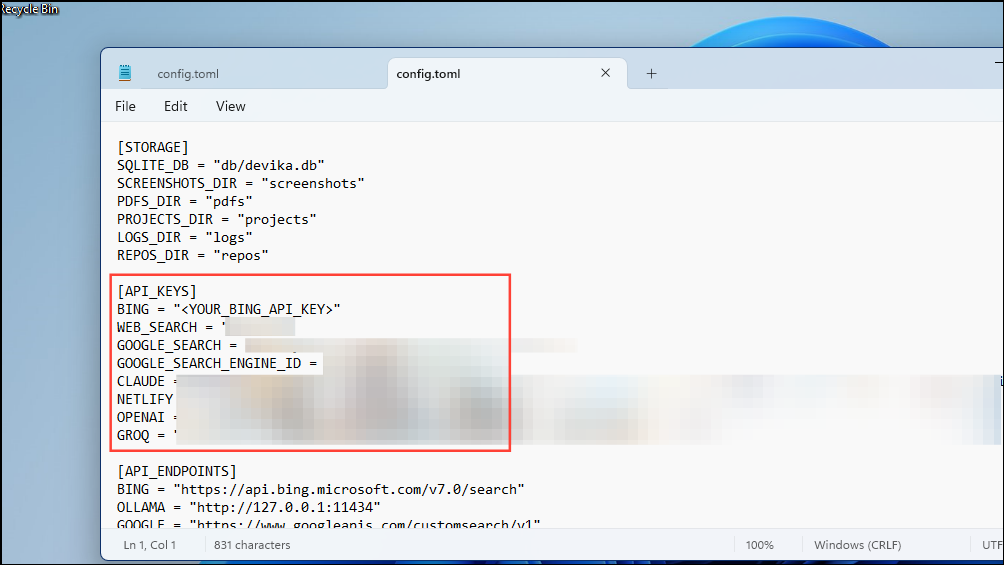
- If you are running Windows, open the file using Notepad. The ‘API Keys’ section in the configuration file is where you can add your own keys for different AI models.
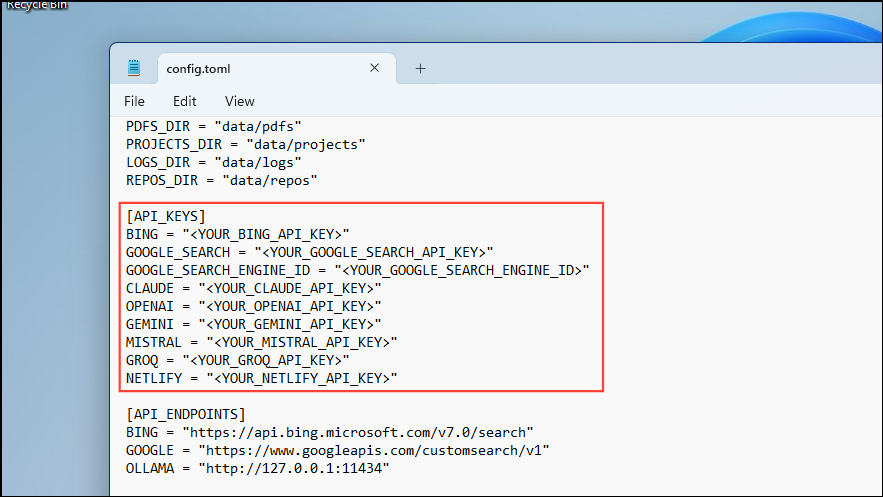
- To add a key, simply paste it next to its respective model within the brackets. When you’re done, close the file.
Starting The Devika AI Server
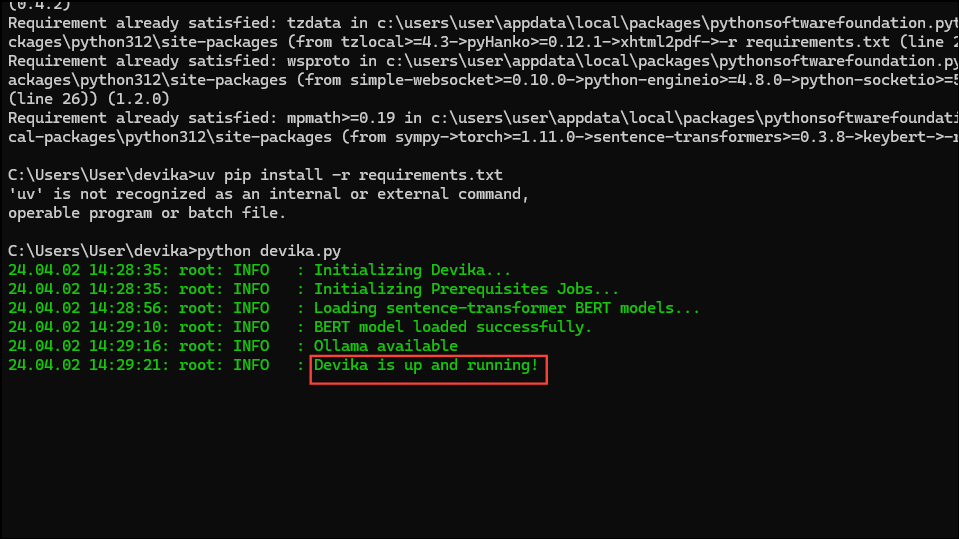
To run Devika AI, you need to start the Devika server first.
- In the root directory, type
python devika.pyand press the ‘Enter’ key.
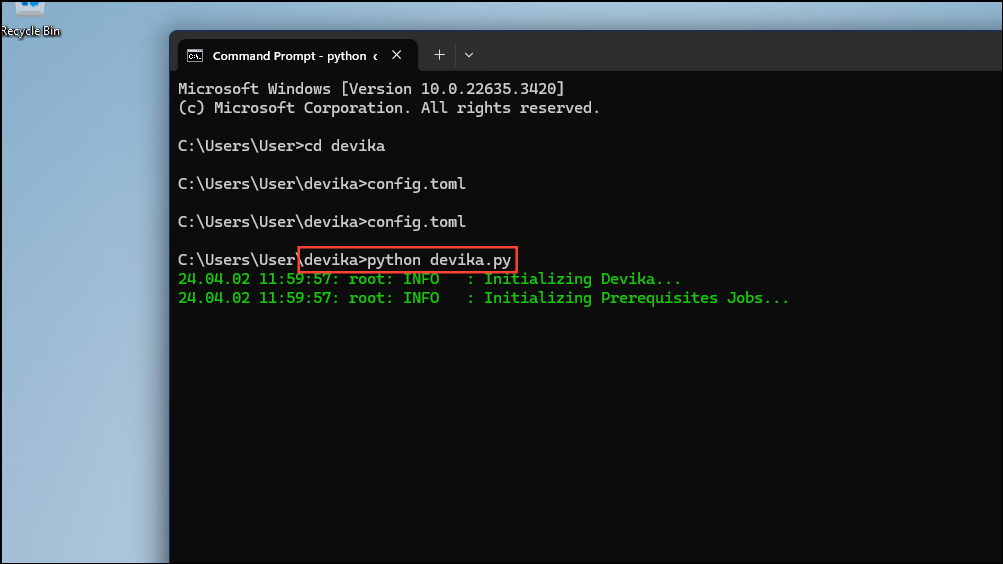
- When the server starts running, you will see a message in the command prompt window.
Compiling And Running The UI Server
The final series of steps you need to complete to run Devika AI is to compile and run the UI server.
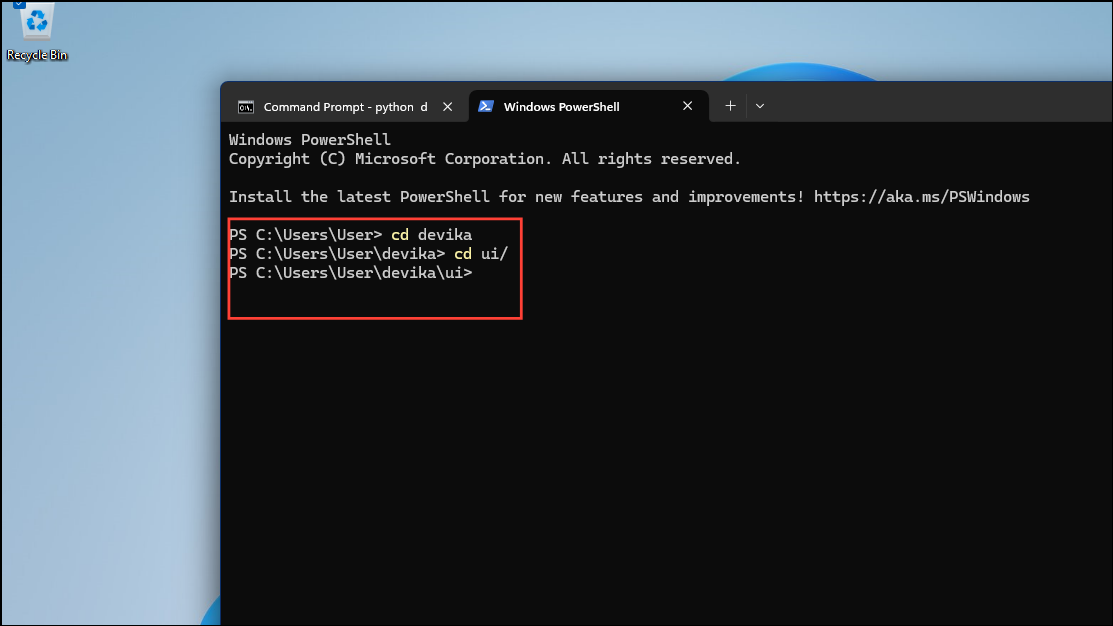
- Open a new command prompt window and navigate to the Devika directory using
cd devika. - Next, type
cd ui/before pressing the ‘Enter’ key.
- Follow this with
bun installand thenbun run dev. Press the ‘Enter’ key after each command.
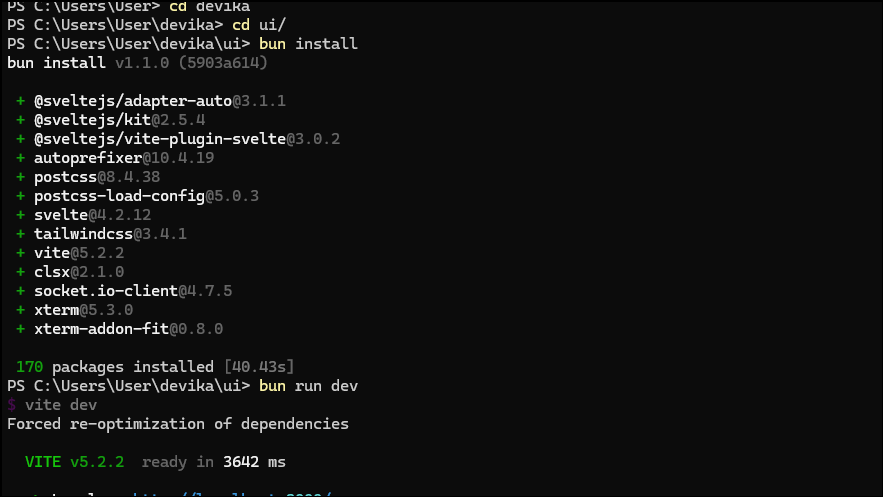
- Now your installation is complete, and you just need to start Devika AI. You can run Devika AI in your browser after it is installed by visiting http://localhost:3000 to access the Devika AI interface.
Devika AI, being a free and open-source alternative to Devin AI, is more accessible to a larger number of people. If you are interested in checking out how it can simplify the process of writing programs, the above steps will help you install it on your system.
That said, keep in mind that the Devika AI tool is currently a work in progress. This means that you may run into issues when trying to make it work or may encounter bugs even while it is functioning. However, the developers are actively working on resolving problems with Devika AI, and it is only a matter of time before it is on par with its proprietary counterpart.