By default, Google Sheets cells have a fixed size, which can lead to data being cut off or overlapping into adjacent cells when the content exceeds the cell's dimensions. This can make it difficult to read and interpret the information accurately.
Step 1: To automatically adjust a cell's size to fit its content, hover the cursor over the boundary between the column headers until it turns into a double-sided arrow. Then, double-click the boundary. The column will resize itself to fit the longest cell content in that column.
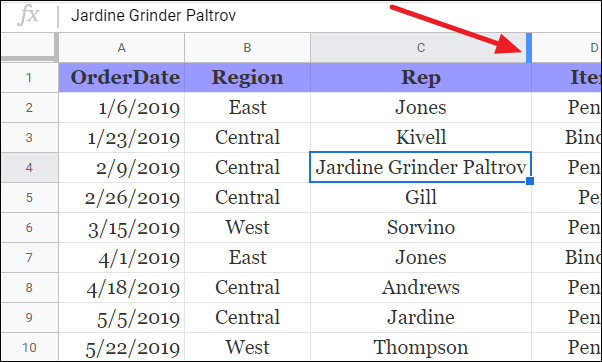
Step 2: If you prefer to manually adjust the cell size, place the cursor on the boundary between the column headers until it becomes a double-sided arrow. Click and drag the boundary to the desired width. This method allows you to set a custom size for the cell.
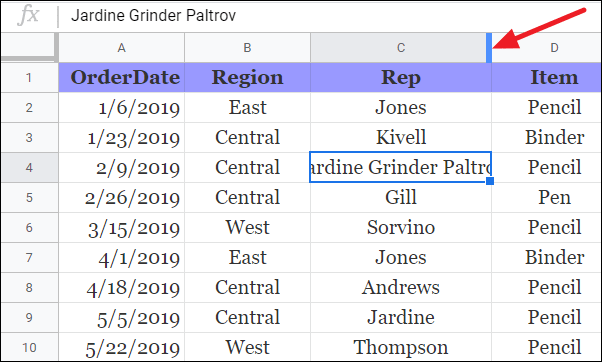
In situations where multiple cells contain overflowing data in different locations, adjusting each one individually can be time-consuming.
Resizing All Cells in Google Sheets at Once
Step 1: To adjust the size of every cell in the sheet simultaneously, click the 'Select All' button, which is located at the intersection of the row numbers and column letters, just below the formula bar. This action highlights the entire spreadsheet.
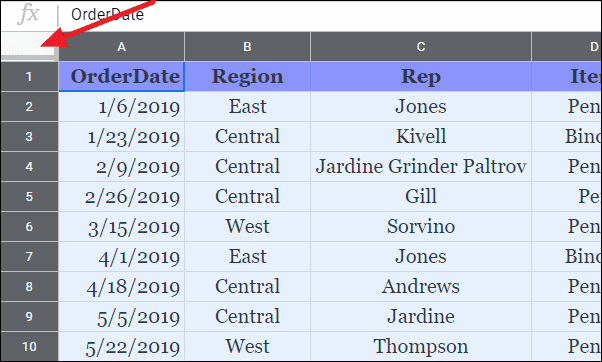
Step 2: Hover the cursor over any column boundary until it changes to a double-sided arrow. Click and drag the boundary to increase or decrease the width of all columns. Release the mouse button once you reach the desired size, and the change will apply to every cell in the sheet.
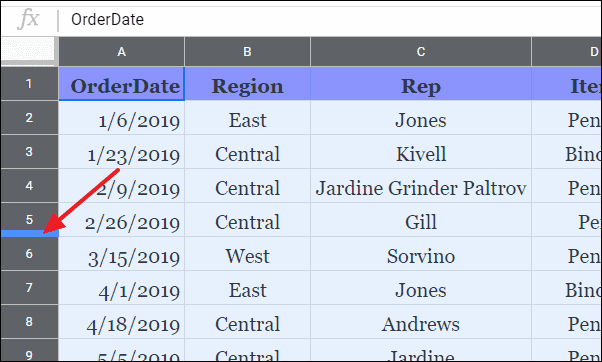
Step 3: Similarly, you can adjust the row heights by hovering over a row boundary, then clicking and dragging to resize all rows at once.
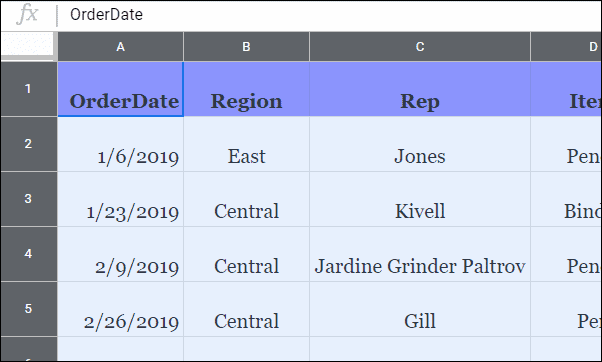
By adjusting the cell sizes, you can ensure that all your data is clearly visible and easily accessible, improving the overall readability of your Google Sheets.

