
Moving a shared folder in Google Drive to another account is a common need—especially when consolidating files, switching accounts, or freeing up storage on an old profile. Google Drive doesn’t offer a direct, one-click solution for migrating entire folders (including nested subfolders and files) between accounts, particularly when the accounts are in different domains or organizations. However, several methods can streamline the process, each with its own advantages and limitations.
Method 1: Using Google Takeout Transfer (Best for Workspace/Education Accounts)
Google Takeout Transfer is designed for users who need to migrate Drive content from a school or work account to a personal Google account. This tool copies Drive files (and optionally Gmail) directly to another Google account, preserving folder structure where possible and avoiding manual downloads. Not all organizations enable Takeout Transfer, so check with your administrator if the option is unavailable.
Step 1: Visit takeout.google.com/transfer and sign in with your source (school or work) Google account. This page is specifically for transferring your content to another Google account.
Step 2: Enter the email address of your destination Google account. You will be prompted to verify your identity and grant access permissions for the transfer.
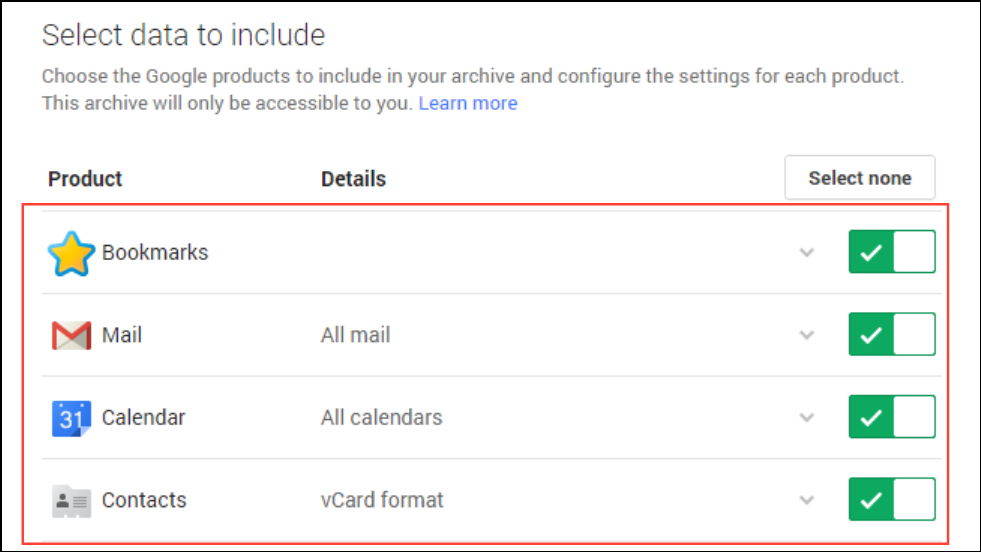
Step 3: Select the content you want to transfer. You can choose to move Drive files, Gmail, or both. The tool will copy your files to the destination account’s Drive, preserving the folder hierarchy as much as possible.
Step 4: Monitor the transfer status. The process can take hours or days, depending on the amount of data. Once finished, your files will appear in a folder labeled with your old account’s name in the destination Drive. Review the folder to ensure all necessary files transferred, and manually move or reorganize as needed.
This method avoids local downloads and uploads, which is especially useful for large data sets or users with limited storage on their devices.
Method 2: Manual Download and Upload (Works for Any Account Type)
When Google Takeout Transfer isn’t available or you need more granular control, manually downloading and uploading folders is a reliable approach. While this method is straightforward, it requires enough local storage to temporarily hold your files.
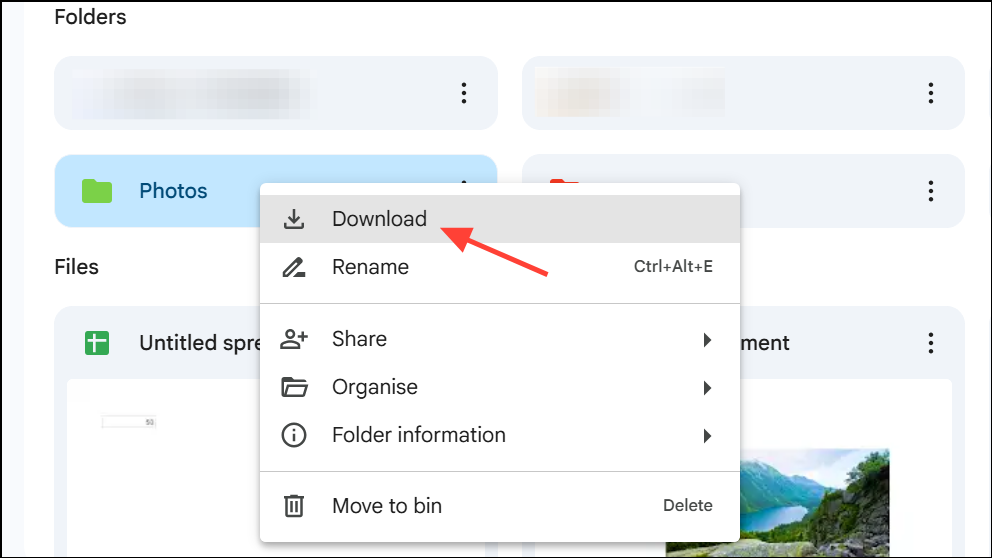
Step 1: Log in to your source Google Drive account. Select the folder you wish to move, then right-click and choose Download. Google Drive will compress the folder into a ZIP file and download it to your computer.
Step 2: Extract the ZIP file on your device. Review the extracted files and folders to ensure everything downloaded correctly. Some Google-native files (Docs, Sheets, Slides) will be converted to Microsoft Office formats during this process.
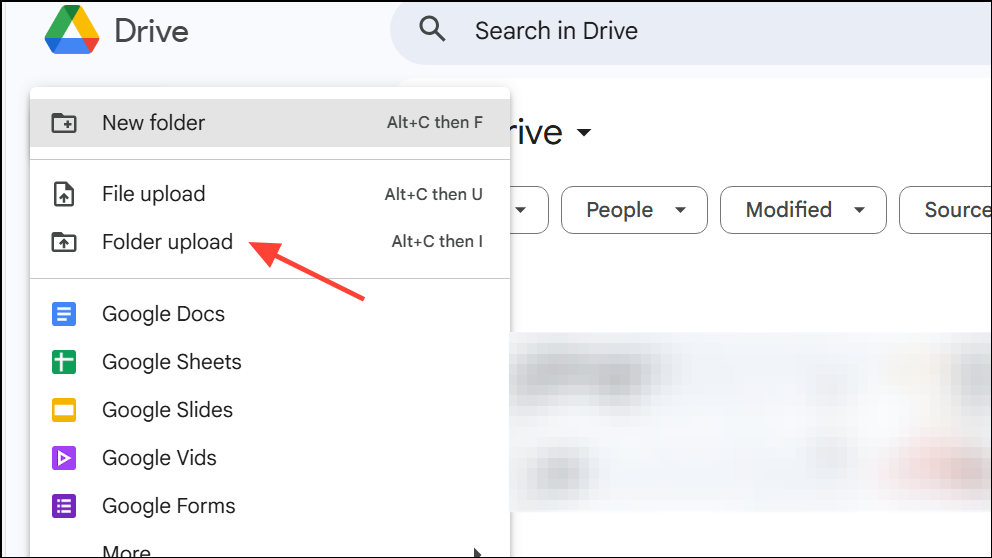
Step 3: Log in to your destination Google Drive account. Click New > Folder to create a new folder, then drag and drop the extracted files and folders into this location. Alternatively, use the Folder Upload option.
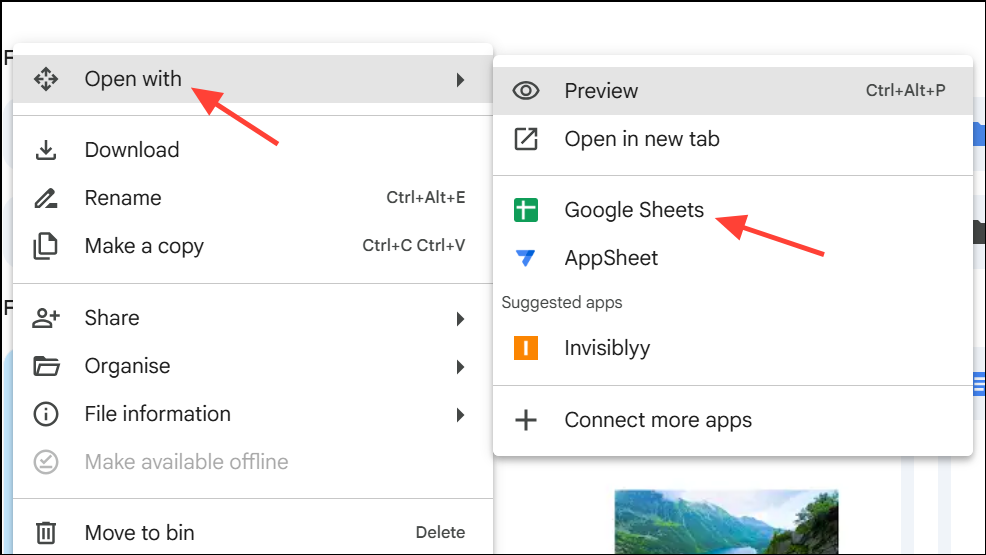
Step 4: For Google-native files that were converted to Office formats, right-click each file in Drive and choose Open with > the appropriate Google app (Docs, Sheets, Slides) to convert them back to Google format. Rename and organize as needed.
This approach gives you full control over what gets moved, but can be time-consuming for large or complex folder structures. Always verify that all files uploaded successfully before deleting them from the original account.
Method 3: Sharing and Changing Ownership (Same-Domain Accounts Only)
For users within the same Google Workspace or domain, you can transfer folder ownership directly—though this method doesn’t work across personal and institutional accounts or between different organizations due to Google’s restrictions.
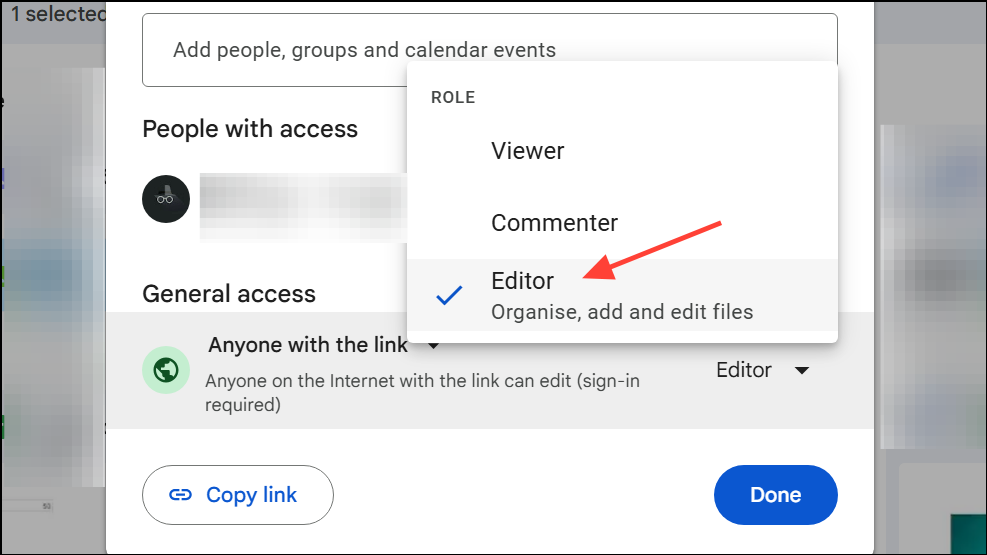
Step 1: In your source account, right-click the folder you want to transfer and select Share. Enter the email address of the destination account and grant Editor access.
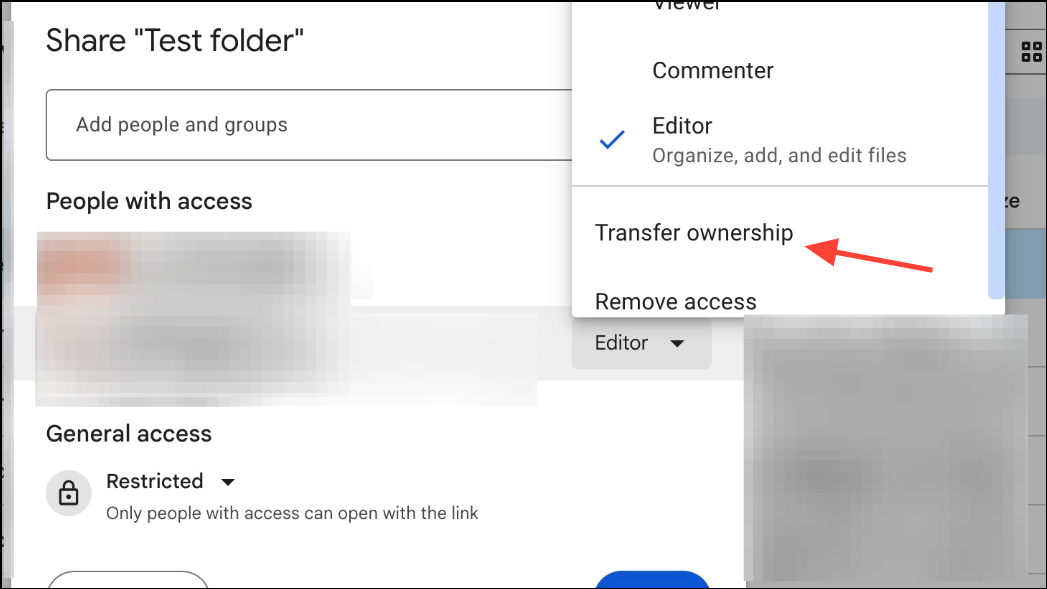
Step 2: After sharing, click Share again, then select Advanced. Next to the destination account, click Is owner to transfer ownership. Alternatively, use the Transfer ownership option if it is available. Confirm the change. The folder and its files will now belong to the destination account, but subfolder ownership may not transfer recursively—manual adjustments may be needed for nested folders.
Transferring ownership is fast and keeps files in place, but strict domain policies often limit this method. Check with your administrator if you encounter errors.
Method 4: Using Shared Drives (Google Workspace Only)
Shared Drives (formerly Team Drives) allow multiple users to co-manage files. If both accounts are in the same organization and have access to Shared Drives, this method can simplify moving large sets of data.
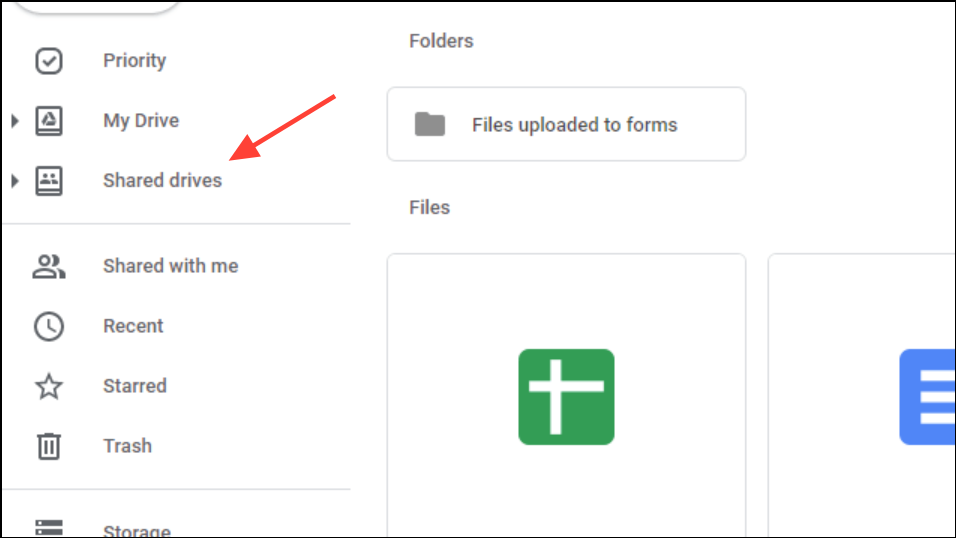
Step 1: In your source account, create a new Shared Drive from the Shared Drives option on the left and add the destination account as a Manager or Content Manager.
Step 2: Move the desired folders and files into the Shared Drive. The destination account can then move or copy content from the Shared Drive into their own My Drive as needed.
This method is efficient for collaborative environments, but Shared Drives are not available to personal (free) Google accounts.
Method 5: Third-Party Tools and Add-ons
If the above options are insufficient, several third-party apps and add-ons can automate or streamline file and folder transfers between Google Drive accounts. Some tools support cross-domain transfers and can preserve folder hierarchies, but may require administrative permissions or paid subscriptions. Always review privacy policies and organizational policies before granting access to your Drive data.
- Apps like MoveFiles or Transfer Files Ownership can help automate ownership transfer and copying.
- Some tools allow bulk copying, scheduled transfers, and advanced filtering.
- Check with your IT administrator before using third-party solutions in a work or school environment.
After transferring your shared folder, double-check that all files and subfolders are accessible and in the correct format on the new account. Always keep a backup until you’ve confirmed a successful migration.