Since Google set a limit on how much storage space free plan users have, many users have started relying on multiple Google accounts to store their photos using Google Photos. That means if you run out of storage space on one account, you can shift your photos to a different one. This will allow you to free up space and continue using both Google accounts without opting for a premium plan.
You can use several methods to transfer photos in your Google Photos library to another Google account. Let’s take a look at how to accomplish this.
1. Manually Transfer Google Photos
The manual transfer method involves downloading all your photos from the account you want to transfer them from and then uploading them to your second account.
- Log in to Google Photos using the account from which you want to transfer the photos.
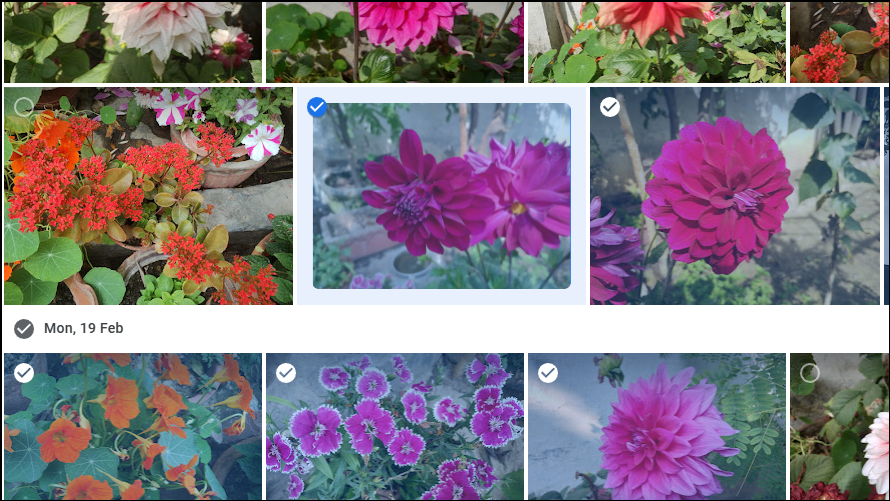
- Select the photos by moving your cursor over the photos you want to select and clicking the check mark that appears in each photo.
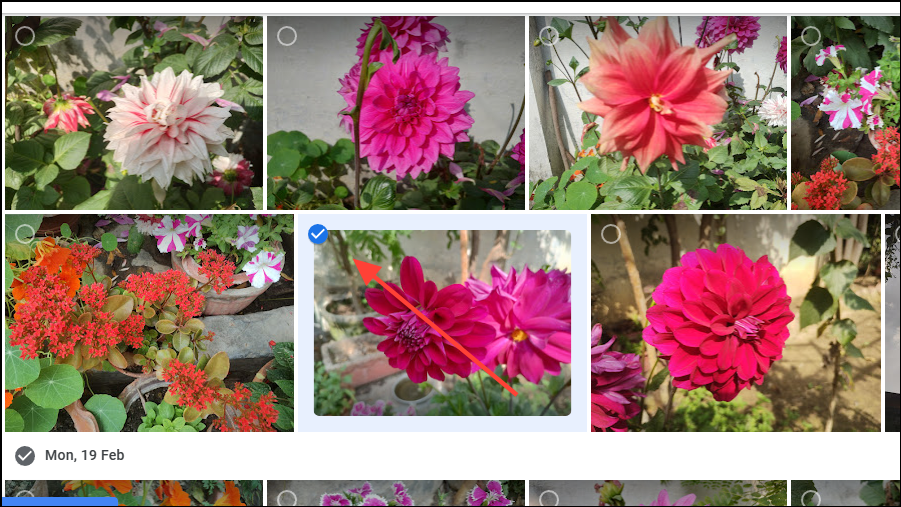
- Alternatively, select one photo, press and hold the ‘Shift’ key, move your cursor over all the photos, and click the last photo to select them simultaneously. The selected photos will be highlighted.
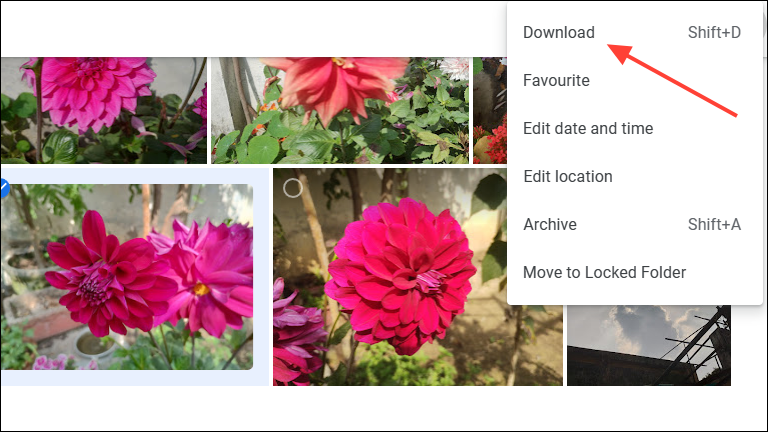
- Click the three dots in the upper right corner of the screen to start downloading the selected photos.

- Click the ‘Download’ button, and the photos will start downloading to your device.
- Now, switch to the other account to which you want to transfer the photos.
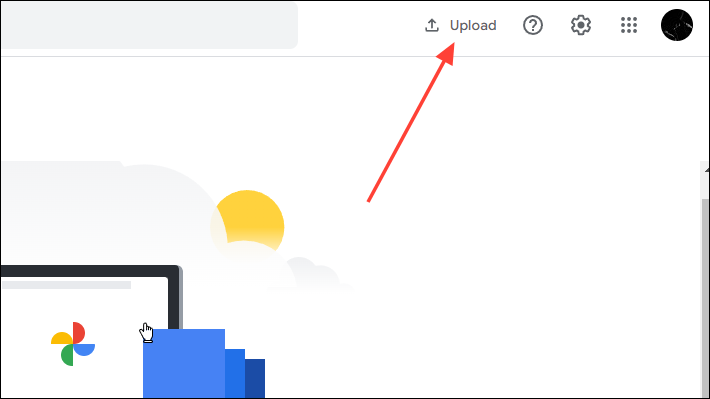
- Click the ‘Upload’ button at the top right to start uploading your downloaded photos.
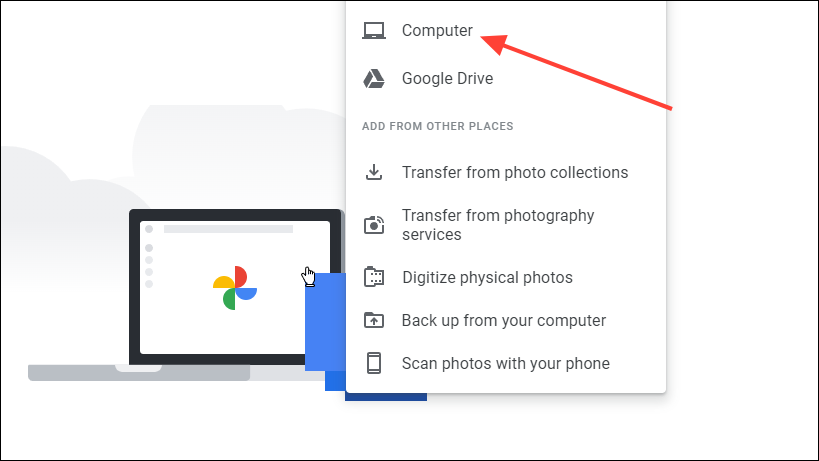
- When you click the ‘Upload’ button, you can select from where you want to upload the photos. Click on ‘Computer’ and navigate to the folder with the downloaded photos.
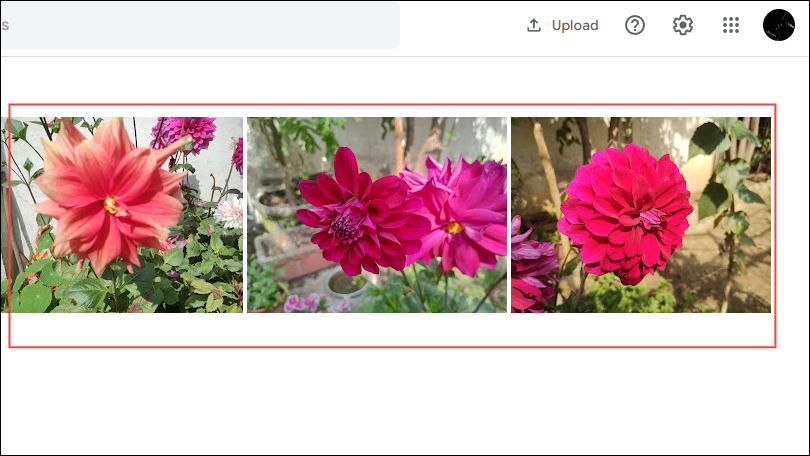
- Select the photos using your mouse, and they will be uploaded to your second account.
2. Share Photos via a Link
A faster and more efficient way of moving your photos to another account is by sharing a link to the photos between the two accounts.
- Log in to Google Photos using the account from which the photos have to be transferred.
- Select the photos you want to transfer as explained above. Alternatively, move them to a new album and share that album with your second account.
- To create an album, click the ‘+’ sign on the top right after selecting the photos you want to share.
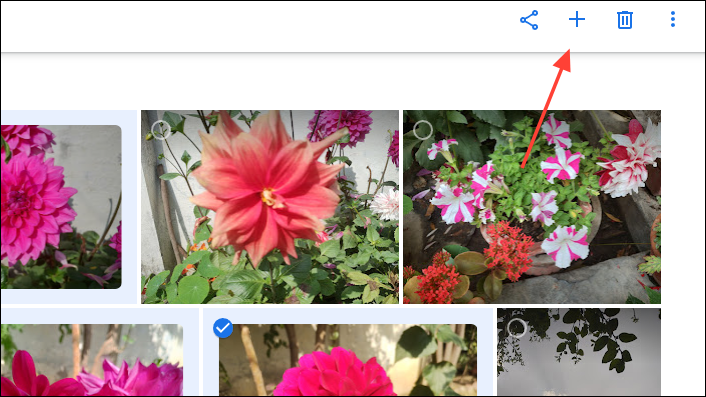
- From the options that appear, select ‘Album’ to move the photos to an album.
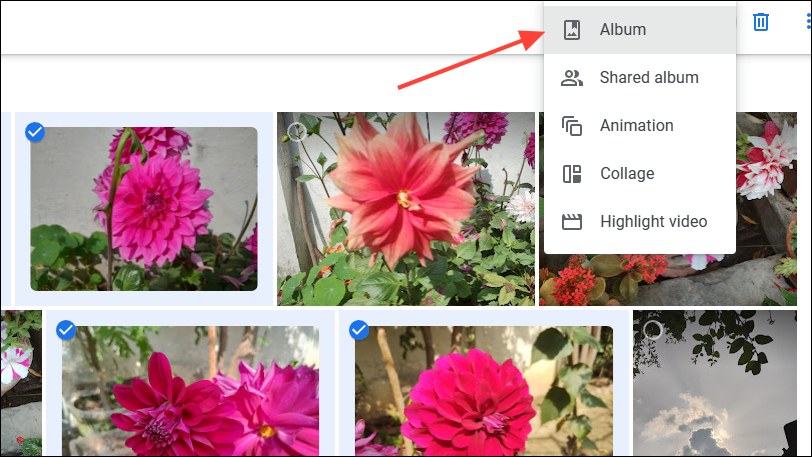
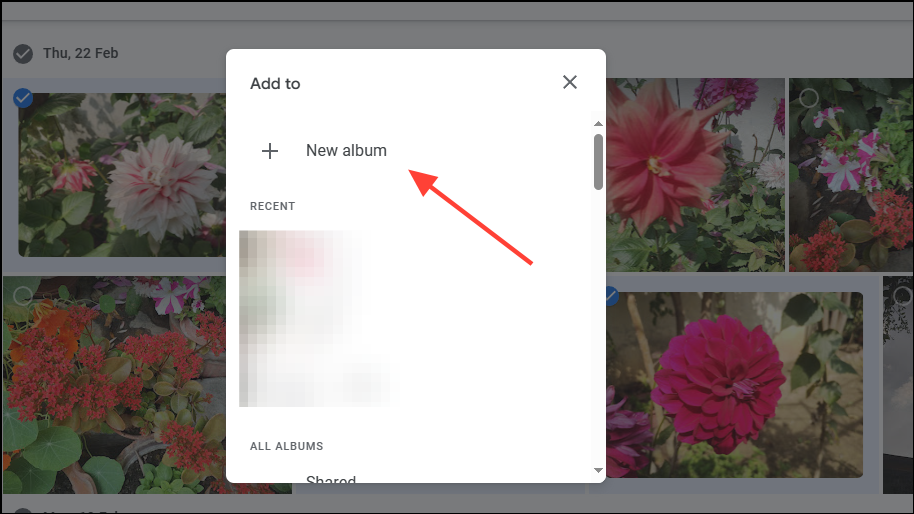
- You can move the photos to a new album or an existing one. For transferring photos to your second account, click the ‘New Album’ option.
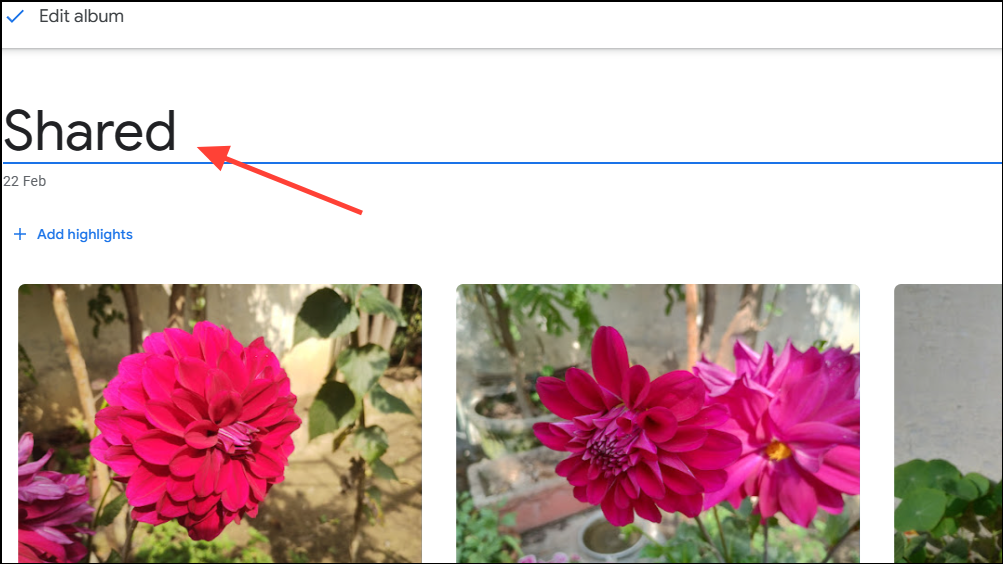
- On the next page, you can add a name to your album, such as ‘Shared’.
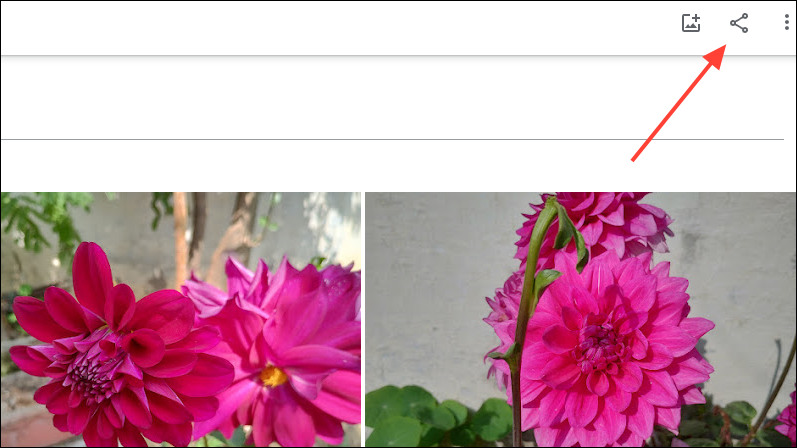
- Once the album is created, click the share icon on the upper right side to view the sharing options.
- Google Photos will suggest a few contacts with whom you can share the album.
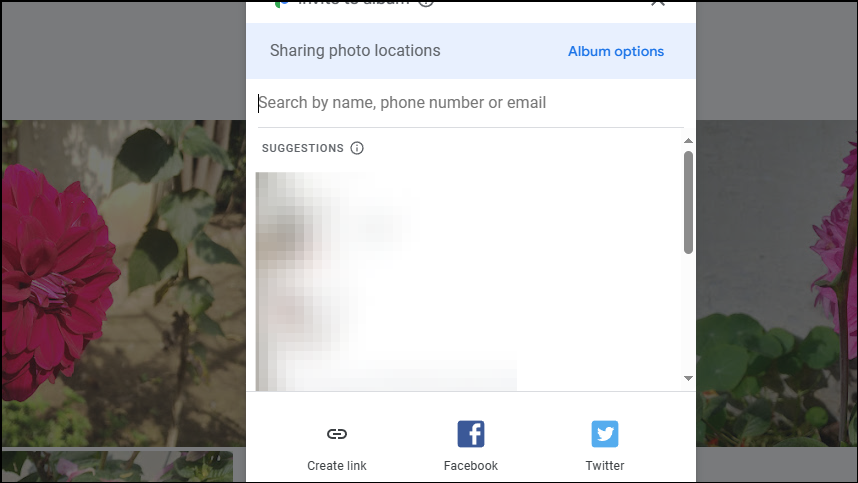
- At the bottom, you will find a ‘Create Link’ option. Click on it to create a shareable link.

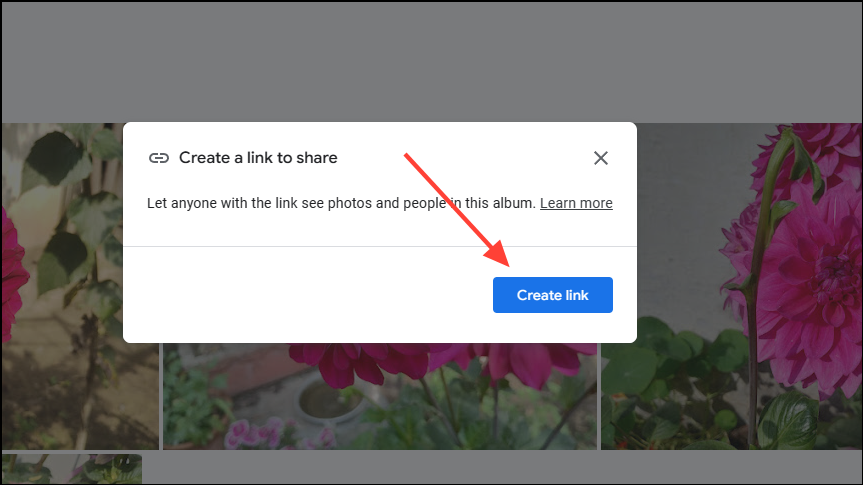
- Google Photos will notify you that people with whom the link will be shared will have access to the album. Click the ‘Create Link’ button to continue.
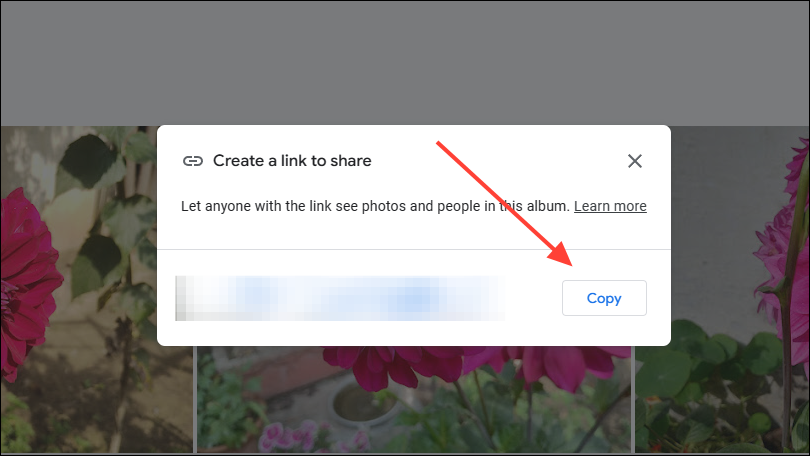
- Once the link is created, copy it manually or click the ‘Copy’ button to share it.
- Now, sign out of this account and log in to your second account, or log in using a different browser.
- Paste the link you copied into the address bar, and you will get access to view the album.
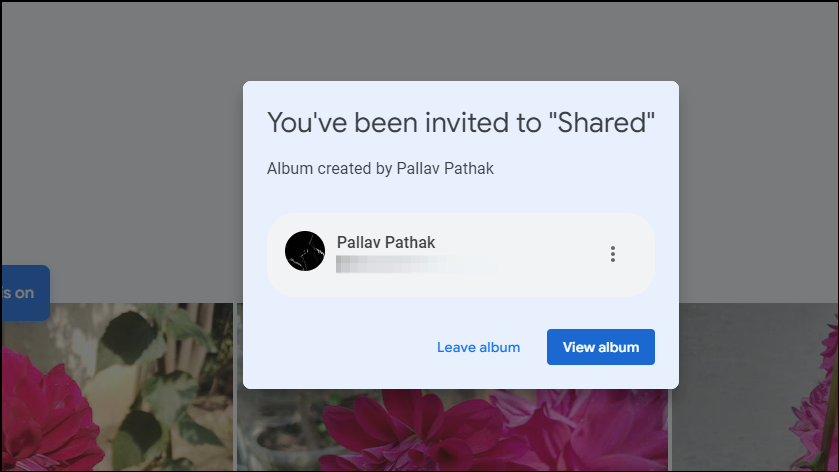
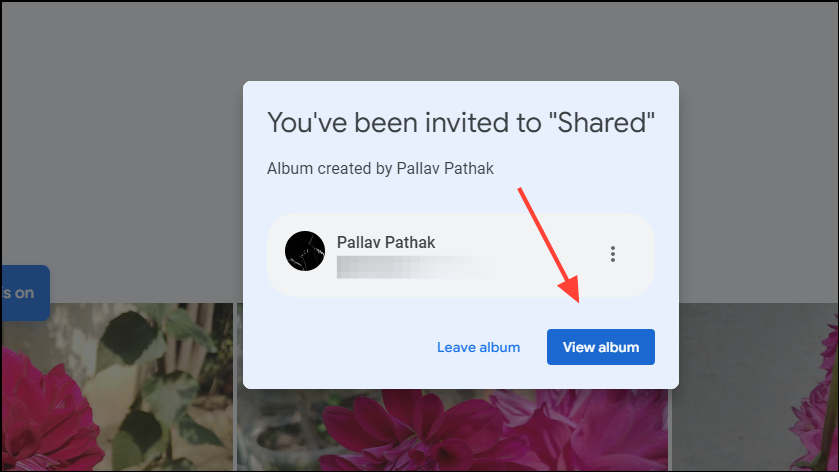
- Click the ‘View Album’ button to view the photos in the album.
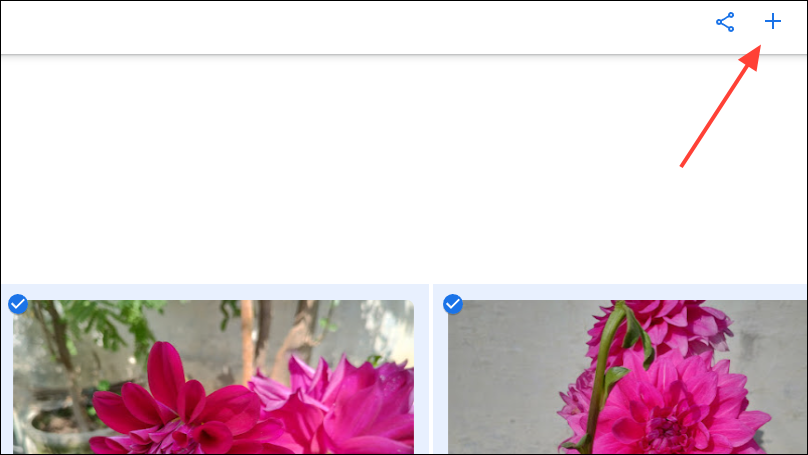
- Now, select the photos you want to transfer to this account and click the ‘+’ sign to create an album here.
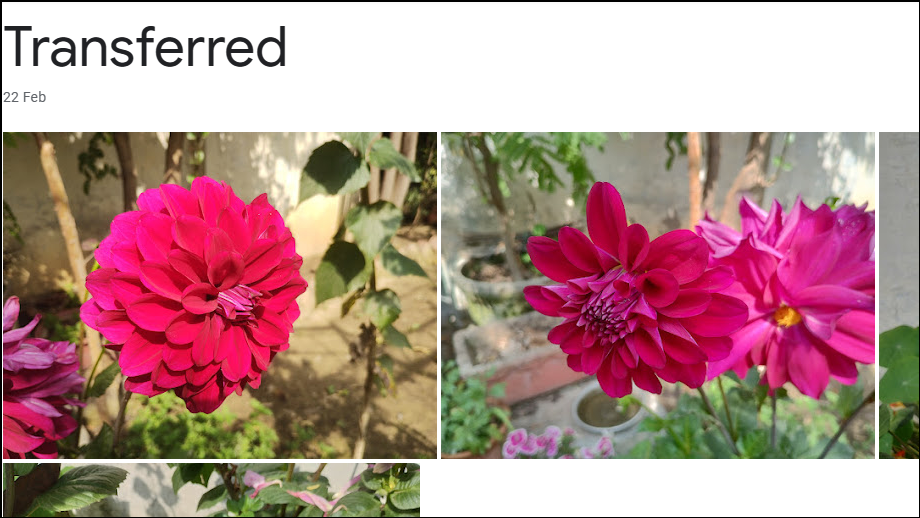
- Finally, create a new album and name it something like ‘Transferred’ as you did with the other account. The photos will be added to the album in this account.
In the same manner, you can select and move all your photos from one account to another.
3. Use Google Photos Partner Sharing
Another method you can use to transfer photos to your second Google Photos account is through email. This method is called Google Photos Partner Sharing and makes it easy to access your photos from different accounts. This involves sending an invitation to your other email address so it can access the photos in this account.
- Sign in to your Google Photos account which contains the photos you want to transfer.
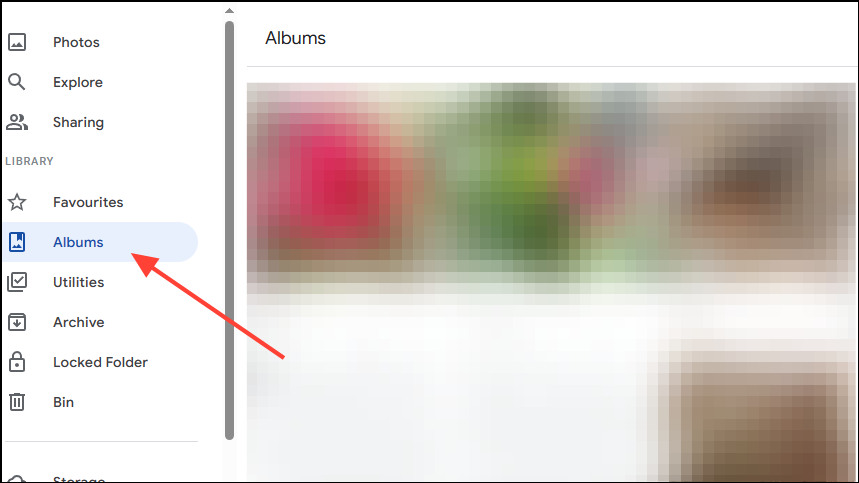
- Click the ‘Albums’ option from the menu on the left.
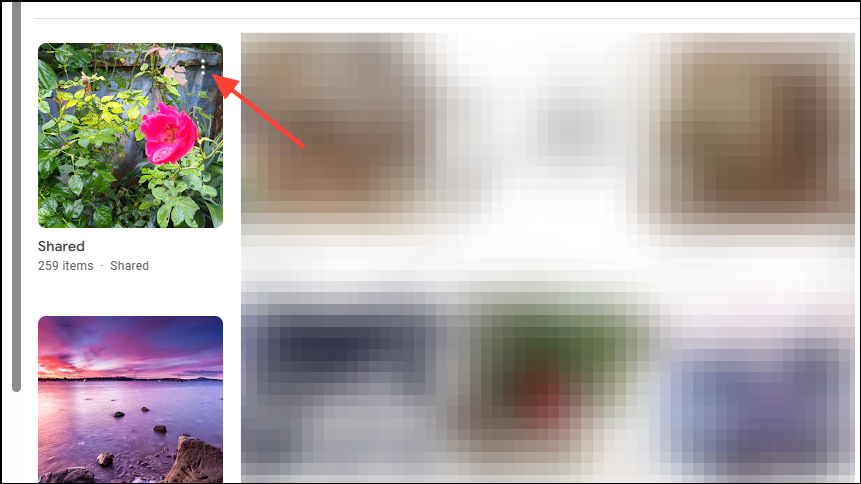
- Move your cursor over the album you want to share, and you will see three dots. Click them to view all album-related options.
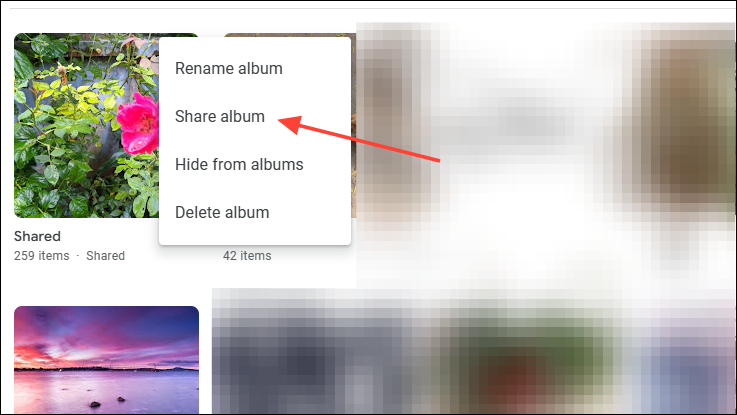
- Click the ‘Share Album’ option to share it with your other account.
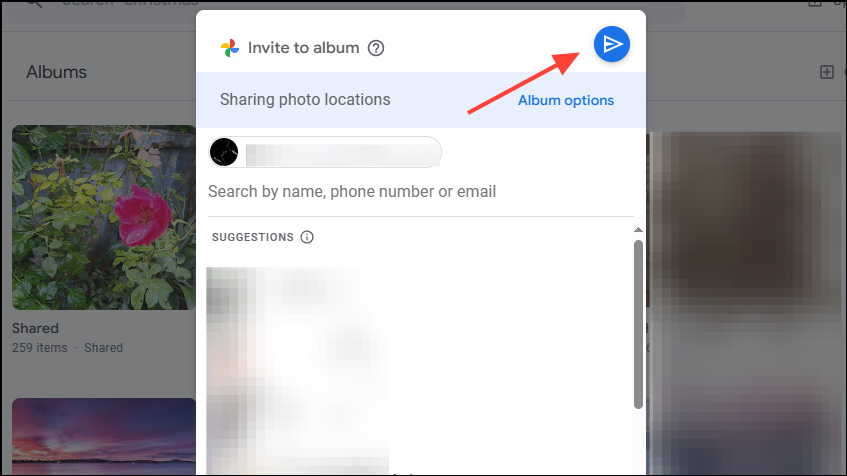
- When the sharing options appear, type in the email address of the account to which you want to transfer the photos. Once it appears, click to select it.
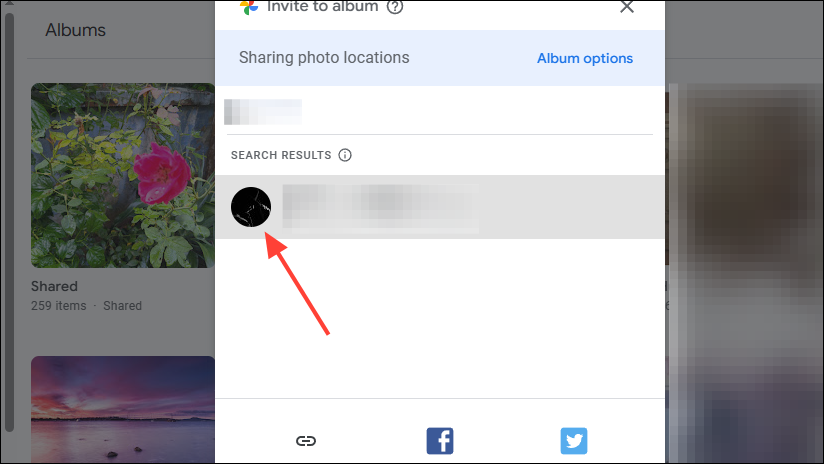
- Click the ‘Send’ button to share the album with your second account.
- Now, log in to your other Google Photos account and click the ‘Sharing’ option on the left side.
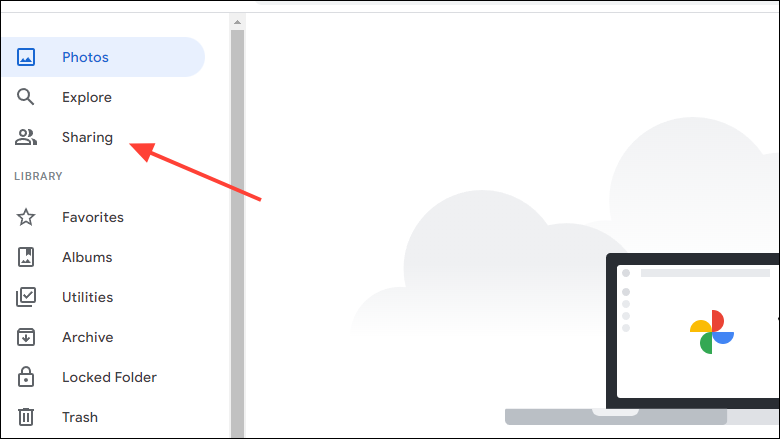
- The album you shared will appear as ‘New Activity’. Click on it to view all the photos inside.

- You can add the shared photos to an album in this account.
4. Use Google Takeout to Transfer Photos
Google Takeout allows you to export all your Google Photos data, which you can then import into another account.
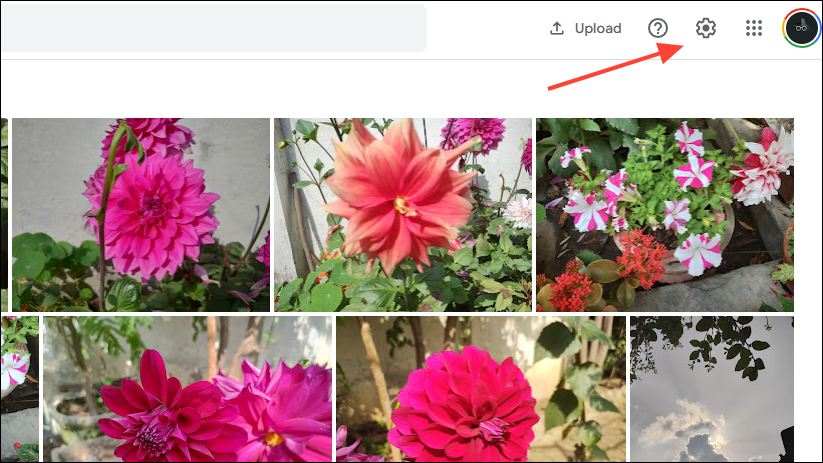
- To use Google Takeout, log in to Google Photos and tap the gear icon at the top right.
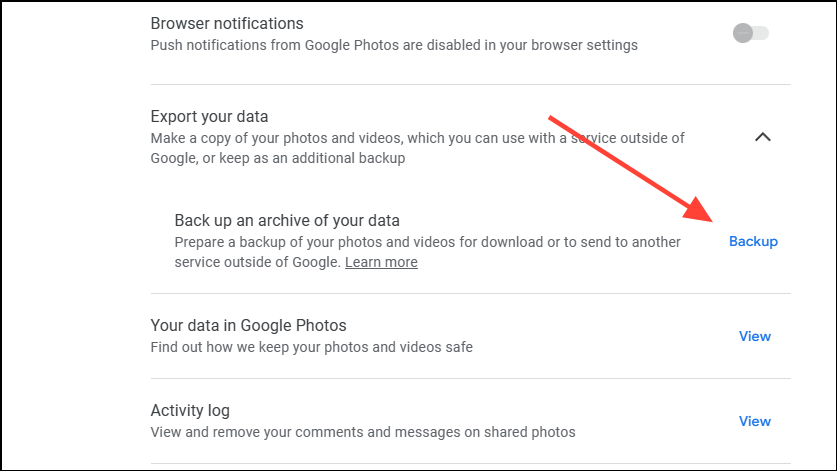
- Scroll down through the various options and click the ‘Export Your Data’ option.
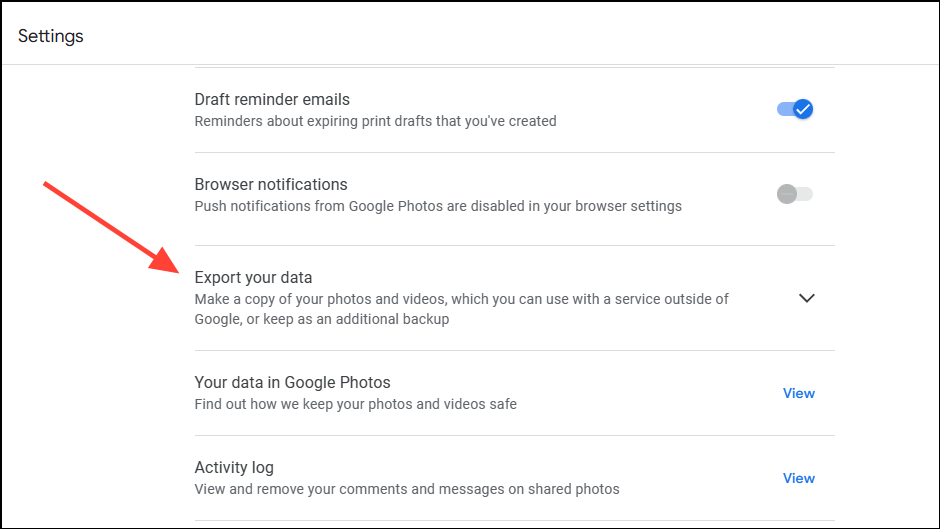
- This will show a drop-down menu with an option to back up your data. To do so, click on ‘Backup’.
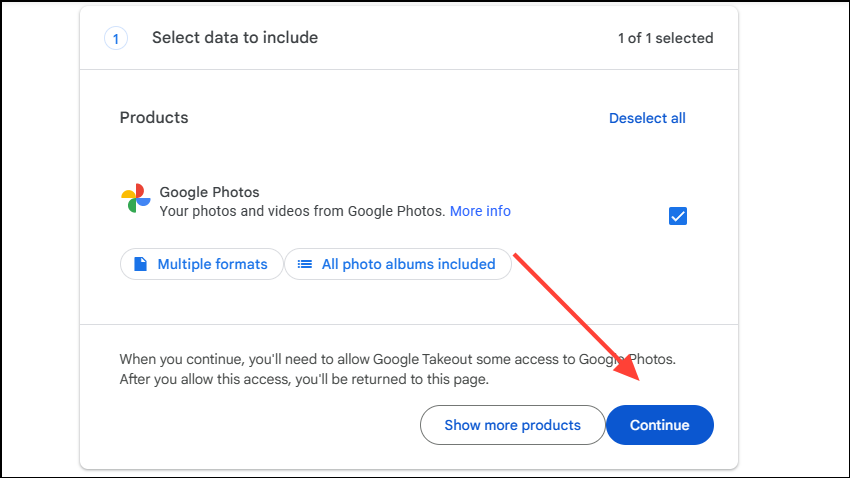
- Google Takeout will open in a new tab and will select Google Photos for backing up data. Click the ‘Continue’ button to proceed.
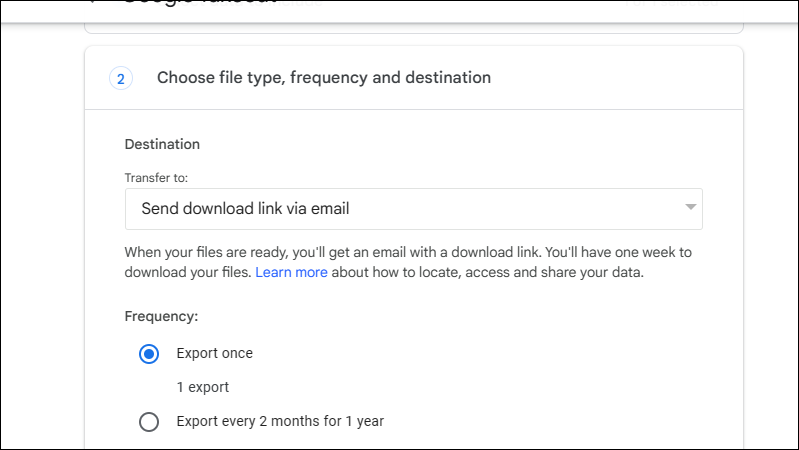
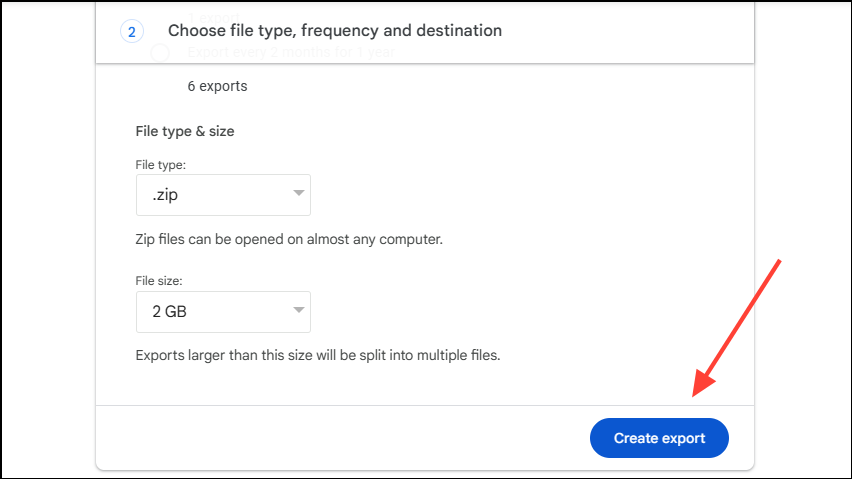
- This will allow you to choose the export frequency, type, and destination. You can choose to export just once or export every two months for one year as .zip or .tgz extensions.
- After adjusting your preferences, click the ‘Create Export’ button to download the data. Once it is downloaded, you can upload the photos to your second account.
The methods mentioned here allow you to transfer your Google Photos from one account to another without relying on third-party applications. Using these methods, you can transfer selective or all photos between accounts. When choosing between different methods, make sure to consider the availability of bandwidth and time, as some methods may take longer and consume more bandwidth.