To make it easier to manage emails, Gmail lets users categorize their emails into different categories. By default, it offers five different categories into which you can categorize your mails - Inbox, Social, Promotions, Updates, and Forum. However, for some users, the categories can be quite limited and prevent them from customizing their emails exactly as they want to.
Additionally, if you create separate labels, navigating through them using the Gmail panel can be quite cumbersome. That's where CloudHQ's Gmail Tabs extension can come in handy. This is a free extension that allows you to transform your search queries or self-created labels into tabs, which can be pinned at the top next to Gmail's standard labels for easy access. You can even customize the tabs by changing their name and color. Here is how you can use this extension to make managing your emails easier.
Installing the Gmail Tabs Extension
To use the Gmail Tabs extension, you will need to first download it from the Chrome Web Store.
- The extension works both in Google Chrome and Microsoft Edge, so you can use either browser to visit the extension page on the Chrome Web Store.
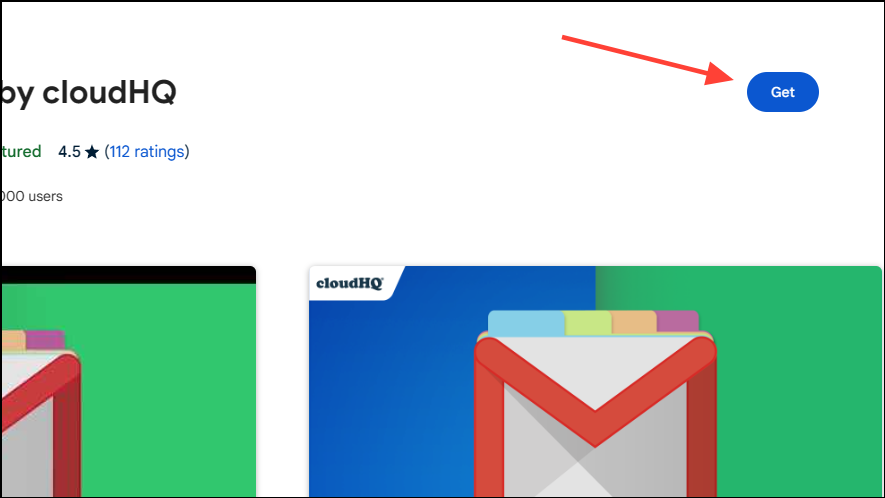
- Click on the 'Add To Chrome' or 'Get' button to install the extension.
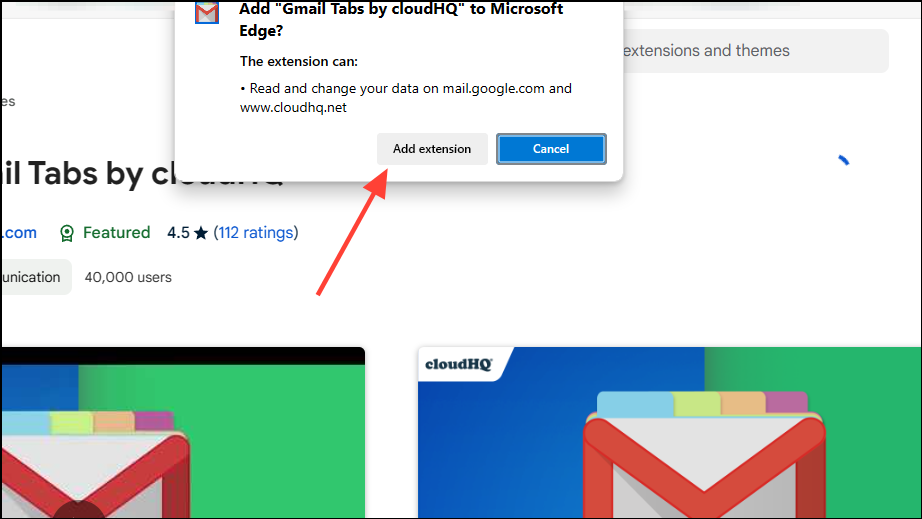
- You will get a prompt asking you to confirm whether you want to install the extension. Click on the 'Add Extension' button.
Wait until the extension is added to your browser, and then you can start using it to organize your emails in Gmail.
Creating Tabs From Labels
With the Gmail Tabs extension installed, you no longer need to search for a specific label among the different options available on the left panel of Gmail. The extension allows you to easily add labels as tabs, which are present right in front ensuring easy access.
- Sign in to Gmail using the same browser in which you've installed the Gmail Tabs extension.
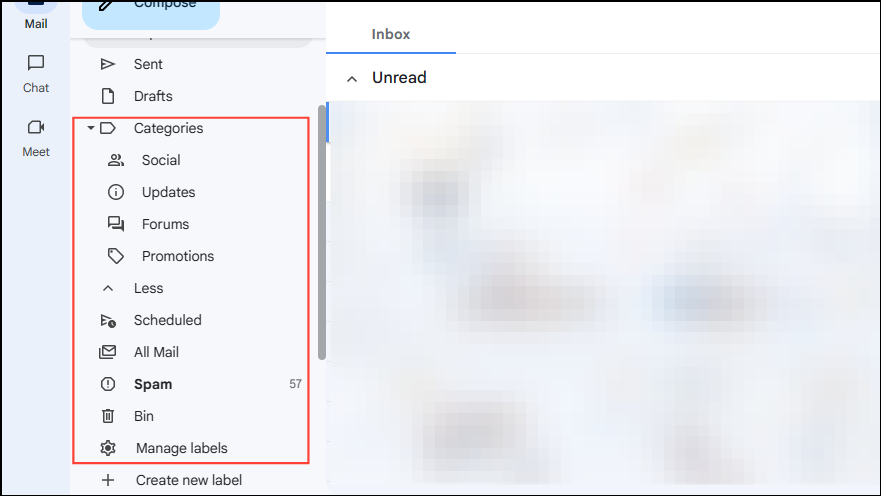
- You will find all the labels, those offered by Gmail, and the ones you create on the left side.
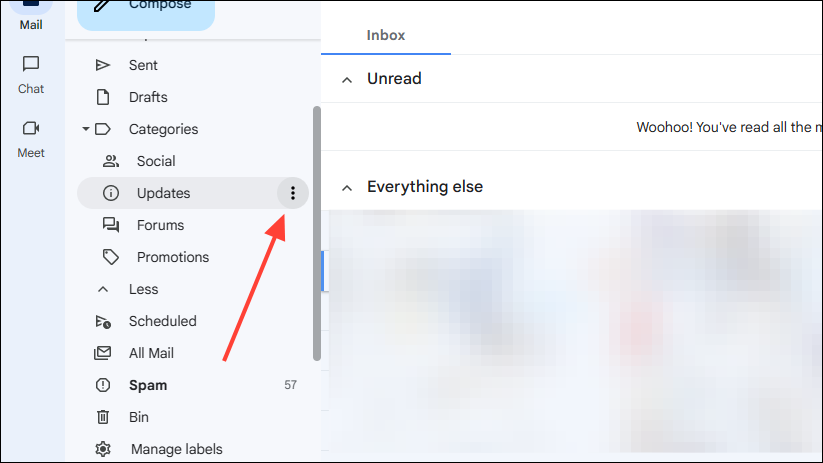
- Hover over any of the categories or labels for which you want to create a tab and you will see three dots. Click on them.
- In the menu that pops up, click on the 'Add To Tabs' option under the cloudHQ section.
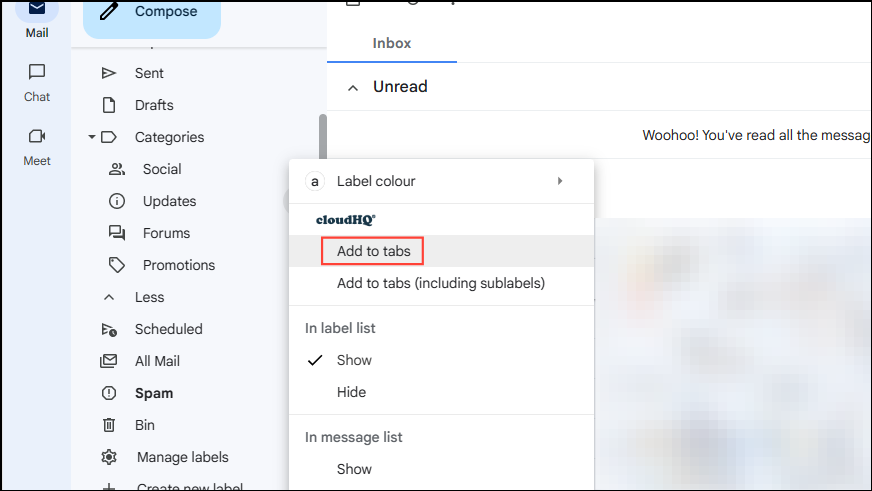
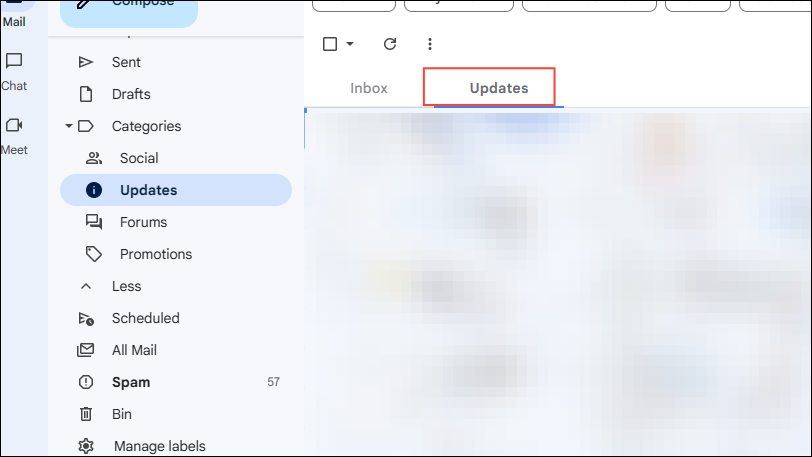
- You will see that the label will appear as a tab at the top of your Gmail window, making it easy to access, especially if you have numerous labels.
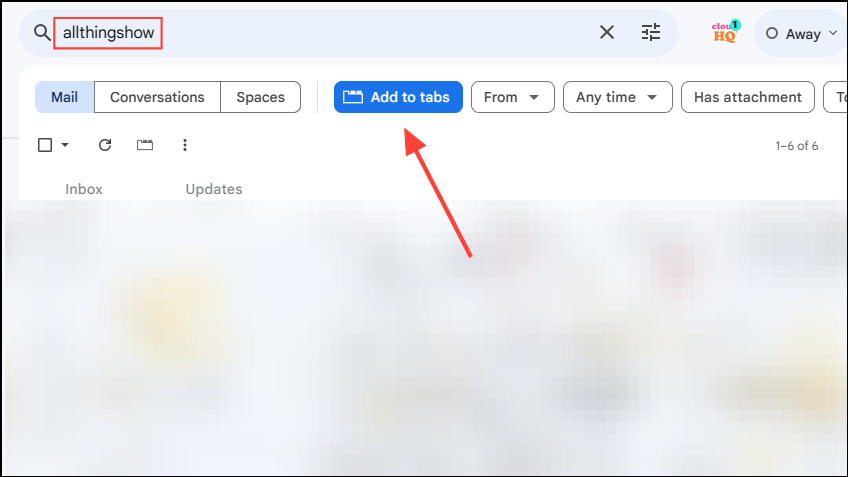
- You can also use a search query in Gmail to create tabs. For instance, we searched for 'AllThingsHow' in the search box. When the search results appear, an 'Add To Tabs' button appears above them. Clicking on it will add the query 'AllThingsHow' as a new tab.
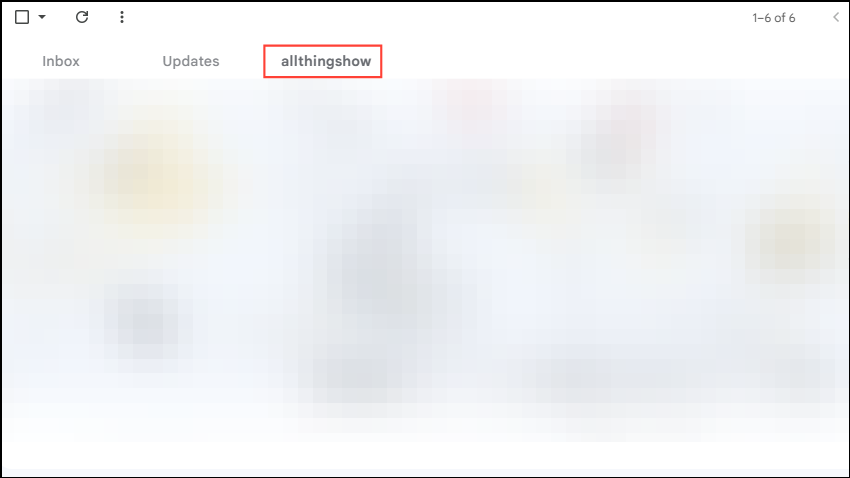
- You can access the newly created tab by clicking on it.
Editing Tabs
Once you have created a tab, the Gmail Tabs extension lets you easily edit it according to your preferences.
- Right-click on the tab you created and then click on the 'Edit Tab' option.
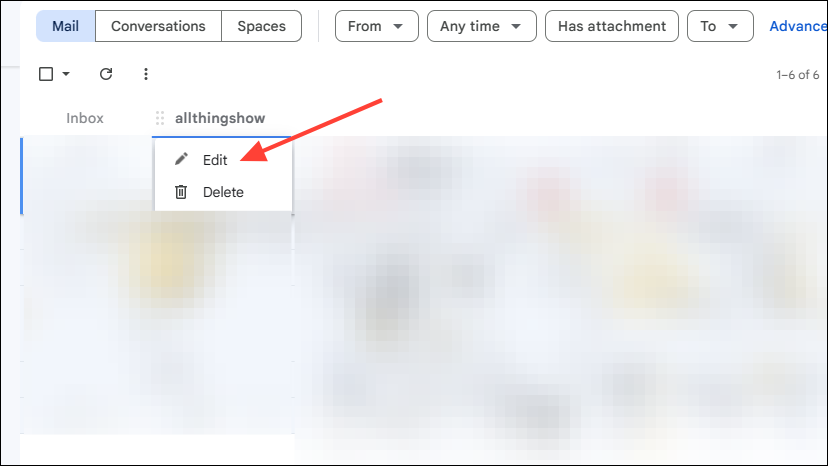
- Here you can change the search query or display name for the tab by typing in a new query or name. To change the tab color, click on the color swatch and pick a new color. Click on the 'Save' button when you're done making the changes.
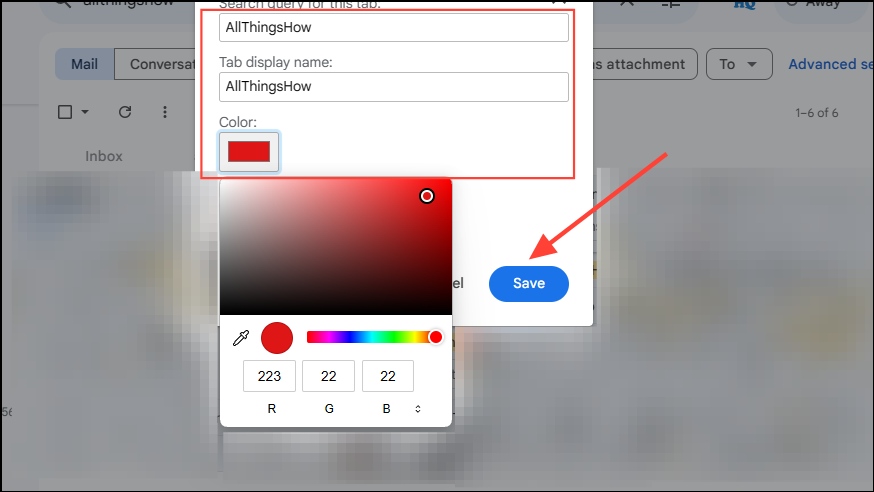
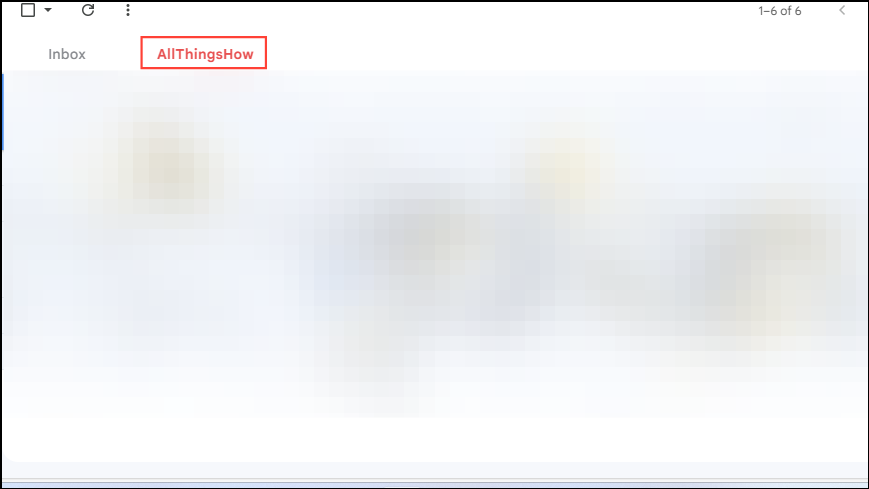
- You will see that the changes have been applied to the tab.
Deleting Tabs
Once you are done with a tab and want to remove it from the top of Gmail, you can easily delete it.
- Click on the 'Edit Tabs' button that appears on the right side.
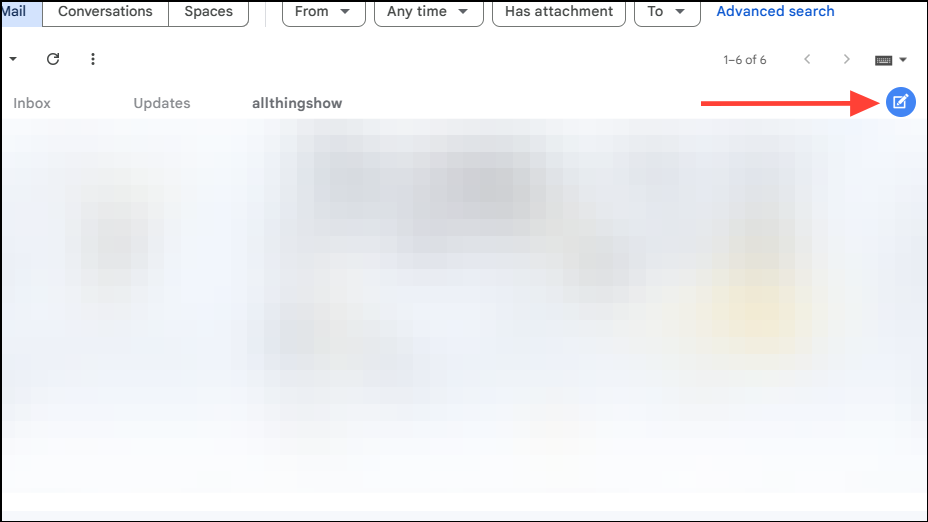
- Now, just click on the 'x' button next to the tab you want to delete.
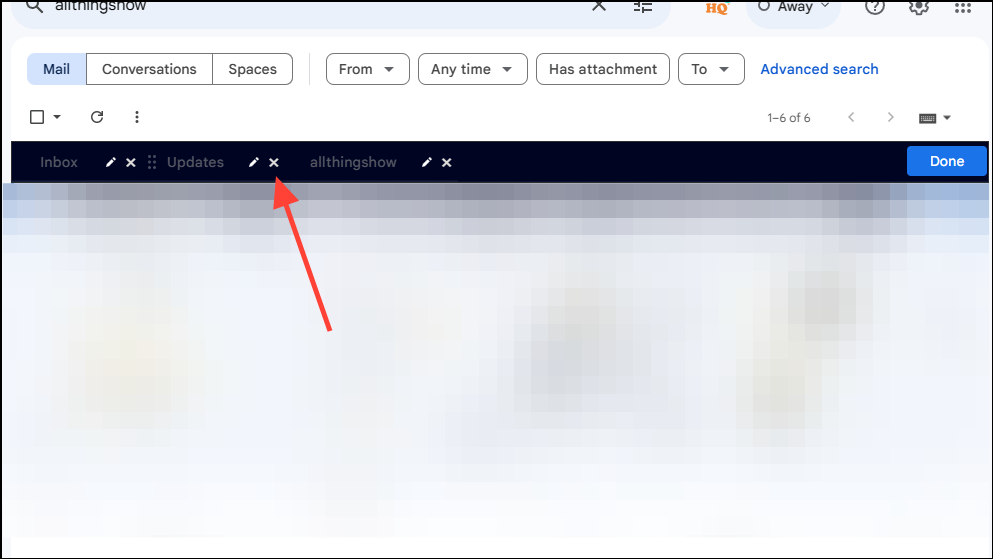
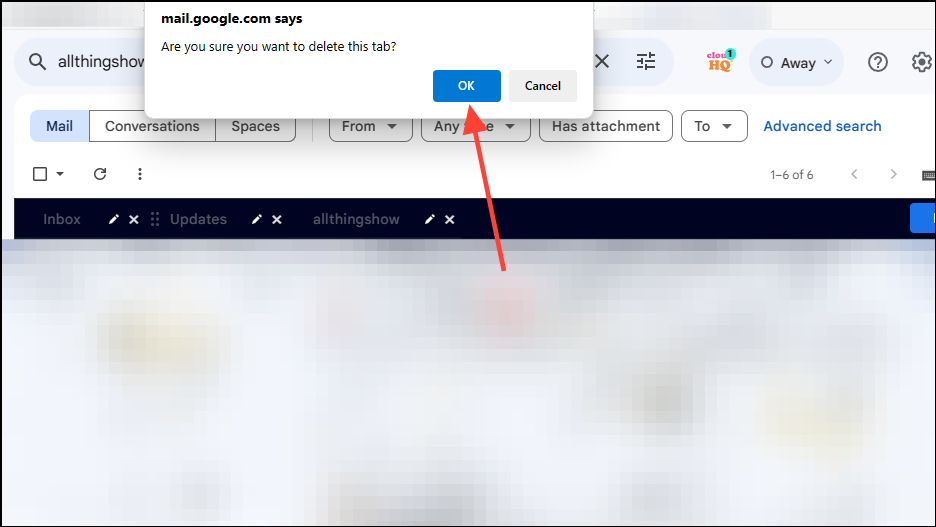
- Gmail will ask you whether you want to delete the tab. Click on the 'Delete' button to confirm.
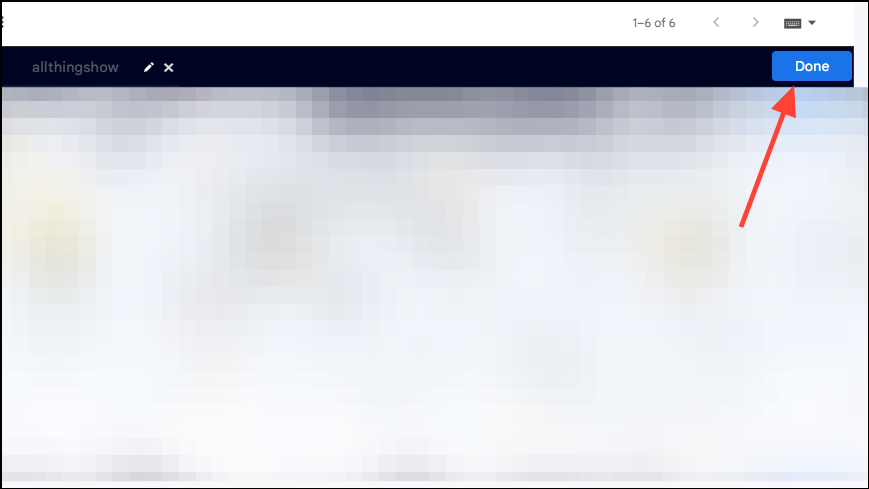
- Finally, click on the 'Done' button on the right when you're finished editing your tabs.
CloudHQ's Gmail Tabs is an extremely useful extension that can help you increase your productivity by making your email management simpler. Besides letting you create, edit, and delete tabs from labels, it also lets you rearrange tabs by dragging and dropping them where needed.
Thanks to this, users can enjoy functionality that should never have been missing from such a popular email service in the first place. If you're someone who uses a lot of labels in Gmail and finds it difficult to manage them, be sure to check this extension out.

