
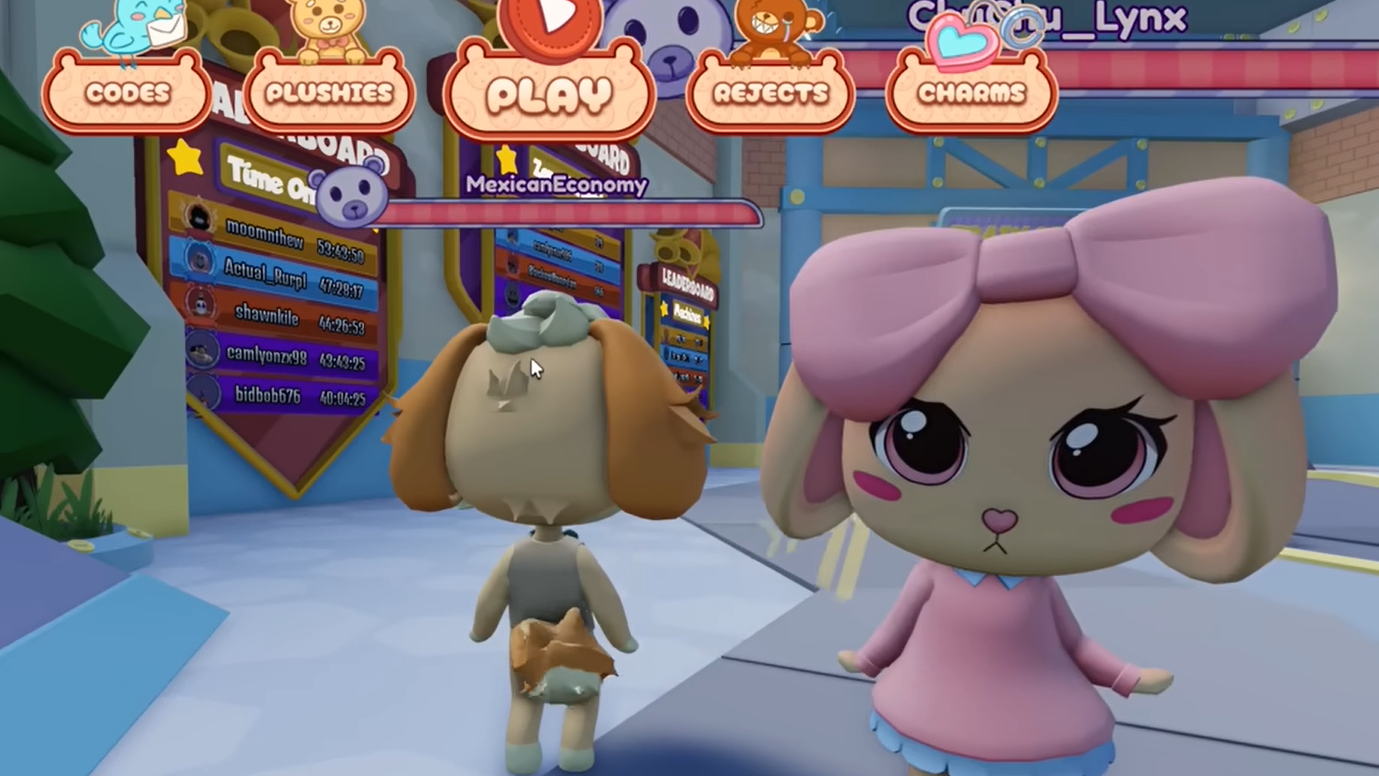
Dolly's Factory is a cooperative Roblox game developed by The Forever Studio that drops you into an adorable-yet-dangerous plush toy factory. The core loop borrows heavily from the asymmetric horror genre — think Dead by Daylight, but wrapped in stuffed-animal charm. You play as a living plushie tasked with repairing machines across increasingly difficult factory zones while dodging corrupted plushies called Rejects. Up to eight players can join a single session, and bringing more teammates genuinely makes things easier.
Quick answer: Start a match from the lobby train, fix every pink machine in each factory zone by completing timed skill checks, avoid or escape Rejects, then board the train before the timer expires. Spend Dolly Bucks at Dolly's Shop on charms and plushies to improve your stats between runs.
Starting a Match and Core Gameplay Loop
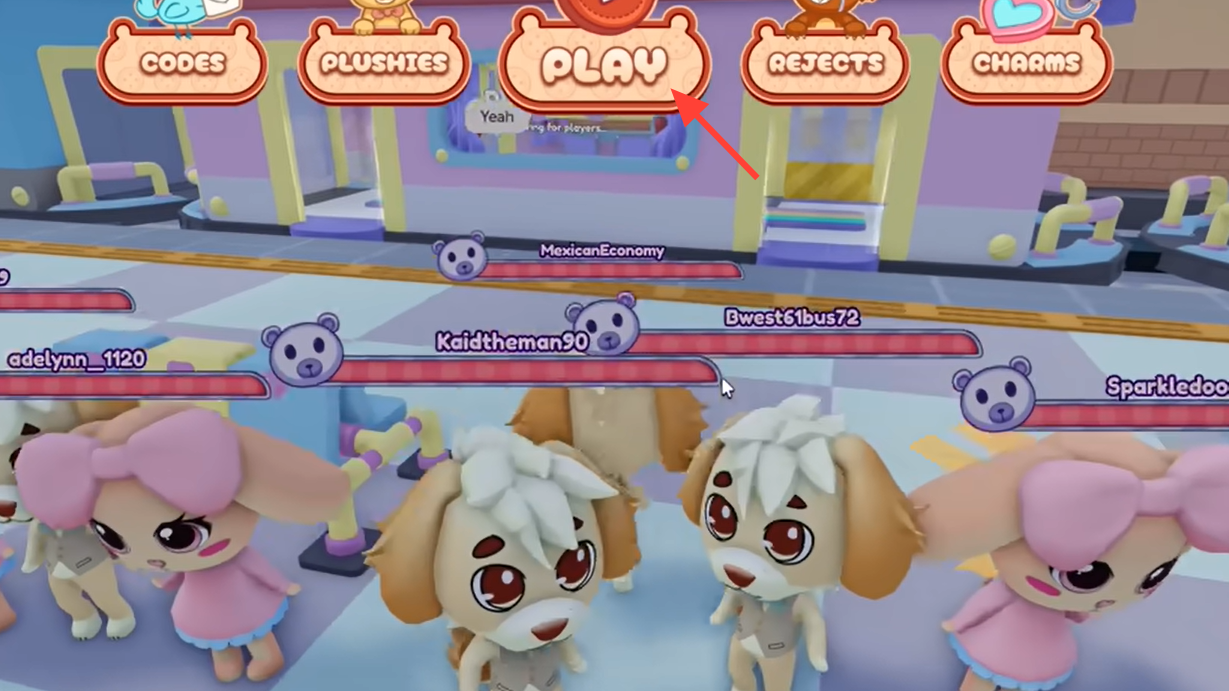
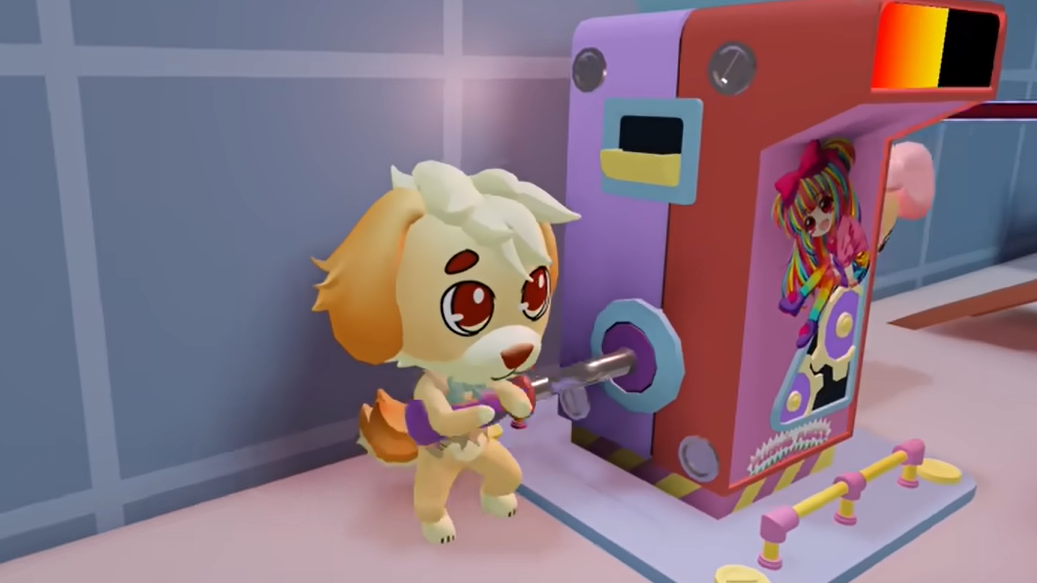
From the lobby, hop into one of the trains or press the Play button at the top of your screen to queue automatically. Once the match begins, exit the train and enter the factory zone. Pink machines are scattered throughout the level — interact with one to begin repairing it. A slider will move across a bar, and you need to click when it lands inside the highlighted green area. Successfully hitting the green zone repeatedly will eventually fix the machine; the speed depends on your plushie's stats and any active charms.
Missing a skill check is punishing. A failed check alerts the Rejects patrolling the zone, and they will immediately start hunting you. Rejects can also spot you by wandering into your path, so staying aware of your surroundings matters even when you're nailing every check. If a Reject begins chasing you, you have two main escape options: duck behind objects to break the line of sight, or interact with a pallet to drop it on the Reject and stall them.
After all the machines in a zone are repaired, an arrow appears pointing you back to the train. Board it before the countdown expires or the run ends in failure. The train then carries you to the next factory zone, where the process repeats with higher difficulty and better rewards.
Items on the Factory Floor
Scattered across each zone are collectible items with various effects. Most are beneficial — they can boost your movement speed, restore stamina or health, or highlight objectives and Rejects on your screen. However, some items carry negative effects like slowing you down. Negative items are easy to identify because they radiate a red aura. Leave those alone.
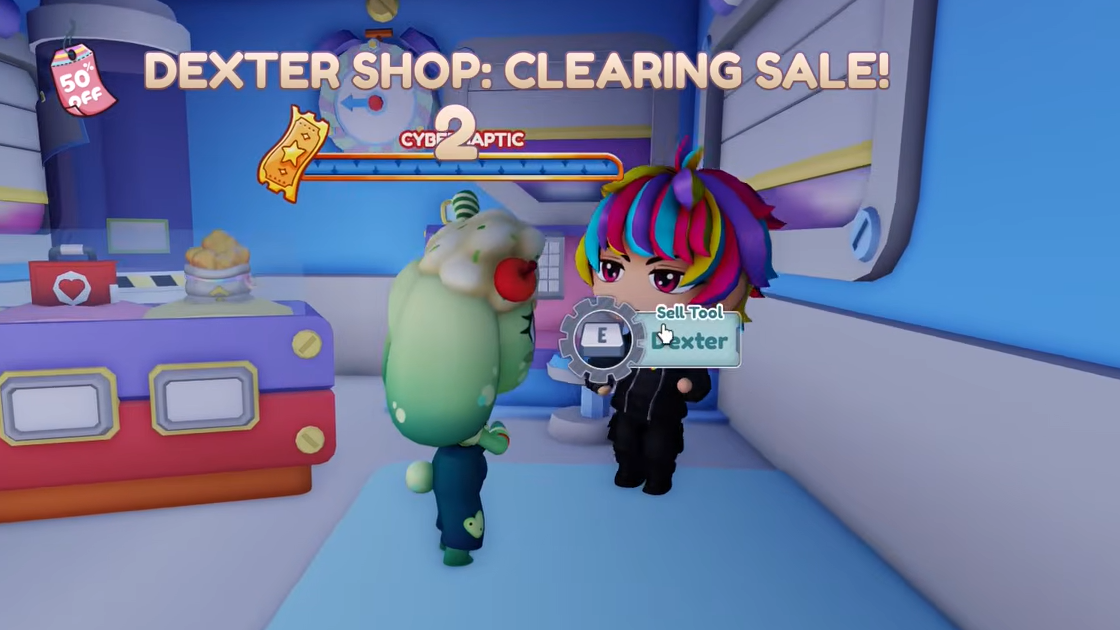
Dexter's Train Shop
Between factory zones, the train ride gives you a brief window to visit Dexter, an NPC merchant aboard the train. Dexter sells consumable items and permanent buffs that apply for the rest of that run. Make a habit of checking his inventory every time you board — even a small speed or stamina boost compounds across multiple zones.
Charms — Permanent Stat Buffs
Charms are passive buffs you equip before the first zone begins. You select them while waiting inside the train at the start of a match. They're purchased with Dolly Bucks from Dolly's Shop, located in a corner of the lobby. Once bought, a charm is yours permanently and can be reused across runs.
| Charm | Price (DB) | Effect |
|---|---|---|
| Rewarding Work | 2,000 | Grants bonus Dolly Bucks when you fix a Tough Machine |
| Proud Work | 2,000 | Completes Tough Machines 50% faster and gives a 30% efficiency boost after each fix |
| Workaholic | 1,750 | Increases overall efficiency |
| Hush Hush | 1,000 | Increases stealth, making you harder for Rejects to detect |
| Stitched Heart | 500 | Heals missing HP at the start of each round |
| Adrenaline Rush | 500 | Recovers a portion of stamina once per round when it hits zero |
| Feather Step | 500 | Increases movement speed |
For most beginners, the budget-friendly trio of Stitched Heart, Adrenaline Rush, and Feather Step — all priced at DB 500 — offers strong survivability. Once you've saved up, Rewarding Work and Proud Work are the strongest long-term investments. Rewarding Work directly accelerates your income, while Proud Work dramatically speeds up Tough Machine repairs and stacks an efficiency bonus on top.
Plushies — Choosing Your Character
Plushies function as your playable character. Each one has unique stats, abilities, and a distinct appearance. You buy them with Dolly Bucks at Dolly's Shop, the same place you get charms. Every plushie is viable, but four stand out as particularly strong picks: Spinnette, Meistro, Zorro, and Queenie. The "best" plushie ultimately depends on your playstyle — whether you prioritize speed, stealth, efficiency, or survivability.

Rejects — The Enemies
Rejects are corrupted versions of the playable plushies, and they serve as the primary threat in every factory zone. They range in rarity, which generally correlates with how dangerous and unpredictable they are.
| Rarity | Rejects |
|---|---|
| Uncommon | Reject Fleecia, Reject Jinx, Reject Rocky, Reject Zorro |
| Rare | Reject Queenie, Reject Spinnettes, Reject Triton |
| Epic | Reject Doug, Reject Jellybell, Reject Koda |
| Legendary | Reject Meistro |
Higher-rarity Rejects appear in later zones and pose a significantly greater challenge. Learning each Reject's patrol behavior and attack patterns becomes critical as you push deeper into the factory.
Farming Dolly Bucks Efficiently
Dolly Bucks are the main currency. You earn them for every factory zone you complete, with the payout scaling based on how many machines you personally fixed in that zone. Later zones pay substantially more than early ones, so the single best way to farm currency is to survive as deep into a run as possible while fixing as many machines as you can.
Playing with a full or near-full group of eight makes this much easier — more players means machines get fixed faster, and Rejects have more targets to split attention between. Beyond gameplay earnings, you can also purchase Dolly Bucks with Robux or redeem promotional codes for free currency.
Key Mechanics to Remember
| Mechanic | What It Does |
|---|---|
| Skill Checks | Click when the slider hits the green zone to repair machines; missing alerts Rejects |
| Pallets | Interact to drop on a chasing Reject, temporarily stopping them |
| Negative Items | Glow red; avoid picking them up as they debuff your plushie |
| Zone Timer | You must board the train before it expires after completing all machines |
| Dexter's Shop | Available on the train between zones; sells items and run-specific buffs |
| Dolly's Shop | Located in the lobby; sells permanent charms, plushies, and skins |
Dolly's Factory rewards patience and teamwork more than raw mechanical skill. Focus on nailing skill checks consistently, equip charms that match your plushie's strengths, and always travel with teammates when possible. The deeper you push, the more Dolly Bucks you earn — and the faster you unlock everything the shop has to offer.