
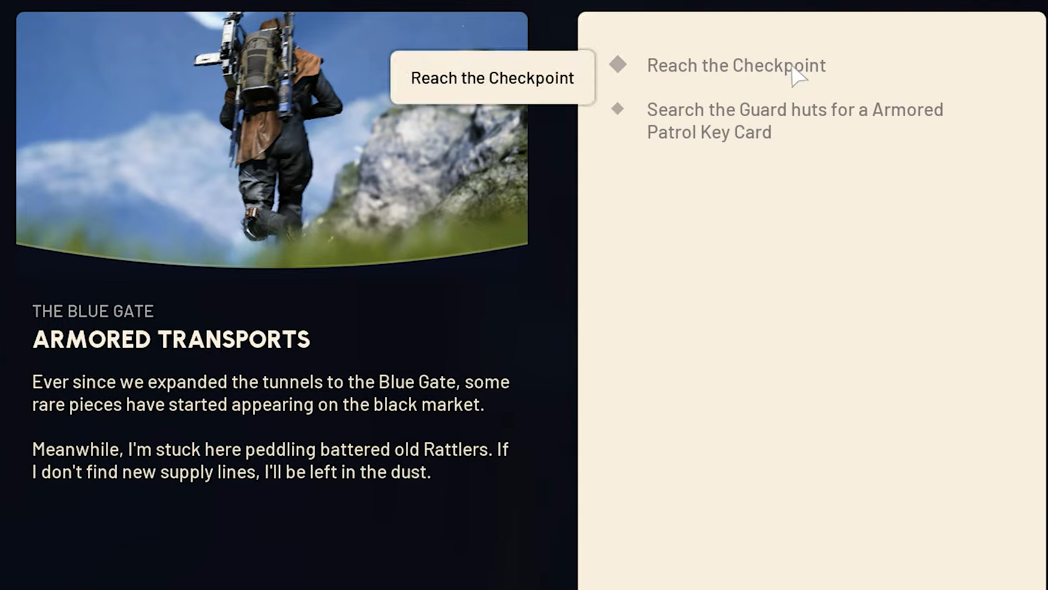
The Armored Transports quest in Arc Raiders funnels you straight into the Checkpoint, the heavily fortified area at the center of the Blue Gate map. One of the four objectives — "Reach the Traffic Tunnel near the Blue Gate Checkpoint" — tends to trip players up, not because it's complicated, but because the path to get there is crawling with ARC threats and rival raiders looking for high-end loot.
Quick answer: The Traffic Tunnel is the large vehicle-filled tunnel entrance located directly north/northeast of the guard huts at the Checkpoint. You complete this objective simply by reaching the tunnel entrance; no interaction is required.
Armored Transports quest objectives in order
| Step | Objective | Location |
|---|---|---|
| 1 | Reach the Checkpoint | Center of the Blue Gate map (red-bordered zone) |
| 2 | Search the guard huts for an Armored Patrol Key Card | Toll-booth-style huts on the southwest side of the Checkpoint |
| 3 | Reach the Traffic Tunnel near the Blue Gate Checkpoint | Tunnel entrance north/northeast of the guard huts |
| 4 | Find and unlock the rear door of an armored patrol car | Inside the Traffic Tunnel |
The quest is given by the trader Tian Wen and becomes available after you finish both A New Type Of Plant and With A Trace.
Getting the Armored Patrol Key Card before the tunnel
Before heading to the Traffic Tunnel, you need the Armored Patrol Key Card. Approach the Checkpoint from the southwest, where a forested area provides some cover. You'll find a row of small guard huts that look like toll booths lined up outside the main facility. The key card sits on a desk inside a file folder — look for the yellow interaction glow.
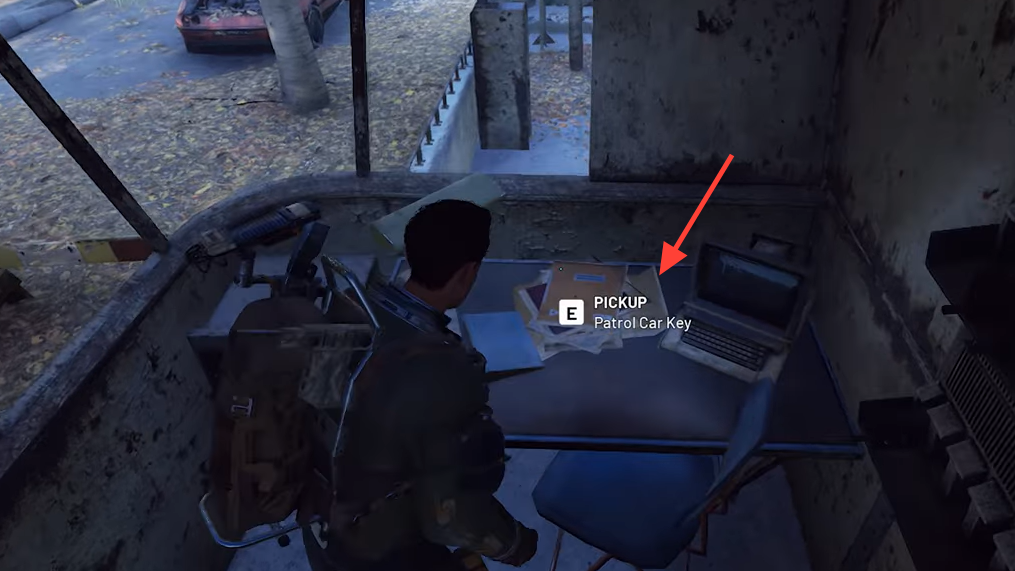
The key card most commonly spawns in the leftmost (western) guard hut, though it can appear in any of them. Once you pick it up, immediately stash it in your Safe Pocket. If you die before finishing the quest, the key card won't respawn at the original location. Losing it means you'll need to scavenge containers around the Checkpoint and hope for a replacement, or look for a spare key card inside a box on the floor of a guard shack just inside the right entrance of the tunnel itself.
Reaching the Traffic Tunnel entrance
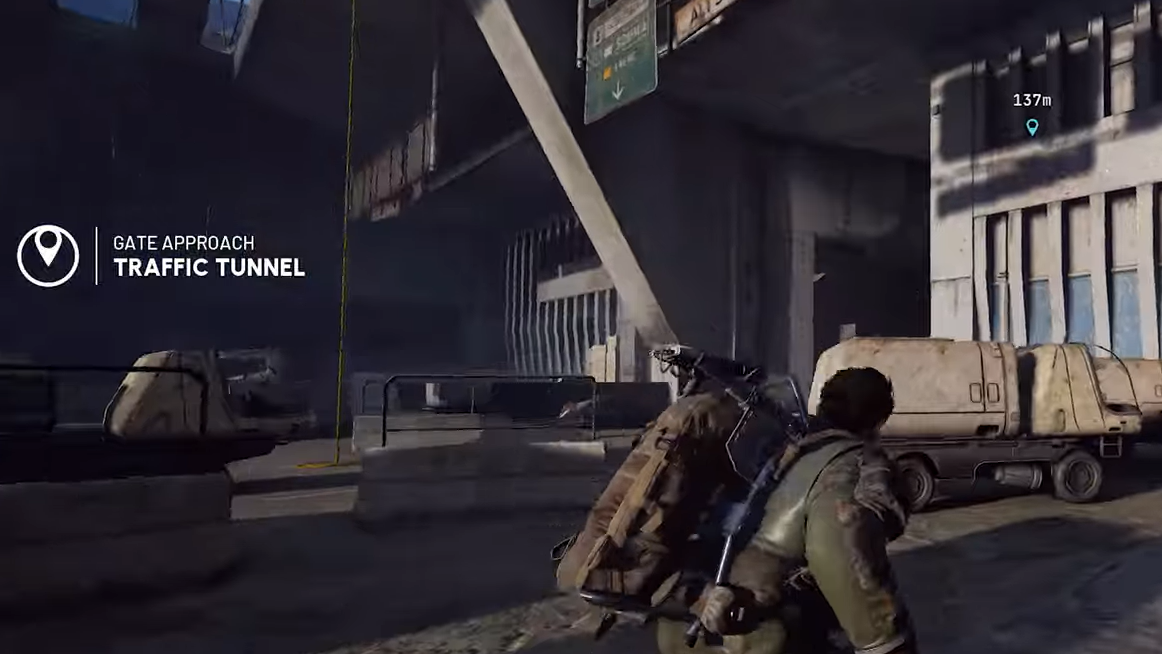
With the key card secured, head north-northeast from the guard huts. The Traffic Tunnel is essentially a large underground parking garage packed with abandoned vehicles. You'll see the entrance as a wide opening leading down into the facility — it's very close to where you found the key card, but the short distance between the two is deceptively dangerous.
Expect to encounter Turrets, Wasps, Hornets, and frequently a Bastion patrolling in or near the tunnel mouth. Both the Security Wing and Maintenance Wing flank the tunnel and contain high-value loot, which means other players regularly rotate through the area. Smoke Grenades or a Cloaking Device can help you slip past the worst of it.
The objective is complete the moment you physically arrive at the tunnel entrance. If you've already opened the armored patrol car but the quest checklist still shows this step as incomplete, simply walk back outside the tunnel entrance and re-enter. That should trigger the completion flag.
Finding and unlocking an armored patrol car inside the tunnel
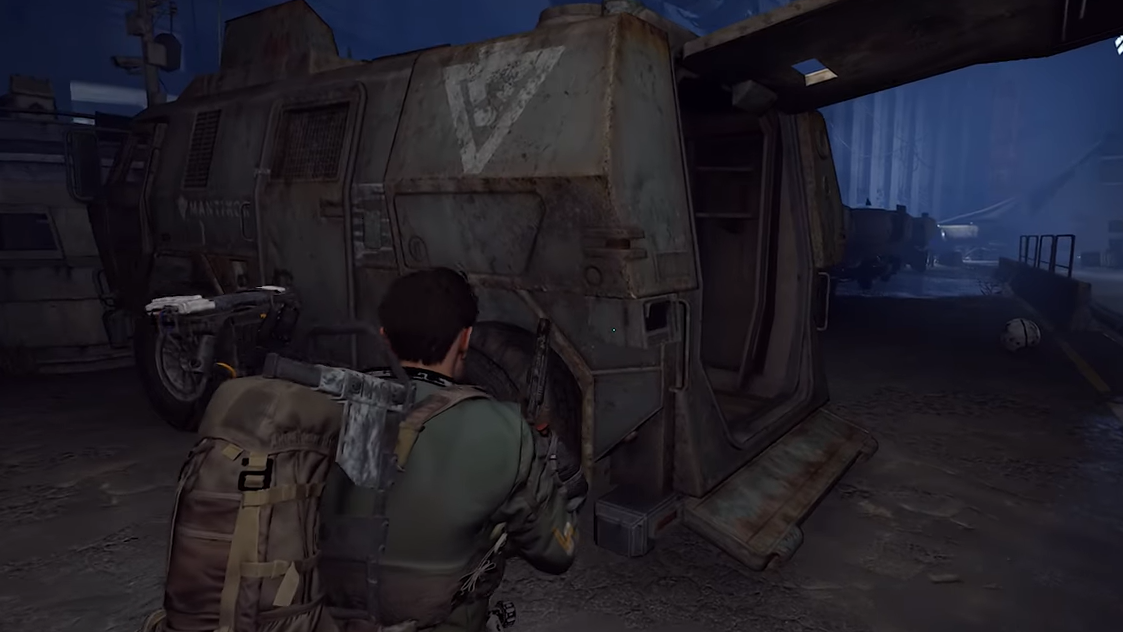
Step 1: Enter the Traffic Tunnel and start scanning the vehicles. You're looking for a heavy, SWAT-style armored van with a closed rear door. Most of the patrol cars in the tunnel have already been broken open and looted — the one you need still has its back sealed shut, identifiable by a small white light shining on the locked door.
Step 2: The locked patrol car's spawn location is randomized. Multiple armored vans can appear throughout the tunnel, so check both sides. One common spot is on the right side of the tunnel when facing north, near the entrance. Others are scattered deeper inside.
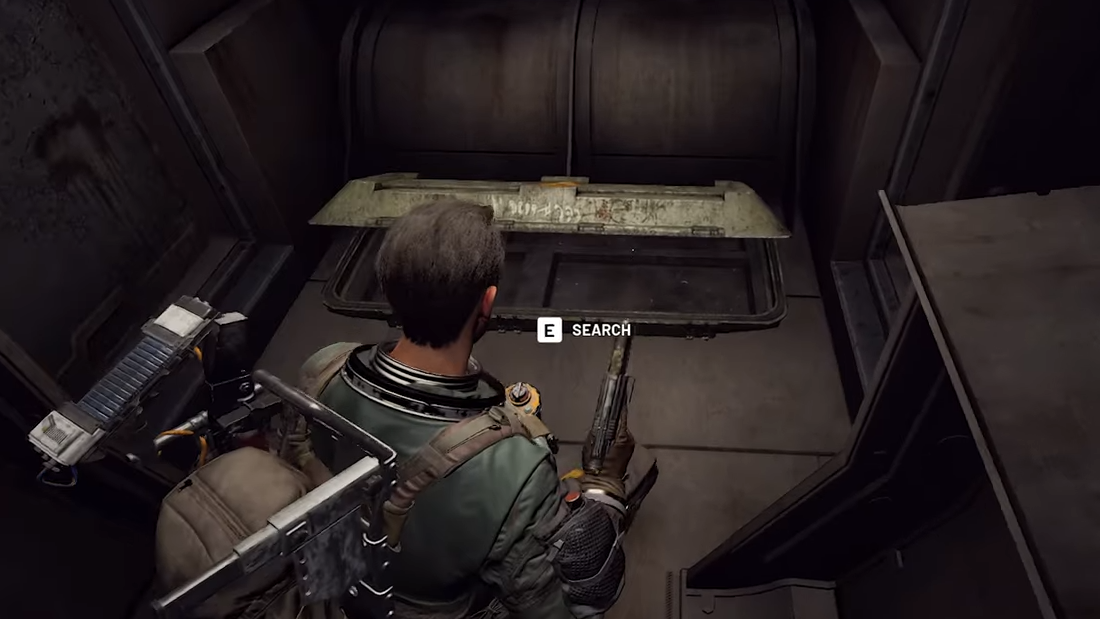
Step 3: Approach the locked rear door and interact with the keypad on its left side using the Armored Patrol Key Card. The door opens, revealing a weapon case inside — sometimes accompanied by a second container. The weapon case drops a random gun, which can be green or blue rarity.
Step 4: Loot the weapon case. This action completes the final objective. You now need to extract from Blue Gate alive to turn the quest in to Tian Wen back at Speranza. Head southeast toward the Overlook Airshaft or northwest toward the Cliffside Airshaft for extraction.
Armored Transports quest rewards
| Reward | Quantity |
|---|---|
| Smoke Grenade | 3 |
| Defibrillator | 3 |
| Aviator Outfit (Blue Yellow Color) | 1 |
On top of the quest rewards, you keep whatever you pulled from the weapon case inside the patrol car — assuming you make it back to Speranza. Bring a solid shield and a weapon you're comfortable with, because the Checkpoint is one of the most contested areas on the entire Blue Gate map. Running a squad or linking up with friendly raiders significantly improves your odds of walking out with everything intact.
Common reasons the quest doesn't complete
The most frequent issue is the Traffic Tunnel objective not ticking off. This happens when players skip straight to the patrol car without physically passing through the tunnel entrance zone. If your checklist still shows "Reach the Traffic Tunnel" as incomplete after you've already opened a van, walk back out to the tunnel entrance and step through it again.
The other common blocker is losing the key card before using it. Death drops the card from your regular inventory, and it won't be waiting at the guard hut on your next run. Check the spare key card location inside the guard shack at the right tunnel entrance if this happens — it spawns in a box on the floor when the quest is active, and the original card has already been collected.
Armored Transports is one of the tougher quests in Arc Raiders purely because of where it sends you. The objectives themselves are straightforward, but the Checkpoint's density of ARC enemies and player traffic makes every step a gamble. Patience, good positioning, and a willingness to bail and retry go a long way.