
Deleting important files by mistake can cause significant disruption, particularly if you haven't backed them up. Windows 11 provides several built-in tools and methods to restore deleted files, even if they seem permanently gone. The following methods will help you recover your deleted files effectively, starting with the quickest and most straightforward solutions.
Method 1: Undo Delete (Ctrl + Z)
Step 1: Immediately after deleting a file, press the keyboard shortcut Ctrl + Z to undo the action. Alternatively, right-click within the folder where the file was deleted and select Undo Delete from the context menu.
Step 2: The file will be restored to its original location instantly. Note that this method only works if no other significant actions were taken afterward and if the system hasn't been restarted.
Method 2: Restore Files from Recycle Bin
Step 1: Double-click on the Recycle Bin icon on your desktop to open it.
Step 2: Find the files you want to restore, select them, right-click, and choose Restore. Your files will be returned to their original locations.

This method is suitable for files that were recently deleted without using the Shift + Delete shortcut or without emptying the Recycle Bin.
Method 3: Restore Using File History
If you've previously enabled Windows File History, you can restore your files from a backup snapshot.
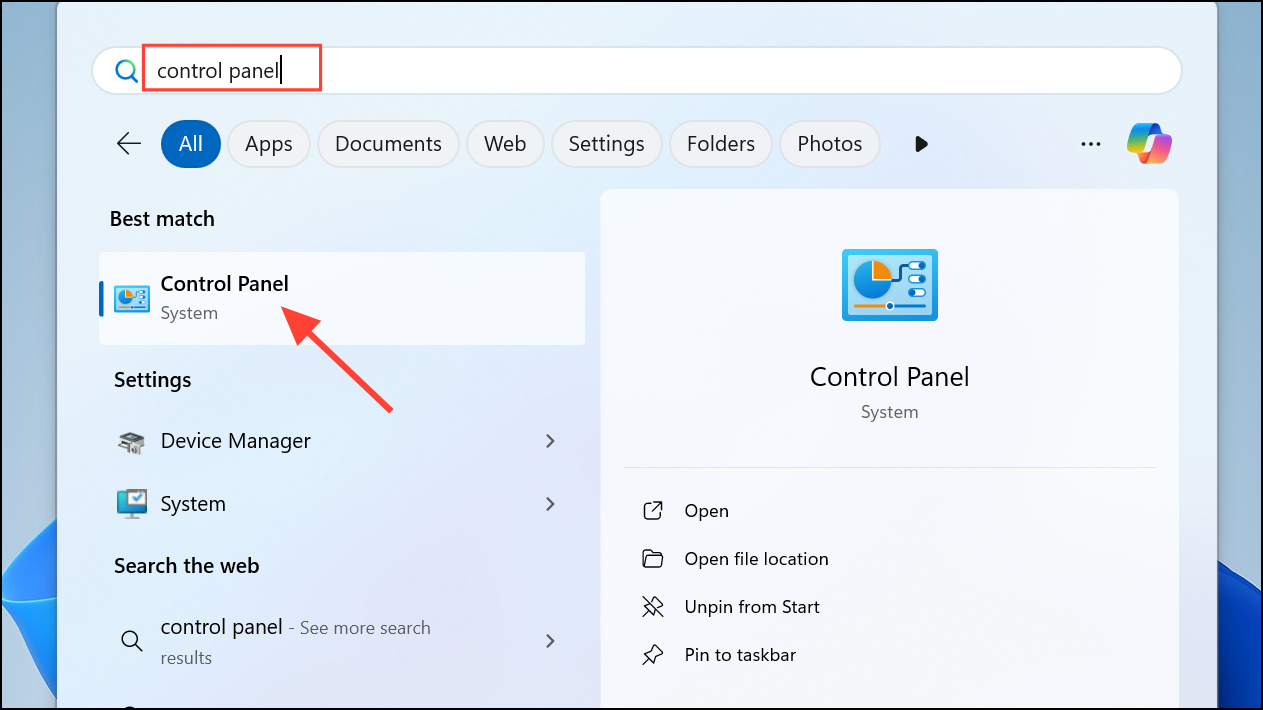
Step 1: Press the Windows key + S, type Control Panel, and open it.
Step 2: Select System and Security > File History > Restore personal files.
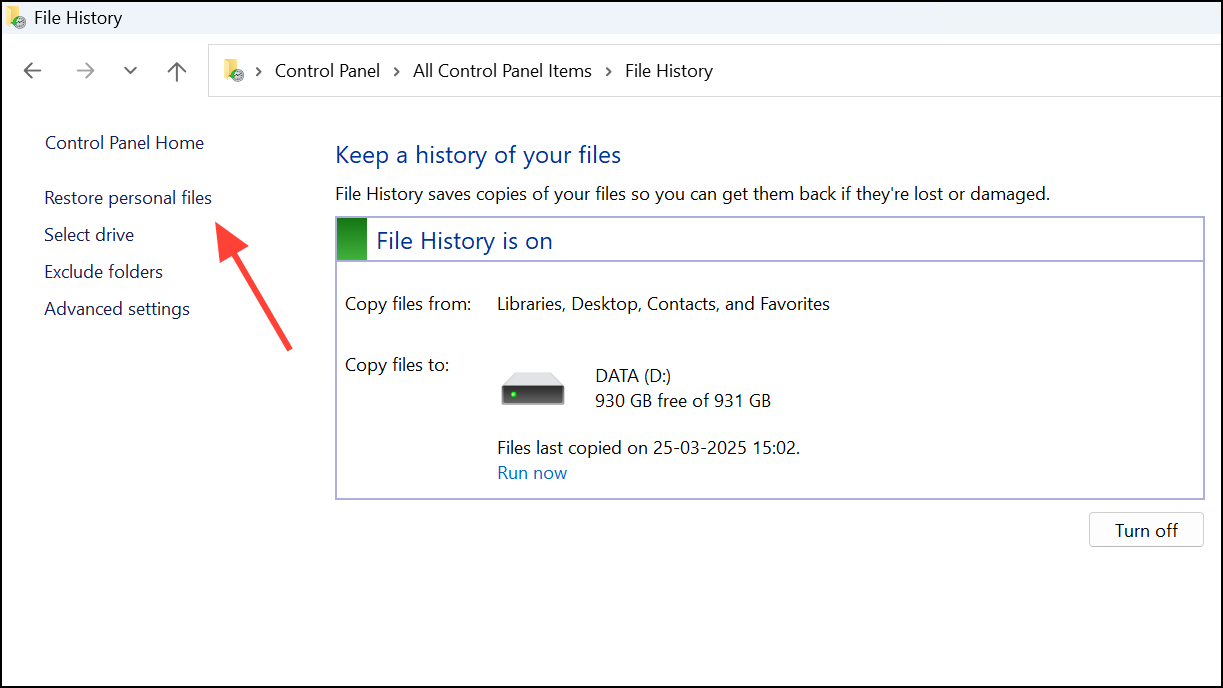
Step 3: Use the navigation arrows to find the backup containing the files you want. Select the files and click the green Restore button to recover them.
This method relies on File History being active before the data loss occurred.
Method 4: Recover Files with Windows File Recovery Tool
Microsoft offers a command-line tool called Windows File Recovery to help retrieve deleted files.
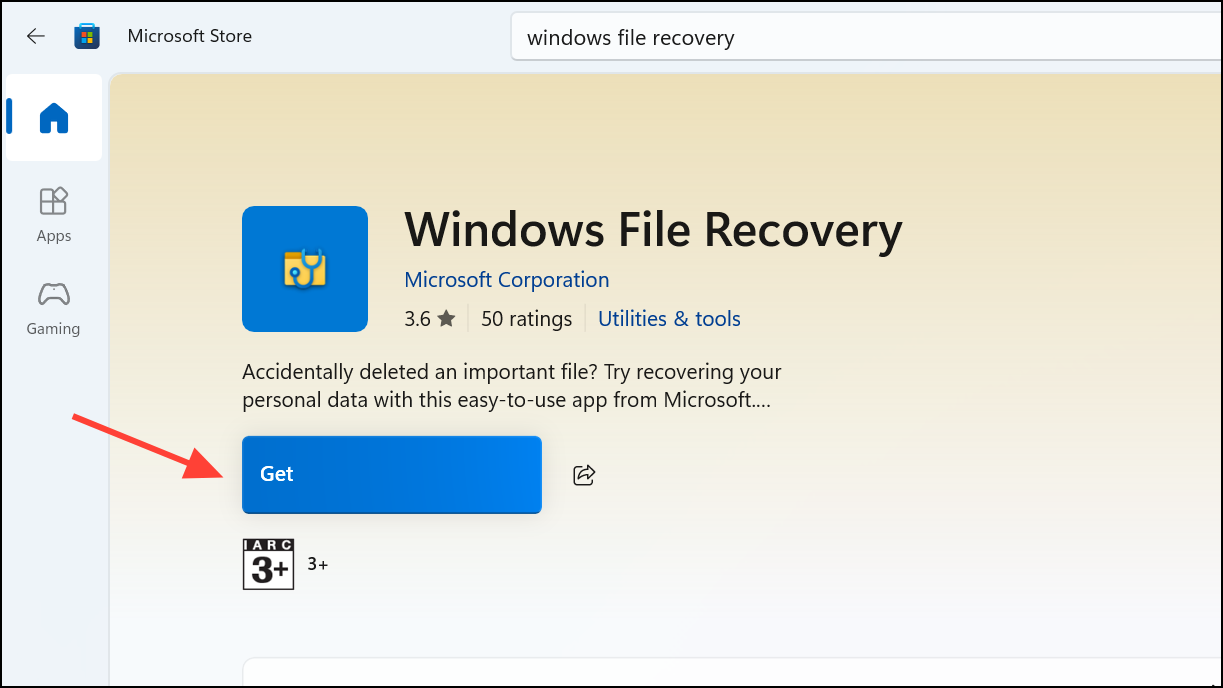
Step 1: Open the Microsoft Store, search for Windows File Recovery, and install it.
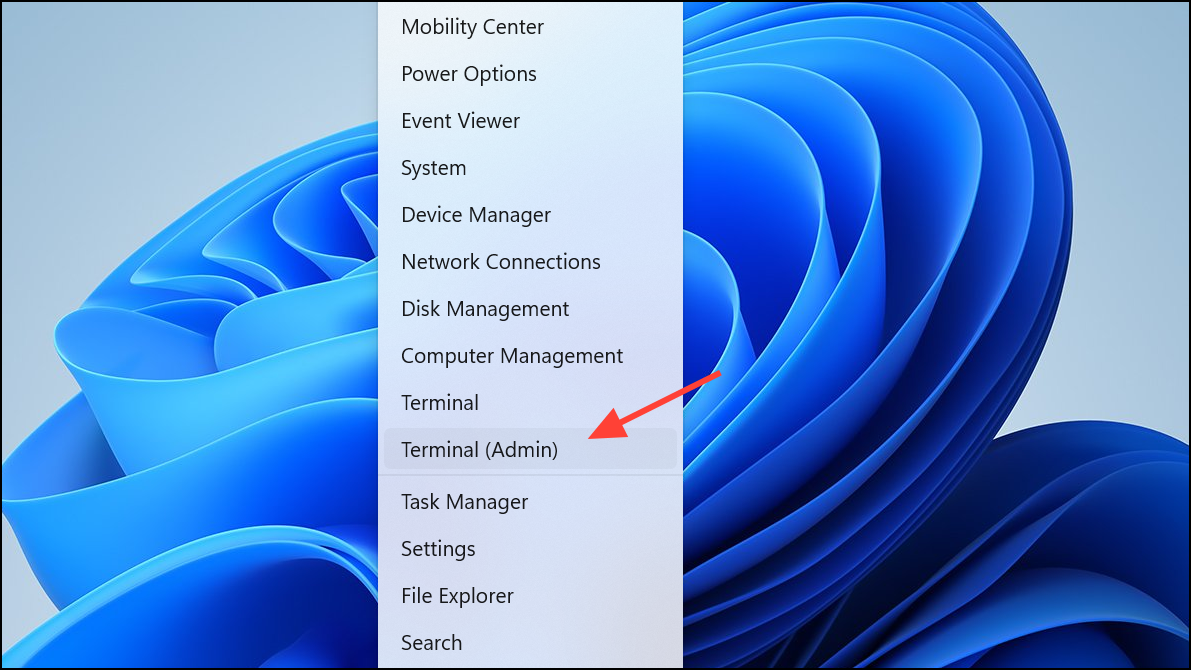
Step 2: Press Windows key + X and select Windows Terminal (Admin).
Step 3: Type the following command to recover files from drive C to drive E (replace usernames and paths accordingly):
winfr C: E: /regular /n \Users\YourUsername\Documents\*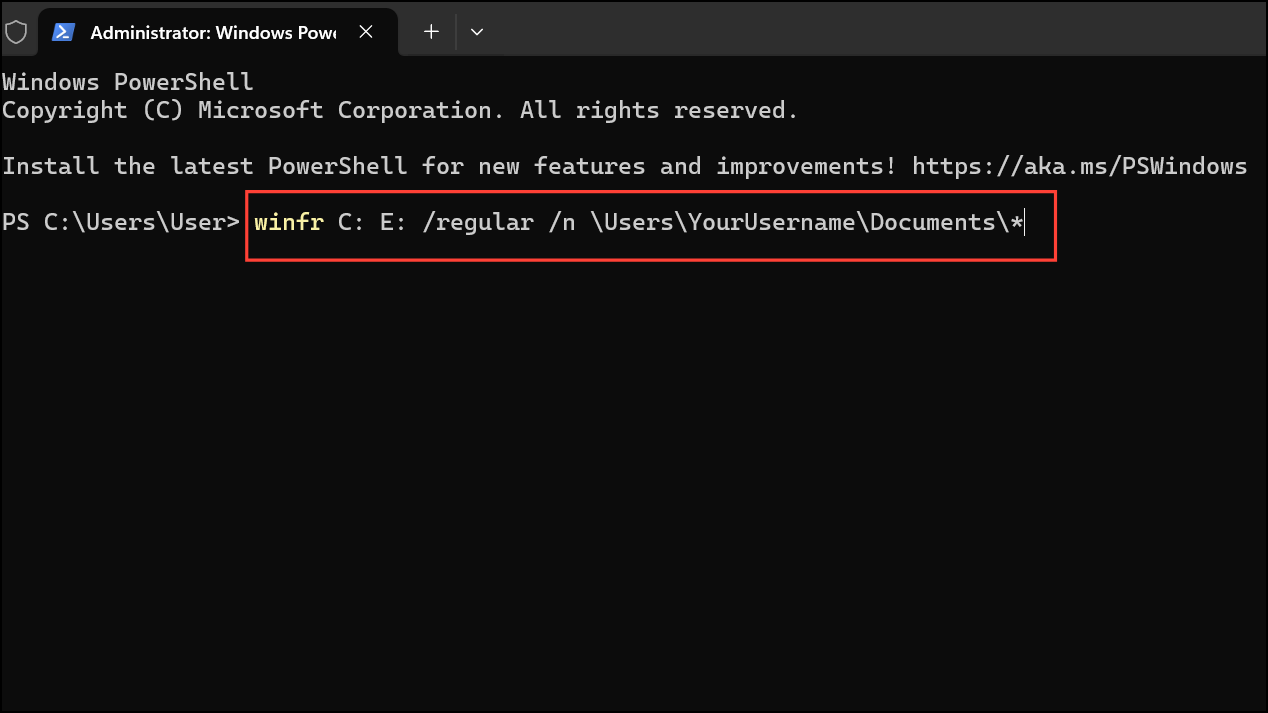
Press Enter to execute the command. This utility helps recover files that were permanently deleted or lost due to formatting.
Method 5: Using Third-Party Data Recovery Software
If built-in solutions don't work, third-party recovery software like Disk Drill or Stellar Data Recovery can help.
Step 1: Download and install a reliable data recovery software, such as Disk Drill.
Step 2: Launch the software, select the drive or folder where your files were deleted, and start the scan.
Step 3: Once the scan is complete, preview and select the files you wish to recover, then click Recover and choose a safe location to save your restored files.
This method is particularly effective for recovering files that have been permanently deleted or lost due to formatting or corruption.
Method 6: Restore Files from Previous Versions
Windows 11 lets you restore previous versions of files or folders if you have System Restore or File History enabled.
Step 1: Right-click the folder that contained your deleted files and select Properties.
Step 2: Click the Previous Versions tab. If previous versions are available, select the appropriate version and click Restore.

Be cautious, as restoring previous versions will overwrite current data. Ensure you back up current files before proceeding.
Method 7: Check Your Cloud Storage (OneDrive)
If your files were synced with OneDrive, you could retrieve them from the cloud.
Step 1: Go to the OneDrive website and log in with your Microsoft account.
Step 2: Navigate to the Recycle Bin in OneDrive, select the files you want to restore, and click Restore.

This method works best if you regularly sync your files with OneDrive and haven't permanently deleted them from the cloud.
Recovering deleted files on Windows 11 is straightforward with the right tools and methods. Always remember to back up your data frequently to prevent future data loss headaches.