
There are several situations in which you may want to remove the background from an image. Having a transparent background will let you use an image in many different ways. You can isolate the image from its surroundings and then place that image on a different background, or use it with other elements. If you do not have access to photo editing apps, you can use PowerPoint to remove the background from an image.
Remove the background
- Open Microsoft PowerPoint and create a new presentation or open an existing one.
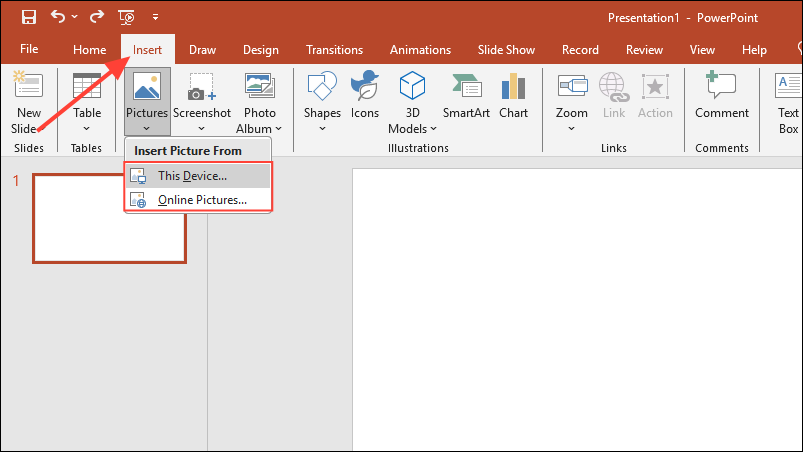
- Go to the 'Insert' menu at the top and then click on 'Pictures' before selecting where you want to insert pictures from. You can insert pictures saved locally on your PC or get them from the internet.
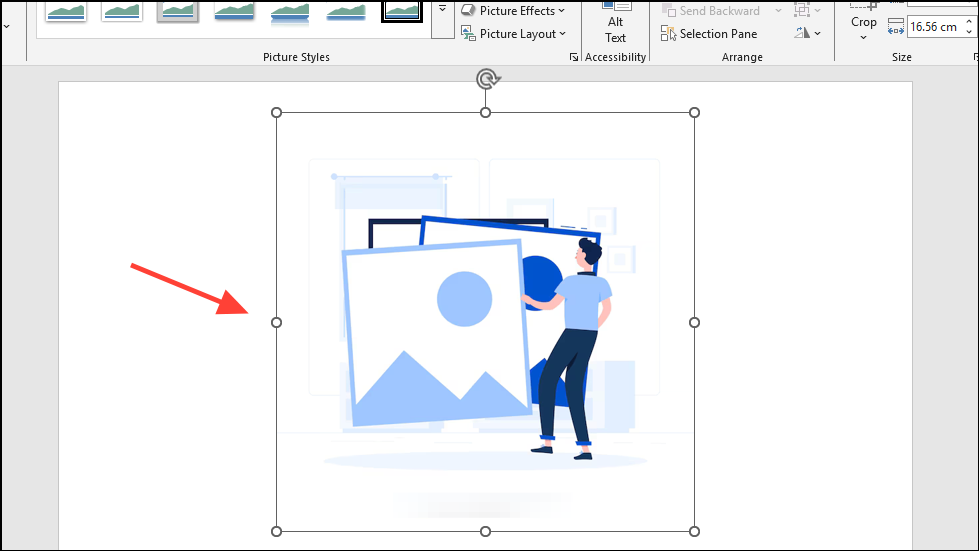
- If you want to insert images from your computer, navigate to where they are located and click on the image you want to insert it. After inserting the image, you can click on its edges to reposition and resize it as needed.
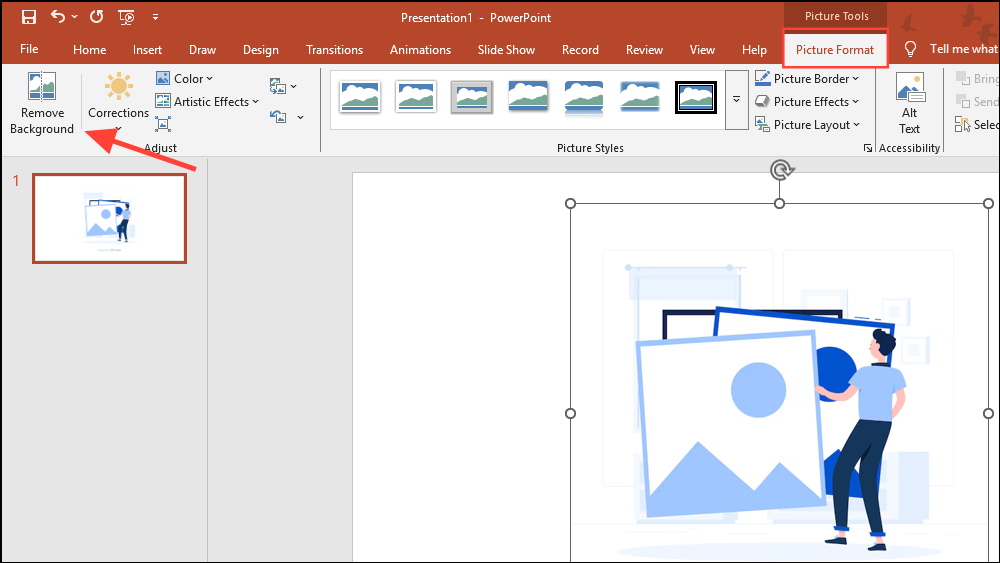
- With the image selected, click on the 'Remove Background' button under the Picture Format tab.
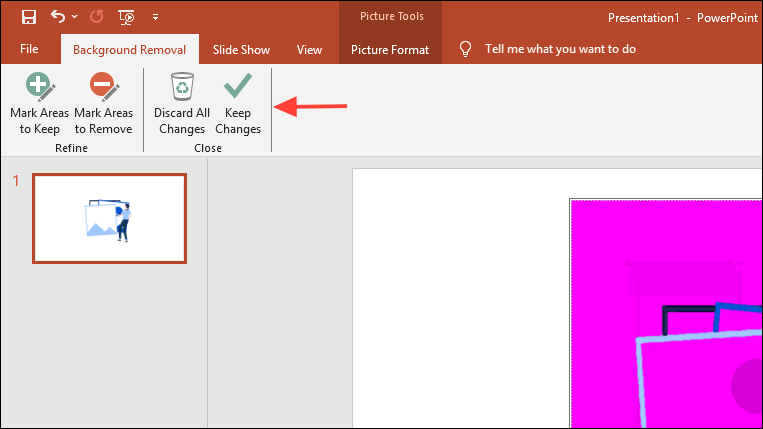
- You will see that the background has turned purple. Click on the 'Mark areas to remove' or 'Mark areas to keep' button on the top left and select the areas you want to remove or keep in the background respectively.

- Once you are done, click on the 'Keep Changes' button at the top. The background in your image should now be removed.
What to do after removing the background
You may have to edit the image after removing its background.
- If you remove a large section of the background, consider cropping the image so that it fits more appropriately. The Crop option is present on the Picture Format tab on the right side.
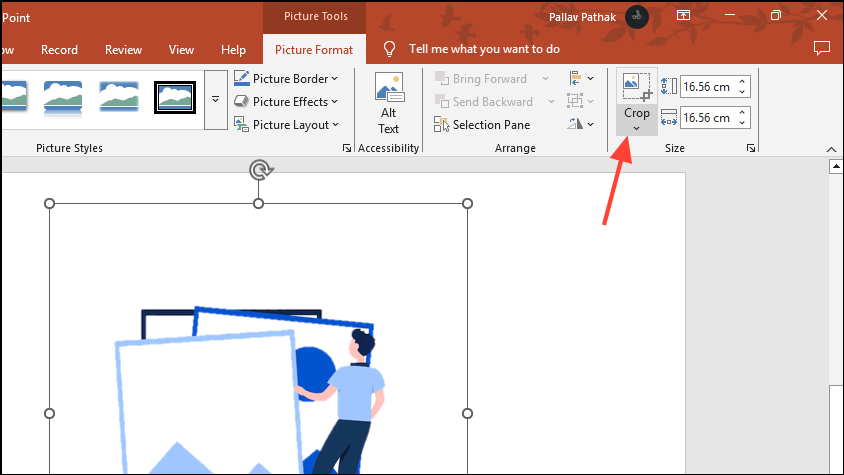
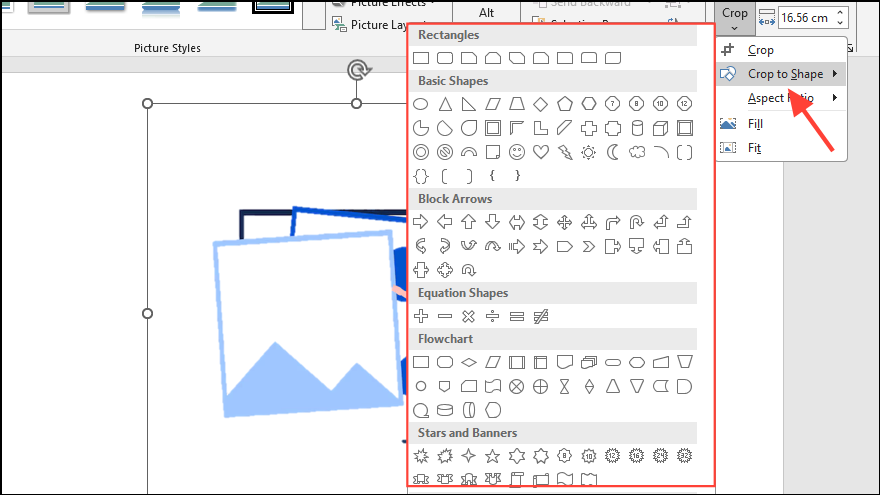
- You can crop the image as you like using the standard Crop option or select any of the preset shapes to crop it in that particular shape.
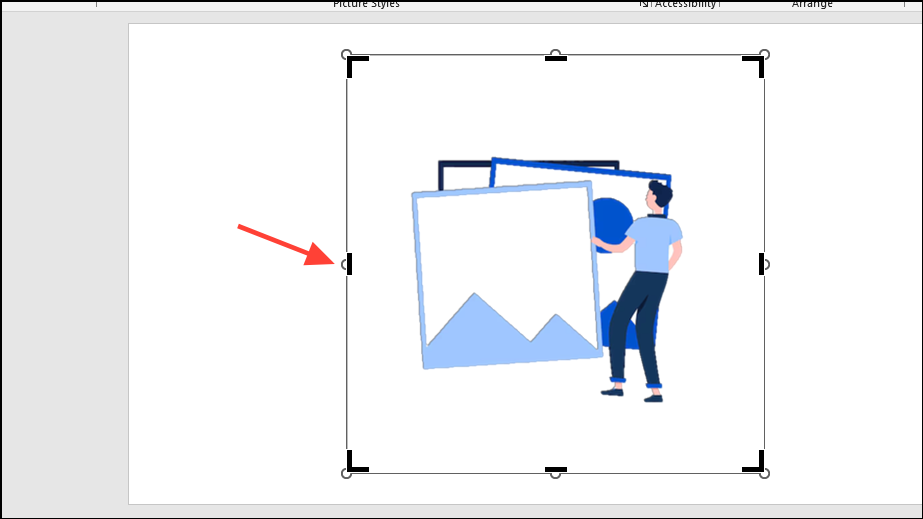
- Click and drag the black handles to adjust how you want to crop the image.
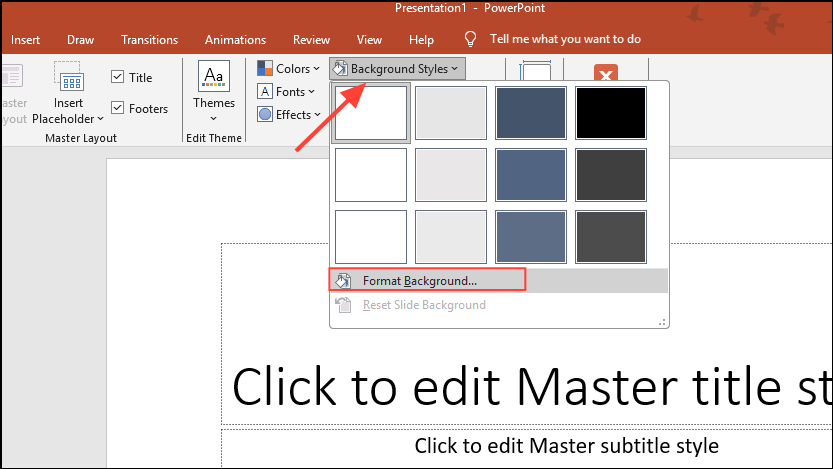
- If you find that the background of the image appears grey instead of white after you remove it, go to the 'View' tab and click on 'Slide Master'.
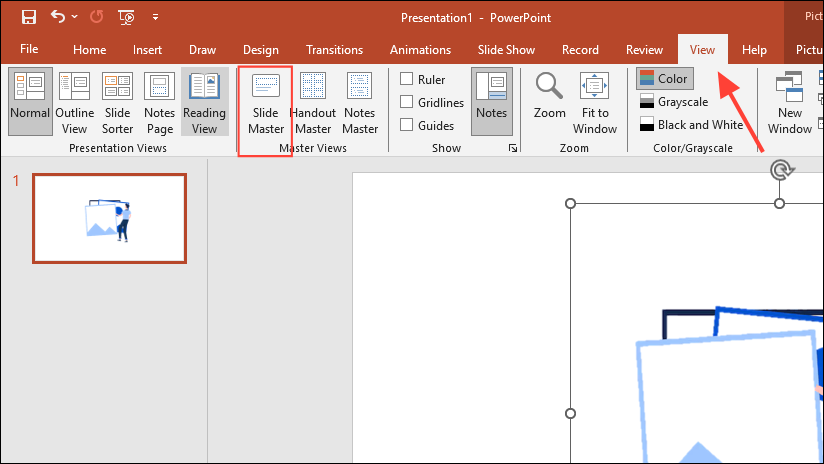
- Then click on the 'Background Styles' dropdown before clicking on 'Format Background'. Click on the shape in the background you want to fill and click on 'No Fill' on the right.
Things to know
- You can also apply various effects to an image after you remove its background using PowerPoint.
- Another method of removing the background is by setting a transparent color to the background using the Picture Format tab. However, the 'Remove background' option is much simpler and easier to use and offers greater control over the sections you want to remove.
- You cannot remove backgrounds from gradient images using PowerPoint, or when the background has similar colors and shades. Similarly, it does not work when the background has fine lines.
- If you want greater control with better results, you should use a photo editing tool instead of PowerPoint to remove the background from an image.