
Incorrect or altered display settings in Windows 11 can cause issues like distorted visuals, unusual resolutions, or mismatched color profiles. Restoring the default display settings corrects these issues, returning your screen to optimal clarity and resolution.
Method 1: Reset Display Settings via Windows Settings
Step 1: Open the Windows 11 Settings app by pressing Windows Key + I on your keyboard. This shortcut quickly launches the main settings panel.
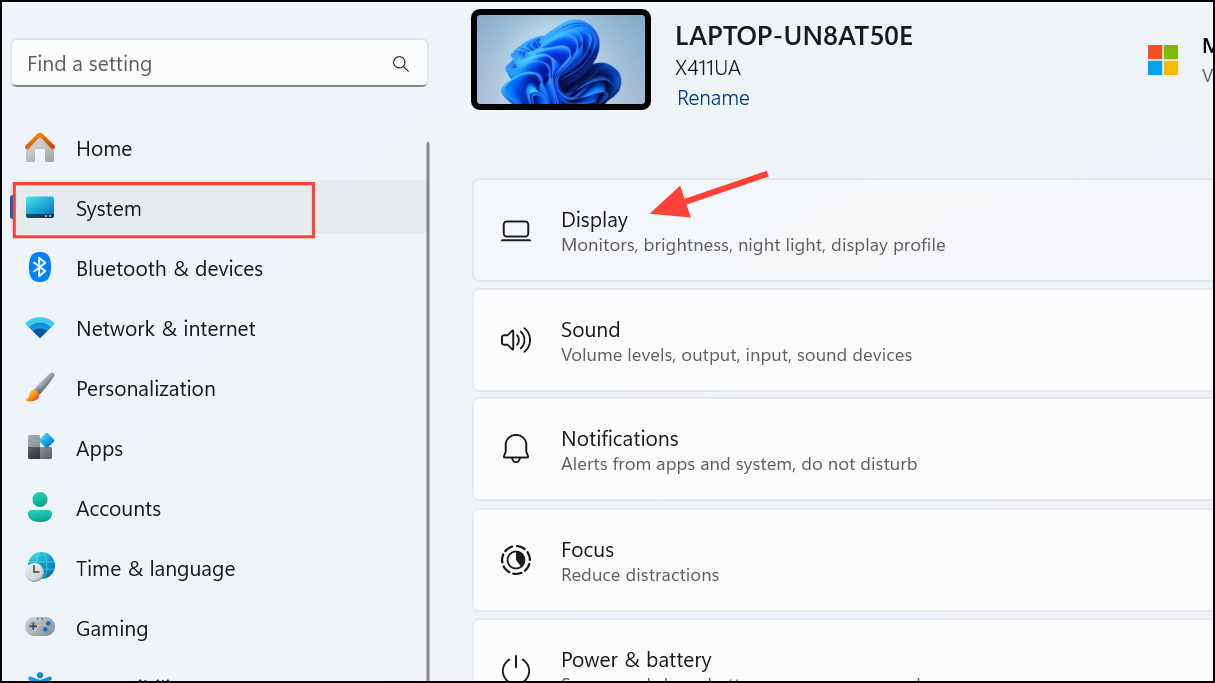
Step 2: In the Settings window, select "System" from the sidebar menu, then click "Display" from the available options. This opens the primary display settings area.
Step 3: Under the Display settings, scroll down and click "Advanced display." Here, you'll find detailed information and additional options for your current display setup.

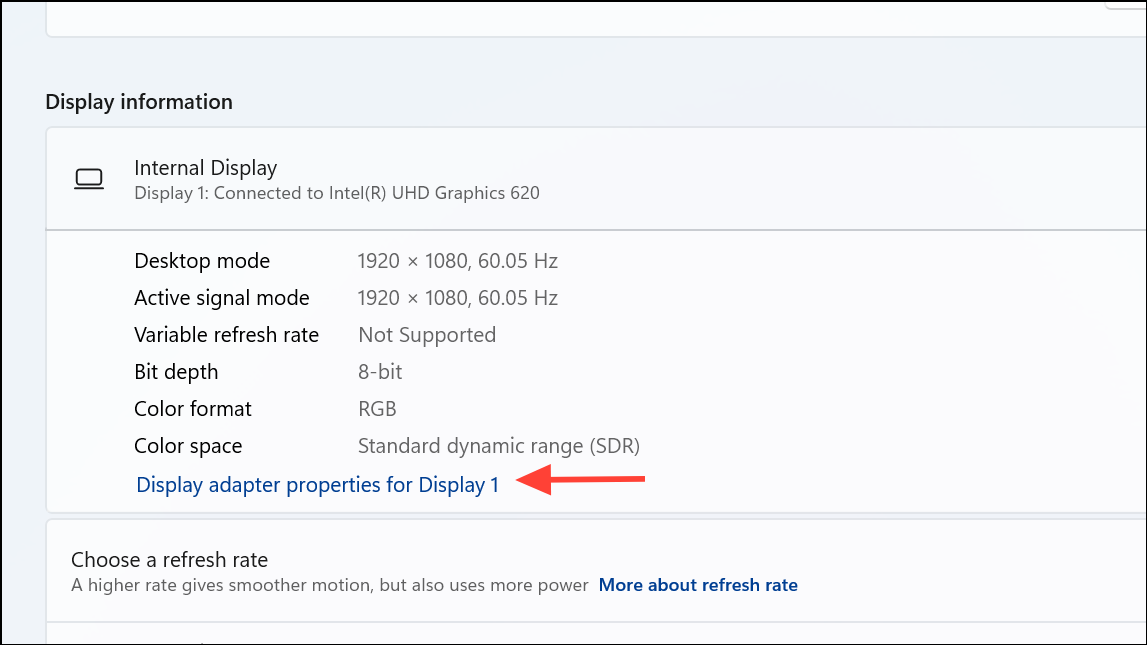
Step 4: Click on "Display adapter properties for Display 1" (or the appropriate number if you have multiple monitors). A new window labeled "Properties" will open, providing further display options.
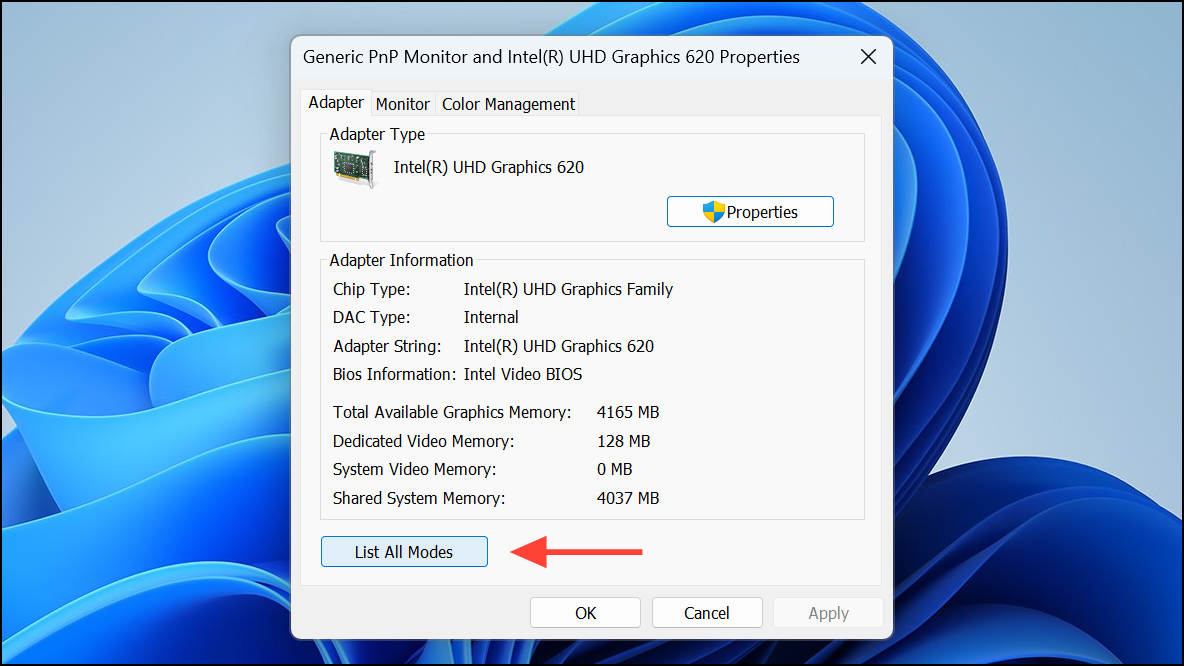
Step 5: In this new window, navigate to the "Adapter" tab and click on the "List All Modes" button. You'll see a list of all available display resolutions and refresh rates supported by your monitor and graphics adapter.
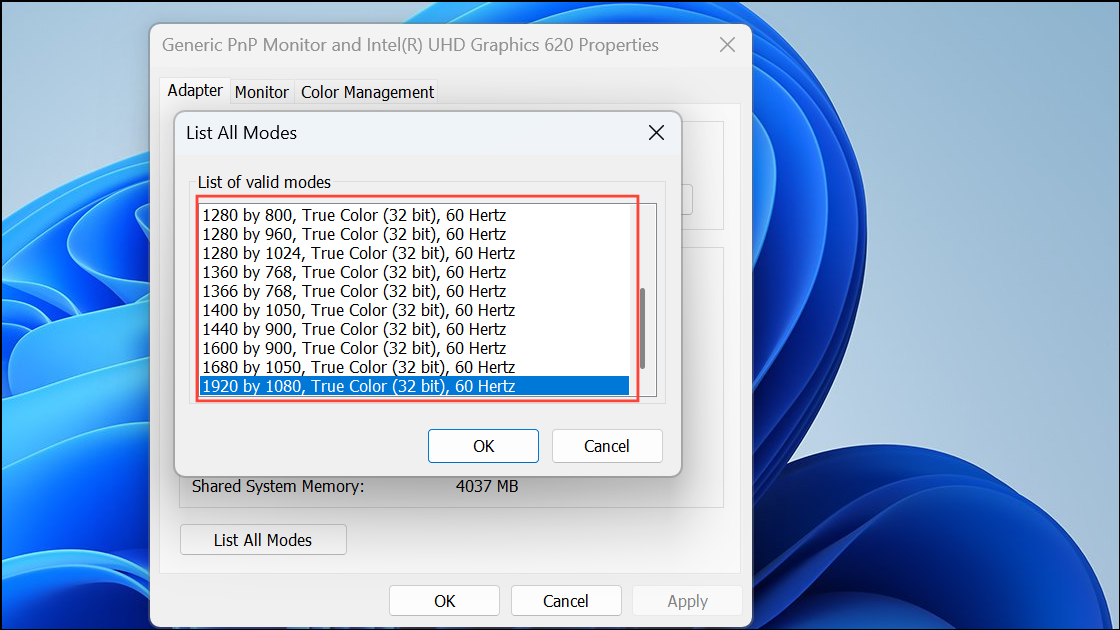
Step 6: Select the recommended resolution and refresh rate (usually indicated as "Recommended" or matching your monitor's native resolution). Click "OK," then confirm by clicking "Apply" and "OK" again to save the changes and reset your display to default settings.
Method 2: Restore Default Settings Using Device Manager
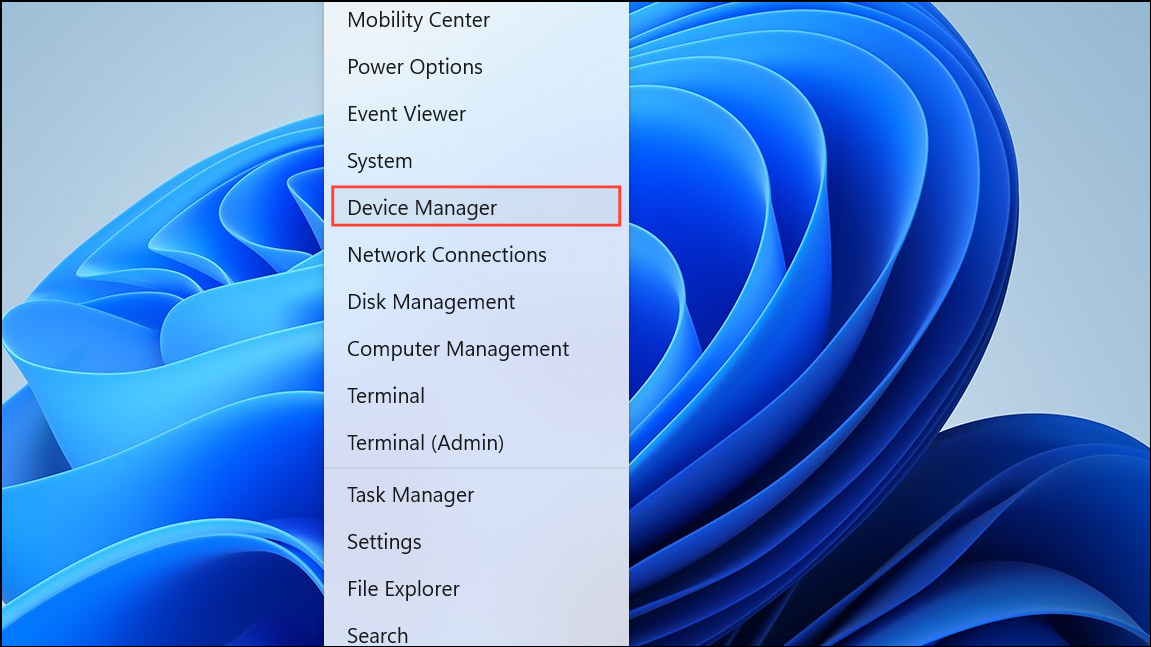
Step 1: Press Windows Key + X and select "Device Manager" from the context menu. Device Manager allows you to manage hardware components, including your graphics adapter.
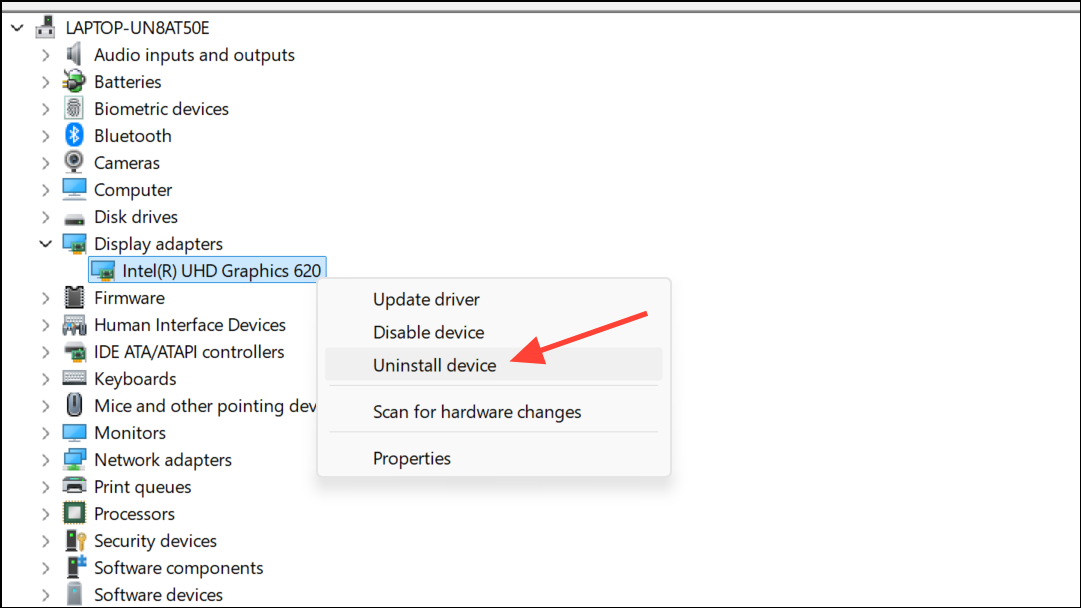
Step 2: In Device Manager, expand the "Display adapters" section by clicking the arrow next to it. Here you'll see your graphics adapter listed (e.g., Intel, NVIDIA, or AMD).
Step 3: Right-click your graphics adapter and select "Uninstall device." Don't worry—this step removes the current driver temporarily, prompting Windows 11 to reinstall fresh default drivers automatically.
Step 4: In the confirmation dialog, make sure to check the box labeled "Attempt to remove the driver for this device" if available, then click "Uninstall." Once completed, restart your computer. Windows will automatically reinstall the default display drivers, restoring your display settings to their original state.
Method 3: Reset Display Settings Using Graphics Control Panel
Step 1: Open your graphics control panel. This varies depending on your graphics hardware. For Intel graphics, right-click on your desktop and select "Intel Graphics Settings." For NVIDIA or AMD graphics, right-click your desktop and select "NVIDIA Control Panel" or "AMD Radeon Settings," respectively.
Step 2: Within your graphics control panel, locate the option to restore default settings. Typically, this is found under a "Preferences," "Settings," or "System" tab. Click on "Restore Defaults" or a similarly labeled button.
Step 3: Confirm your selection when prompted. Your display settings, including resolution, color, and scaling, will reset to their recommended default values.
After following these steps, your Windows 11 display settings should return to their original defaults, resolving any visual glitches or configuration errors. Remember to keep your graphics drivers updated regularly to maintain optimal display performance.