
Microsoft recently introduced several artificial intelligence (AI)-powered image editing tools in Windows 11. These features simplify photo editing tasks like removing unwanted objects, generating images from descriptions, and modifying backgrounds—all without needing specialized software or advanced skills. This guide explains how to install, set up, and use these built-in AI tools effectively on your Windows 11 device.
Method 1: Using Generative Erase in the Windows 11 Photos App
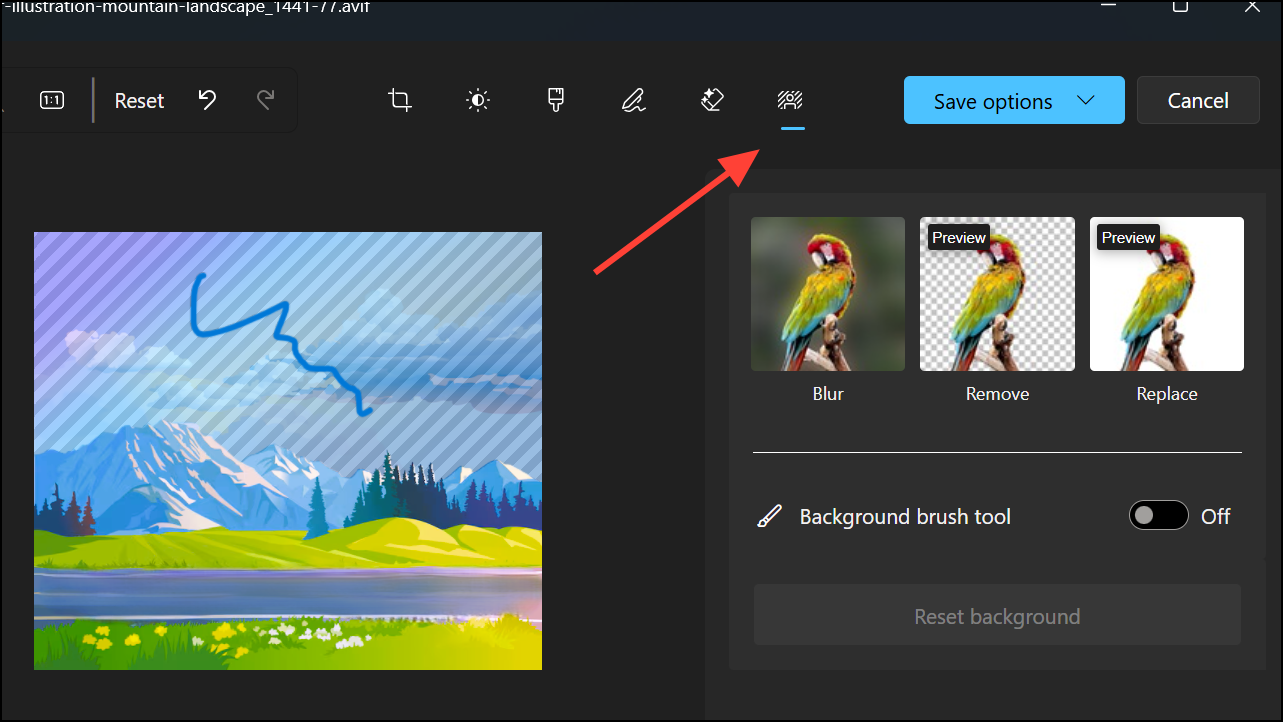
The Generative Erase tool in the Windows 11 Photos app uses AI to remove unwanted objects from your images, leaving a natural-looking result. It replaces the traditional manual editing process with a streamlined, automated approach.
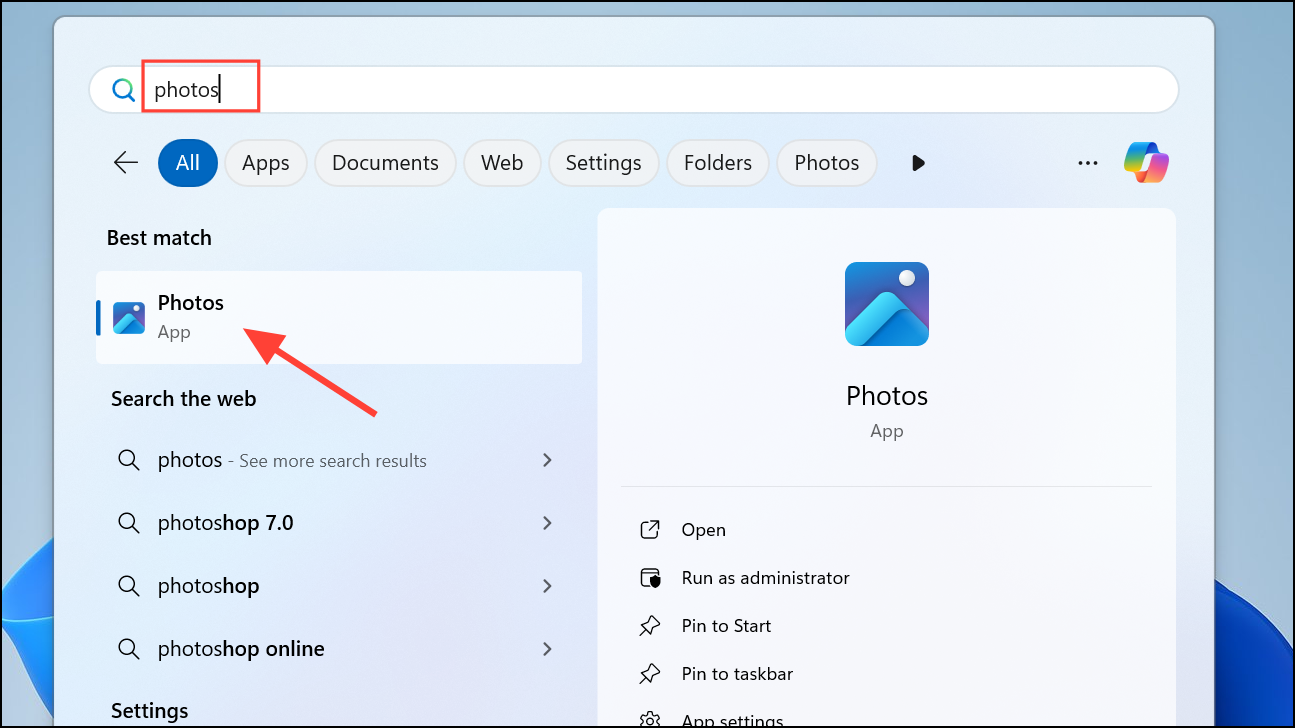
Step 1: Open the Photos app by clicking the Start menu and typing "Photos" in the search bar. Select your desired image to begin editing.
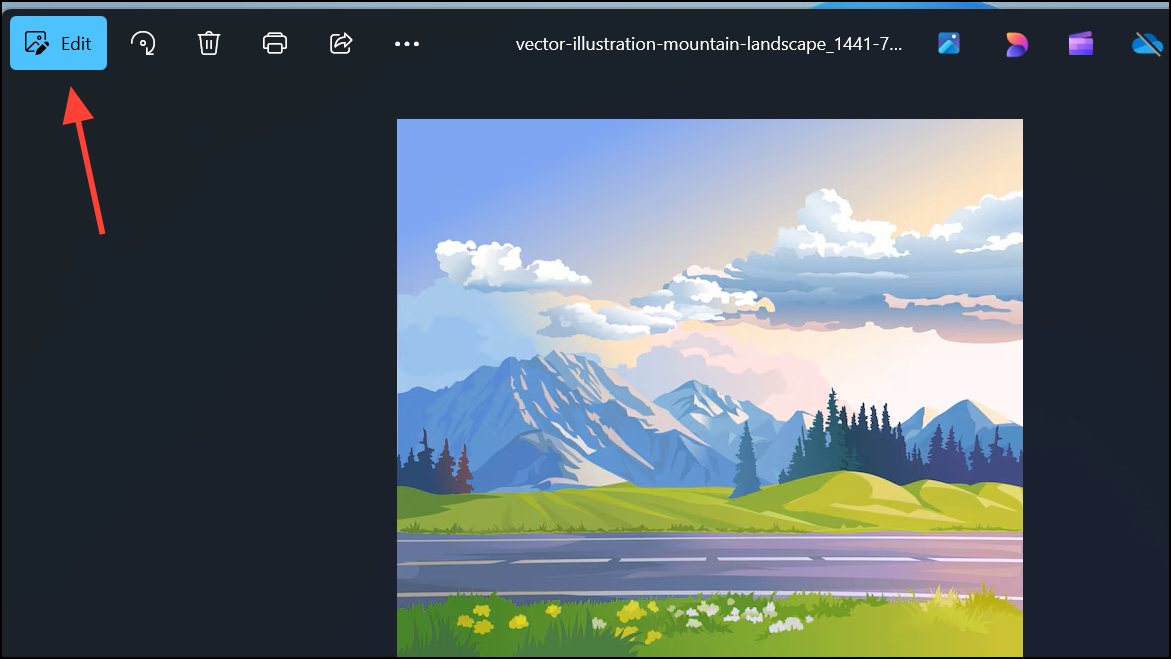
Step 2: Click on the "Edit image" button at the top left.
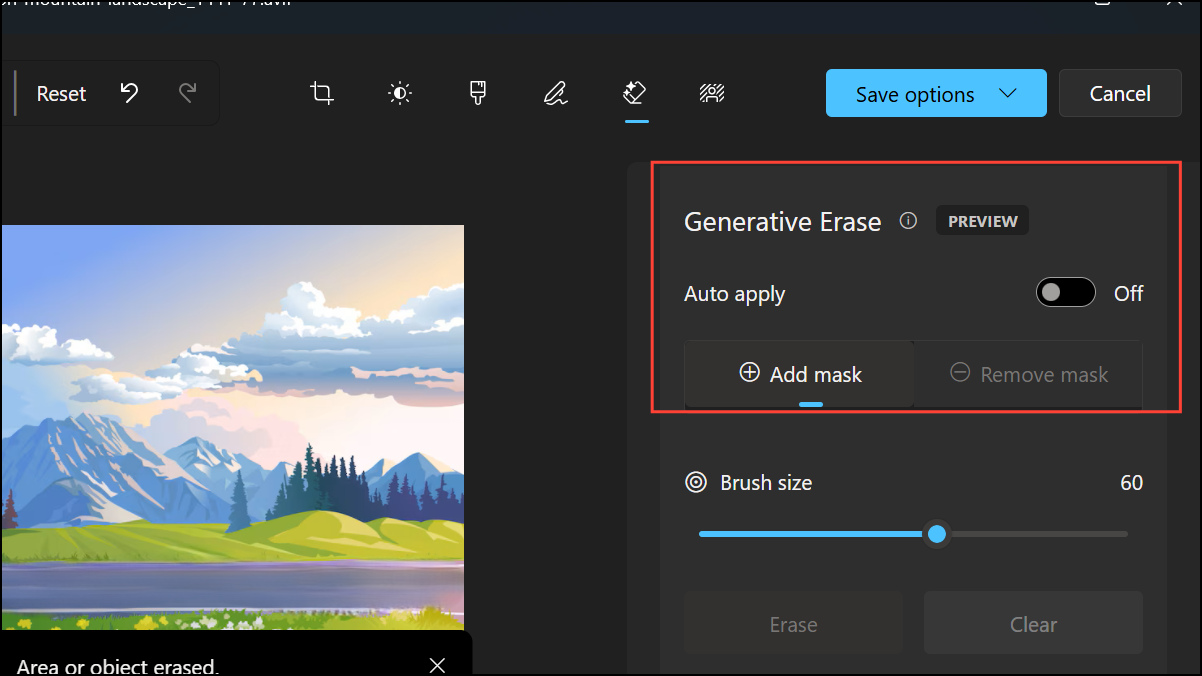
Step 3: Select the "Erase" tool from the editing options.
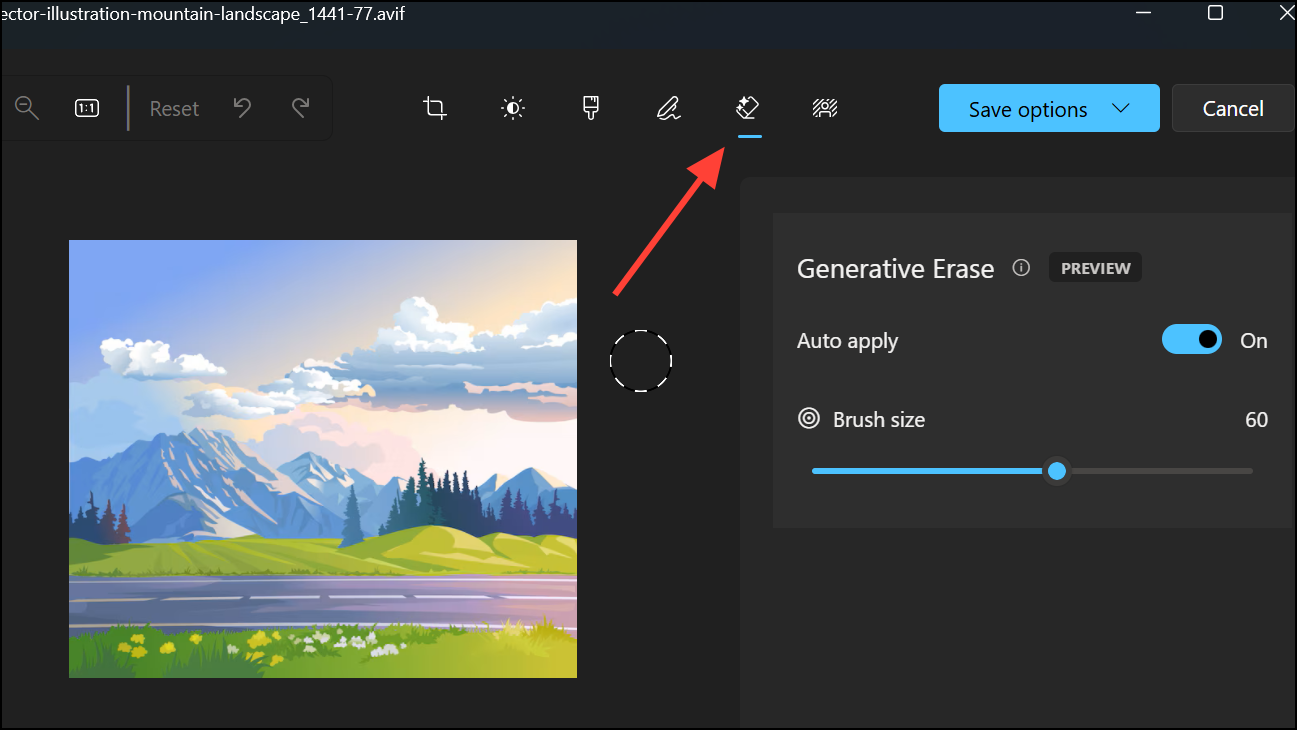
Step 4: Use the brush tool to highlight the object or area you want to remove. Generative Erase will automatically analyze the surrounding pixels and seamlessly fill in the removed area.
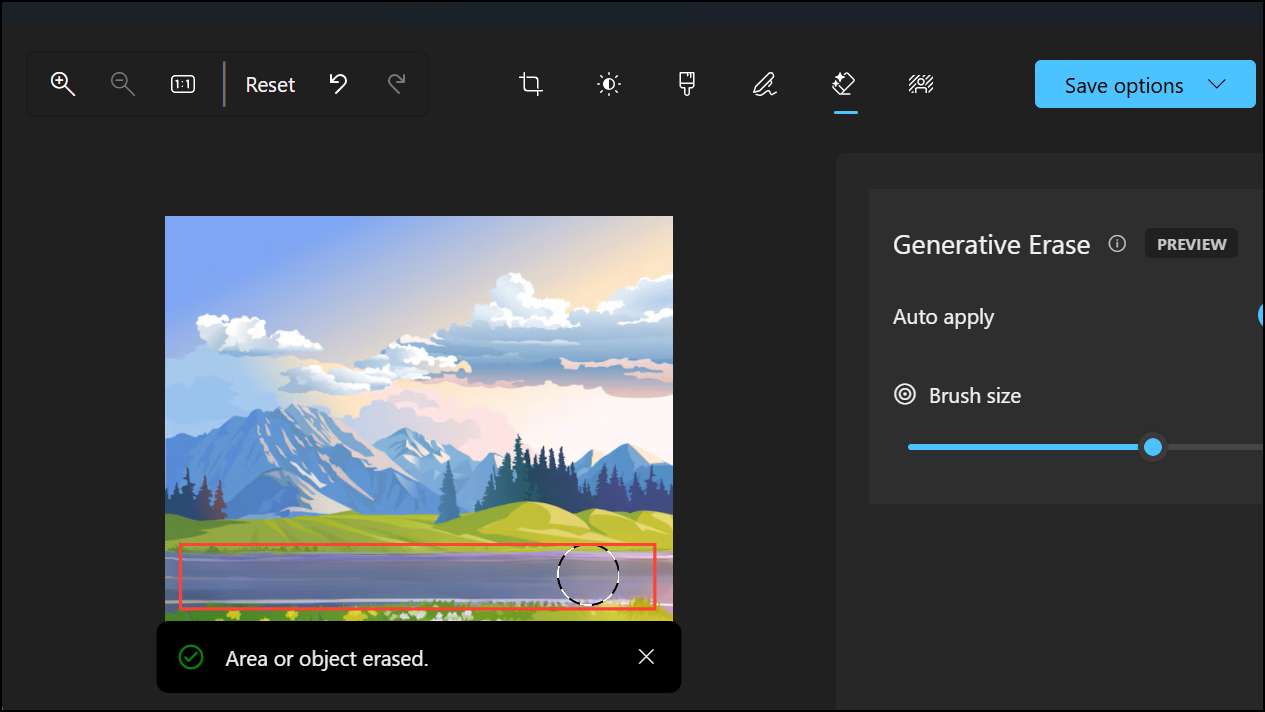
Step 5: If you need more control, disable "Auto-apply" and manually refine your selection using the "Add to mask" or "Remove from mask" modes. Once satisfied, click "Apply."
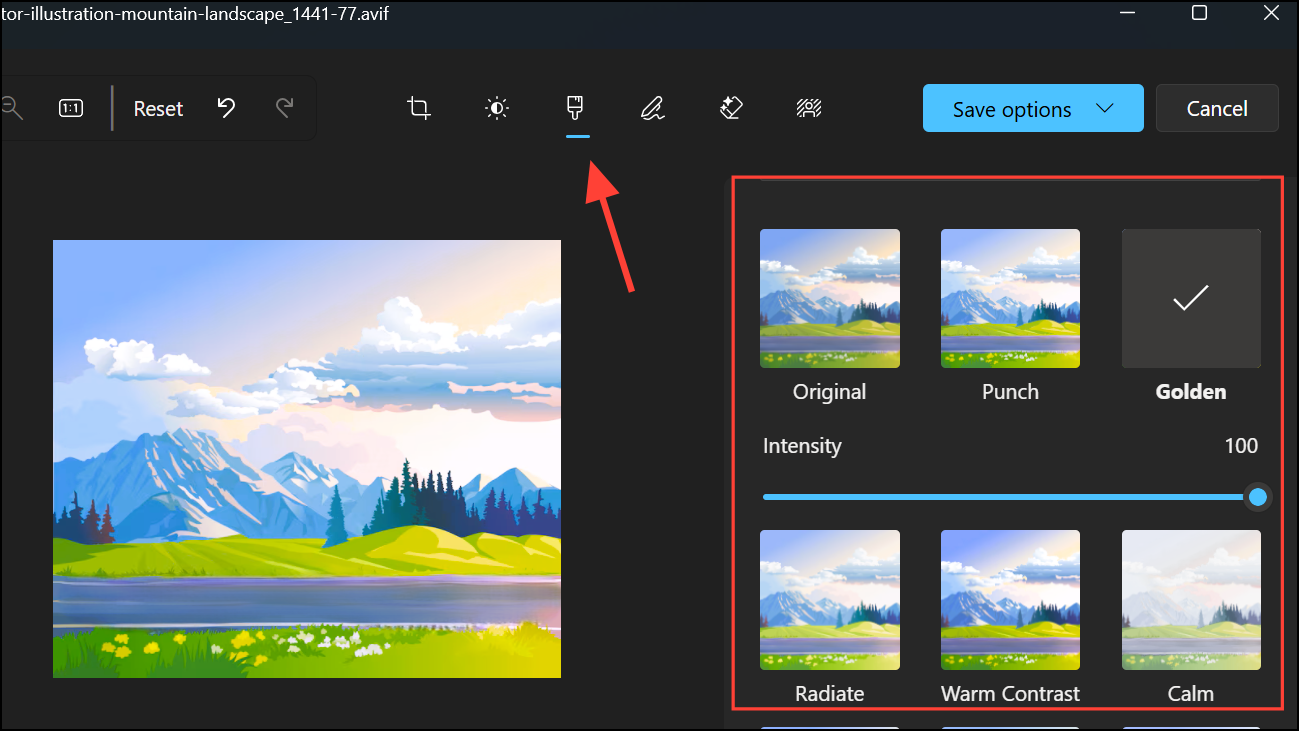
Step 6: To apply filters, click the Paintbrush button at the top and choose from the various filters on the right.
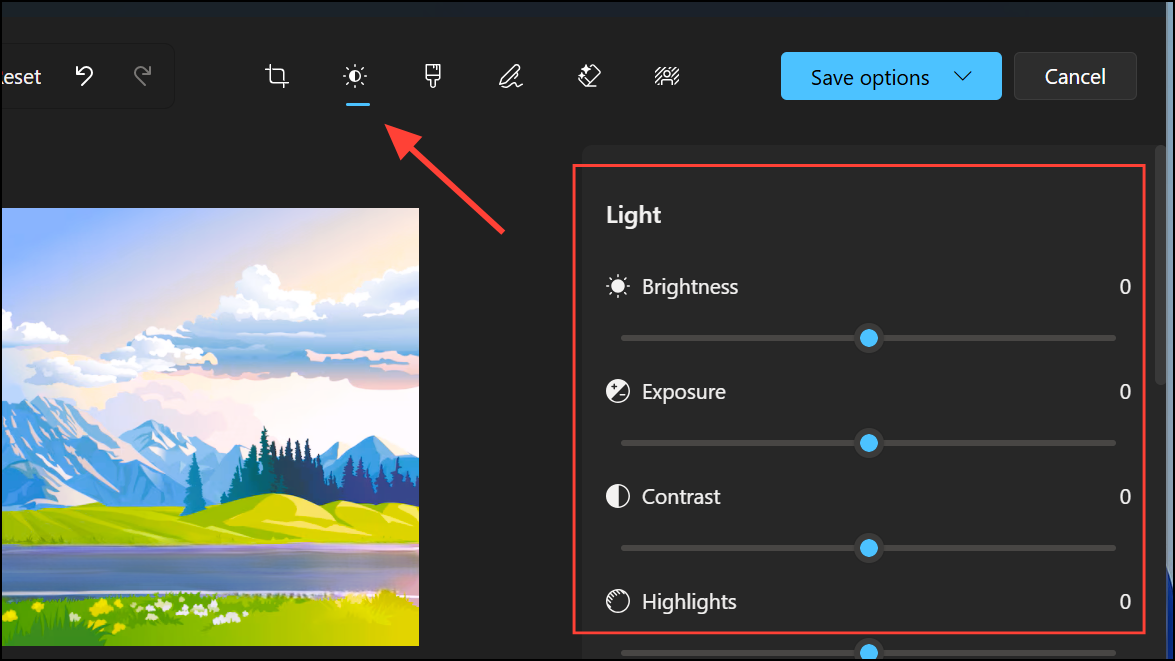
Step 7: Similarly, you can adjust aspects like brightness, contrast, saturation, etc. by clicking the Adjustment button at the top. Then, make your adjustments using the sliders that appear on the right.
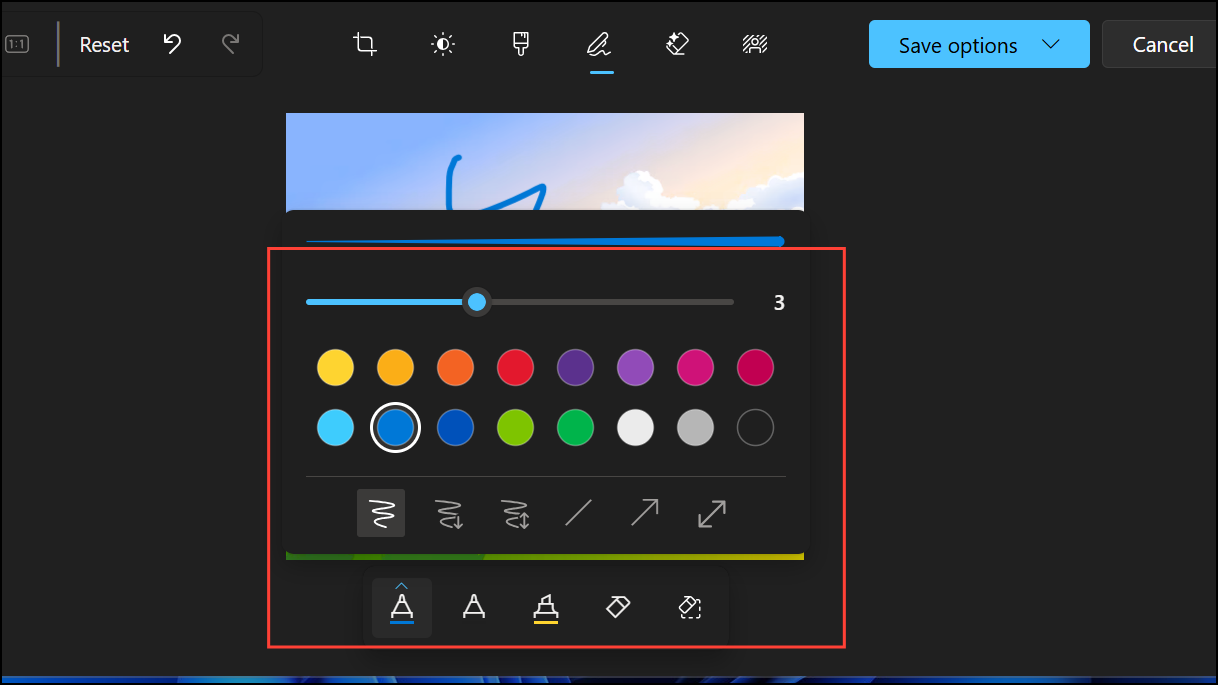
Step 8: The Photos app also lets you markup images. To do so, click the Pen button and you will be able to scribble on your image.
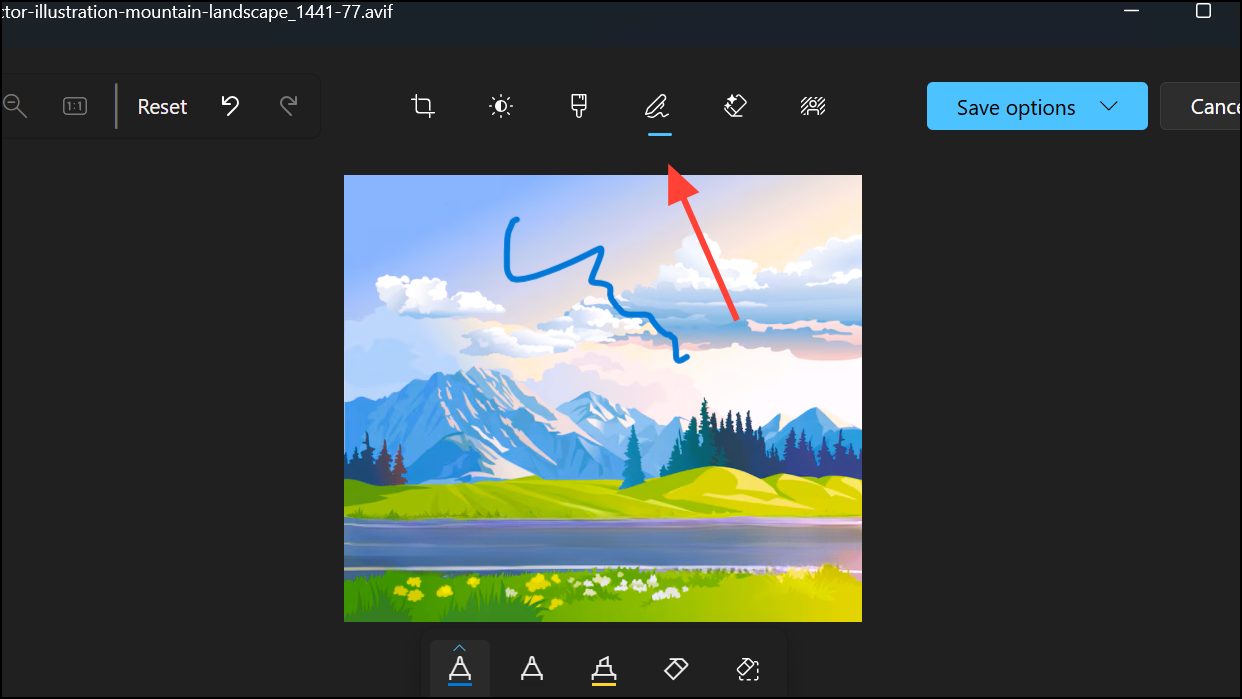
Step 9: Change the color and thickness of your markup tool by clicking the options at the bottom.
Step 10: Use the Background effects tool to add background blur to your image.
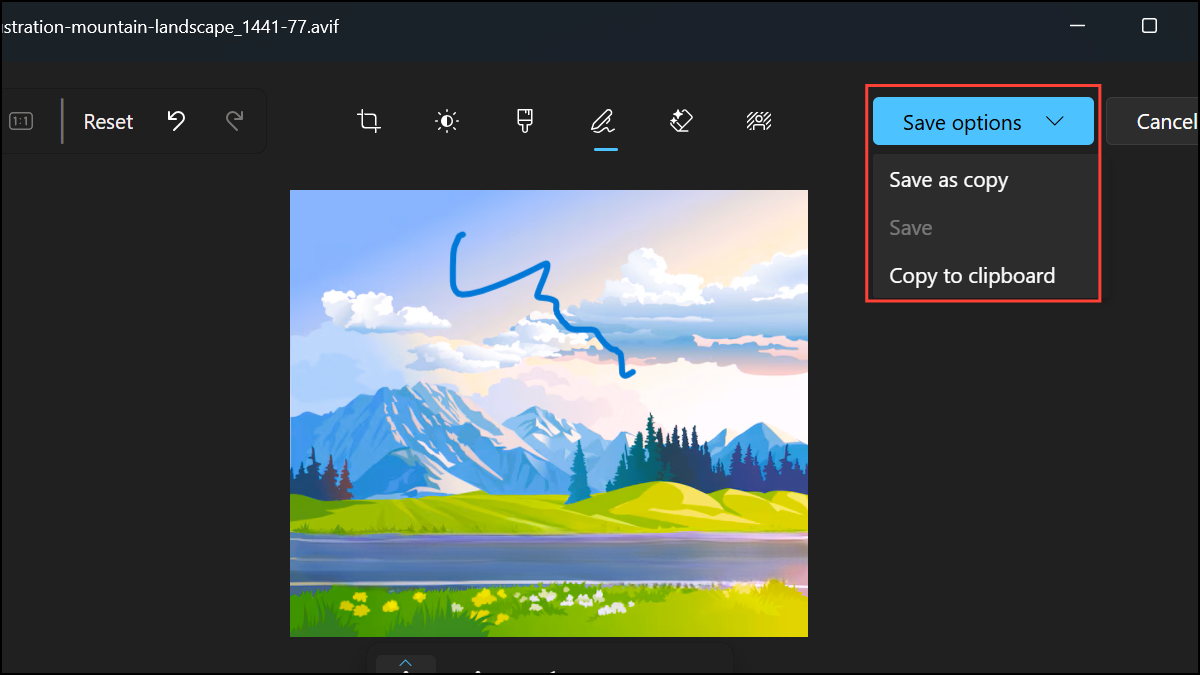
Step 11: When you're done, click the 'Save options' button and choose whether to save a copy of the image or save the image to your clipboard.
This method drastically reduces the time needed to remove distractions or unwanted elements from your photos, giving you professional-quality results quickly. Generative Erase processes images locally, ensuring your privacy and security.
Method 2: Creating AI Images Using Paint Cocreator
Paint Cocreator leverages Microsoft's partnership with DALL-E to generate images based on your text descriptions. This feature allows you to create unique visuals quickly and easily.
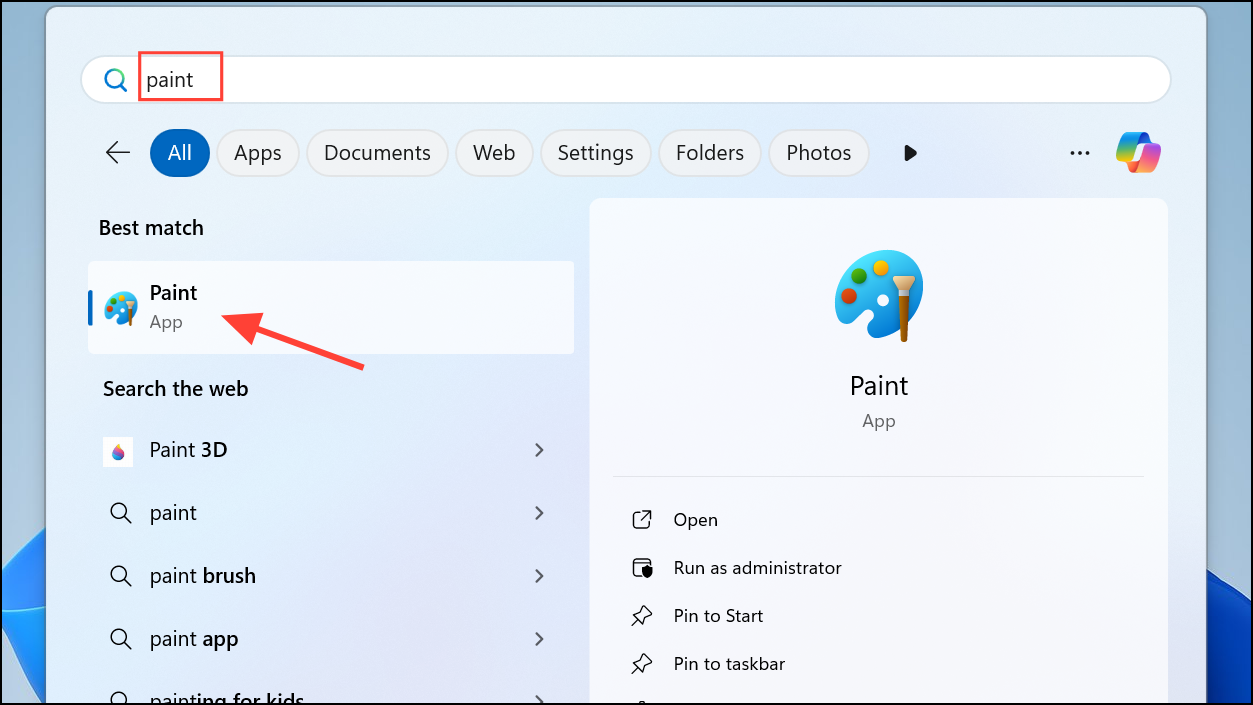
Step 1: Open the Paint app. If you don't already have Paint installed, download it from the Microsoft Store.
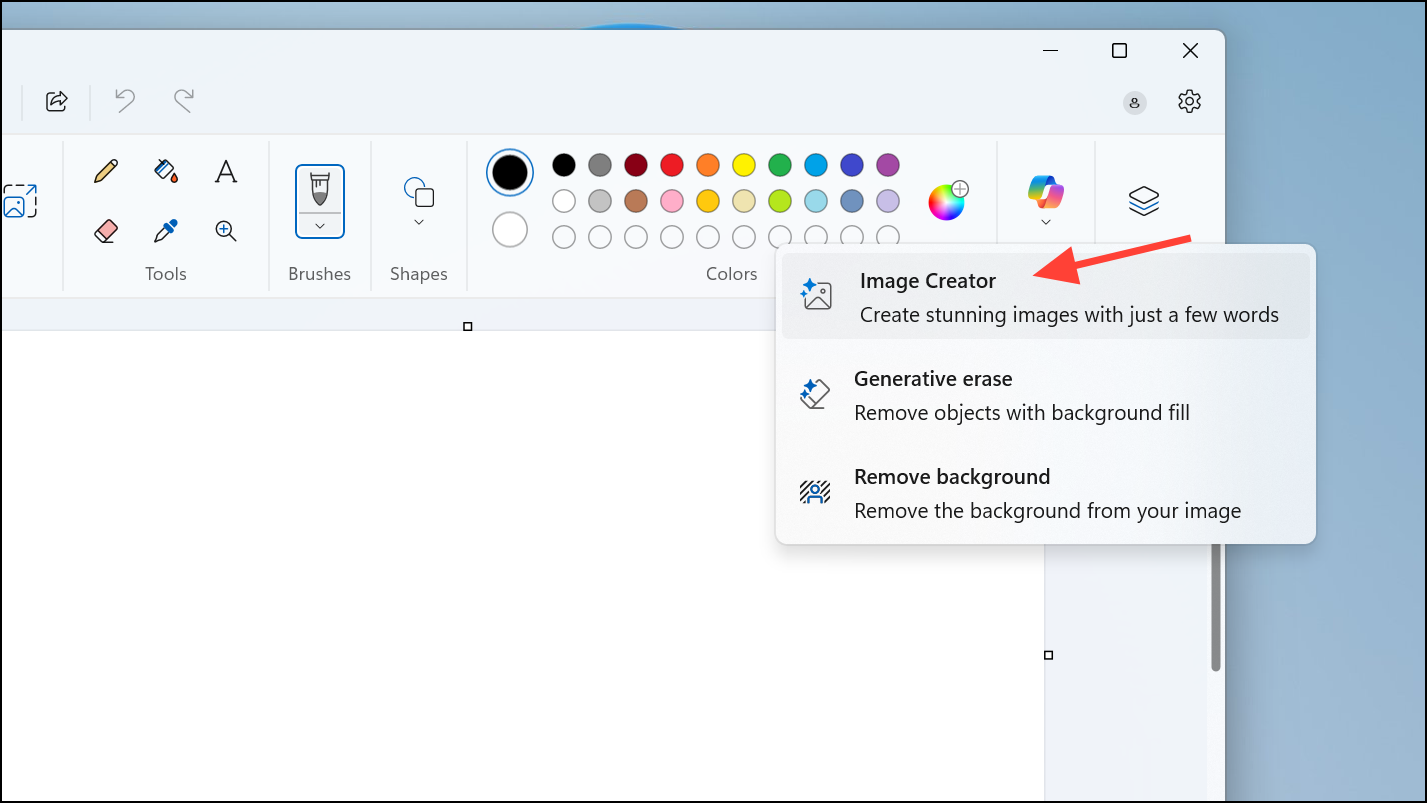
Step 2: Click the Copilot icon located on the toolbar and then select "Image Creator". You will need to sign in with your Microsoft account to use this cloud-based feature and have access to a paid Copilot subscription.
Step 3: Enter a descriptive text prompt explaining what you want the AI to generate. Be specific for best results, such as "futuristic city skyline at sunset."
Step 4: Choose an artistic style from the available options, then click "Create." Paint Cocreator will generate three different images based on your description.
Step 5: Select your preferred AI-generated image to add it directly to your Paint canvas, where you can further modify or edit it.
This method simplifies the creative process, allowing you to generate visually appealing images without extensive graphic design experience. Microsoft's official documentation provides further details on Windows 11 AI features.
Method 3: Using Clipchamp's AI Video Auto Compose Feature
Clipchamp, a built-in video editing app in Windows 11, uses AI to automatically compose videos from your uploaded media clips, significantly speeding up the video editing process.
Step 1: Launch Clipchamp from your Windows 11 Start menu. Sign in with your Microsoft account if prompted.
Step 2: Click "Create a video with AI" on the main page. Provide a working title for your project.
Step 3: Upload your desired media (photos and videos) by dragging them into the media window or clicking "Click to add."
Step 4: Choose your preferred video style or let Clipchamp select one by clicking "Choose for me." Adjust the video length and aspect ratio as needed, then click "Next."
Step 5: Preview the automatically generated video. You can change background music or request a different version by clicking "Create a new version."
Step 6: Once satisfied, click "Export" to save your video, or further customize it by clicking "Edit in timeline" to add text, stickers, or audio.
This automated video creation capability reduces editing time and provides multiple iterations instantly, making it ideal for quick content creation. More details about Clipchamp's AI-powered capabilities are available on Engadget's recent coverage.
Windows 11's built-in AI editing tools let you quickly create professional-looking images and videos without advanced editing skills—so give them a try and see the difference they can make.