
A few years ago, when we imagined robots, we generally imagined them to be able to help us out with mundane tasks and the grunt work so we could dedicate our time to more creative pursuits. However, somehow, we have landed in a future that's the complete opposite. We now have AI bots that can take up creative tasks like writing and image generation.
Image generation using AI, in particular, has become quite popular but only among a select few. Most others still find it out of their reach, mostly because they think that there are no good image-generation tools available for free. But that's a misconception. Stable Diffusion is one of the best AI image-generation tools that can be used for free. Moreover, you can even set it up on your Mac (and Windows; see guide below) for local image generation so the processing isn't done in the cloud. For this guide, we'll be using DiffusionBee to set up local AI image generation on your Mac.
What is DiffusionBee
DiffusionBee is a free and open-source GUI app for running Stable Diffusion on your Macs for local image generation. With Stable Diffusion, you usually need to use a command line interface. However, with DiffusionBee, you get the features of Stable Diffusion in an easy-to-use manner.
It supports many Stable Diffusion features, like Text-to-Image, Image-to-Image, in-painting, upscaling, etc. Images are all generated locally and nothing is sent to the cloud.
Requirements: DiffusionBee has no hard and fast requirements but it needs macOS 12.5.1 or higher. It also works best on M1 or M2 Macs, and the higher the specs, the better the performance will be. For instance, on an 8GB M1 Mac, it takes around 30 seconds to generate an image. These stats improve on computers with higher specs.
It can also be used on Intel-based Macs but isn't recommended since image generation is incredibly slow, especially if you don't have a dedicated graphics chip.
Install DiffusionBee on Mac
DiffusionBee is not available in the Mac App Store currently, so you have to install it using the DMG file.
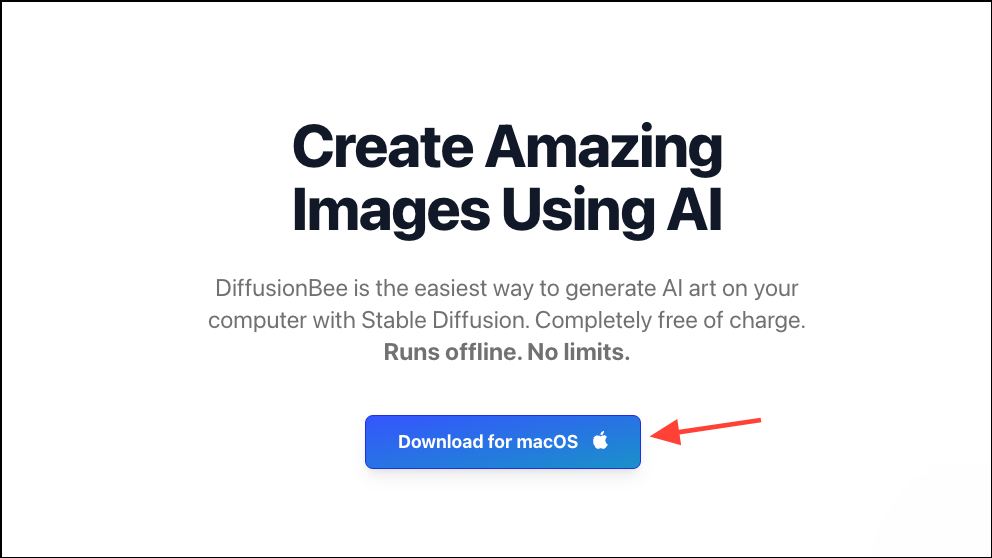
- To install DiffusionBee on your Mac, go to diffusionbee.com and click on the 'Download for macOS' button.
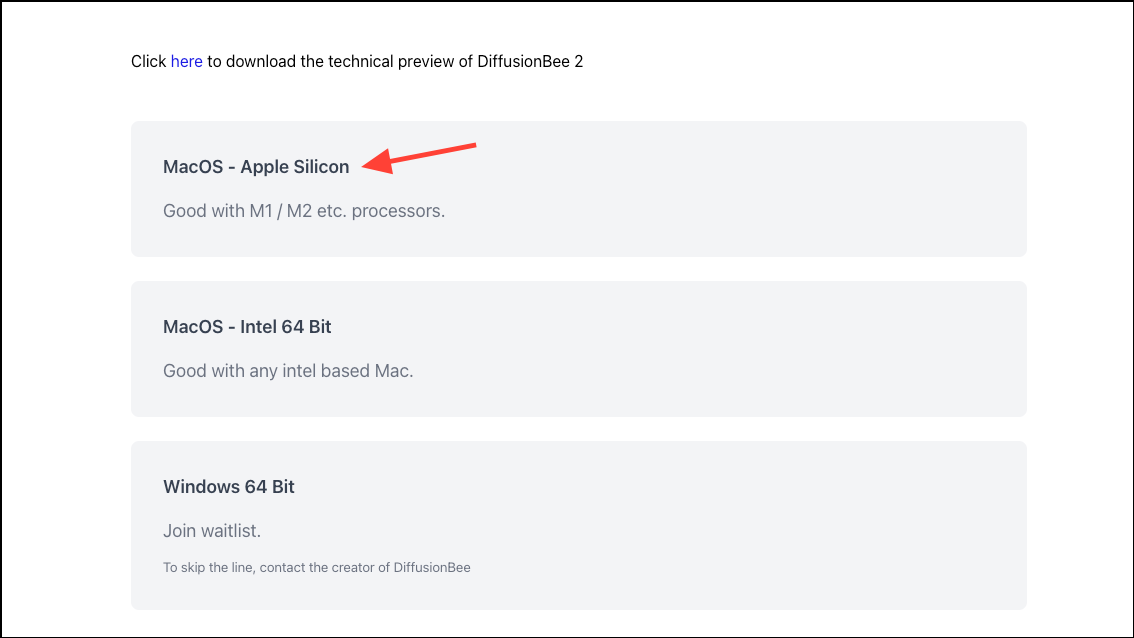
- Then, select Apple Silicon or Intel, depending on your machine type, to download the correct DMG file. You can also download a technical preview of DiffusionBee 2
- Next, drag the DMG file to the Applications folder to install DiffusionBee on your Mac.
- Once the app is installed, run it. It will automatically start downloading the required models on your Mac. You should have around 8 GB of free space on your Mac for the models to download.
Generate Images with DiffusionBee
Once the models are downloaded, you can start generating images.
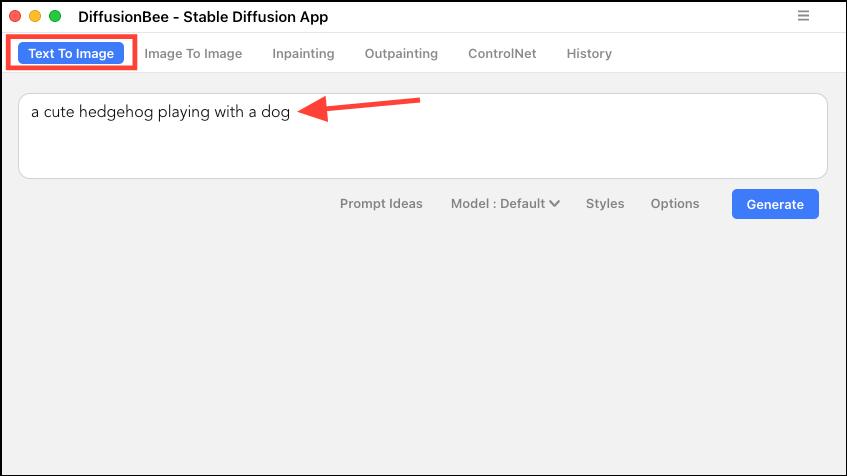
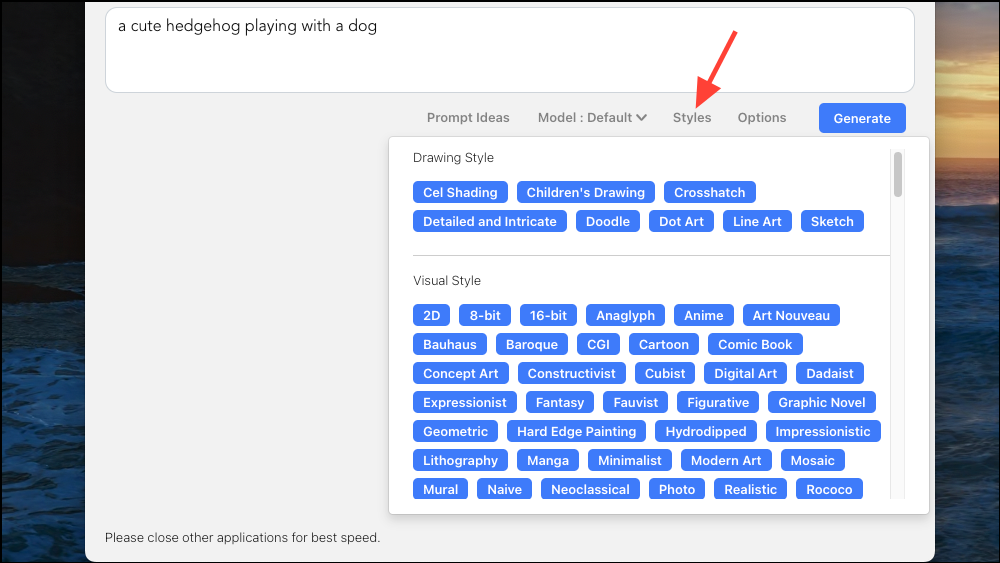
- By default, the Text-to-Image interface will open. Enter your prompt in the text box provided, like
a cute hedgehog playing with a dog
- You can choose different styles from the 'Styles' drop-down menu.
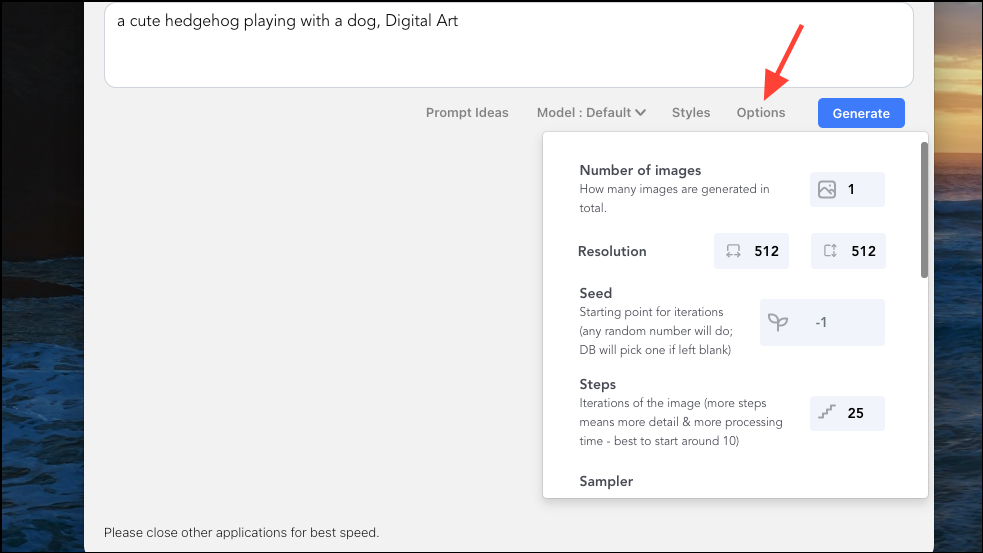
- Next, you can configure various settings from the 'Options' menu, like resolution, number of images you want to generate, steps, negative prompt, etc.
- Finally, click on the 'Generate' button.

- It will take some time for the image to generate, depending on your system.
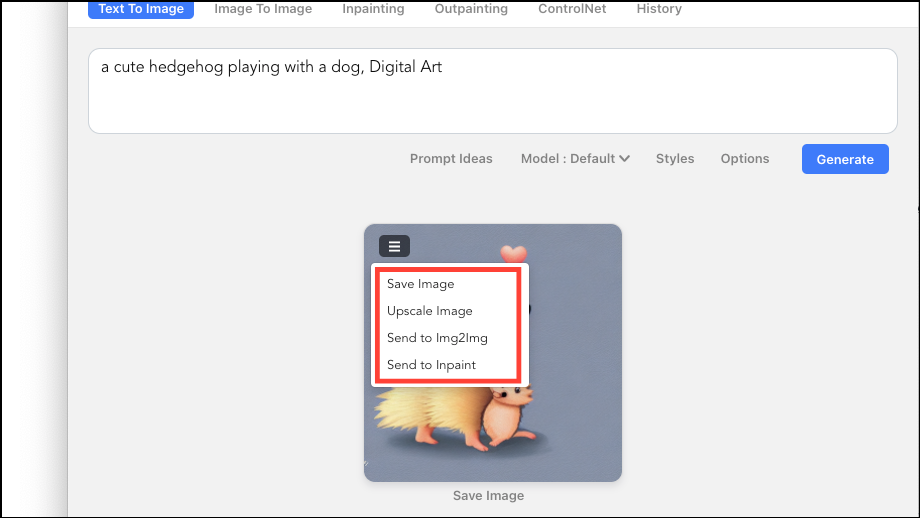
- Once the image is generated, you can choose to save it, upscale it, or send it to the image-to-image or inpaint generators in the DiffusionBee app.
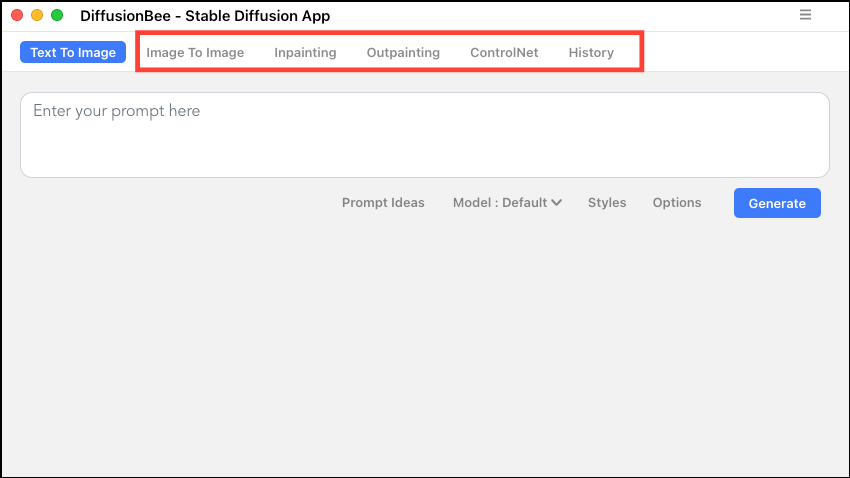
- Similarly, you can use the other generators in the app by switching to the relevant tab in the app. You can also view your generation history from the 'History' tab.
That's all there is. With DiffusionBee, it's extremely easy to get local image generation with Stable Diffusion up and running on your Mac. Once you master the use of prompts, you can generate some amazing AI art using DiffusionBee. If you're a Windows user, you can also join the waitlist to get DiffusionBee on Windows.