
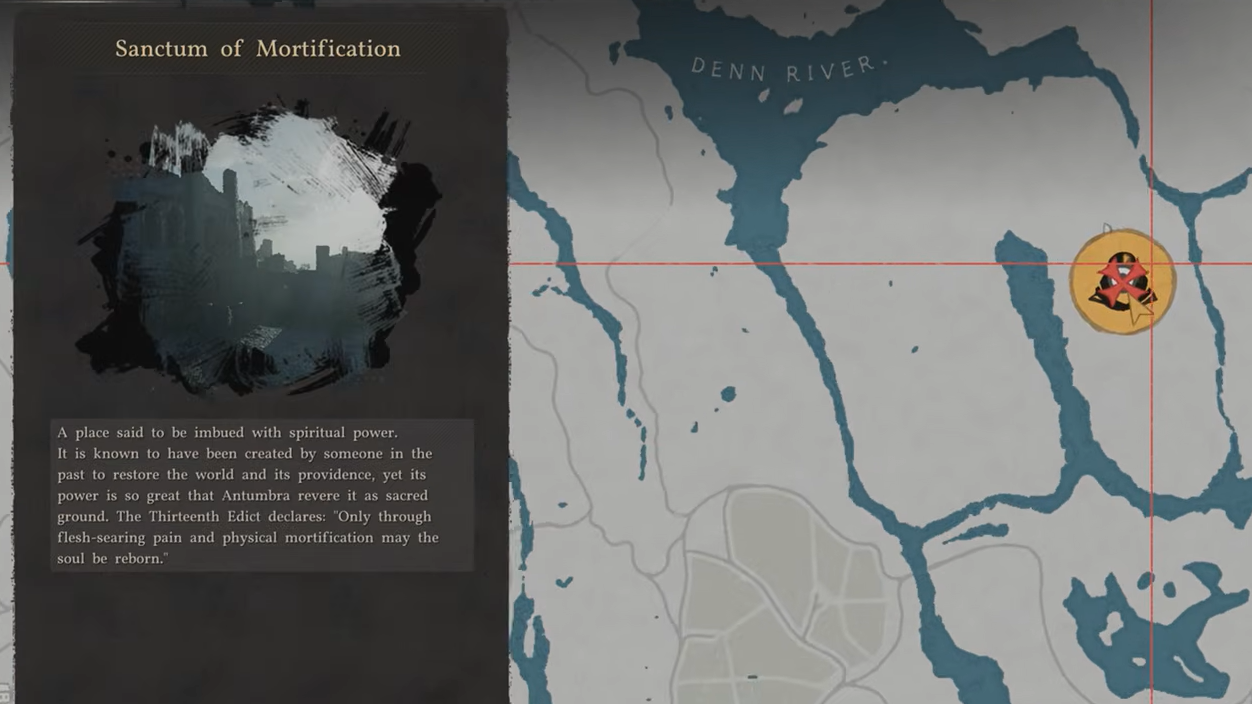
The Sanctum of Mortification sits on a patch of land along the Denn River in northern Demeniss. Unlike every other Sanctum in Crimson Desert, it is not assigned by one of the four Witches you meet in the open world. It can only be completed during the main quest "Fragments of Darkness" in Chapter 9, after you purify the golden statues. That story requirement means the Lightbringer trophy and achievement for cleansing all 16 Sanctums is gated behind reaching this point in the campaign.
Quick answer: Find the pylon dome on the bottom floor of the northern building, attach it to the broken pylon with a jumping Force Palm, then burn the nearby vines with Concentrating Light (Blinding Flash) to reveal the Fusion Reactor Core behind a grate. Seal the core in the Kuku Pot, discard it near the reactor, and punch it in with Force Palm to trigger the completion cutscene.
Prerequisites Before You Start
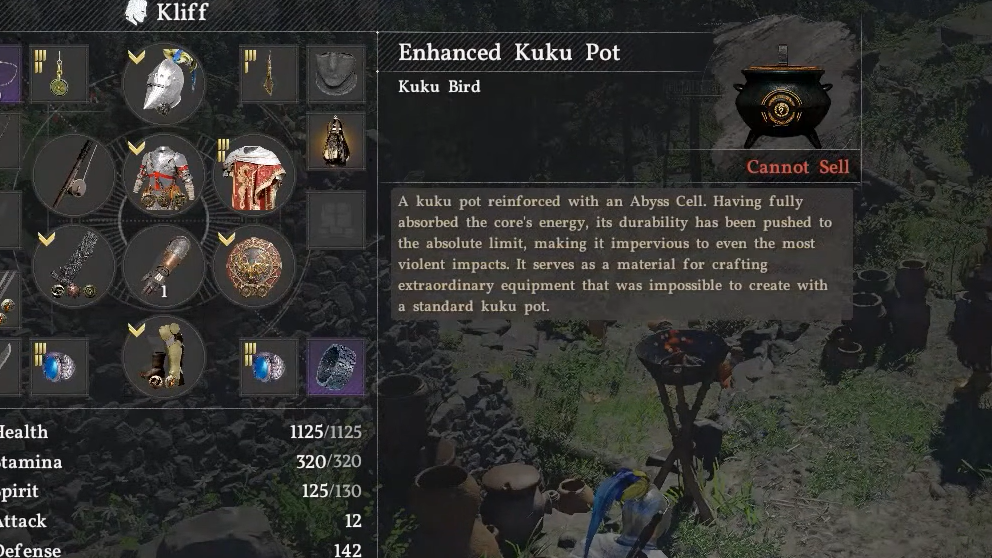
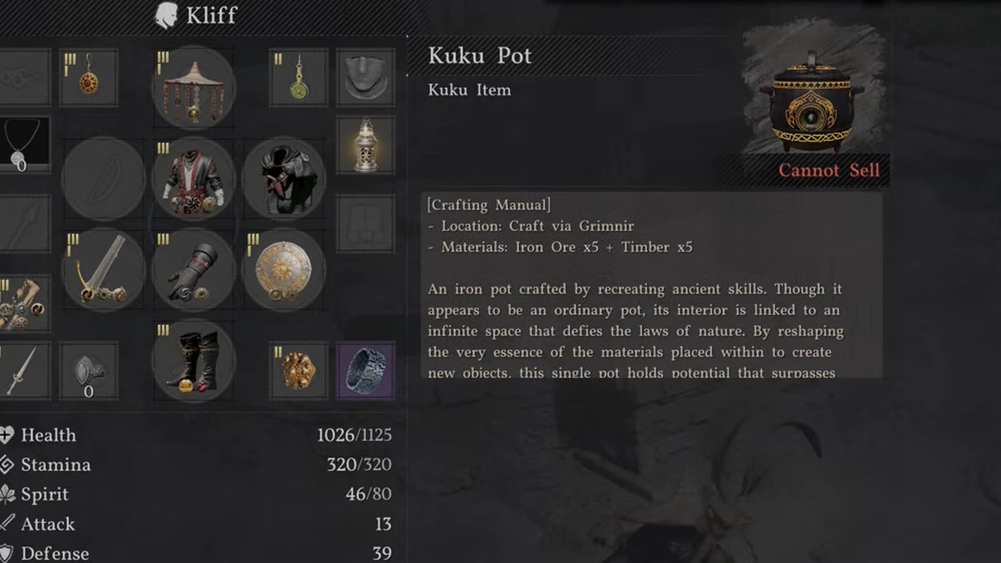
You need the Kuku Pot in your inventory. It is automatically obtained during Chapter 4's main quest "The Iron Pot's Usage." If you have lost it, check the Lost & Found chest at the Howling Hill Greymane Camp or send your comrades on the "Kuku Pot Production" expedition to craft a replacement. Without the Kuku Pot, you cannot transport the Fusion Reactor Core to the machine.
You also need access to the Concentrating Light ability (sometimes called Blinding Flash). This skill is essential for burning away the vines that hide the core. Fire arrows work as an alternative if you have them equipped.
Clearing the Sanctum Enemies
Hexe Earthen troops guard the Sanctum of Mortification. You must eliminate all of them before the puzzle becomes interactive. Sweep through the ruins and confirm every enemy is down. If you have been progressing through Chapter 9 normally, these enemies should not pose a significant challenge compared to earlier Sanctum encounters.
Locating and Attaching the Pylon Dome
Step 1: Head to the northern side of the Sanctum and enter the main building through its side entrance on the bottom floor. Inside, you will find the dome piece of the broken pylon sitting on the ground.
Step 2: Grab the dome using Axiom Force (hold L3 on PlayStation, Left Stick on Xbox, or TAB on keyboard). Carry it upstairs and out of the building toward the broken pylon in the courtyard area.
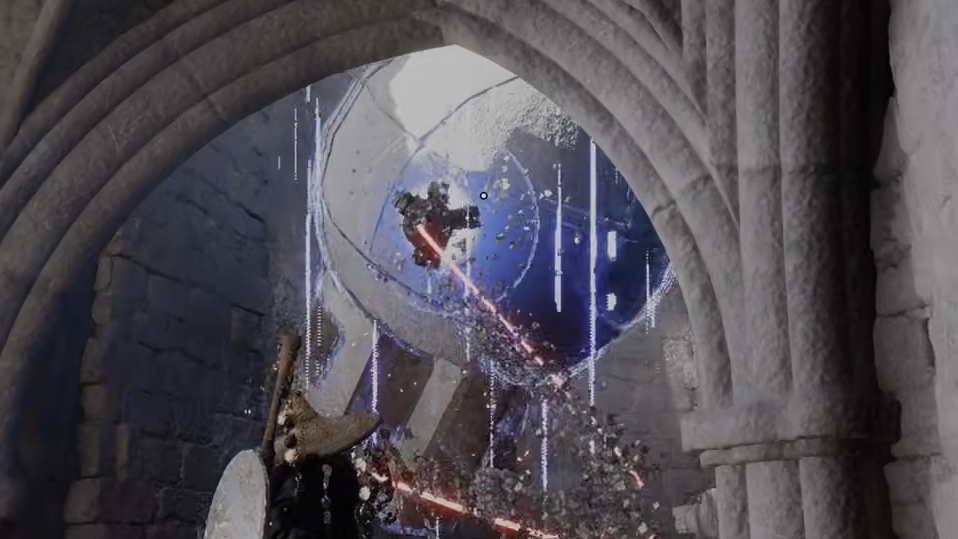
Step 3: Position the dome on top of the broken pylon. When it is in the correct spot, green leaves will swirl around the object — that visual cue confirms proper placement.
Step 4: Climb to the top of the dome and perform a jumping Force Palm (jump, then press R3 on PlayStation, Right Stick on Xbox, or Mouse Wheel on PC). The dome will lock into the pylon and become electrified, restoring the first half of the machine.
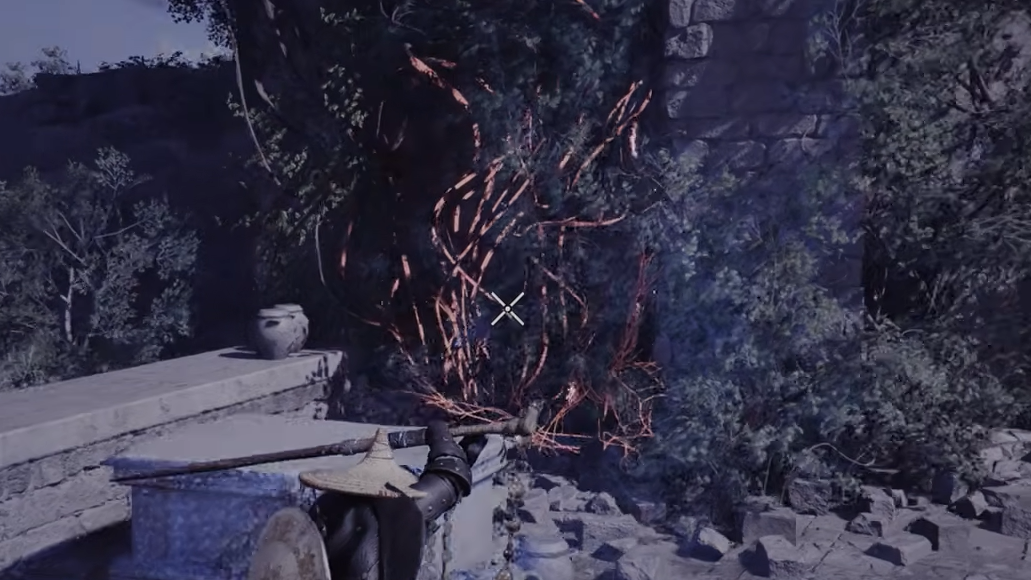
Finding the Fusion Reactor Core Behind the Vines
Step 1: Exit the building where you originally found the dome and look at the exterior wall just outside. A thick patch of vines covers a section of the wall. Use Concentrating Light to burn them away. The input sequence is L1+R1, then hold L1 on PlayStation, LB+RB, then hold LB on Xbox, or CTRL + Left Click, then hold CTRL on PC. Fire arrows also work if you prefer.
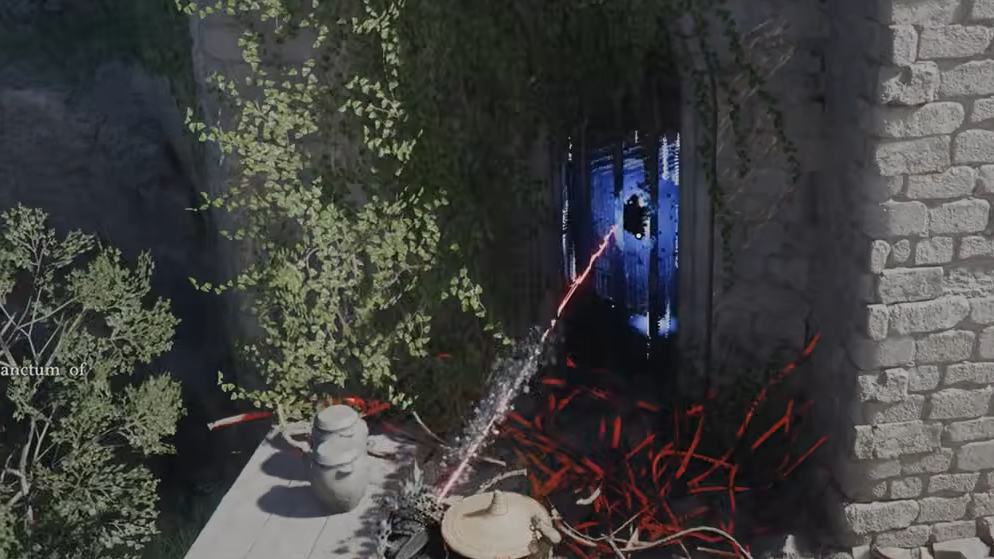
Step 2: Once the vines are gone, you will see a cube tucked behind a metal grate in the corner. It can be difficult to spot. Lock onto it with Axiom Force through the bars — you do not need to get behind the grate.
Step 3: While holding the cube with Axiom Force, seal it into the Kuku Pot by pressing Triangle on PlayStation, Y on Xbox, or R on keyboard. The item stored inside is labeled "Fusion Reactor Core: VIII."
Restoring Power to the Reactor
Step 1: Return to the broken machine where you repaired the pylon. Open your inventory, examine the Kuku Pot, and discard the Fusion Reactor Core. This drops the core into the open world near your character.
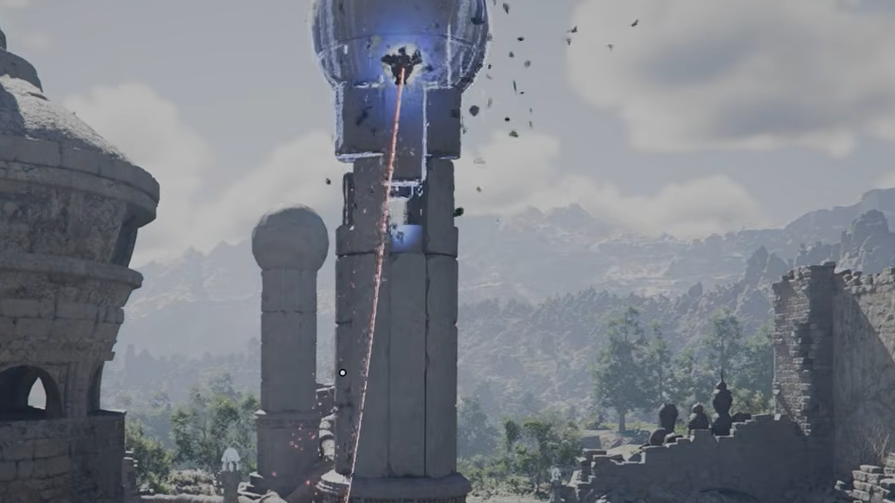
Step 2: Grab the core with Axiom Force and carry it to the side of the reactor — the large central tower surrounded by four pylons. Position the core against the open slot on the reactor's side.
Step 3: Use Force Palm to punch the core into the slot. A cutscene plays automatically once the machine activates, completing the Sanctum of Mortification and ending the current quest objective. The next quest in Chapter 9 begins immediately afterward.
Sanctum Controls Quick Reference
| Action | PlayStation | Xbox | PC (Keyboard/Mouse) |
|---|---|---|---|
| Axiom Force (grab objects) | Hold L3 | Hold Left Stick | Hold TAB |
| Force Palm (slot pieces) | R3 | Right Stick | Mouse Wheel |
| Seal item in Kuku Pot | Triangle (while holding) | Y (while holding) | R (while holding) |
| Concentrating Light | L1+R1, then hold L1 | LB+RB, then hold LB | CTRL+Left Click, then hold CTRL |
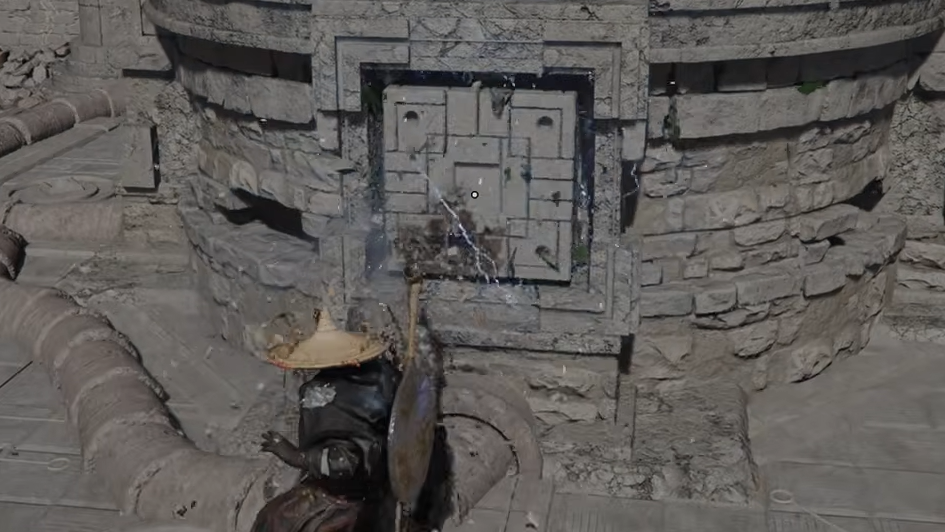
Bonus: Obtaining the Core of Mortification
After the reactor is restored, a minigame becomes available near the front side of the machine. Use the Blinding Flash skill on the puzzle panels to earn the Core of Mortification. These Sanctum-specific cores are currency for Grimnir's Kuku Shop, where you can unlock additional Kuku Pot items. Every Sanctum in the game offers a similar bonus core, so it is worth grabbing each one as you cleanse them.

The Sanctum of Mortification is the final gatekeeper for the Lightbringer achievement, since no other Sanctum requires story progression this deep into the campaign. Once you have restored power here, you can verify your progress under the Forgotten Sun Sanctums section of the Challenges menu — all 16 entries should be marked complete if you have been thorough with the Witch questlines earlier in the game.