
Persistent microphone permission prompts at startup can disrupt workflow and cause confusion, especially if you’ve already configured your privacy settings. In Windows 11, these requests usually appear because the system or certain apps need explicit permission to use your microphone, or because privacy settings have been reset or are incomplete. Addressing this issue involves reviewing privacy settings, app permissions, and system policies to ensure your preferences are properly saved and enforced.
Review and Adjust Microphone Privacy Settings
Step 1: Open the Settings app by pressing Windows key + I or by clicking the Start menu and selecting Settings.
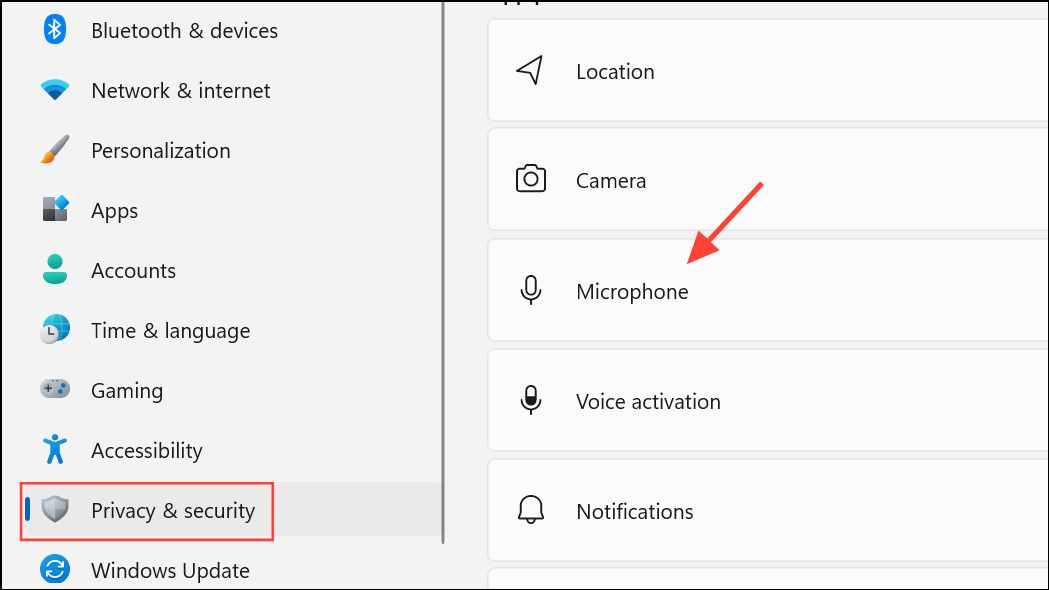
Step 2: In the left sidebar, select Privacy & security. Scroll down and click Microphone under the “App permissions” section.
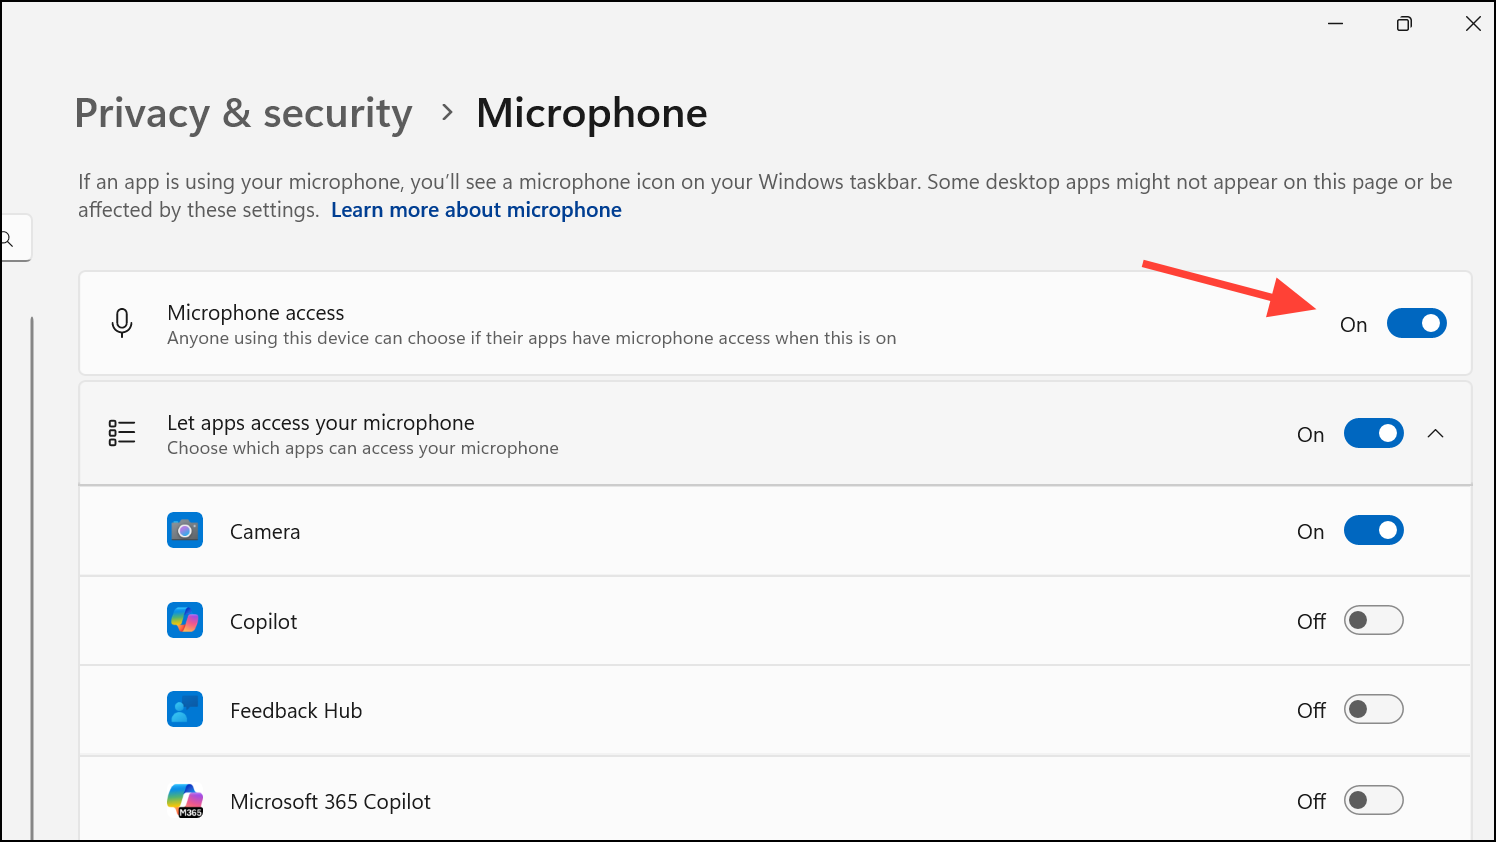
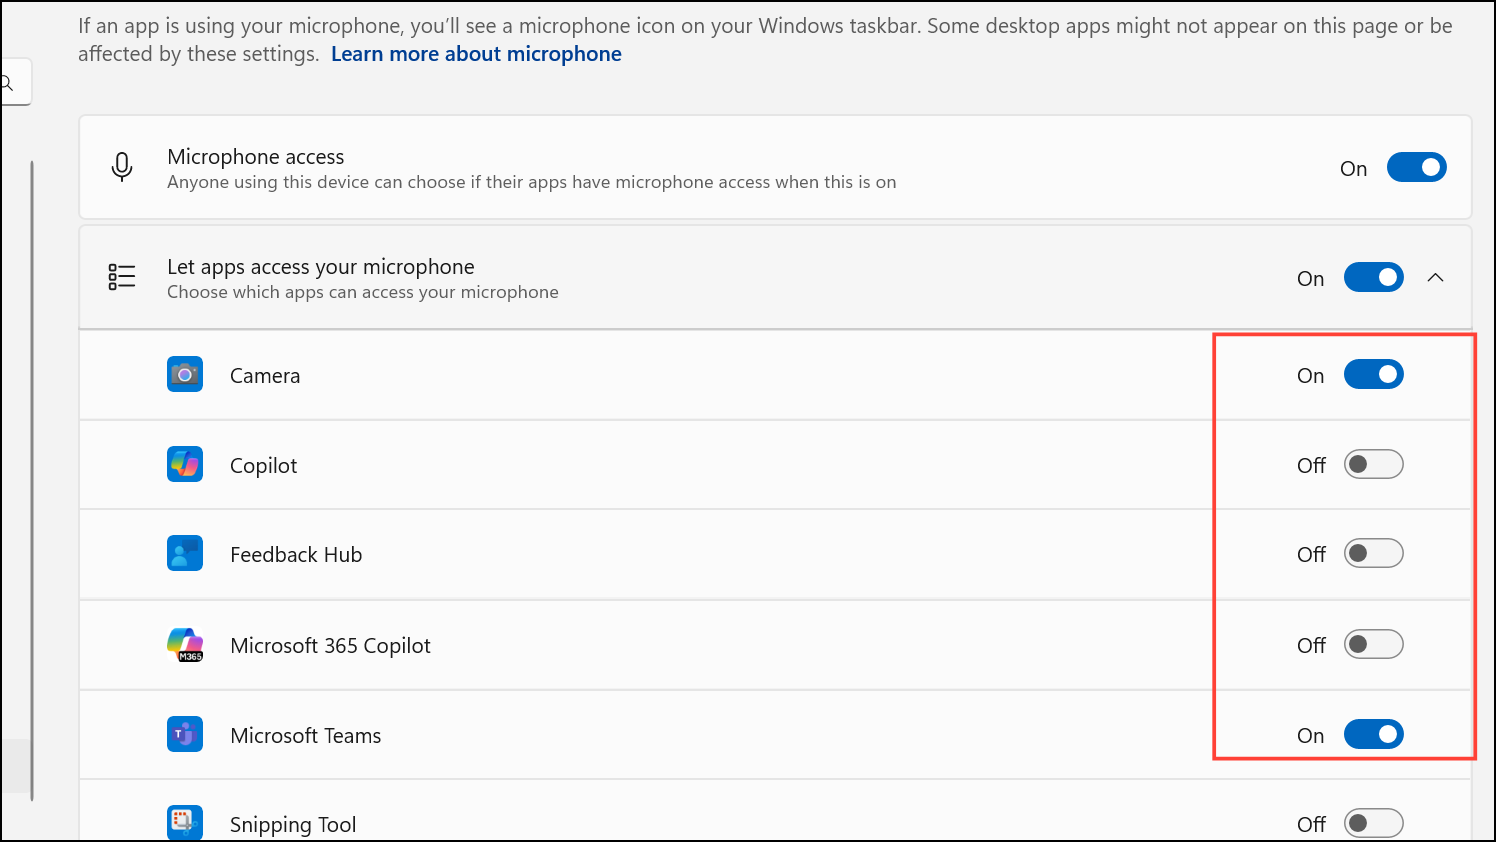
Step 3: Ensure Microphone access is toggled On. This setting allows Windows and apps to use your microphone, but also prevents repeated prompts if already enabled.
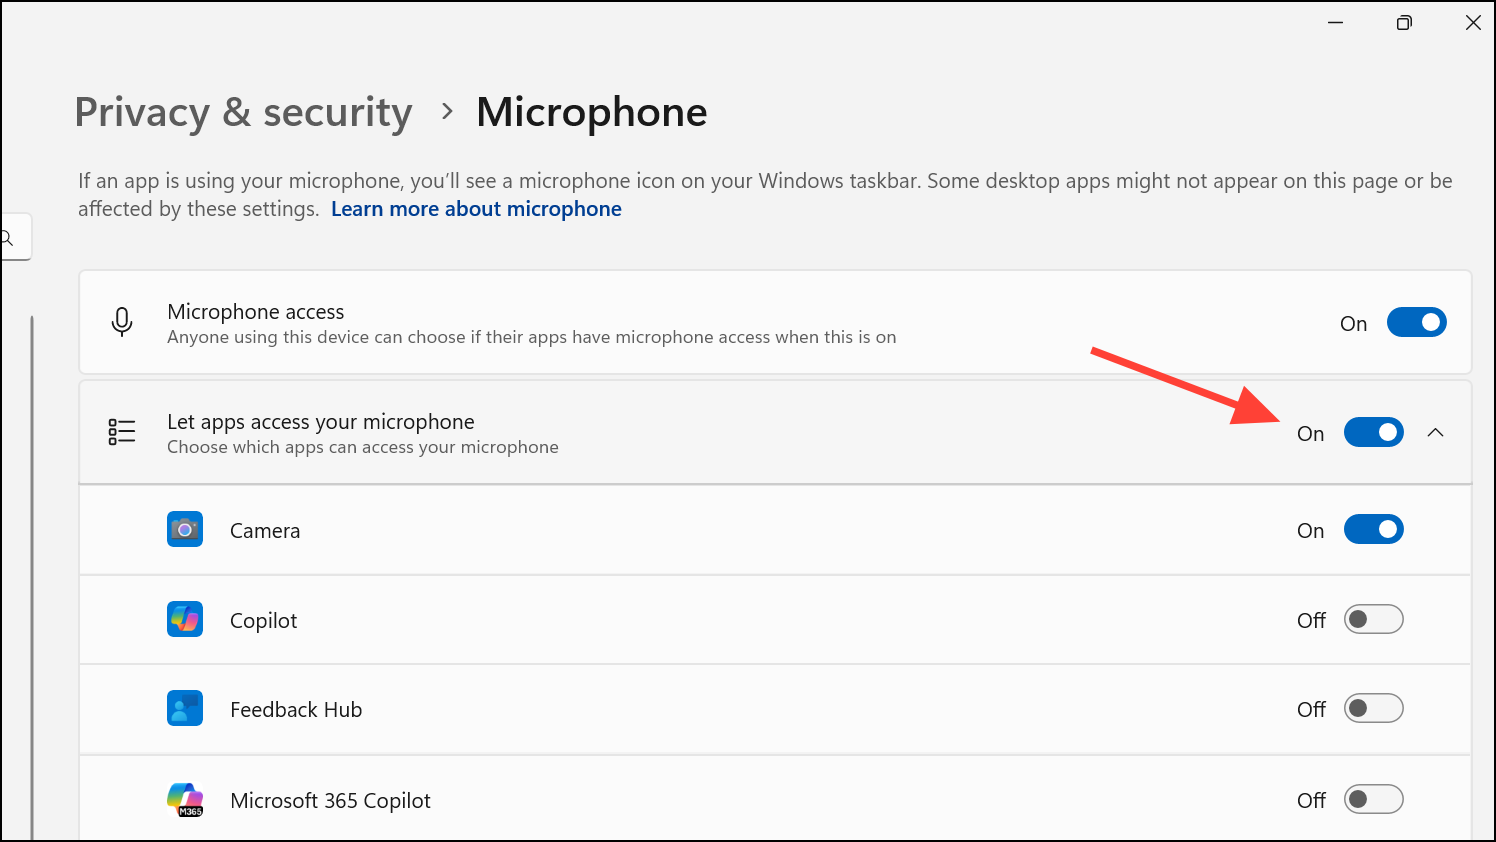
Step 4: Below, check the setting for Let apps access your microphone. Make sure it is toggled On. This allows apps to request microphone access as needed, but disables unnecessary prompts if already permitted.
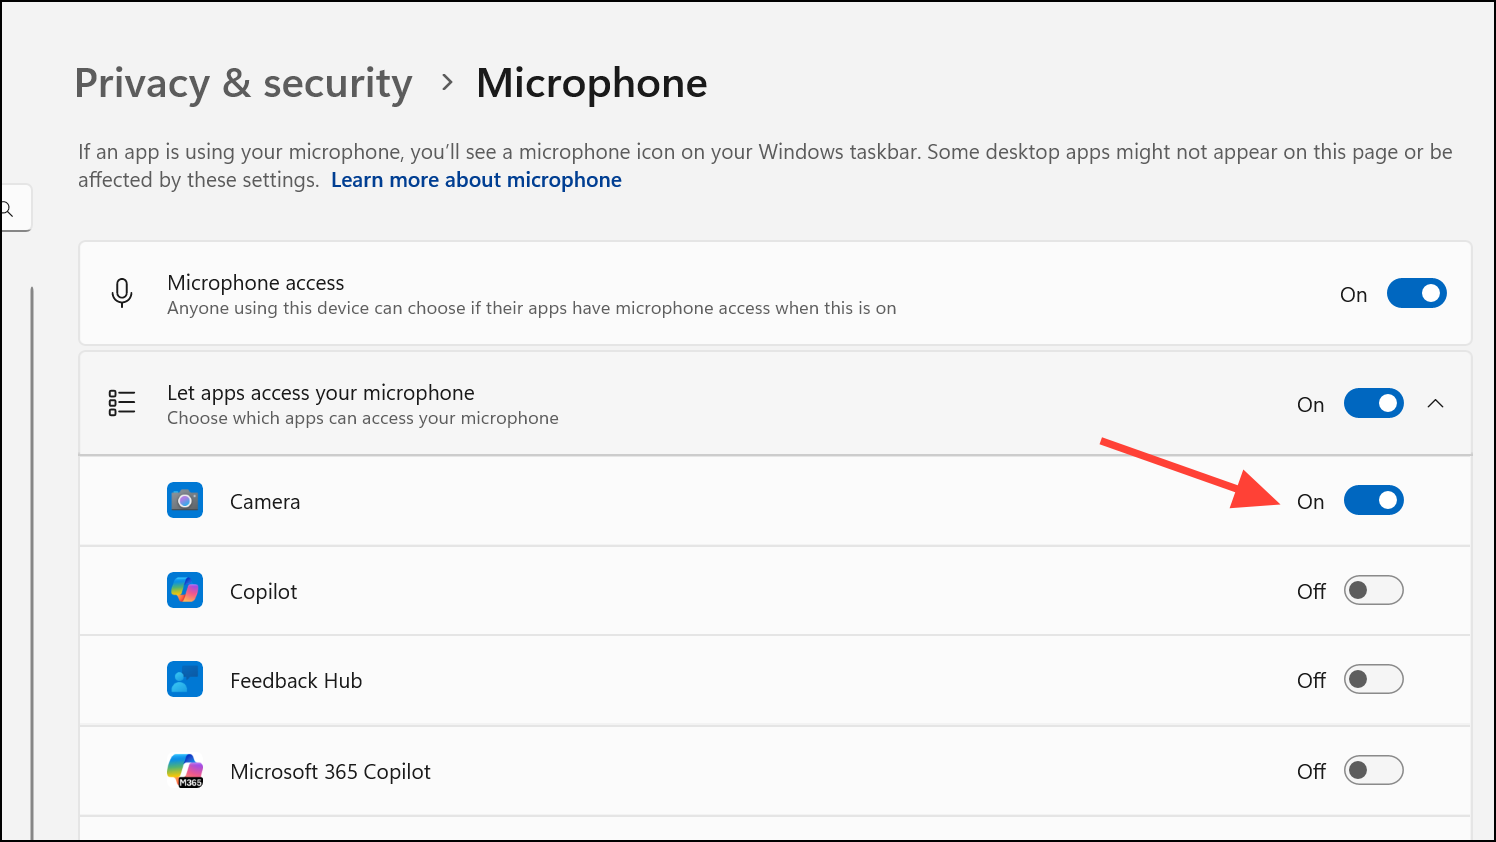
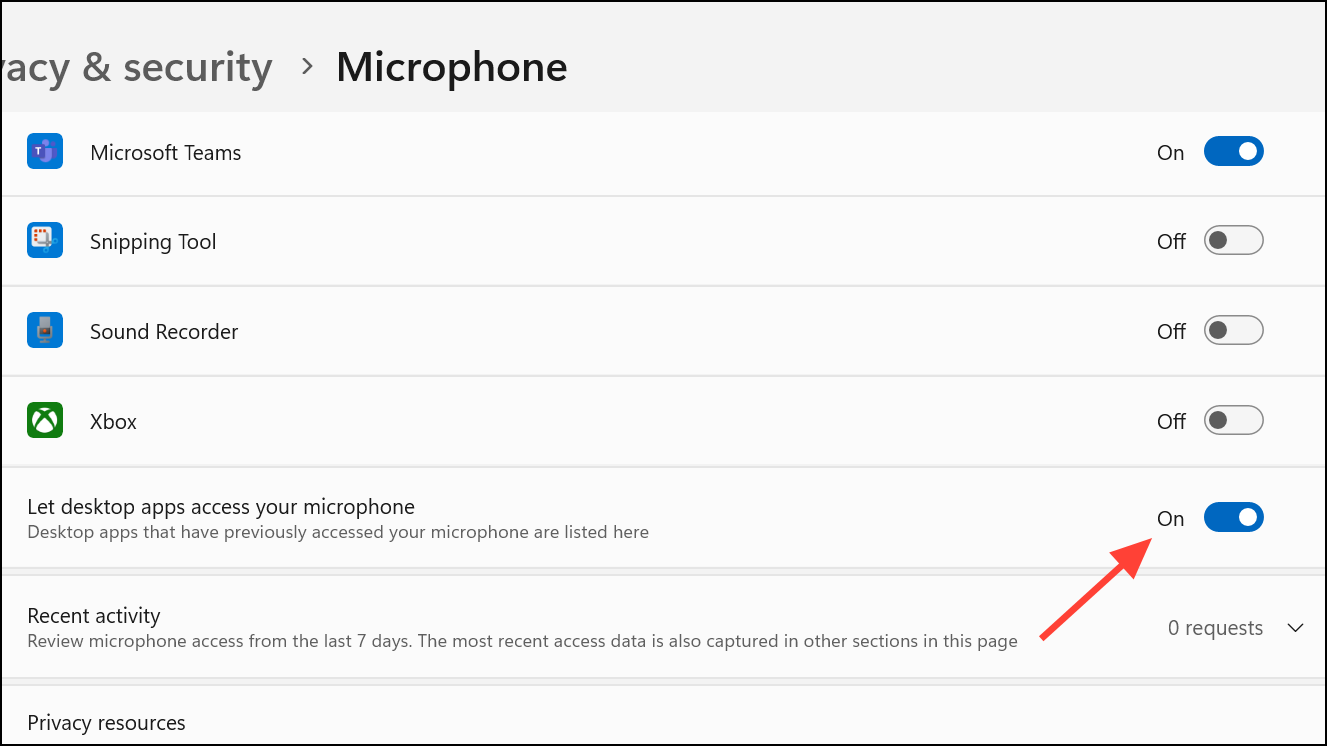
Step 5: Review the individual app list. Toggle access On only for apps you trust and use, such as communication or recording software. Toggle Off for apps you do not want to access your microphone. This step ensures only approved apps can prompt for access, reducing unwanted notifications.
Step 6: Scroll further to Let desktop apps access your microphone and toggle On if you use traditional desktop applications (like Zoom, Discord, or Skype). If you do not use such apps, toggling this Off can prevent additional prompts.
Set Microphone Permissions for All Users Using Group Policy (Pro and Enterprise Editions)
For computers running Windows 11 Pro, Enterprise, or Education, you can control microphone permissions at the system level using the Group Policy Editor. This method is particularly effective if prompts persist despite adjusting basic settings.
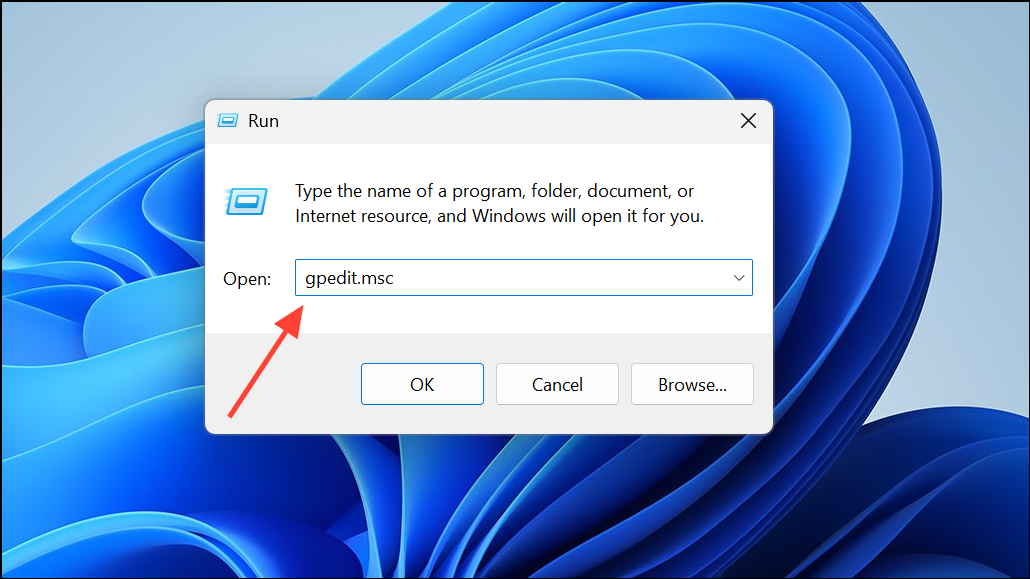
Step 1: Press Windows key + R, type gpedit.msc, and press Enter to open the Local Group Policy Editor.
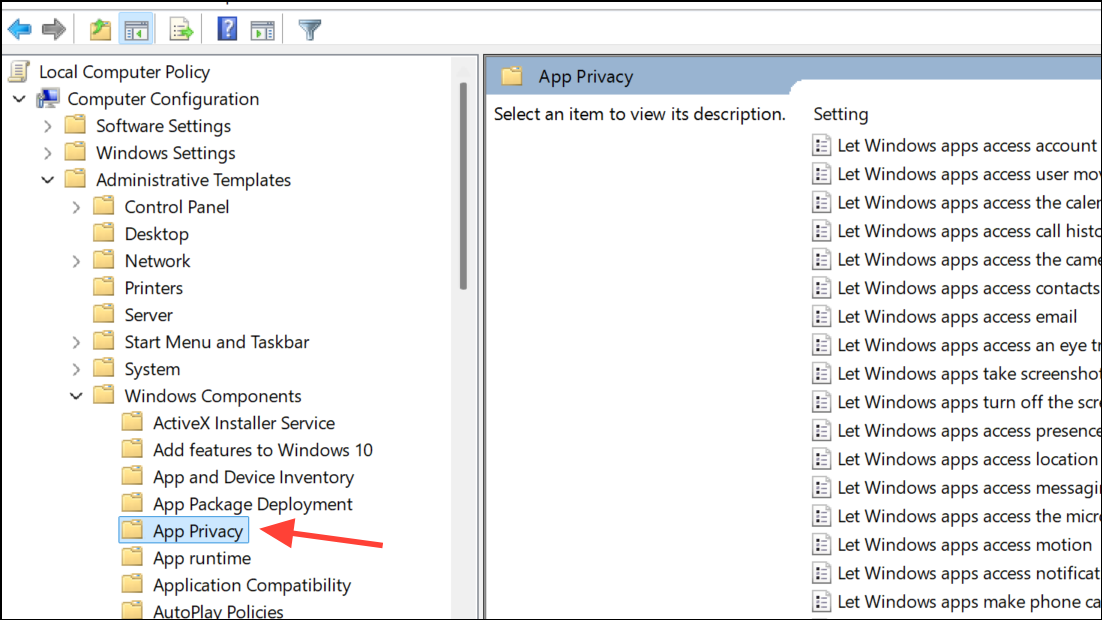
Step 2: Navigate to Computer Configuration > Administrative Templates > Windows Components > App Privacy.
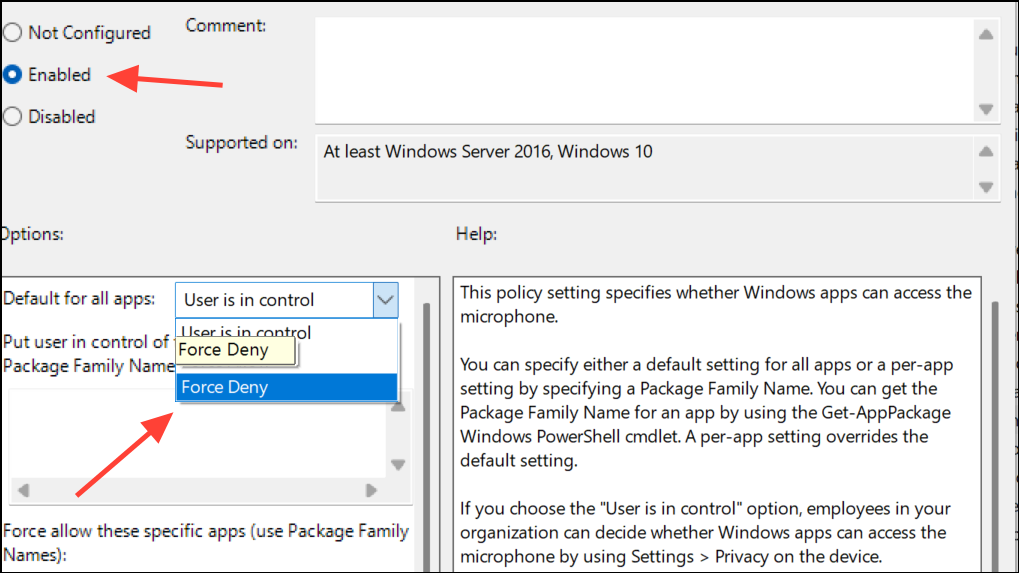
Step 3: Double-click Let Windows apps access the microphone in the right pane.
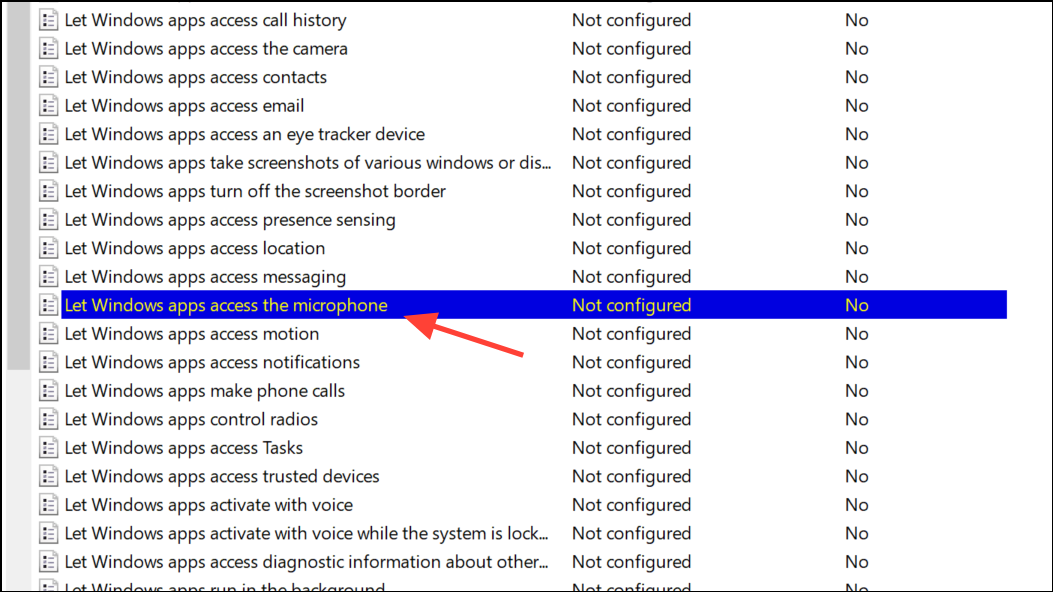
Step 4: Set the policy to Enabled, then select Force Deny to block all access, or Force Allow to permit access without prompts. Click OK to apply.
Step 5: Close the Group Policy Editor and restart your computer for changes to take effect. This approach ensures system-wide consistency and suppresses repeated permission requests.
Modify Microphone Permissions Using the Windows Registry (All Editions)
Editing the registry provides granular control over microphone permissions, especially if Group Policy is unavailable. Always back up your registry before making changes to avoid system issues.
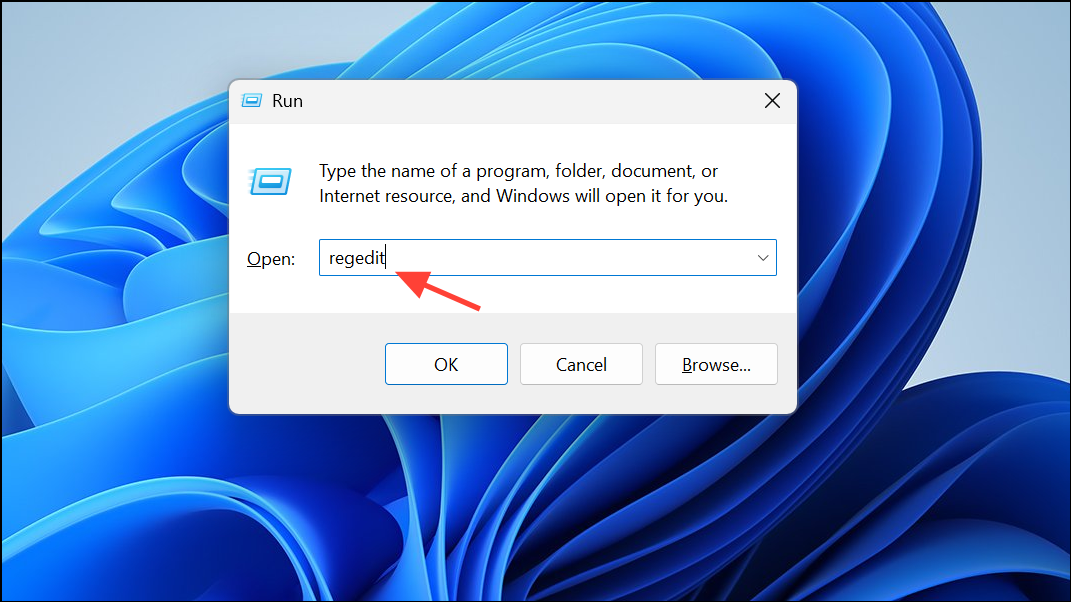
Step 1: Press Windows key + R, type regedit, and press Enter to open the Registry Editor.
Step 2: Navigate to HKEY_LOCAL_MACHINE\SOFTWARE\Microsoft\Windows\CurrentVersion\CapabilityAccessManager\ConsentStore\microphone.
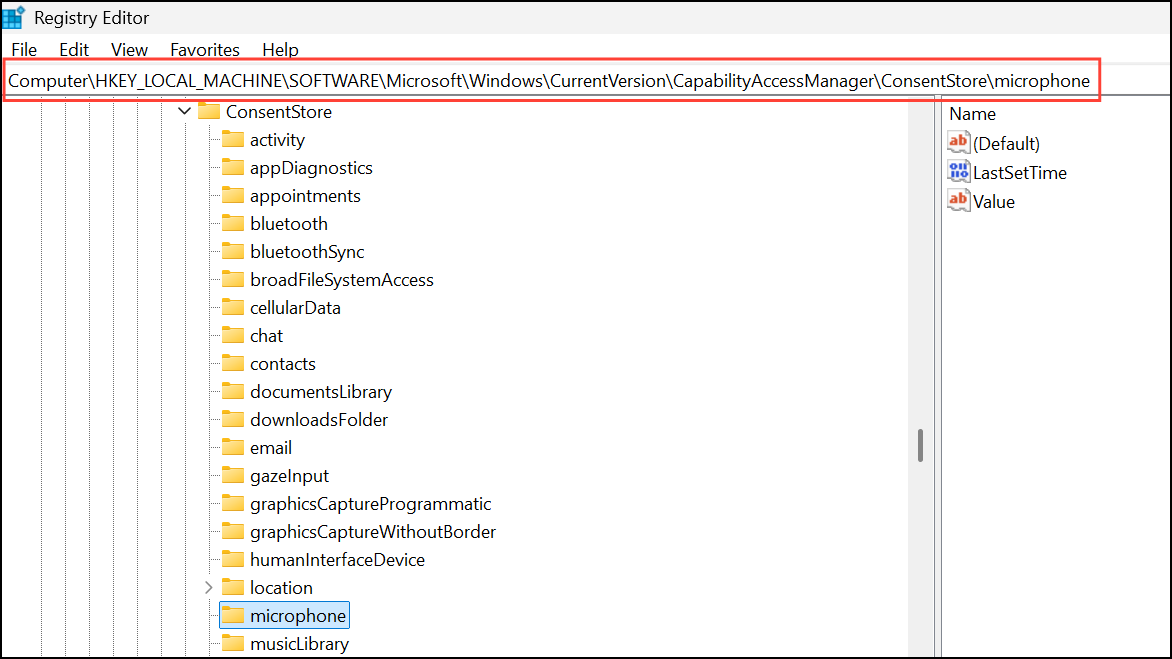
Step 3: Double-click the Value entry. Set it to Allow to permit access or Deny to block access. This adjustment can prevent Windows from prompting for permission at startup.

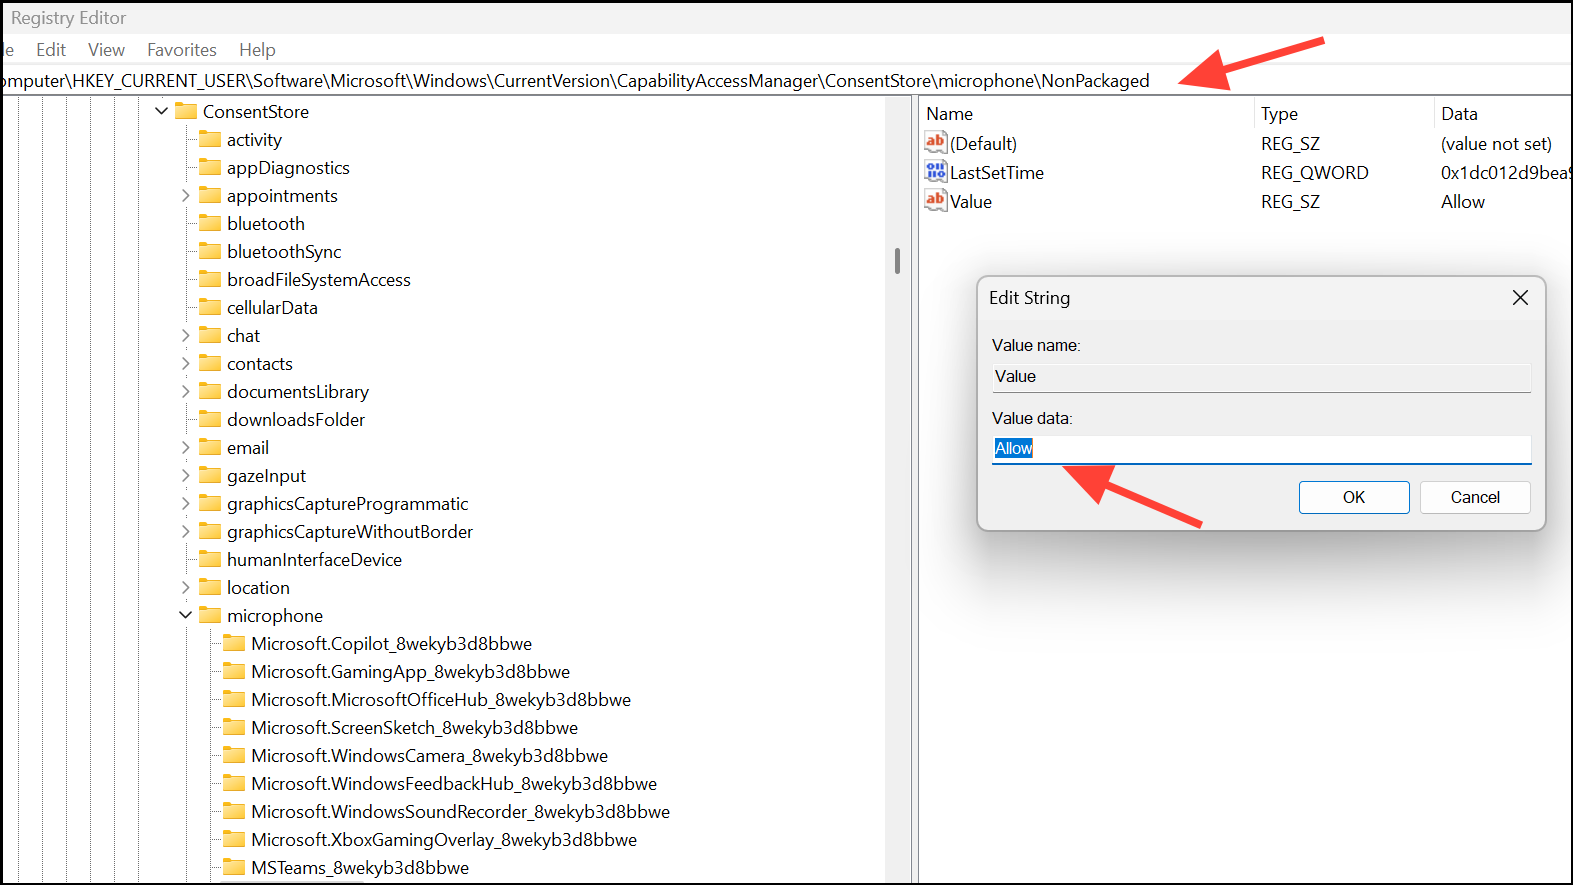
Step 4: If the prompts are related to specific desktop apps, navigate to HKEY_CURRENT_USER\Software\Microsoft\Windows\CurrentVersion\CapabilityAccessManager\ConsentStore\microphone\NonPackaged and repeat the process for non-packaged (desktop) apps.
Step 5: Close the Registry Editor and restart your computer. If you ever need to revert changes, restore your registry backup or reset the value to its previous state.
Disable or Remove Unused Microphones and Conflicting Devices
Multiple connected microphones or audio devices can confuse Windows, causing repeated permission prompts. Disabling unused devices streamlines input selection and reduces conflicts.
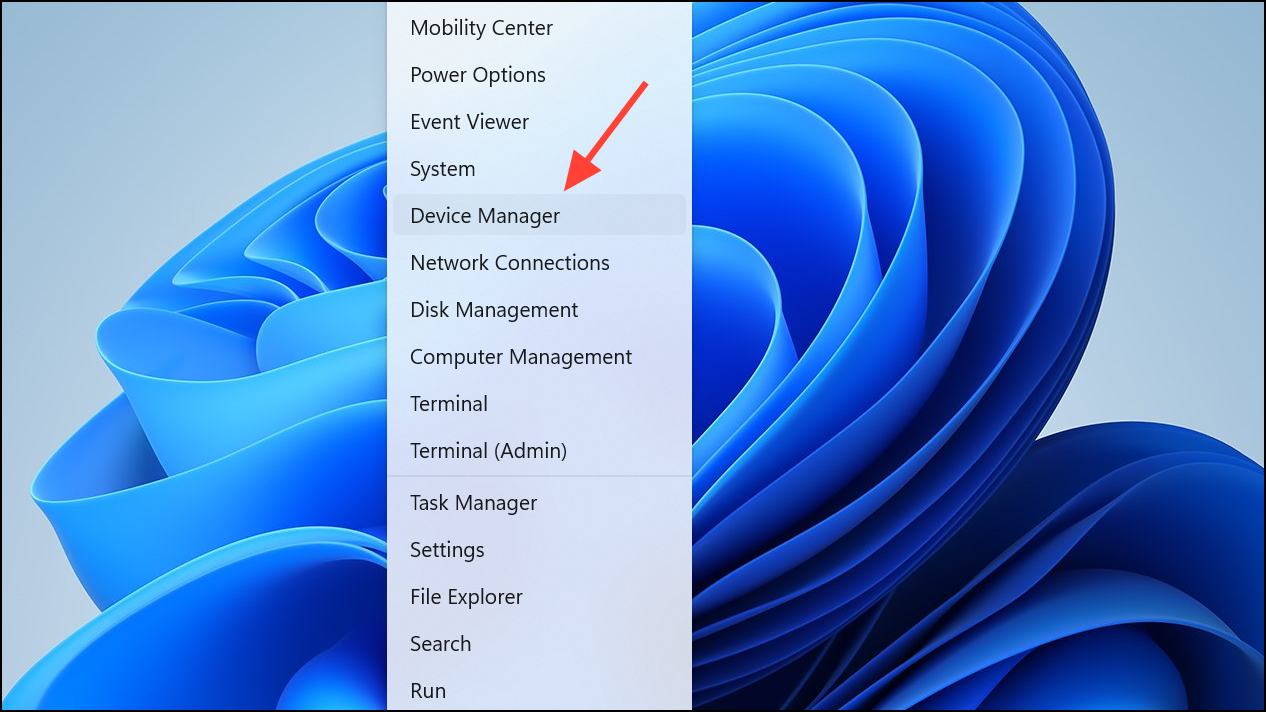
Step 1: Right-click the Start menu and select Device Manager.
Step 2: Expand Audio inputs and outputs. Right-click any microphone you do not use and select Disable device. This prevents Windows from prompting for access to inactive or unnecessary devices.
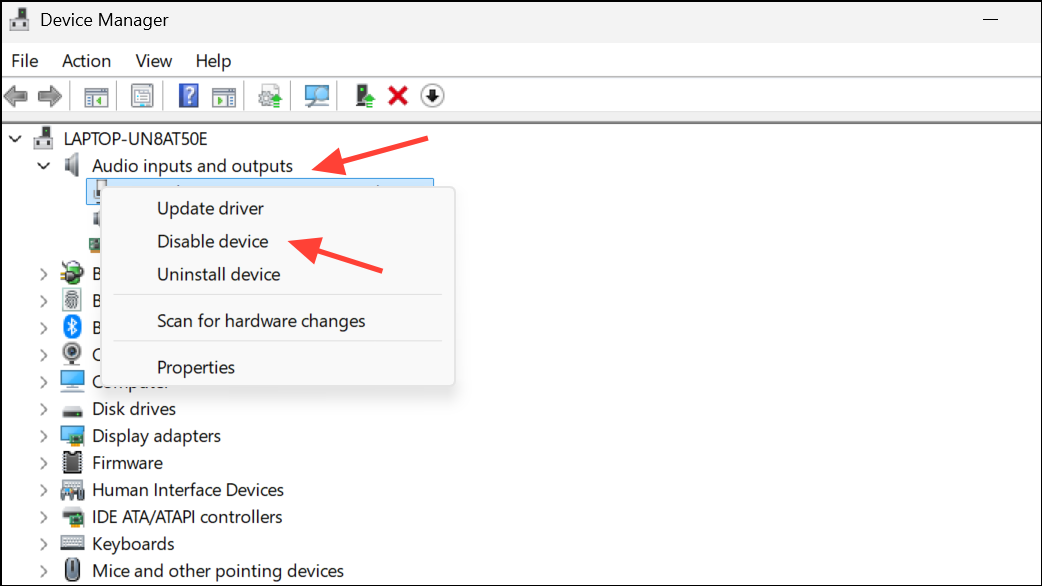
Step 3: For external microphones, unplug them when not in use to avoid unnecessary prompts at boot.
Check App-Specific Permissions and Notifications
Certain apps, especially those installed from the Microsoft Store or third-party sources, may request microphone access at startup if permissions are not set or if the app updates. Managing these app permissions can stop repeated prompts.
Step 1: In Settings > Privacy & security > Microphone, scroll to the list of apps and confirm that only trusted apps have access. Toggle off permissions for apps you do not use or recognize.
Step 2: For desktop applications not listed, check their internal settings or preferences. Some software, like voice chat or conferencing tools, may prompt for access if not configured as the default input device.
Step 3: If using a VR headset or other peripherals, review device-specific notification settings in Settings > System > Notifications. Disabling notifications for head-mounted displays or other devices can prevent permission pop-ups on boot.

Run Windows Troubleshooter for Audio Recording
If prompts persist due to configuration errors or device conflicts, running the built-in troubleshooter can identify and resolve underlying issues.
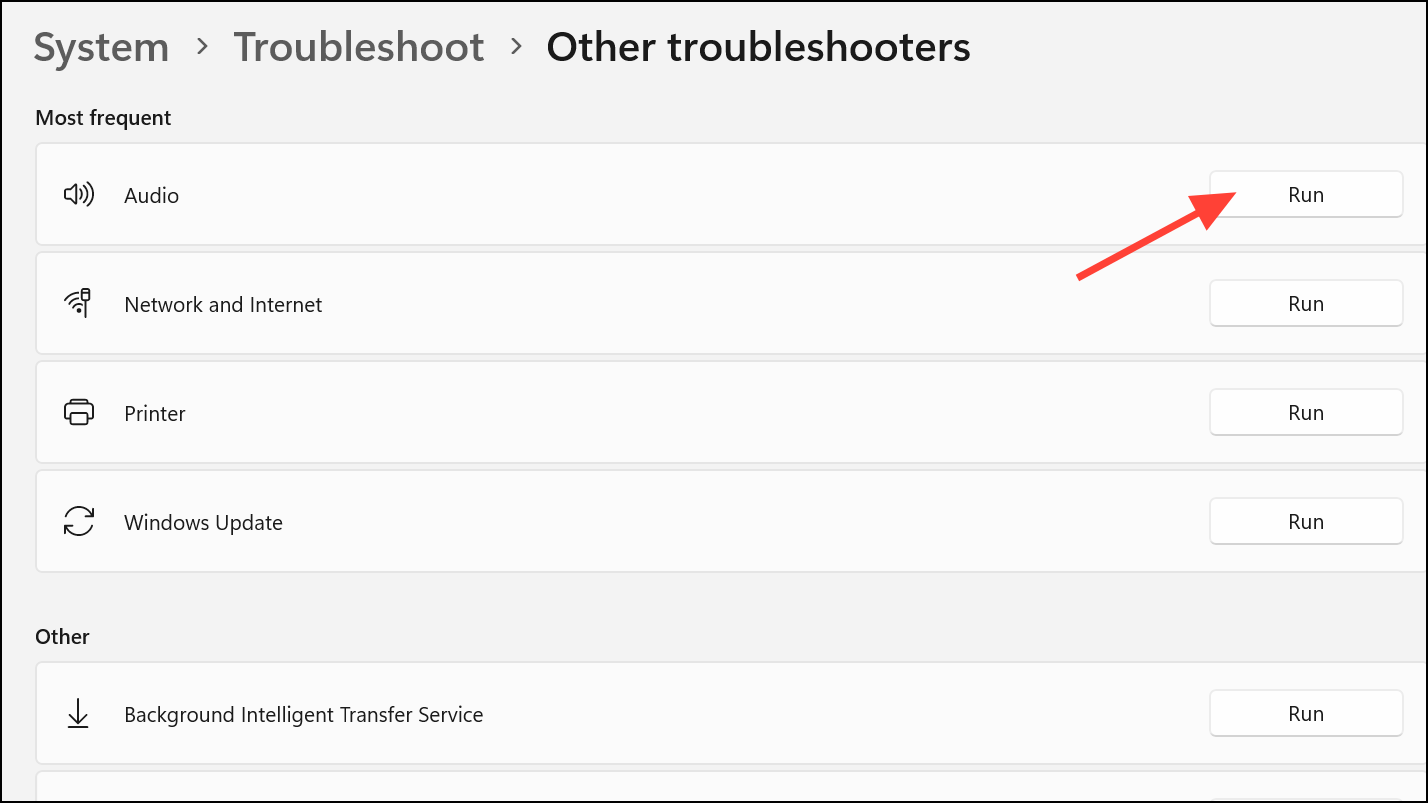
Step 1: Open Settings and navigate to System > Troubleshoot > Other troubleshooters.
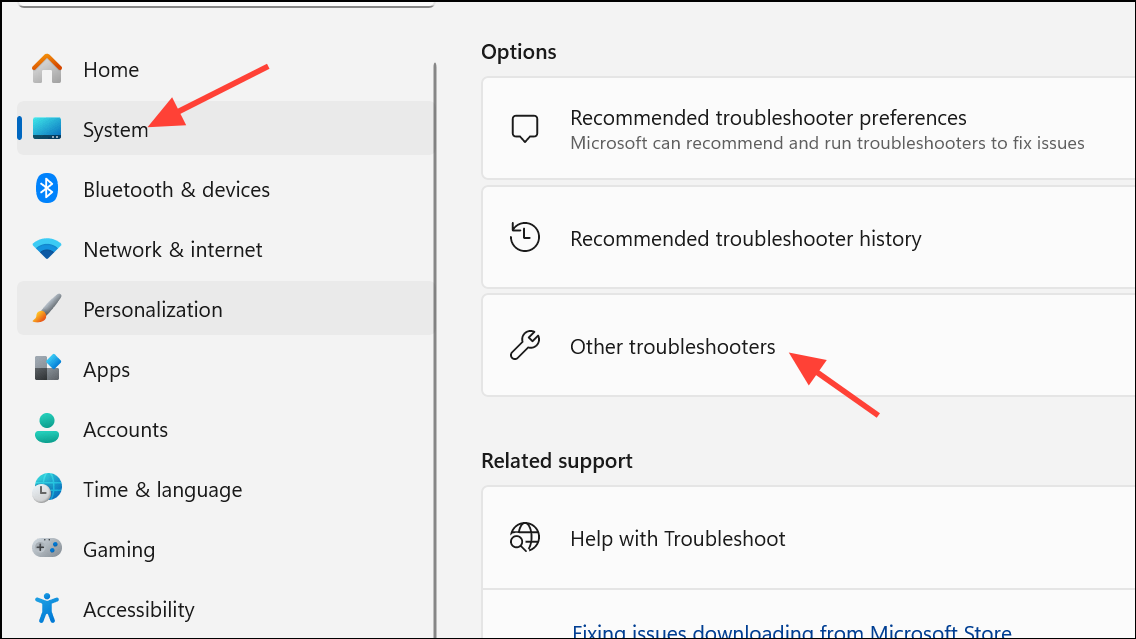
Step 2: Find and run the Audio troubleshooter. Follow the on-screen instructions to detect and fix problems with microphone permissions and device recognition.
Step 3: Restart your computer after troubleshooting to ensure all changes are applied.
By carefully adjusting privacy settings, system policies, and device configurations, you can stop Windows 11 from repeatedly asking for microphone access at startup. Regularly reviewing permissions and keeping your system updated will help maintain your preferred privacy and functionality settings.