
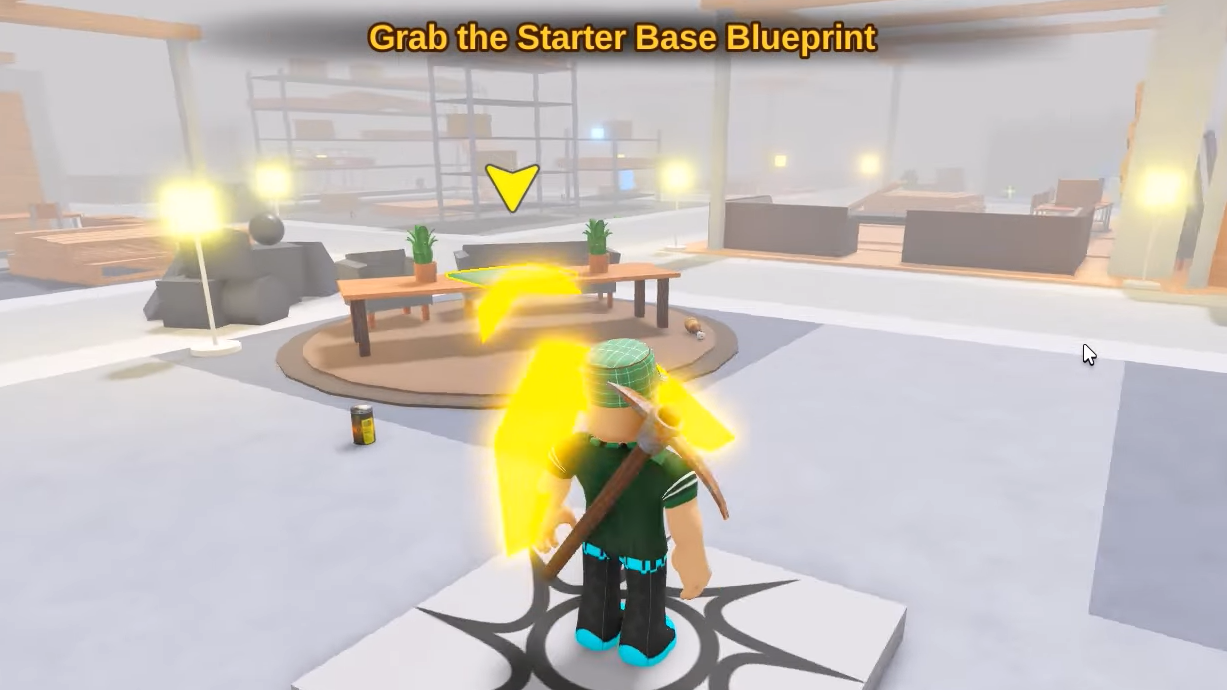
24 Hours Overnight drops you inside a suburban store with one objective: survive until Night 100 to earn your freedom. Each night escalates the danger as hostile employees and monsters close in on your position. During the day, you gather resources and reinforce your defenses. When darkness falls, everything you built gets tested. The mechanics can feel overwhelming at first, but understanding base construction, resource management, and class selection makes the difference between an early death and reaching that final night.
Quick answer: Survive by building a small, reinforced base with a bed for health restoration, mining blue crystals and scraps to earn money, managing hunger through food collection, and selecting a class that matches your playstyle.
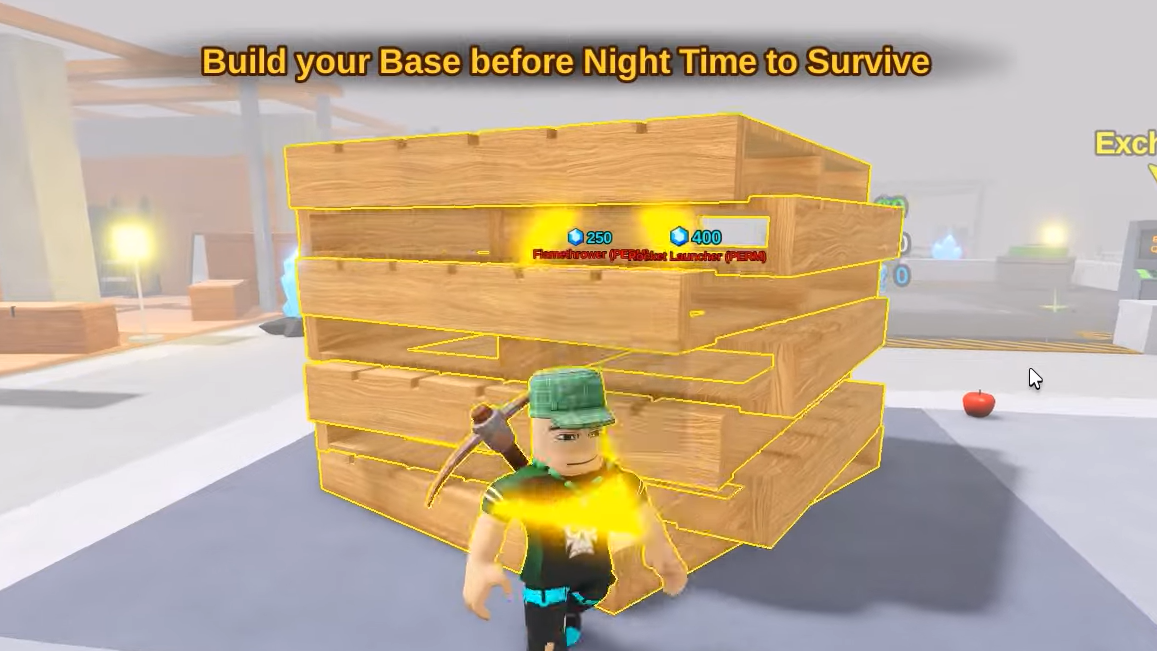
Build a compact, defensible base
When you first spawn, resist the urge to claim a large area. Wide-open spaces require more materials to defend and create multiple angles for enemies to attack. Instead, find a compact spot inside the store and construct a small enclosure using basic walls. A smaller footprint means fewer resources spent on early and predictable enemy approach paths.
Once your walls are in place, immediately put a bed inside your shelter. The bed lets you restore lost health without burning through consumables, which becomes critical as nights grow more aggressive. As you accumulate materials during daytime runs, upgrade your walls with stronger resources. Reinforced barriers force enemies to spend more time breaking through, buying you precious seconds to respond.
Strong bases rely on smart layout rather than size. Keep entrances narrow so enemies funnel into predictable paths where you can deal with them efficiently. Reinforce only the sides that actually get attacked to save materials and time. Upgrading your sack capacity early is one of the best long-term investments since a larger sack lets you gather more materials per trip, speeding up upgrades and reducing risky excursions once nights become dangerous.
Manage hunger before nightfall
Your character's hunger meter constantly drops, displayed at the bottom of the screen. If it gets too low, you start losing HP, which compounds the danger during enemy attacks. Search the store for food items during the day and consume them before nightfall. Managing hunger efficiently is just as important as fortifying your base since starving during a monster assault can end your run quickly.
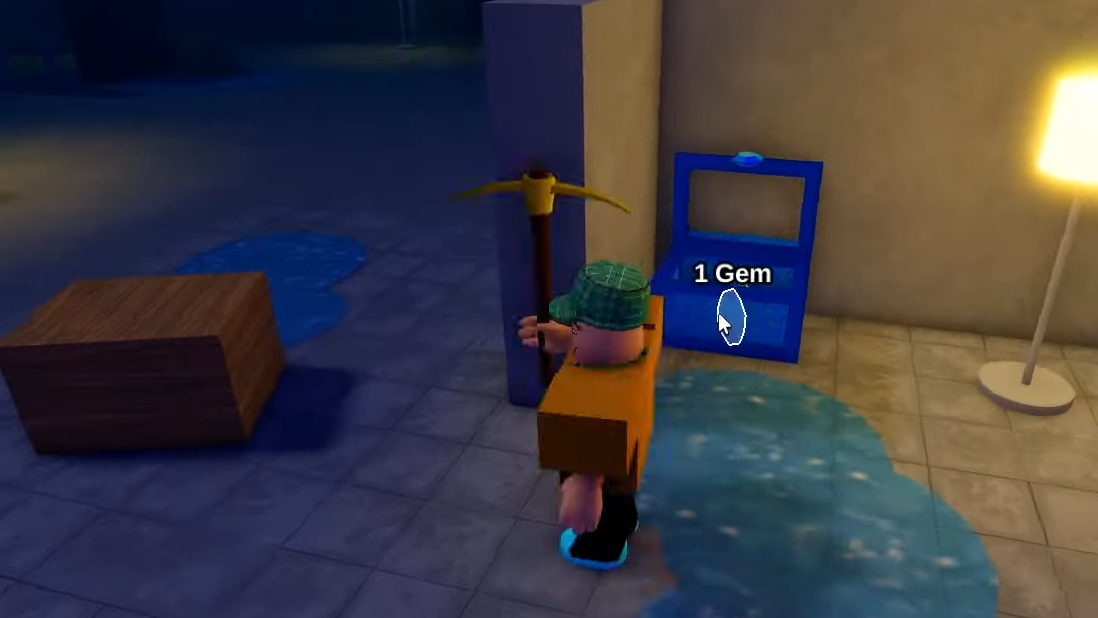
Earn money through mining and exchange
Money fuels your survival. You can purchase pickaxes, weapons, med kits, open chests, and buy various items from the shop. To earn money, use your pickaxe to mine blue crystals and dark scraps scattered throughout the store. Breaking these nodes produces materials that drop on the ground.
Step 1: Equip your sack and hold it in your hand. Move your cursor over the dropped materials and press F to collect them directly into your inventory.
Step 2: Once you have a decent haul, head to the exchange zone inside the store. Drop all collected crystals and scraps at the center.
Step 3: Press E to initiate the exchange. The system converts your materials into money based on the quantity provided.
The more efficiently you mine and store resources, the faster your income scales. Prioritize upgrading your sack and placing a bed as your first purchases since these provide the foundation for everything else.
Earn gems through Quota Rewards
Gems unlock premium classes and accelerate your progression. The primary method for earning gems is completing Quota Rewards missions, which appear in the mission panel on the left side of the screen. These tasks range from survival milestones to resource objectives, with harder missions offering higher gem payouts. You can also earn gems from completing in-game achievements and occasionally find smaller quantities in chests.
If you want faster access to premium classes, gems can be purchased directly from the in-game shop using Robux. The gem packs available range from 20 gems for 49 Robux up to 750 gems for 1249 Robux.
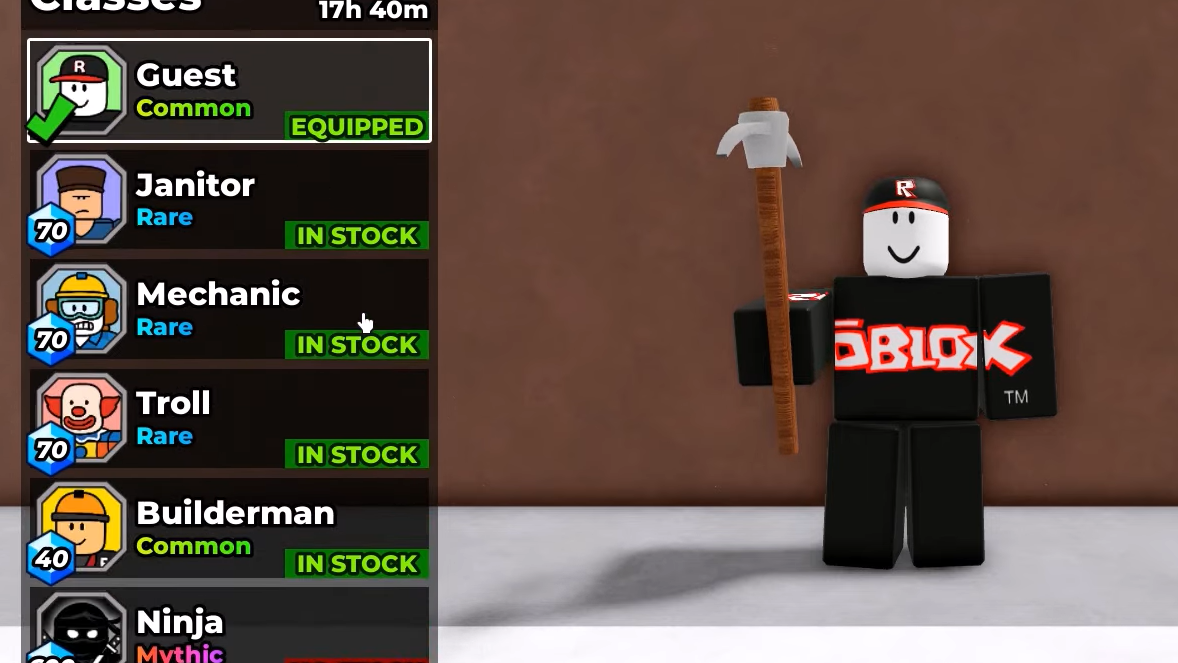
Choose the right class for your playstyle
Lasting through 100 nights is difficult, especially solo. Picking the right class gives you a significant advantage from the moment you spawn. Each class has its own starting kit and specific passives that help you survive. The class shop restocks every 24 hours, so check back regularly for new options.
| Class | Cost | Role |
|---|---|---|
| Guest | Free | Default starting class |
| Guard | 40 Gems | Strong early defense |
| Medic | 40 Gems | Sustain and recovery |
| Builderman | 40 Gems | Faster base progression |
| Scout | 40 Gems | Mobility-focused |
| Shoplifter | 40 Gems | Resource acquisition |
| Troll | 70 Gems | Disruption tactics |
| Mechanic | 70 Gems | Utility-focused gameplay |
| Janitor | 70 Gems | Maintenance support |
| Thief | 200 Gems | Stealth and acquisition |
| Scientist | 200 Gems | Experimental abilities |
| Overseer | 400 Gems | Powerful late-game scaling |
| Manager | 400 Gems | Team coordination |
| Skydiver | 600 Gems | Aerial mobility |
| Ninja | 600 Gems | High mobility and survivability |
Builderman and Medic are beginner-friendly options that help with base construction and health management. Ninja and Overseer are better suited for longer runs where their scaling abilities shine. Match your class choice to how you prefer to play, whether that's aggressive defense, resource gathering, or team support.
Weapons and tools worth prioritizing
Combat becomes unavoidable as the nights progress. The Crossbow costs $100 and serves as the best early-game ranged weapon. The Diamond Sword at $300 provides a strong melee option, while the Laser Sword at $400 delivers the highest melee damage for late-game encounters. For ranged combat, the Laser Rifle at $400 is the best overall option, with the Laser Pistol at $300 offering high burst damage.
Certain tools provide significant utility. The Watch (Epic rarity) tracks time so you can prepare for nightfall. The Compass (Rare) shows teammate positions, useful for coordinated play. Diamond Armor (Secret rarity) is the best defensive gear available, and the Subspace Tripmine (Secret) functions as an extremely powerful explosive trap.
Solo play considerations
Solo runs are viable but demand tighter resource management and more deliberate class selection. Without teammates to share the workload, every material and every decision carries more weight. Prioritize self-sustaining classes like Medic or Builderman, and focus on creating a highly efficient base layout that minimizes the angles you need to defend. The game supports multiplayer, so teaming up with friends can distribute the survival burden across multiple players.
Reaching Night 100 takes patience and iteration. Each failed run teaches you something about enemy patterns, base weaknesses, or resource timing. The freedom you earn at the end is the payoff for mastering the store's deadly overnight shifts.