
Traditionally, taking screenshots on Windows requires you to use the Print Screen key on your keyboard. However, what happens if the key is damaged and no longer works? Or even more commonly, how do you take a screenshot when the Print Screen key is not even present on your keyboard, as is the case with an increasing number of newer devices? Fortunately, there are still several ways by which you can take a screenshot in Windows 11 without the Print Screen key.
Method 1: Using the Snipping Tool
Windows 11 comes with a built-in Snipping Tool that lets you take screenshots without needing to use the Print Screen key. What's great about this tool is that you can use it to capture the entire screen or just a section of it and can even edit and annotate the screenshots before saving them.
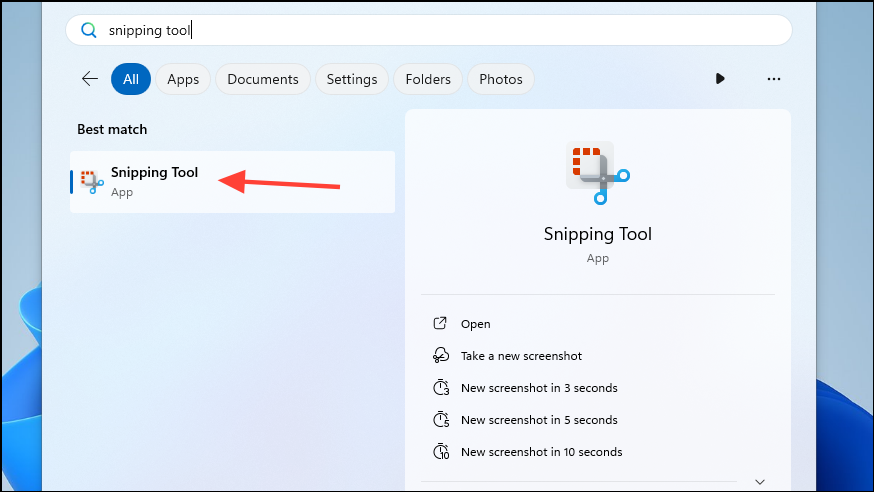
- Open the Start menu, type
Snipping Tool, and click on it to open it.
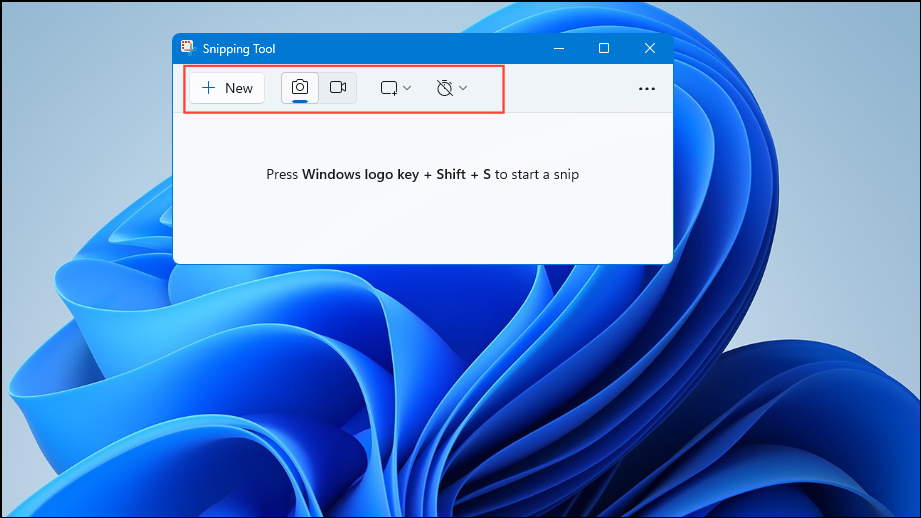
- The Snipping Tool will appear on your screen. Clicking on the 'New' button will allow you to take a new screenshot while the camcorder icon will let you record your screen. You can also change the snipping mode or take a delayed screenshot using the tool.
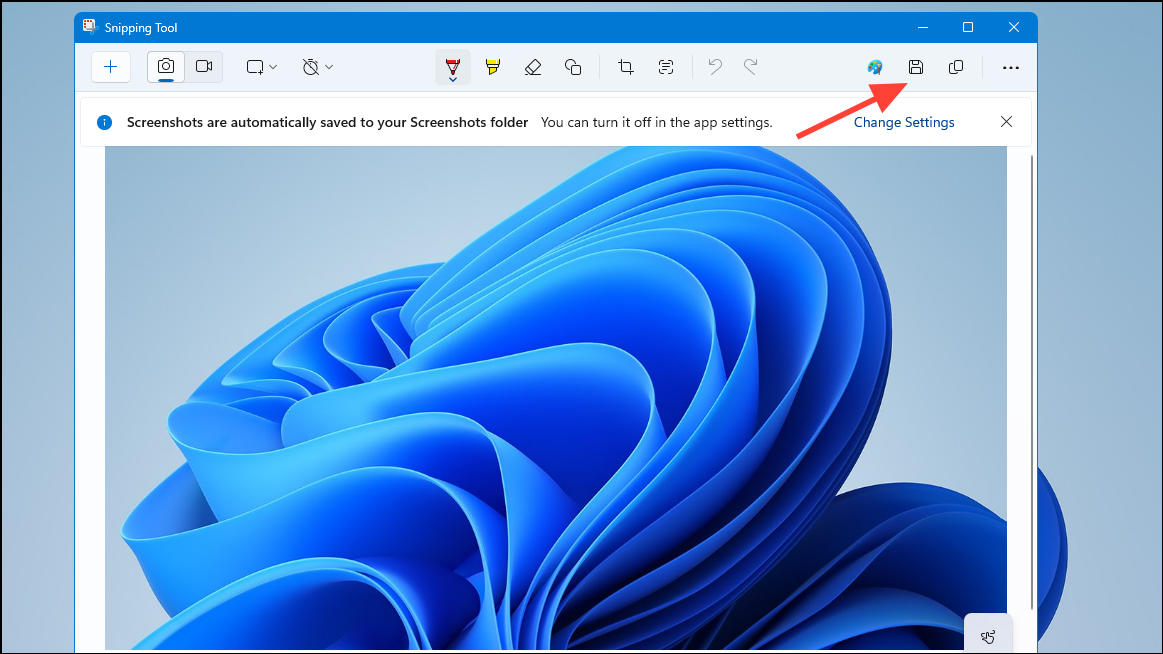
- When you take a screenshot, a notification will appear on the lower right. Clicking on it will open it in the Snipping Tool. You can then annotate it, add highlights, erase certain sections, etc.

- Once you're done editing the screenshot as you wish, click on the 'Save' icon on the right to save the edited screenshot. By default, your screenshots will be saved in the Screenshots folder within the Pictures folder in My Documents.
Win + Shift + S shortcut. After taking the screenshot, click on the notification on the lower right to open it after which you can edit and save it as you like. Method 2: With the Game Bar application
Designed to help gamers record and capture their gaming sessions and share them with others, the Game Bar application is another tool you can use to take screenshots without using the Print Screen key.
- Open the Game Bar application using the
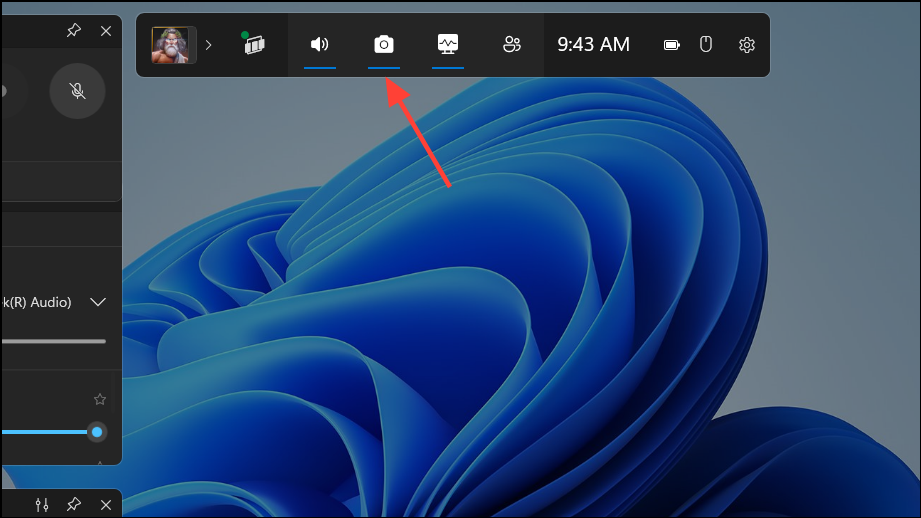
Win + Gshortcut. - When the program opens, click on the camera icon to take a screenshot of your screen. The screenshot will be saved in the Captures folder inside the Videos folder in My Documents.
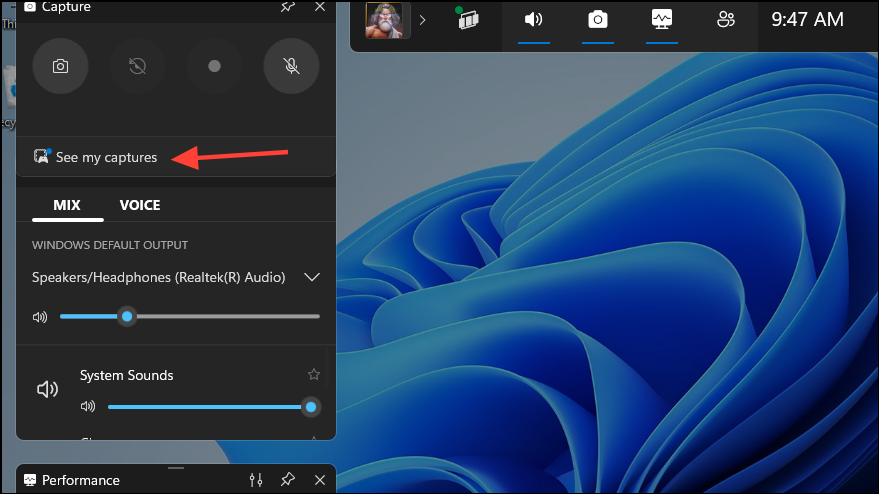
- Alternatively, you can open Game Bar and click on 'See my captures' to view your screenshots.
Method 3: Using third-party applications
There are a lot of different applications that let you take screenshots on Windows 11 without using the Print Screen key, such as Greenshot, Lightshot, PicPick, etc.
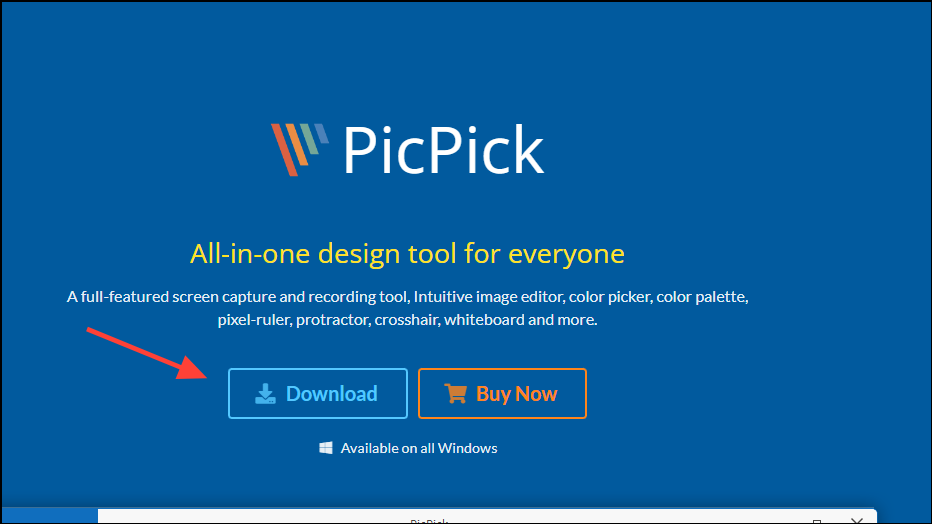
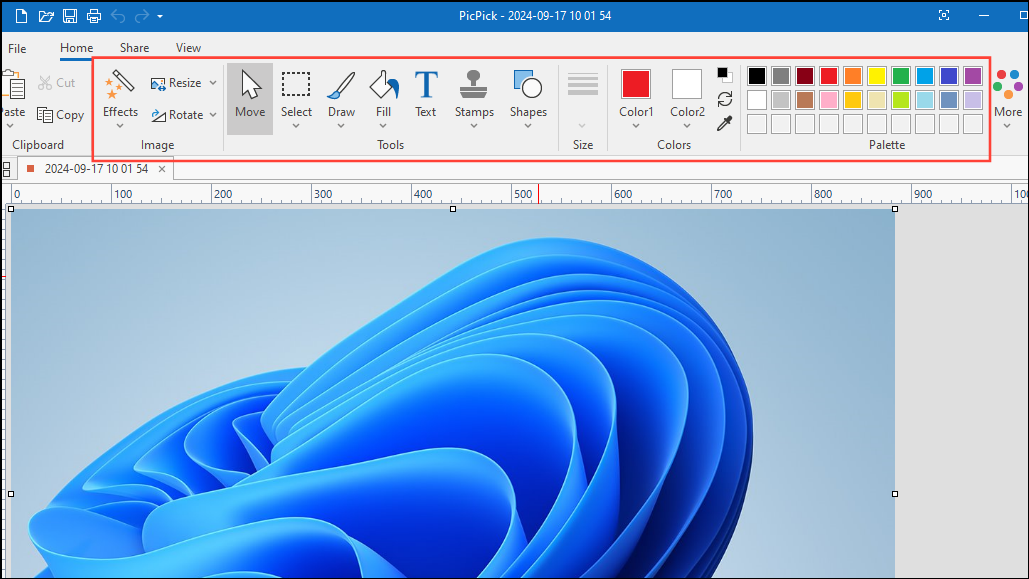
- PicPick is a multipurpose tool that you can use for free to take screenshots. Visit the website and click on the 'Download' button to download it.
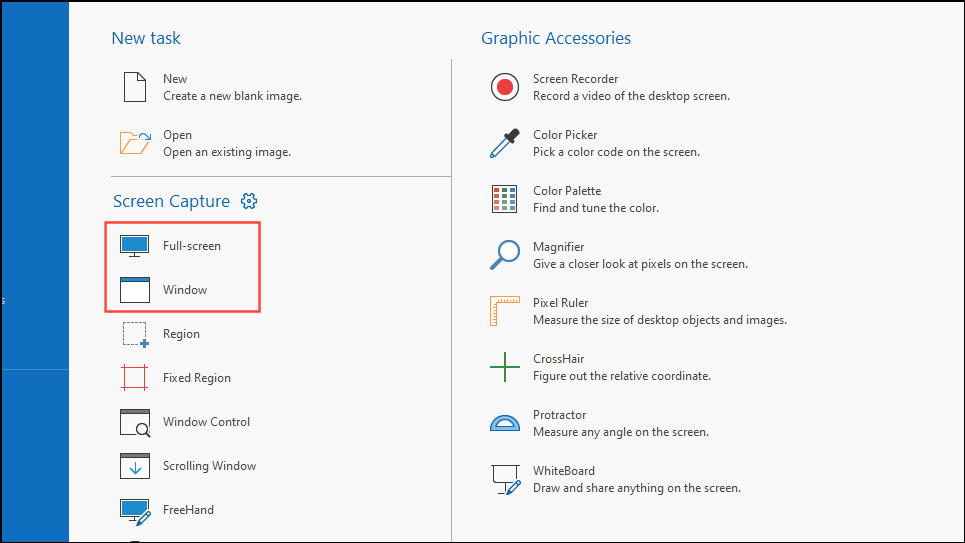
- Install and open the program once it is downloaded and you will see several options. To take a screenshot of your entire screen, click on the 'Full-screen' option. Alternatively, click on the 'Window' option to capture your currently open window.
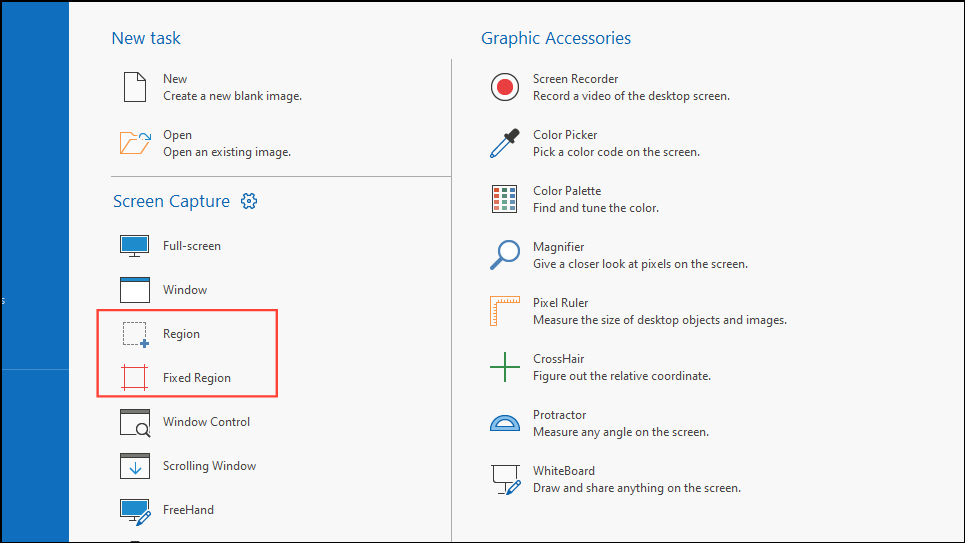
- You can also capture a specific area of your screen or a fixed region by clicking on the respective options.
- Once you've captured a screenshot, you can edit it in various ways. You can add effects like frames and borders, draw over the captured image, add text and shapes, and more. PicPick also lets you take delayed screenshots like the Snipping Tool.
Method 4: With the Power and Volume Up buttons on Surface tablets
If you're using a Microsoft Surface Pro 4 or later tablet, you can take screenshots in other ways.
- Press the
Power + Volume Upbuttons at the same time to take a screenshot just like you use the Windows and PrintScreen keys on other PCs. - On older Surface tablets, the shortcut for taking screenshots was
Win + Function + Spacebar.
Method 5: Using the on-screen keyboard
If your keyboard does not have the Print Screen key or the key is damaged and does not work, you can use the on-screen keyboard built into the OS to take screenshots.
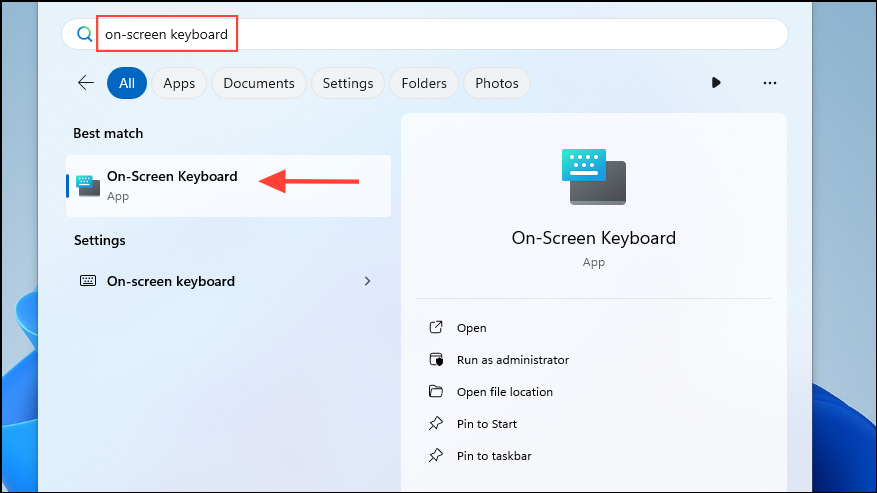
- Open the Start menu, type
on-screen keyboardand click on the tool when it appears.
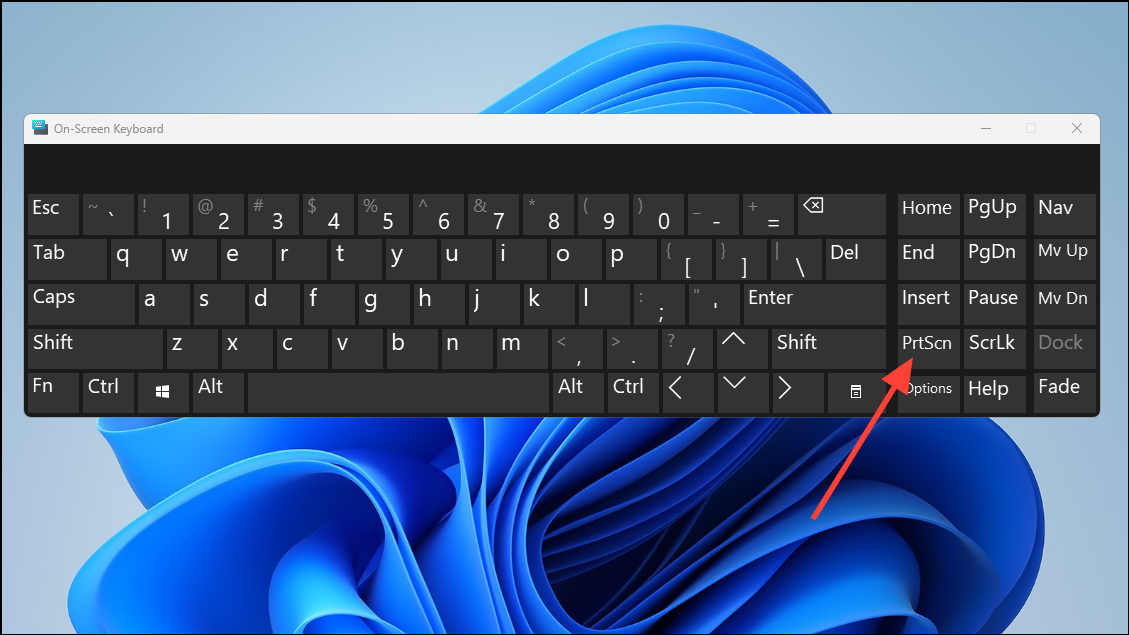
- When the on-screen keyboard appears, click on the
PrntScrnkey to capture the screen. Once you capture a screenshot, it will automatically open in your preferred screenshot application. You can then edit and save it as you wish.
Method 6: With the screenshot feature in Edge
If you need to take a screenshot of a webpage in Windows 11, you can use Microsoft Edge to do so, since it has a built-in tool designed just for that purpose.
- Open Microsoft Edge and go to the website where you want to take a screenshot.
- Right-click on a blank section and click on 'Screenshot'.
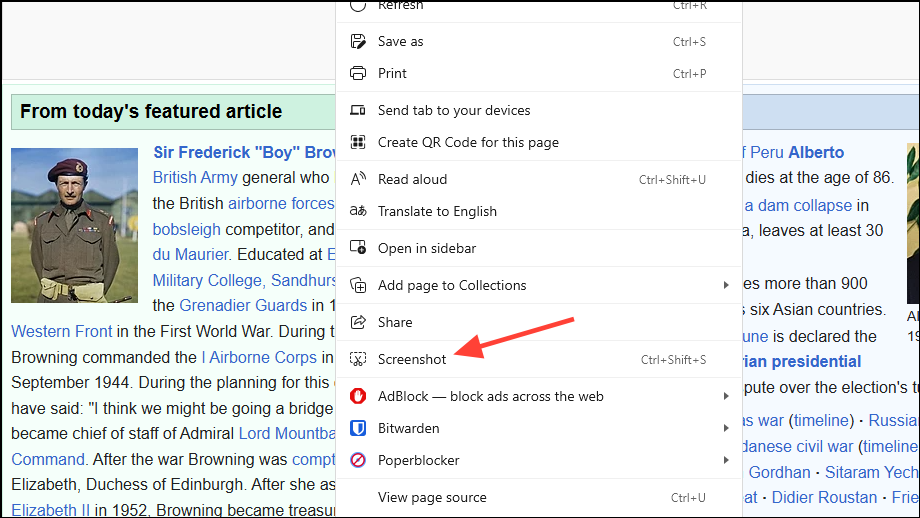
- You will then be able to capture the entire screen or just a portion of it. You can even use the captured image to use in a visual search, besides being able to annotate it and copy it to your clipboard.
Things to know
- If the Print Screen key on your keyboard is not working, you can remap it to another key using the PowerToys utility.
- In case you have problems using the Snipping Tool, try resetting it from the Apps page in the Settings app. This can help clear corrupted files and get the application working again.
- Some methods, like using the
Win + Shift + Sshortcut, will not work when you are trying to take screenshots while using exclusive software applications. - Older methods of taking screenshots, like the
Fn + Win + Spacebarshortcut present in Windows 10 no longer work in the latest versions of Windows 11.