Microsoft's Edge browser has come a long way since its initial launch. Since it was shifted to a Chromium base, the browser has become immensely popular among users, both on desktop and mobile operating systems. Another reason for its popularity is that it frequently gets new features with updates. Updates also ensure that the browser is secure against online threats and provide important bug fixes. So, if you're wondering how to update your Edge browser, this is just the guide for you.
The Edge browser automatically checks for available updates and installs minor ones in the background while in use. However, you can manually check for updates at any time by going into the browser settings.
To update Microsoft Edge, follow these steps:
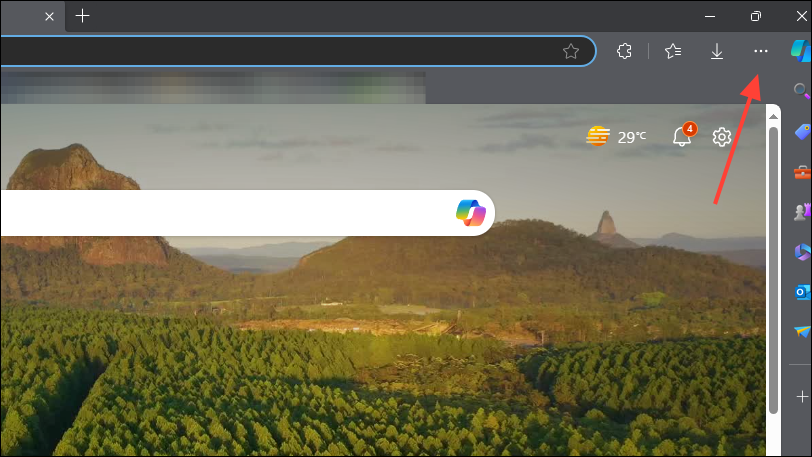
- Launch the Edge browser and click the three dots in the top right corner.
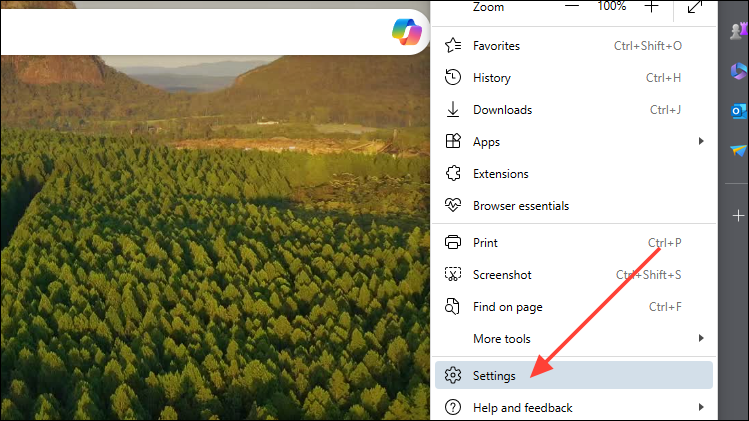
- Click on the 'Settings' option from the list of items that appear in the drop-down menu, or type
edge://settings/helpin the address bar to open the settings page.
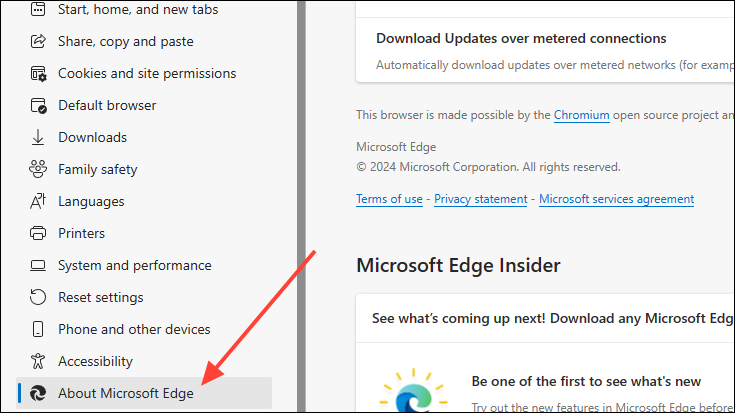
- When the 'Settings' page opens, click on the 'About Microsoft Edge' option at the very bottom from the options on the left.
- Microsoft Edge will automatically check for updates when you open this page. If any update is available, the browser will start downloading and installing it.
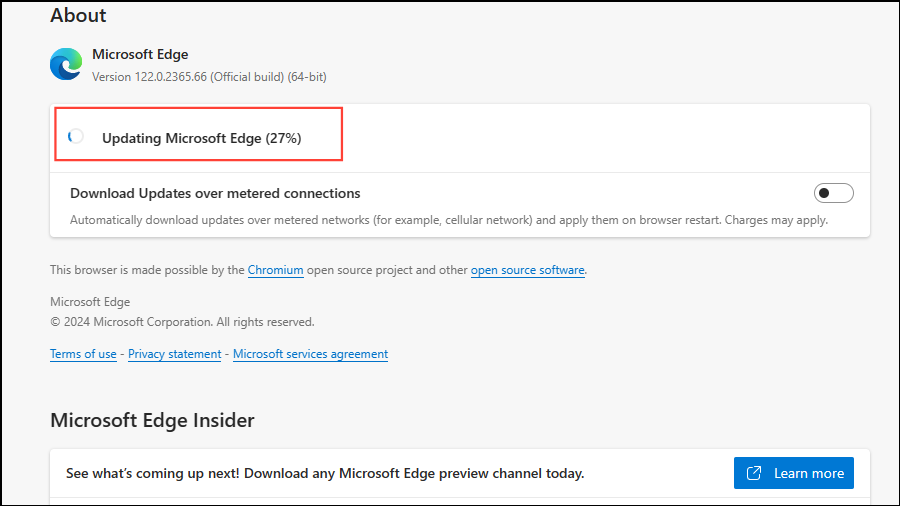
- For major updates, you will need to restart the browser once it installs the updates by clicking on the 'Restart' button.
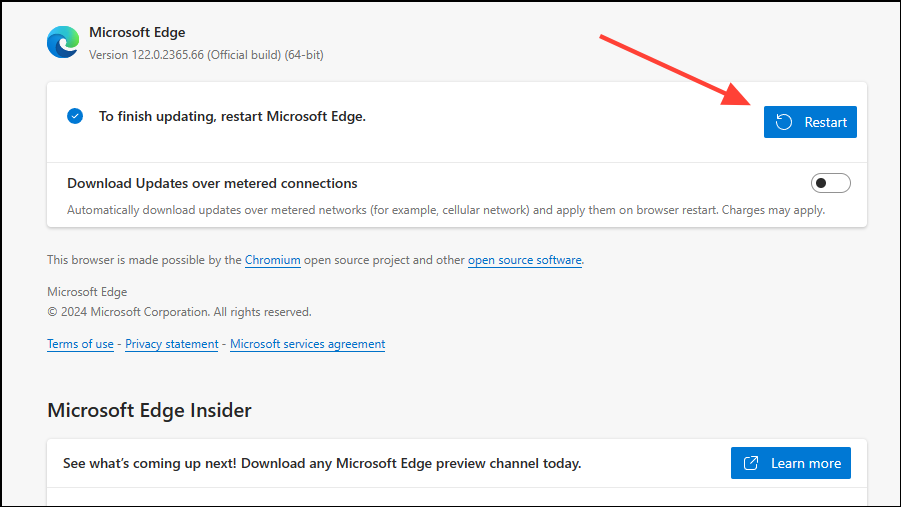
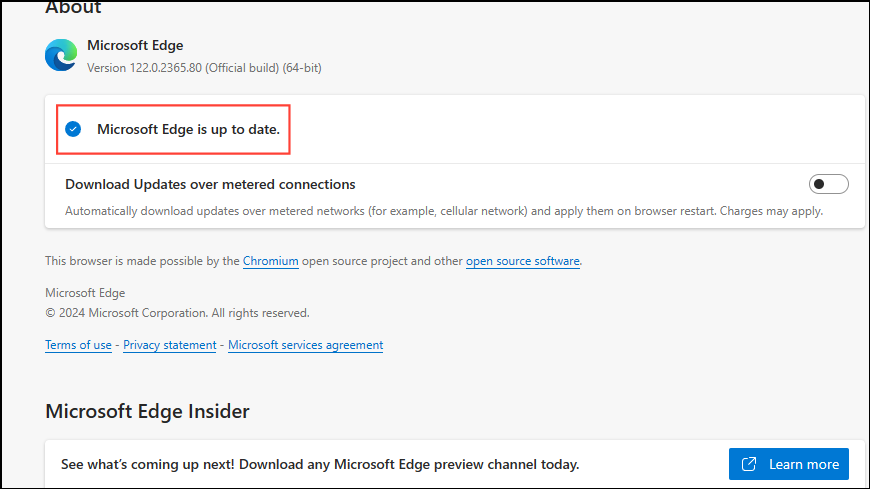
- Now, when the browser reopens, go to the 'About Microsoft Edge' option, and it will show you that the browser is up to date.
Keeping your Edge browser updated is highly recommended. It helps keep your system safe, lets you try out new features, and can help avoid problems caused by bugs. Usually, the browser updates itself automatically, but in case you want to do it manually, the method shared here works on both Windows and macOS.


