
The Forge on Roblox is built around a single loop: mine ore, craft gear, then upgrade it until it trivializes the mines. The difference between a random mashup of rocks and a build that deletes zombies comes from three things working together:
- Which ore you use (and in what quantity)
- Which weapon or armor variant you roll
- How far you push Enhancements and Runes
Ore traits and multipliers in The Forge
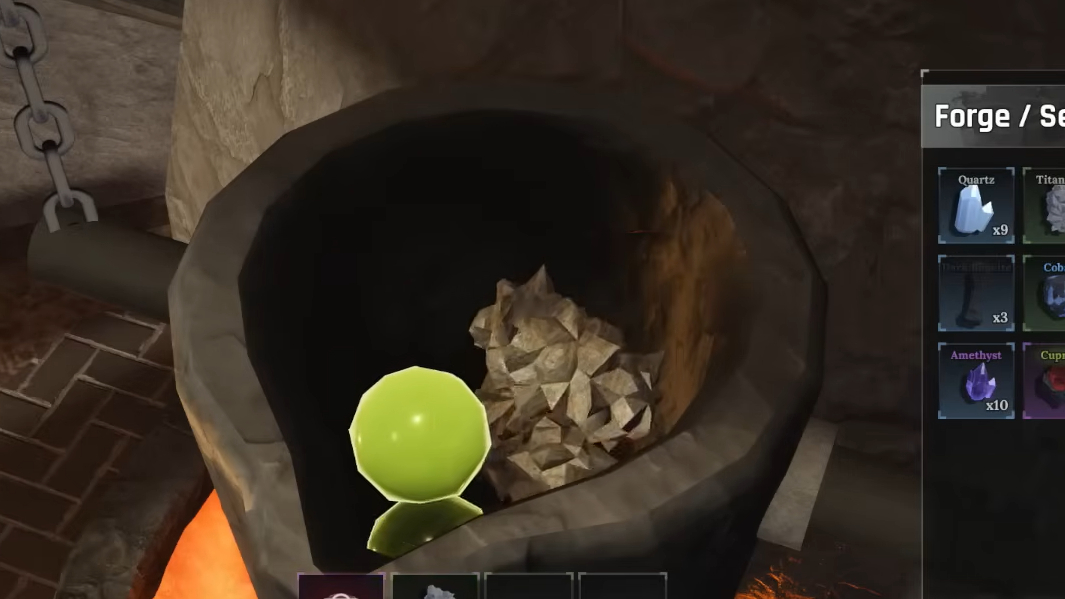
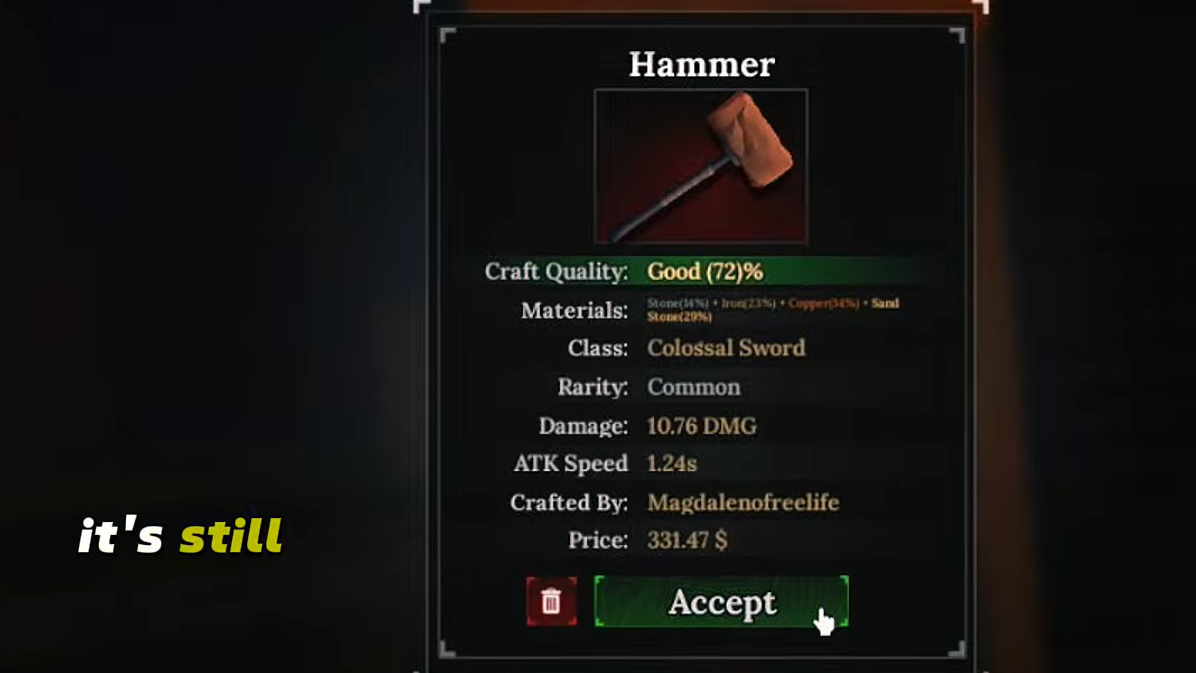
Every ore has two key properties in the forge UI:
- Multiplier: how strong the finished piece is when you use that ore as the main material.
- Trait (if any): a passive effect added to weapons or armor that used at least one unit of that ore.
Common ores only move the multiplier. A few special ores also add powerful traits. Those traits are why most strong builds mix “stat ores” with at least one “trait ore.” Some important examples:
- Poopite – 15% poison damage for 5 seconds when you fall below 35% HP.
- Obsidian – +30% defense on armor.
- Rivalite – +20% critical chance on weapons.
- Uranium – Armor gains an AoE effect dealing 5% of your max HP as damage.
- Ior – −10% vitality, but +15% damage on weapons and armor.
- Fireite – ~20% burn chance on weapon hits.
- Magmite – ~50% AoE explosion chance on weapon hits.
These trait ores are much rarer than basic ones, so you usually do not build an entire recipe out of them. Instead, you:
- Use a large stack of a strong “stat ore” to drive the multiplier and the weapon/armor type you roll.
- Add a single unit of each trait ore you want. One piece is enough to give a chance to roll its passive.
There is a chance element: adding a trait ore does not guarantee its passive shows up on the finished item. Recipes built around 1–2 copies of each trait are about maximizing odds without gutting your multiplier.
Controlling weapon and armor type in the forge
The forge UI exposes two numbers that matter more than anything else when picking a variant:
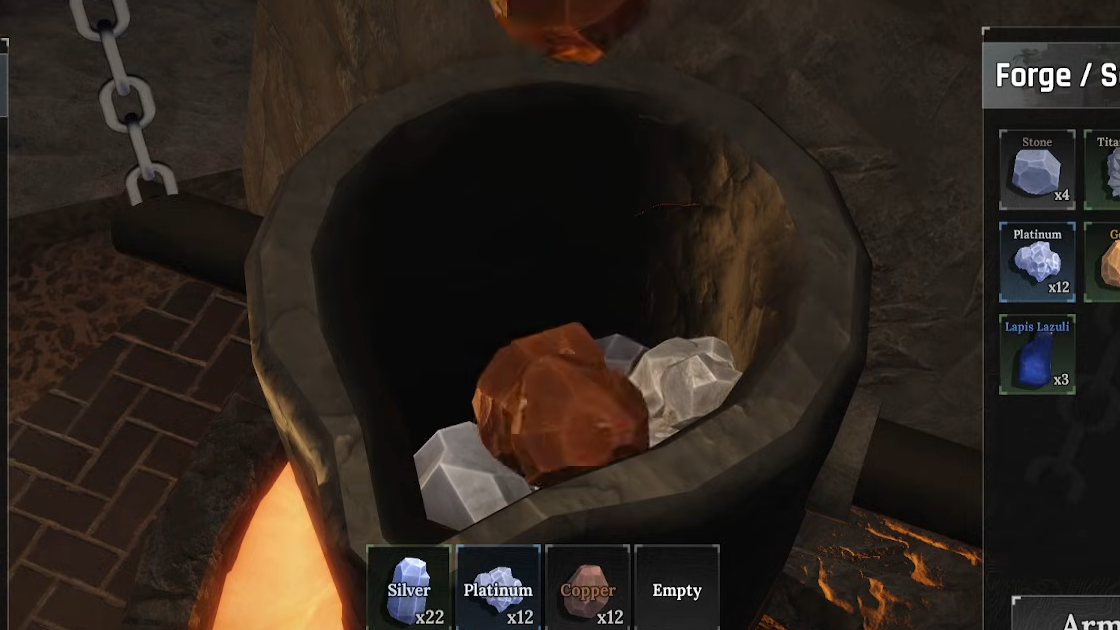
- Total ores: sum of all pieces in your recipe. Higher totals unlock heavier gear types in the result table.
- Multiplier: effective “quality” of the recipe, driven by which ores you chose.
Stacking more ore increases your chance to roll heavy gear, but usually drags the multiplier down if you are dumping low‑quality materials. The sweet spot is “as many pieces as you can afford” while keeping the multiplier high by leaning on your best ore.
For example:
- Feeding 25–30 pieces of a single decent ore (like titanium or cobalt) heavily tilts the output table toward Colossal Swords and heavy armor variants.
- Dropping a few units of weaker ores into that stack will raise the total count, but can reduce the multiplier enough that overall stats suffer.
For armor, the same logic applies: a heavy chest plate or leggings become far more likely as your total ore count goes up, especially when most of that stack is a single ore.
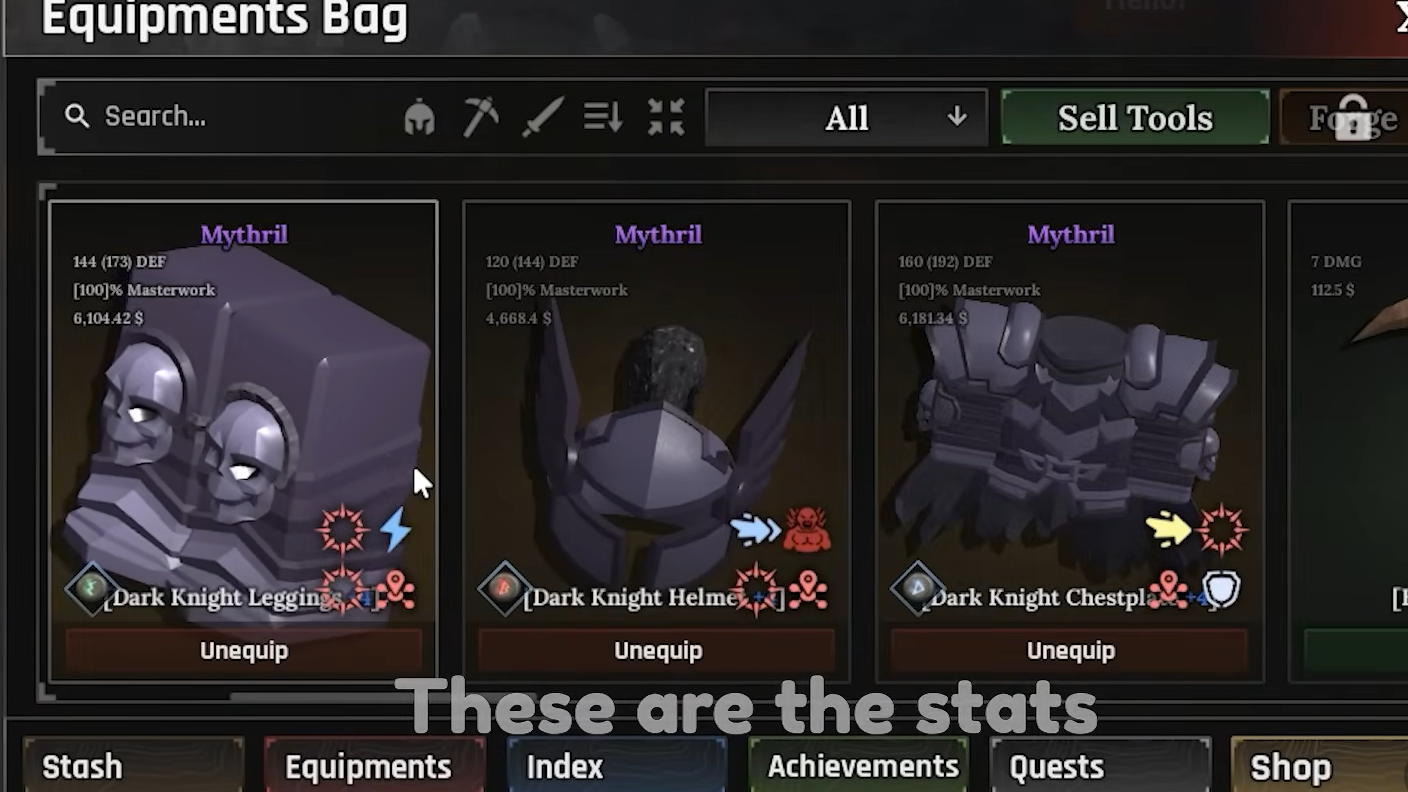
Best core recipes for armor
Heavy armor is the standard endgame choice because it has the highest defense and more Rune slots than lighter sets. Gold farming strategies also lean on heavy armor because heavy chest plates sell for more.
A strong “core line” for armor focuses on damage, survivability, and canceling Ior’s drawback:
- Ior – +15% damage, −10% vitality.
- Mythril – +5% vitality, which offsets Ior’s vitality penalty.
- Uranium – 5% max HP as AoE damage on armor.
That trio gives:
- Higher base damage from Ior.
- Vitality restored (and slightly boosted) by Mithril.
- Persistent AoE damage from Uranium while tanking hits.
After those three, you still need enough ore to force heavy armor output. The practical pattern is:
- Lock in one piece each of Ior, Mithril, and Uranium.
- Fill the remaining slots with a single high‑multiplier ore you have in bulk to drive the “heavy helmet/chest/legs” outcomes.
When you hover the previewed armor piece in the forge UI, check that those passives appear and that the variant is heavy. If you mostly see light/medium types, increase the total ore count using your filler ore, not the rares.
Best core recipes for weapons
For raw damage and passive stacking, two weapon families stand out:
- Colossal Swords – Very high per‑hit damage and range; synergize well with percentage‑based passives like burn.
- Gauntlets – Highest DPS (damage per second) on mobs due to fast attack speed and early stuns.
A widely useful damage‑focused “core line” for weapons is:
- Ior – +15% damage on the weapon.
- Fireite – Adds a burn effect with a chance to trigger on each hit.
- Rivalite – +20% critical strike chance.
- Magmite – Chance to cause large AoE explosions on hit.
This combination does three things:
- Raises base damage flatly (Ior).
- Adds scaling damage over time (Fireite) that benefits massively from high base damage.
- Improves burst potential (Rivalite crits + Magmite explosions).
For a high‑impact build, aim to roll these traits on a Colossal Sword. A big sword magnifies percent‑based effects such as burn. For example, if a burn passive deals 6% of weapon damage each second, a 200‑damage colossal sword outputs 12 damage per second from burn alone, before crits or AoE explosions.
To force heavy weapons like colossal swords or great axes more consistently:
- Stack a large amount (20–30+) of one strong filler ore to push the “Colossal Sword” chance above 50–60% in the forge UI.
- Reserve 1 piece each of Ior, Fireite, Rivalite, and Magmite, added at the end.
This keeps heavy weapon odds high while still giving the recipe chances to roll all four passives. You sacrifice some multiplier compared to a pure stat recipe, but the passive package more than compensates in real combat.
Gauntlets vs colossal swords
There is a real trade‑off between gauntlets and colossal swords:
- Gauntlets – Lower damage per hit but much higher attack speed. They stun mobs quickly and have top‑tier DPS in close quarters.
- Colossal Swords – Slower swings but huge damage per hit and wide range. They abuse percentage‑based passives and make it easier to one‑shot weaker enemies.
Against tanky enemies and bosses, gauntlets with high DPS and good runes clear health bars faster. Against regular trash mobs or when you want big burn/explosion ticks, colossal swords feel better. Either way, the same trait ores (Ior, Fireite, Rivalite, Magmite) are excellent choices.
How to guarantee more colossal swords and heavy armor
Heavier gear types are not locked behind recipes; they are tied to how much ore you dump into the forge and how concentrated that ore is. To push the odds in your favor:
Step 1: Choose a single ore you have in large quantity and that shows a decent multiplier when placed alone in the forge. This is your “base ore.”
Step 2: Add 20–30 units of that base ore to the forge. Watch the result table: odds for Colossal Sword, Great Axe, or heavy armor should jump significantly as total ore count rises.
Step 3: Once the chance for the variant type you want passes roughly 50–60%, start adding your rare trait ores one by one. Keep an eye on the multiplier to ensure it doesn’t crash.
Step 4: Forge and inspect the previewed item. If you still roll too many lighter variants, increase the base ore count further on the next attempt.
Using one ore in bulk is more effective at forcing colossal swords and heavy armor than using an equal total made of many small stacks.
Weapon stats, variants, and sell prices
Weapon class matters for both combat and money. The game defines several families, each with fixed stat profiles and base sell values.
| Weapon family | Example weapon | DMG | Speed (sec) | Range | Forge chance | Sell price (Gold) |
|---|---|---|---|---|---|---|
| Great Swords | Crusader Sword | 12 | 1.0 | 9 | 1/1 | 356 |
| Great Axes | Double Battle Axe | 15.75 | 1.05 | 9 | 1/1 | 490 |
| Daggers | Dagger | 5 | 0.35 | 6 | 1/1 | 45 |
| Gauntlets | Relevator | 9.6 | 0.69 | 6 | 1/16 | 153 |
| Colossal Swords | Skull Crusher | 24 | 1.4 | 10 | 1/2 | 915 |
| Straight Swords | Chaos | 9.75 | 0.5 | 8 | 1/64 | 84 |
| Katanas | Tachi | 8.93 | 0.63 | 9 | 1/2 | 243 |
Within each family, some models are rarer or hit harder:
- Dragon Slayer (Colossal Sword) – 22 damage, 1.2s speed, 10 range, 1/3 chance.
- Skull Crusher (Colossal Sword) – 24 damage, 1.4s speed, 10 range, 1/2 chance.
- Comically Large Spoon (Colossal Sword) – 18 damage, 1.2s speed, 10 range, 1/16 chance.
- Chaos (Straight Sword) – rare 1/64 chance, but higher damage than other straight swords.
The base sell price is tied to the family, not the exact model. All colossal swords sell for 915 Gold before any upgrades, for example. That makes heavy armor and colossal swords attractive both for fighting and for money.
How Enhancements work on weapons and armor
Enhancement is the straightforward part of the upgrade system: you trade Gold and Essence to increase the base stats of your equipment and unlock Rune slots on weapons that start with none.
To enhance gear:
Step 1: Talk to an Enhancer NPC in town.
Step 2: Select the weapon or armor piece you want to upgrade.
Step 3: Confirm the Enhancement, spending Gold and Essence. Each level adds stats such as higher damage or defense.
When a weapon reaches +3, it unlocks Rune slots if it did not have any by default. Some weapons roll with 1–3 Rune slots from the start; Enhancing them still increases raw stats.
Because Enhancement consumes both Gold and Essence, it is typically treated as late‑game progression: you invest once you are reasonably sure you will keep that piece for a long time.

How Runes work and which to target
Runes add extra stats or new passives on top of ore traits. They drop as “shards” from enemies and are installed by a separate NPC.
To socket Runes:
Step 1: Talk to the Runemaker NPC.
Step 2: Choose a weapon or armor piece that has at least one Rune slot (inherent or from reaching +3).
Step 3: Spend Gold and the chosen Rune item to attach it.
Rune strength varies significantly. Some runes only add a small stat bump; others combine multiple buffs or unique effects. High‑impact examples include:
- Drain Edge – Life steal and/or sustain‑focused effects on weapons.
- Flame Spark – Extra burn or fire‑type damage, stacking well with Fireite on weapons.
- Blast Chip and Miner Shard – Strong offensive bonuses, especially for AoE and mining builds.
- Ward Patch – Flatly increases armor defense; ideal for heavy sets.
Runes drop from specific enemies. The Index → Enemies screen shows each mob’s drop table, including which Rune or shard it can drop. For example, Reaper‑type enemies drop both Drain Edge and Flame Spark.
The most efficient place to farm top‑tier runes is the volcano/Volcanic Depths area on the second island. Enemies there can drop Drain Edge and Flame Spark and also provide high‑value Essence, making it a natural late‑game grind spot.

Money, ore, and upgrade priorities
Because everything in The Forge flows from income, there is a simple priority list that keeps progression smooth:
- 1. Money – Needed for pickaxes, Enhancements, and Runes.
- 2. Pickaxe – Higher mining power unlocks tougher rocks and better ores; pickaxes also carry important passive bonuses.
- 3. Weapon – Lets you safely clear stronger monsters for Essence and Rune drops.
- 4. Armor – Heavy armor keeps you alive while you grind, and heavy pieces sell well.
- 5. Runes and upgrades – You invest heavily here only once your core gear is stable.
For money specifically:
- Early game: Forge and sell heavy armor pieces, especially heavy chest plates. Using around 45 units of a decent ore to force heavy chest plates gives very efficient Gold per forge.
- Late game: Farm mobs in Volcanic Depths for high‑rarity Essence. Purple or higher Essence sells for much more than lower tiers, making mob farming the best endgame income method.
Upgrades should follow the same curve: do not dump Essence into a random early weapon when that Essence might later push your best colossal sword to much higher damage.
Achievements, races, and small optimizations
A few background systems subtly boost both forging and combat:
- Achievements: Many achievements unlock passive bonuses. You can equip one, such as a critical chance boost or mining luck boost, for noticeable gains in either damage output or ore income.
- Races: For raw progression, Dwarf, Demon, and Angel stand out. Dwarf helps mining, while Demon/Angel push combat. Other races are more about flavor than power.
These bonuses do not replace strong recipes and upgrades, but they amplify them: higher crit chance makes Rivalite and burn/explosion builds feel much better; more mining luck speeds up how fast you see rare trait ores in the first place.
The strongest builds in The Forge follow the same pattern: a concentrated ore base to force heavy gear, a handful of trait ores to add powerful passives, and a late‑game layer of Enhancements and Runes. Once that engine is running, zombies and bosses in the mines stop being the problem—finding enough ore and Essence to keep feeding the forge does.