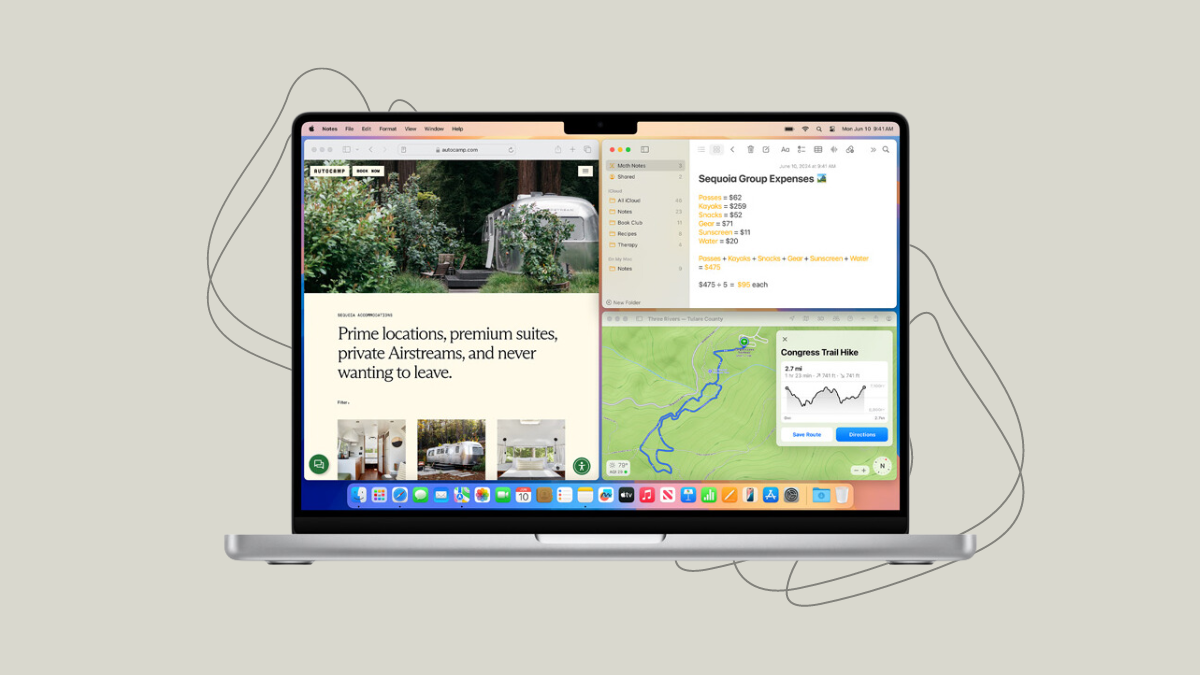
macOS Sequoia now offers native support for automatic window tiling, allowing users to organize app windows efficiently without relying on third-party applications.
Note: Ensure your Mac is updated to macOS Sequoia to access the native window tiling features.
Use keyboard shortcuts
Keyboard shortcuts provide a quick way to tile and manage your windows in macOS Sequoia.
To expand a window to fill the screen without entering full-screen mode, press
Fn + Ctrl + F. This action fills the screen while keeping the menu bar and Dock visible.To center a window on the screen with space around it, use
Fn + Ctrl + C. The window will resize and position itself in the center.Move a window to the left half of the screen by pressing
Fn + Ctrl + Left Arrow. The window will adjust to occupy the left side.Tile a window to the top half of the screen using
Fn + Ctrl + Up Arrow. For the bottom half, press Fn + Ctrl + Down Arrow.Arrange multiple windows by pressing
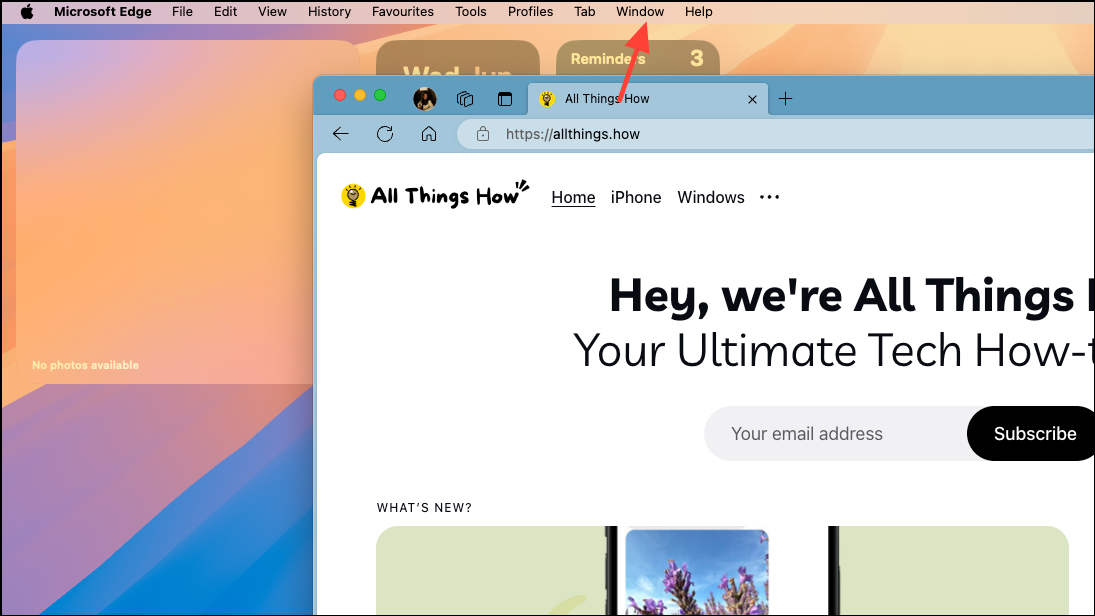
Fn + Ctrl + Shift along with the arrow keys. For example, Fn + Ctrl + Shift + Left Arrow arranges windows side by side with one on the left and another on the right.Use the green button or menu bar
The green button at the top-left corner of each window and the ‘Window’ menu in the menu bar offer additional options for tiling your windows.
Hover your cursor over the green button in the top-left corner of the window. A menu will appear with two sections: ‘Move & Resize’ and ‘Fill & Arrange’.
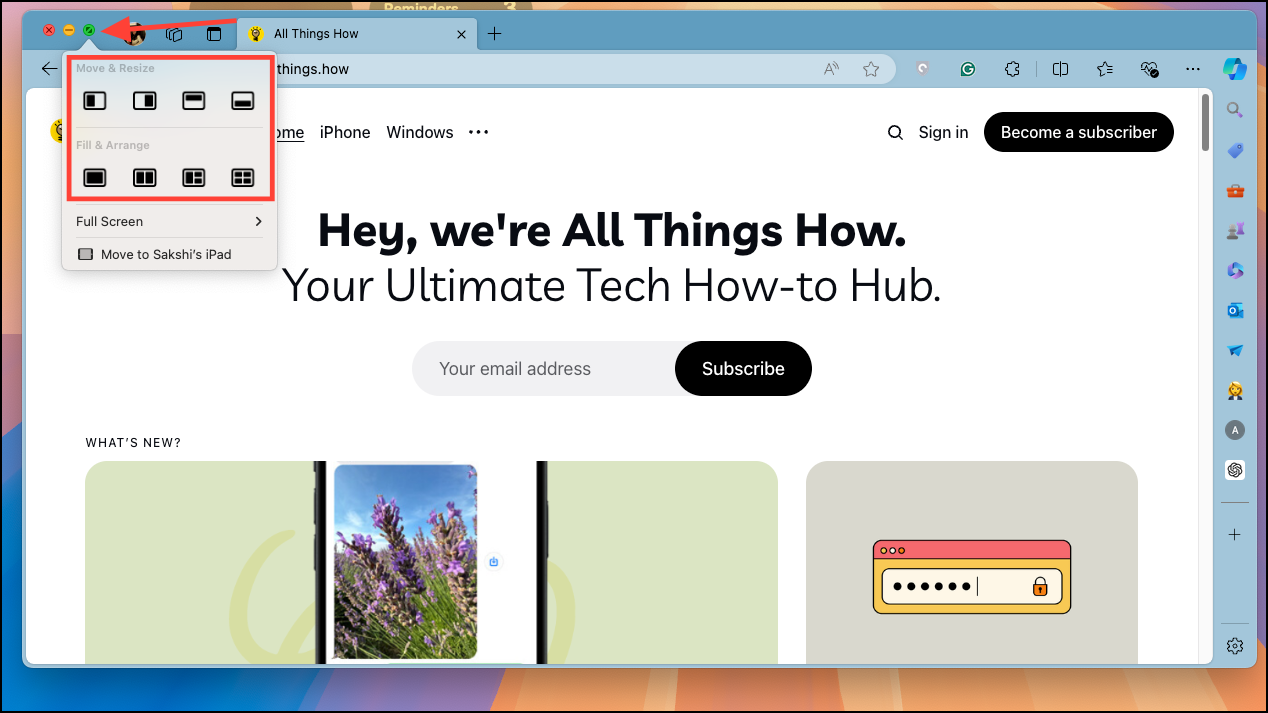
Under the ‘Move & Resize’ section, select the desired option to move and resize the window. You can choose to position the window on the left half, right half, upper half, or bottom half of the screen. The options for the upper half and bottom half are not available when dragging apps.
In the ‘Fill & Arrange’ section, you can arrange your active windows into a specific pattern. Selecting one of the layouts will automatically arrange your most recent active windows accordingly. If you have fewer windows open than the layout supports, empty spaces will appear in the pattern.
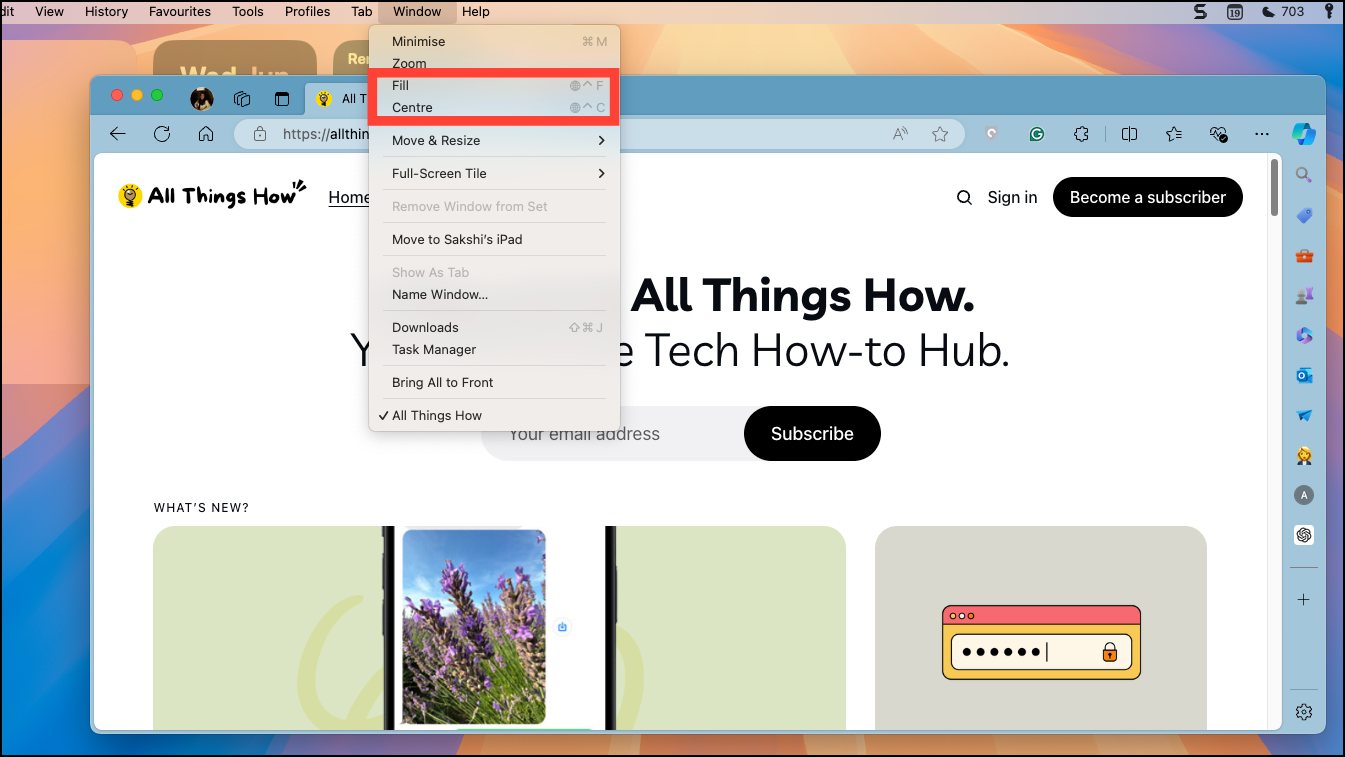
From the ‘Window’ menu, you have immediate options like ‘Fill’ and ‘Center’. Choosing ‘Fill’ will expand the window to fill the screen, similar to dragging it to the top edge. ‘Center’ will resize and position the window in the center of the screen with space on each side.
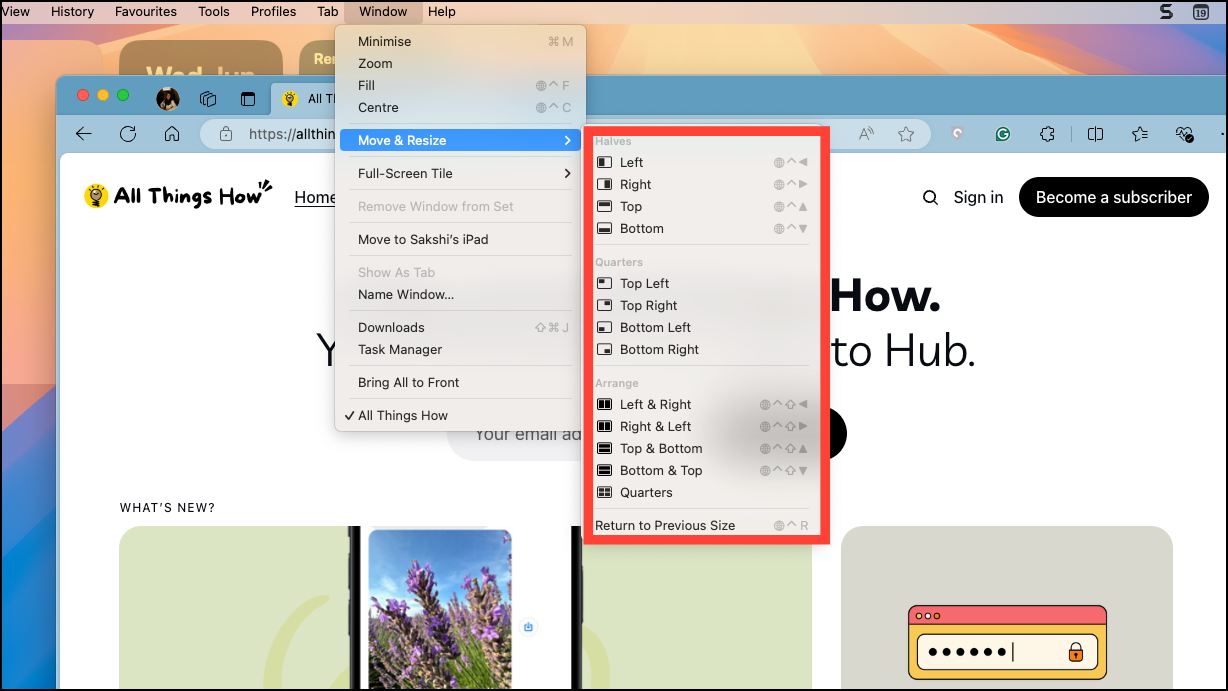
For more options, navigate to the ‘Move & Resize’ submenu within the ‘Window’ menu. Here, you’ll find additional options for moving a window to halves or quarters of the screen and rearranging windows in various layouts. The rearrangement options here differ from those available via the green button menu.
Tile windows by dragging them
Dragging windows to the edges or corners of the screen allows you to tile them quickly.
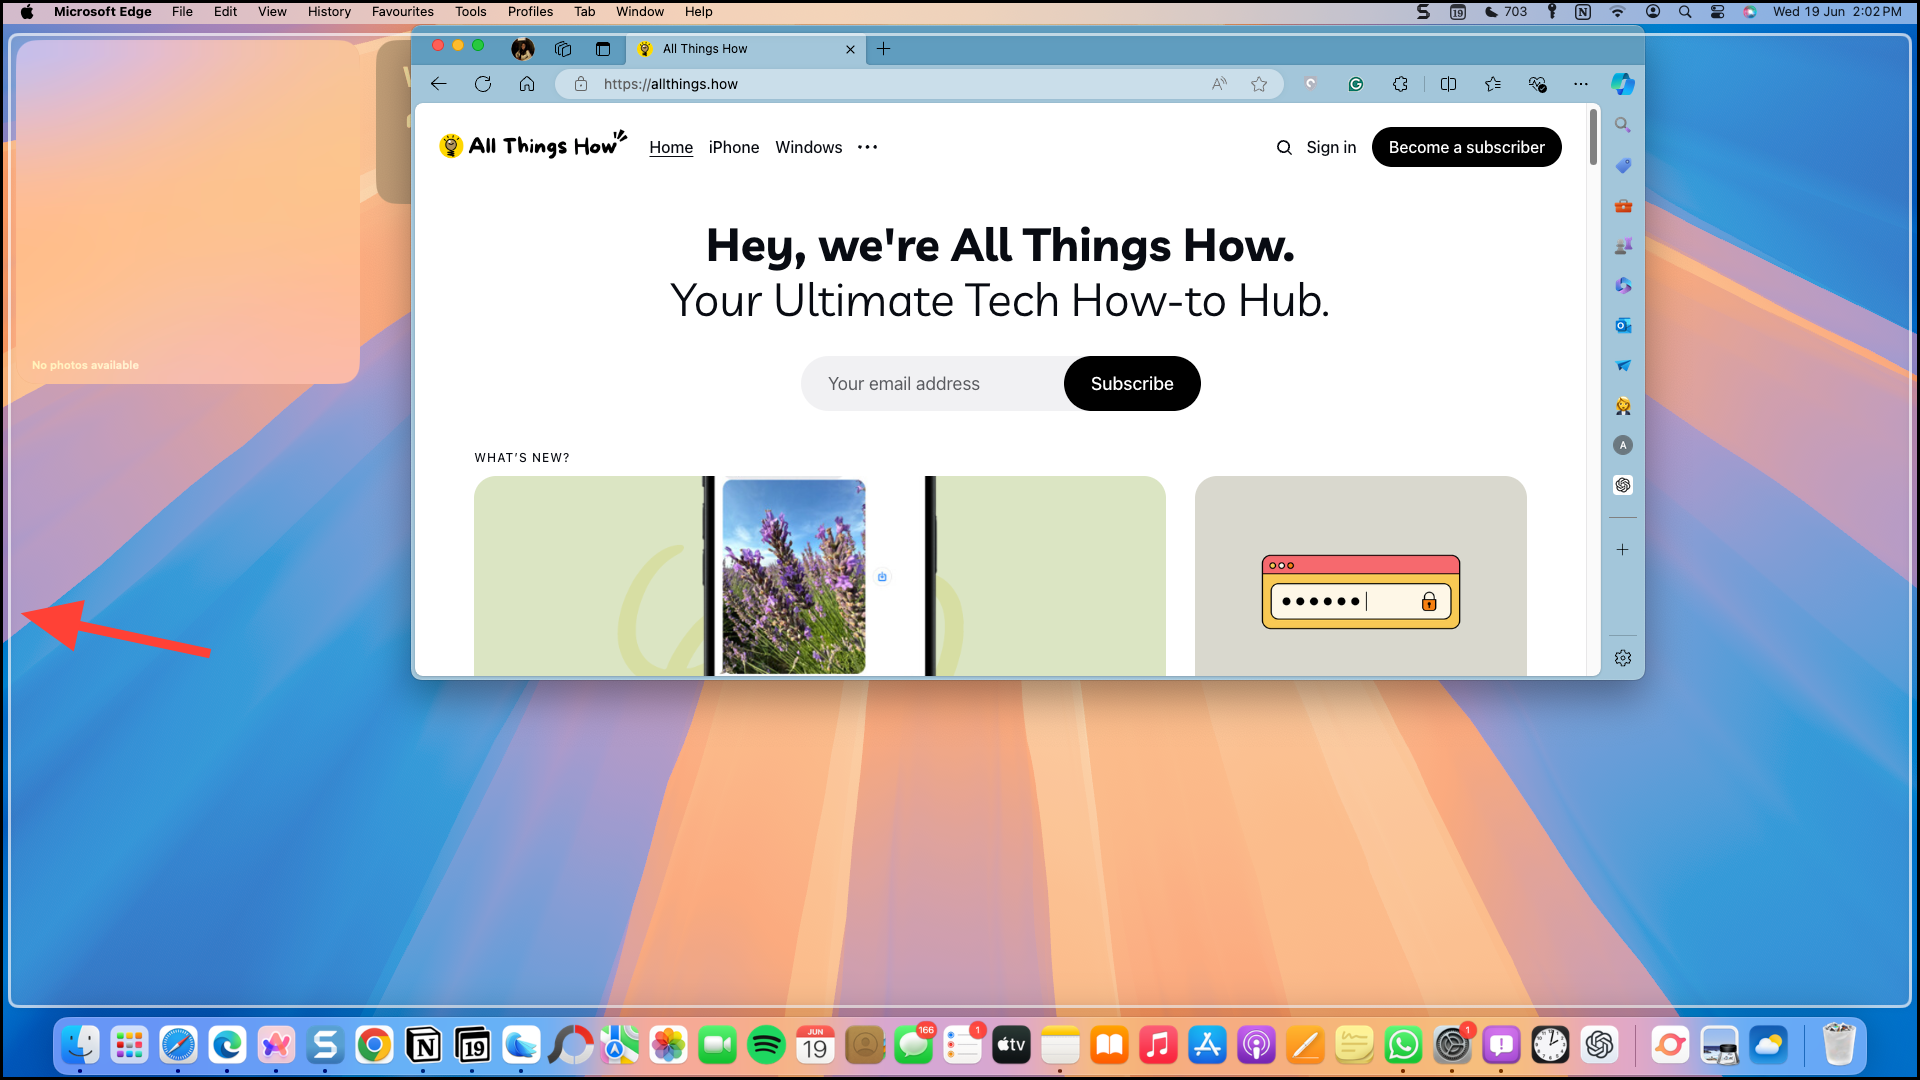
Click and hold the title bar of a window, then drag it towards the left edge of the screen. As you approach the edge, an outline will appear indicating the tile area.
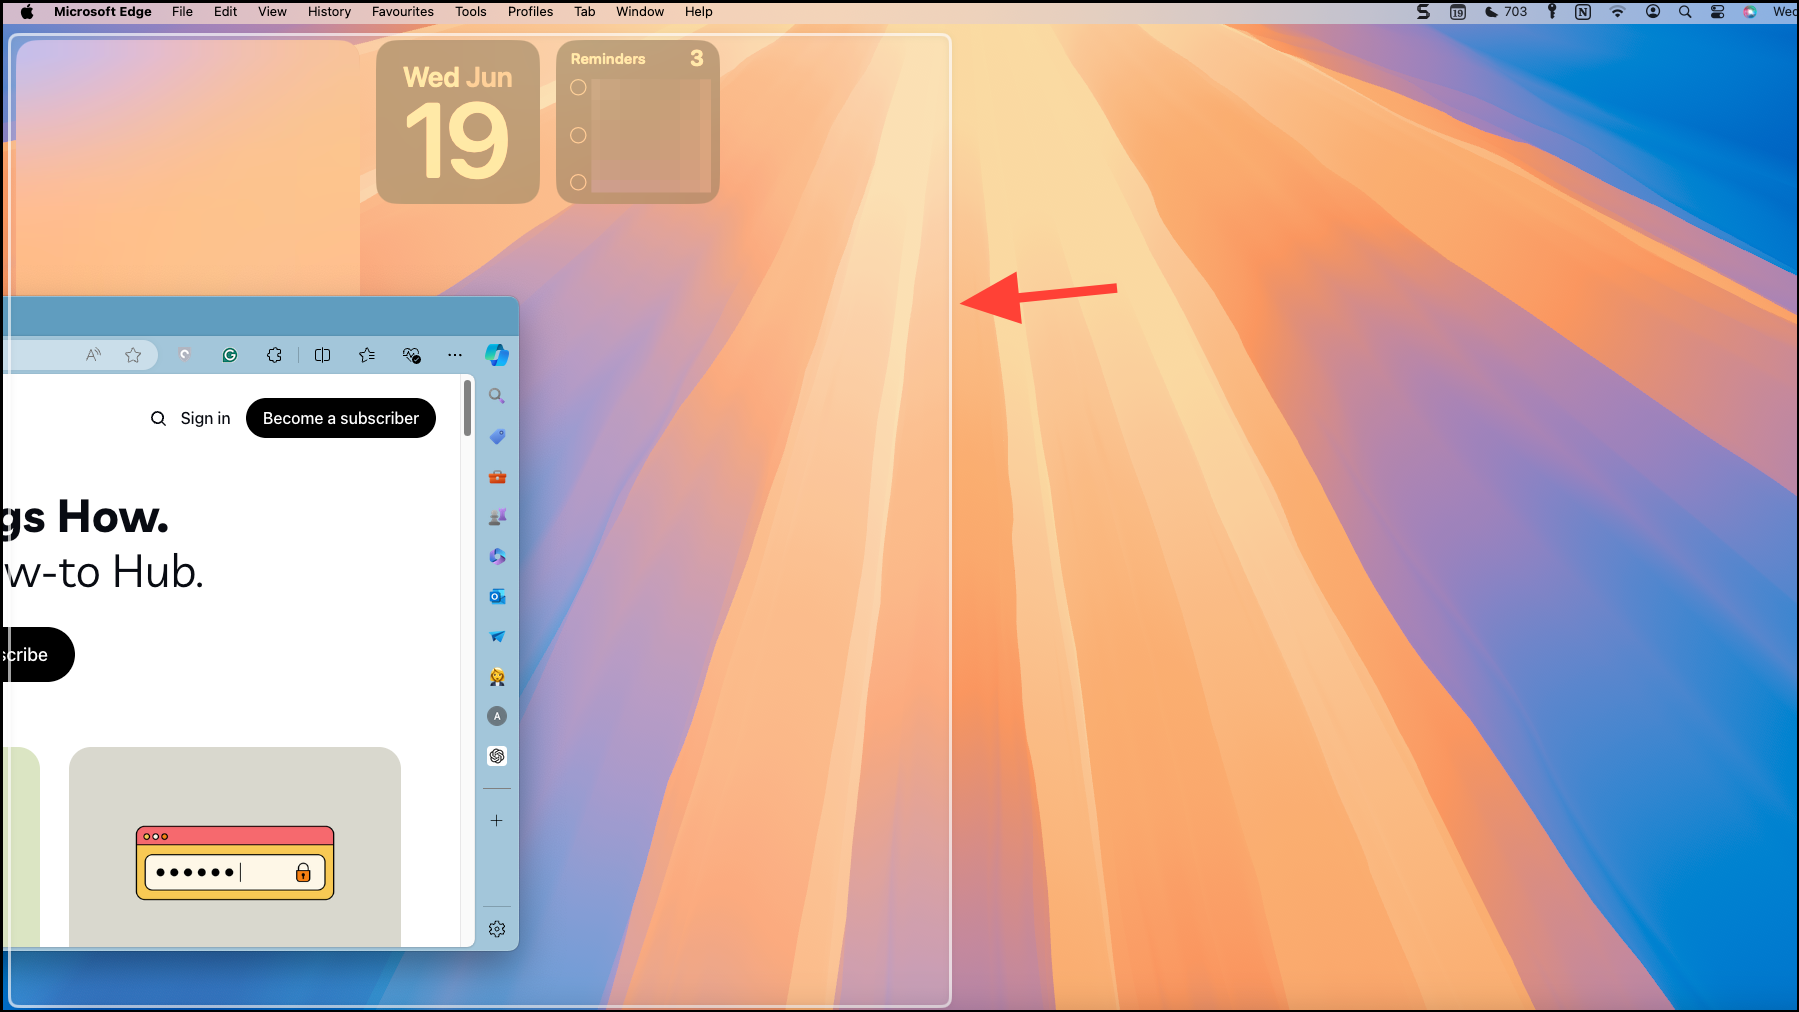
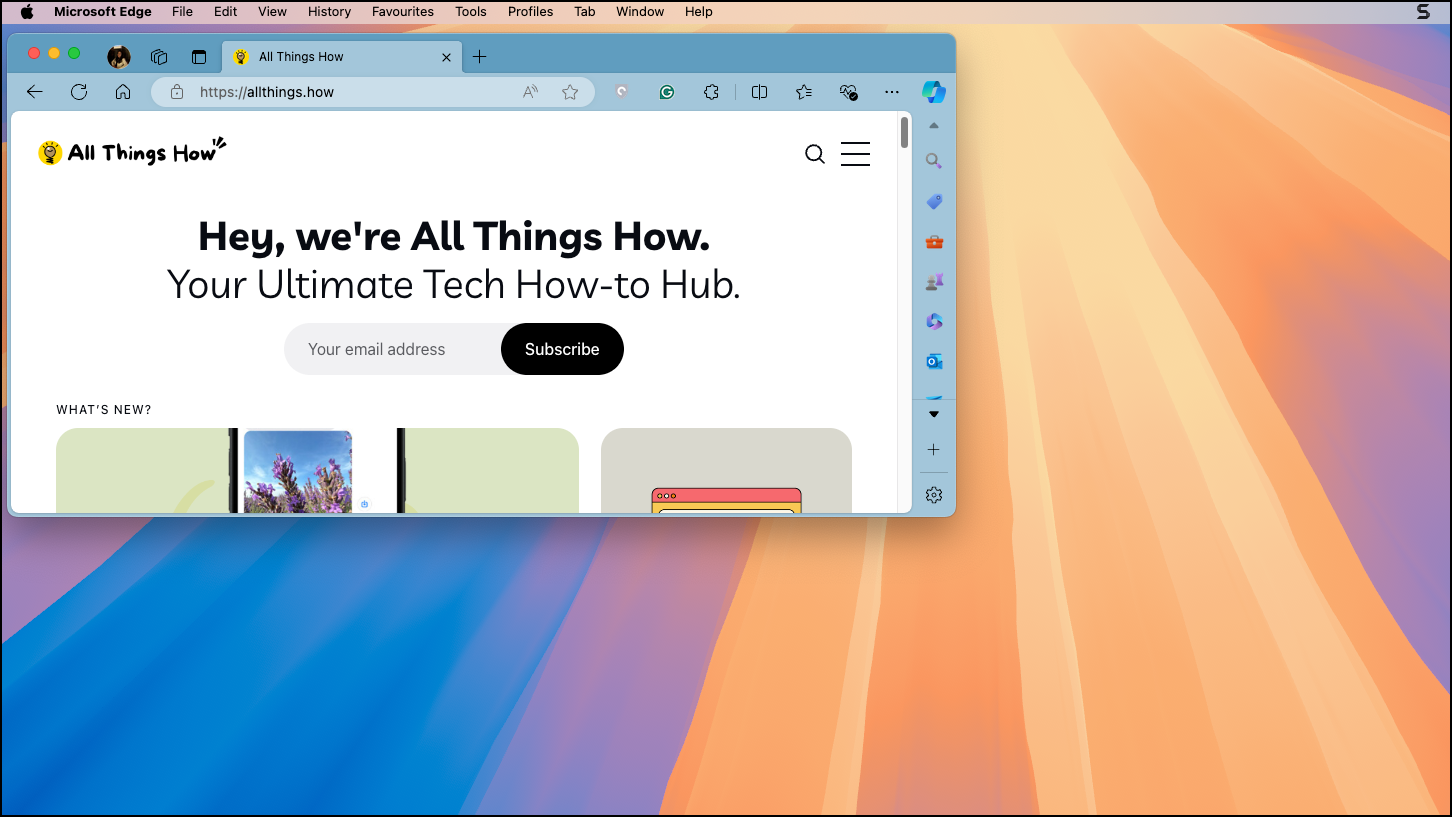
To maximize a window, drag it to the top edge of the screen, and it will expand to fill the entire desktop space.
When you drag the window away from its tiled position, it automatically returns to its original size.
You can also hold down the
Option key while dragging. This allows you to see tile options without dragging the window all the way to the edge; the tiles appear as you move towards the sides.To snap a window into a corner tile, drag the window to a corner of the screen without holding the
Option key. For example, moving the cursor to the top-left corner will snap the window into the upper-left quarter of the screen.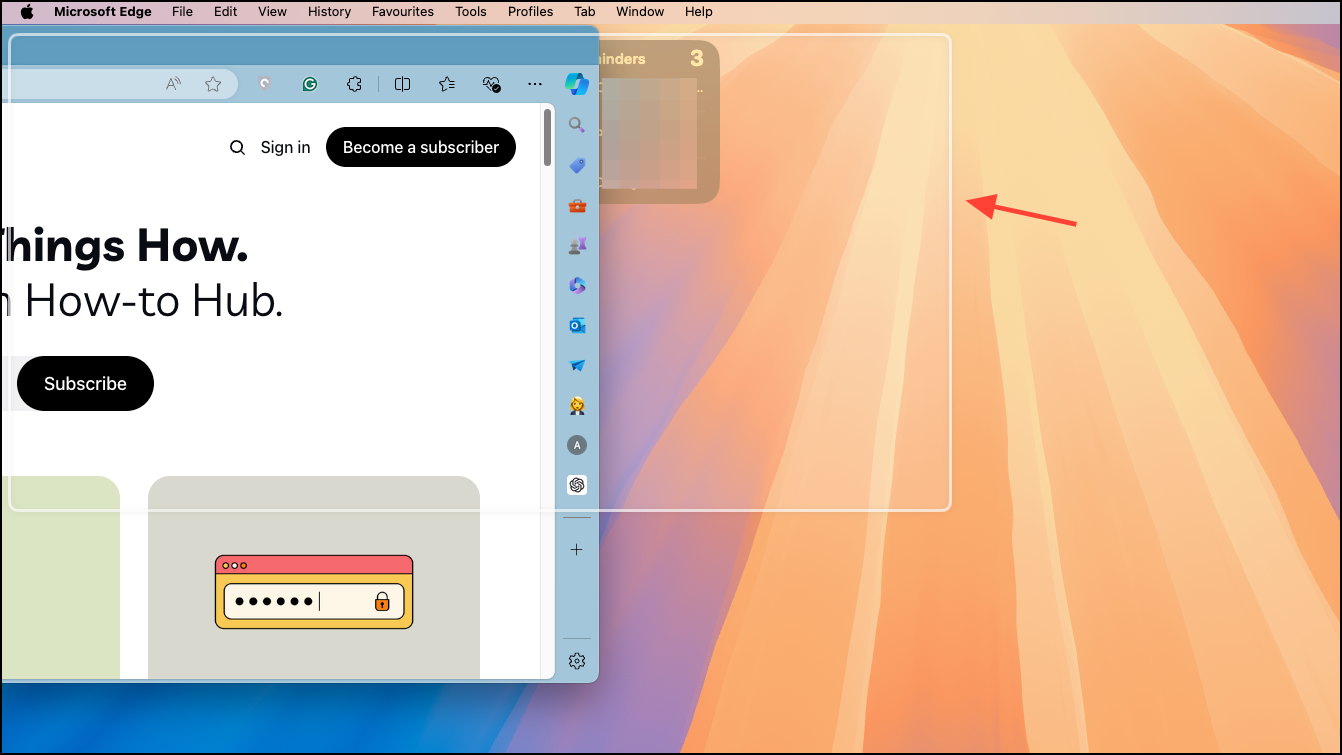
💡
Tip: If you prefer not to have margins around your tiled windows, go to System Settings, select
Desktop & Dock, and in the Windows section, turn off the toggle for Tiled windows have margins.With the native window tiling features in macOS Sequoia, organizing your workspace has never been easier.