
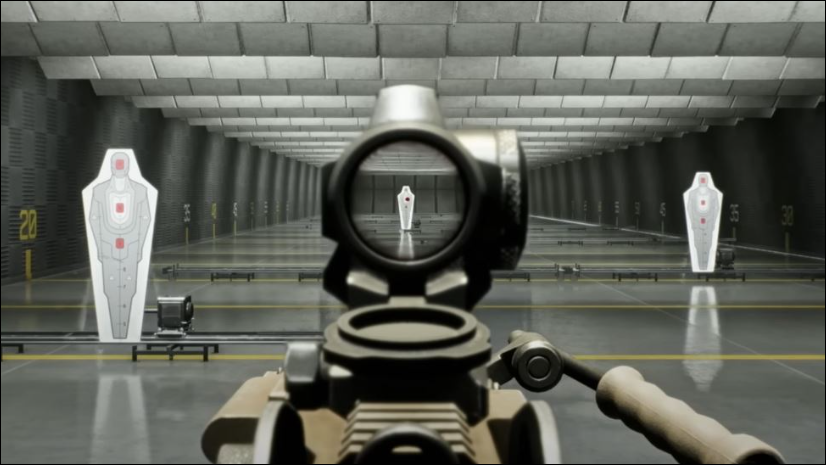
Deploying a bipod in Battlefield 6 transforms high-recoil weapons into stable, accurate tools for holding objectives or locking down sightlines. The bipod, a two-legged stand that attaches to compatible guns, anchors your weapon to the ground or low cover. This setup sharply cuts weapon kickback, allowing you to maintain steady fire and land more shots, especially with light machine guns (LMGs) or designated marksman rifles (DMRs).
Although the bipod feature can make a significant difference in your gameplay, the game interface does not clearly explain how to use it. As a result, many players miss out on the bipod’s benefits. The following instructions break down the most effective way to use the bipod, along with some practical tips for maximizing its effectiveness.
How to Deploy the Bipod in Battlefield 6
Step 1: Move to a suitable position where the bipod can be deployed. This can be while lying prone on the ground or positioned behind low cover such as sandbags, debris, or short walls. The bipod requires a stable surface; it cannot be used while standing upright in open space.
Step 2: Aim down sights by holding the right mouse button on PC or the left trigger on consoles. The bipod can only be deployed while aiming, which helps you lock onto your target before anchoring the weapon.
Step 3: Press the bipod deploy key. On PC, the default key is F. On PlayStation and Xbox, press the right analog stick (R3) while aiming. If you have changed your keybindings, refer to your customized controls, but note that some players report the bipod function is hardcoded and may not be rebindable.
Step 4: Confirm deployment by checking your weapon’s stability. There is no specific animation or on-screen icon, but you will immediately notice a dramatic reduction in recoil and weapon sway. Your sights should remain steady, allowing you to deliver accurate, sustained fire.
Step 5: Fire as needed while maintaining awareness of your surroundings. The bipod locks you in place, so while you gain stability, you lose mobility. Monitor your flanks and be ready to relocate if the situation changes.
Tips for Effective Bipod Use
- Choose concealed positions when prone to avoid being an easy target; use grass, shadows, or terrain dips for extra cover.
- Mounting the bipod on low cover allows you to shoot while keeping your head and body protected from enemy fire.
- The bipod is especially effective for suppressing enemies or holding chokepoints, as LMGs and some DMRs become much more accurate when stabilized.
- The bipod cannot be deployed while standing; always find appropriate cover or go prone before attempting to use it.
- Stay alert to nearby threats, as deploying the bipod reduces your ability to move quickly in response to flanking enemies.
Troubleshooting and Common Issues
Some players report inconsistent bipod deployment or difficulty activating the feature. The most common reasons are not aiming down sights or not being properly positioned behind cover or prone. Always ensure you are aiming and in the correct stance before pressing the deployment key. If the default keybinding does not work, check your control settings, but be aware that some functions may not be customizable in the current game build.
Mastering the bipod in Battlefield 6 gives you a clear advantage in defensive play and long-range engagements. With these steps, you’ll notice steadier aim and more consistent shots, especially when using high-recoil weapons.