From the late ’80s when version control software first started developing, Git remains the most easy to use code change tracking tool.
Services like Github and Gitlab offer storage of code in a repository, often referred to as a ‘Remote’ repository. They act as central storage of code; Git can sync a local code with the central code to manage even complex changes by multiple users properly.
Installation
On Ubuntu, Debian, and similar distributions, you can install Git by running:
sudo apt install gitNote: For older Ubuntu versions (version 14.04 and below), you need to use apt-get instead of apt.
On CentOS, Fedora, and other Red Hat based distributions, you can install Git by running:
yum install gitBasic Git Commands
Let us see some basic commands in git which will help us start tracking changes in our code.
To enable git on a local folder, run the command below inside the folder in Terminal.
git initIt creates a hidden folder, .git, which contains git configuration and information on change tracking, if files are added for change tracking afterwards. Use it to initialize git on a local project.
To clone/download a remote folder and initialize git on it, run the command below:
git clone <project_url>Here, <project_url>, is the url of a project on a remote repository. It will download the remote project on local system, and create a git initialized folder with the project name.
Note that there is no need to run git init after a project is cloned.
To pull changes from a remote directory using git, run the command below:
git pullThe pull command of git will pull all the changes on remote repository since last pull or clone. User must first commit his local changes before he pulls from remote, so that local changes are not lost.
In case of a conflict between pulled changes and local changes, git will notify where the conflict is happening and will ask user to modify the file manually.
To add a file or folder to git, run the command below:
git add <file/folder>The above command adds the file or folder specified in command to the Git staging area. Git staging area refers to the state when a file is being tracked for changes. Use git add . for adding all files in the current folder to staging area.
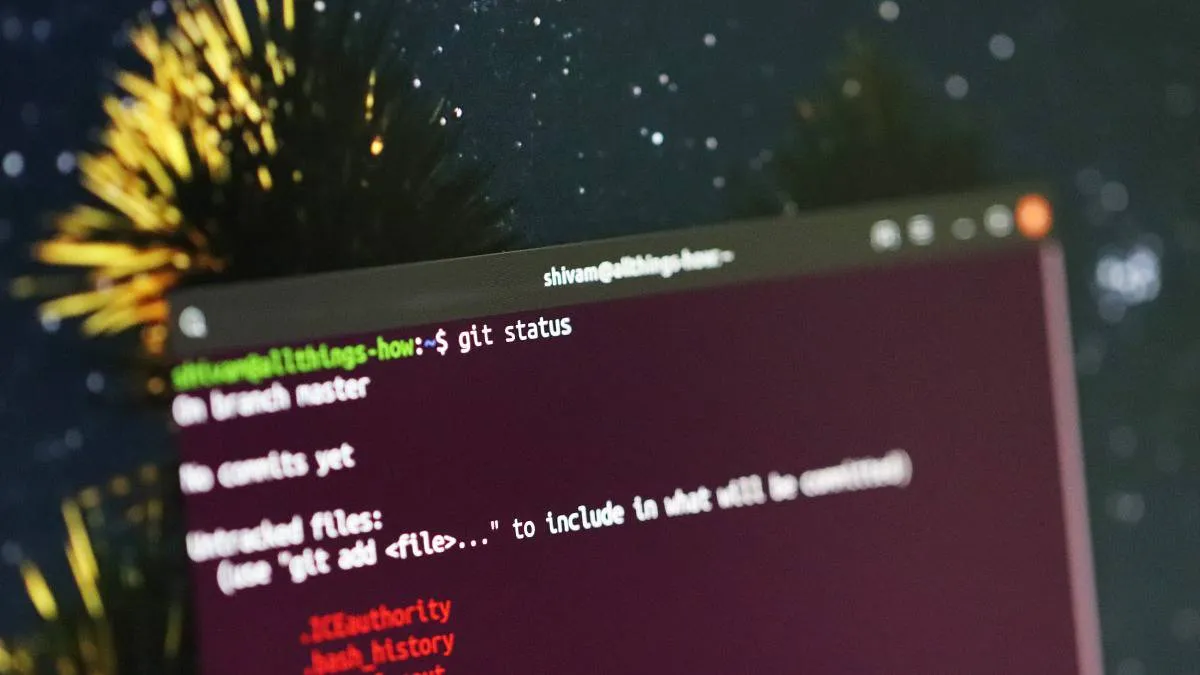
To check the status (tracking state) of your files in a working directory, run the command below
git statusIt shows the tracking status of current folder; which files have been changed since last commit and which files have not been added in the staging area.
To commit changes in git, use the command below:
git commit -m "Commit Message"The commit command will commit the file changes, meaning, the staged change has been made permenant now. It is mandatory to provide a message string with each commit, which should describe the changes being commited in that commit; this is to keep a log of changes.
To push changes to a remote repository using git, run the command below:
git pushAfter code has been commited, user can push the commited changes to remote repository. Note that user must first pull the code before pushing, so that his local project contains all the remote changes if there are any.
These are some of the basic commands with which a user can start using Git for change tracking. More commands include change stashing, project branching and other features of Git, which can be found in the Git man page.

