
OpenAI’s rollout of the Image Library for ChatGPT addresses a longstanding challenge: finding and managing the images you’ve created with the chatbot’s AI art tools. Previously, users had to scroll through lengthy chat histories or re-generate images just to reuse or edit them. Now, the Image Library provides a centralized gallery, streamlining access to your creative work and making iterative editing much more convenient. This feature is available to all Free, Plus, and Pro users on both the web and mobile apps, and works automatically with images generated using the latest ChatGPT image model.
Accessing the ChatGPT Image Library
Step 1: Open ChatGPT on your preferred platform. On the web, locate the left-hand sidebar. On mobile, tap the icon in the top-left corner to expand the sidebar.
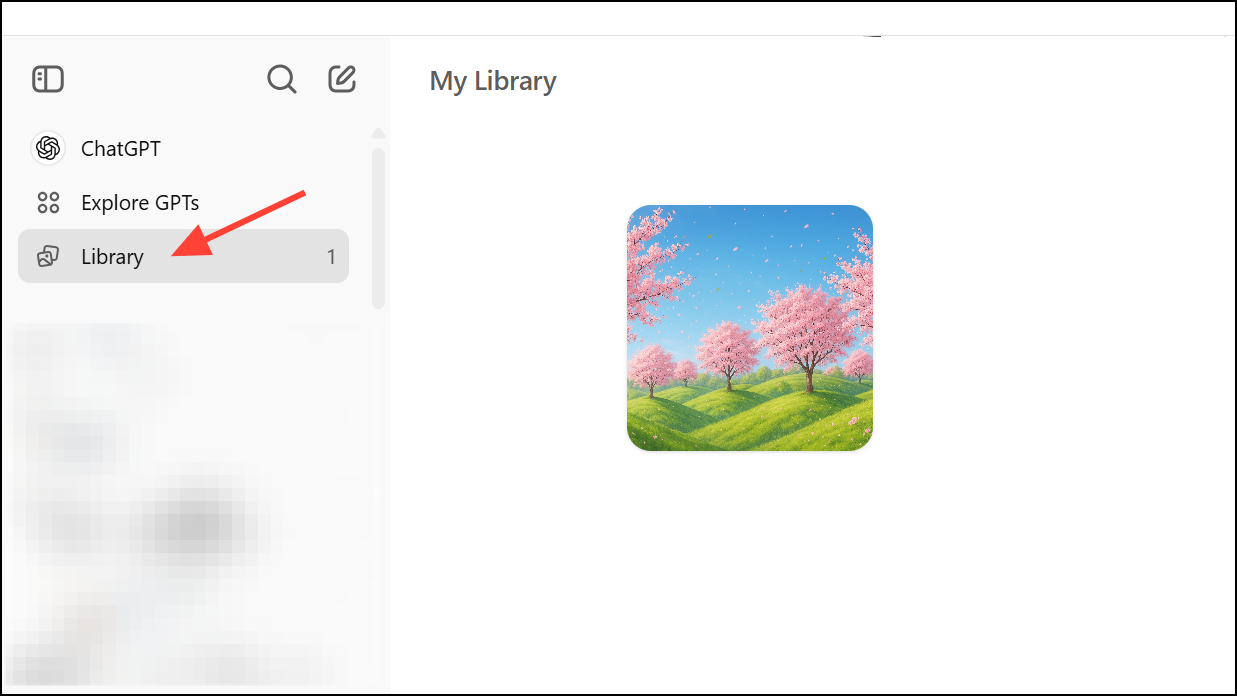
Step 2: In the sidebar, look for the new Library section, which is listed beneath Explore GPTs.
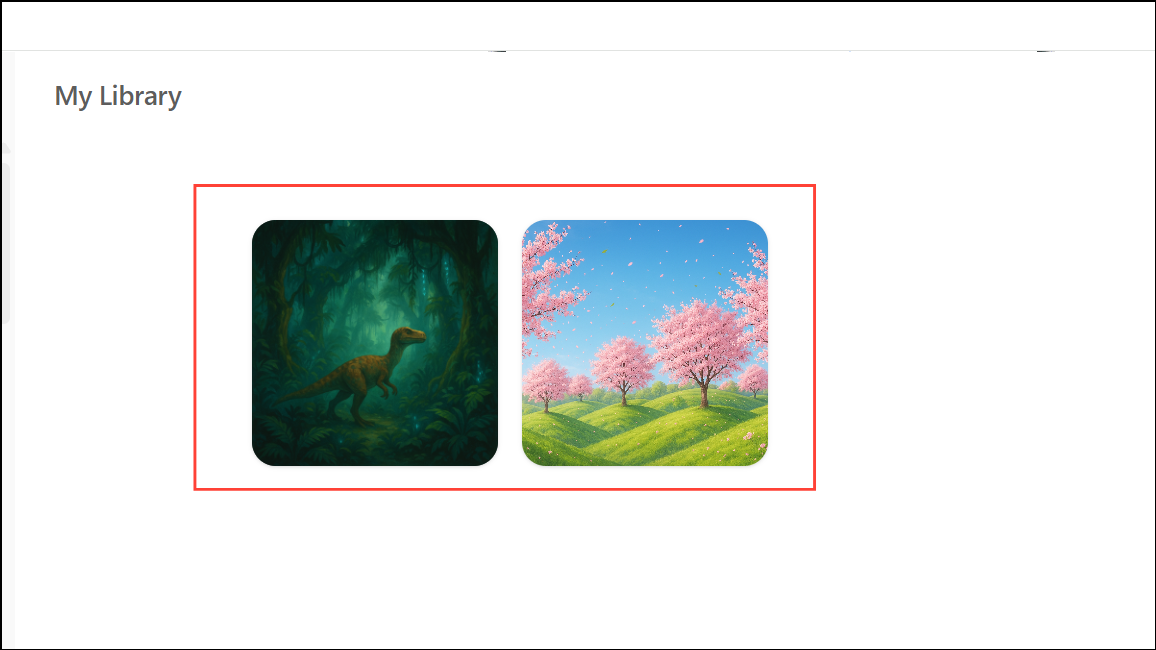
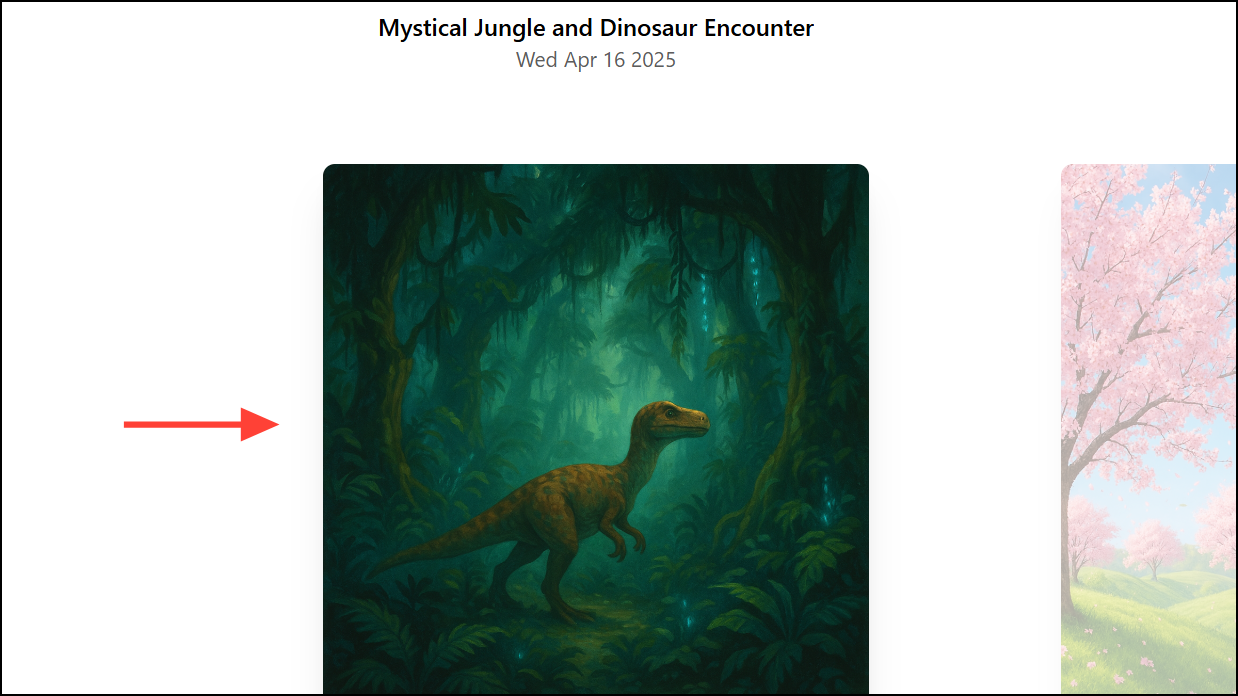
Step 3: Tap or click on Library to view your saved images. The library displays all your images in reverse chronological order, making the newest creations the easiest to find.
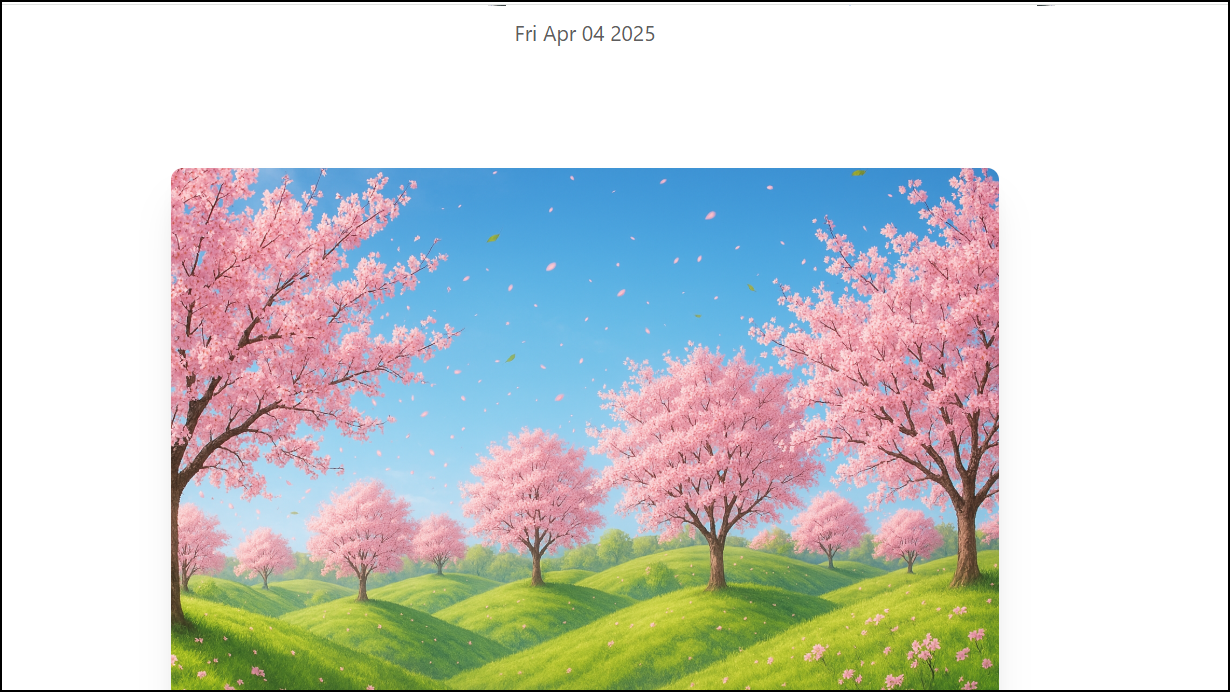
Step 3: Browse your gallery. Each image is shown as a thumbnail in a grid. Click on any image to open a larger view, where you can scroll through your collection carousel-style and see automatically generated titles for each image.
Creating and Saving Images in the Library
Step 1: Generate a new image by starting a conversation with ChatGPT and describing what you want to create. You can also upload an image from your device. Once the image is generated or uploaded, it is saved automatically to your Library—no extra steps required.
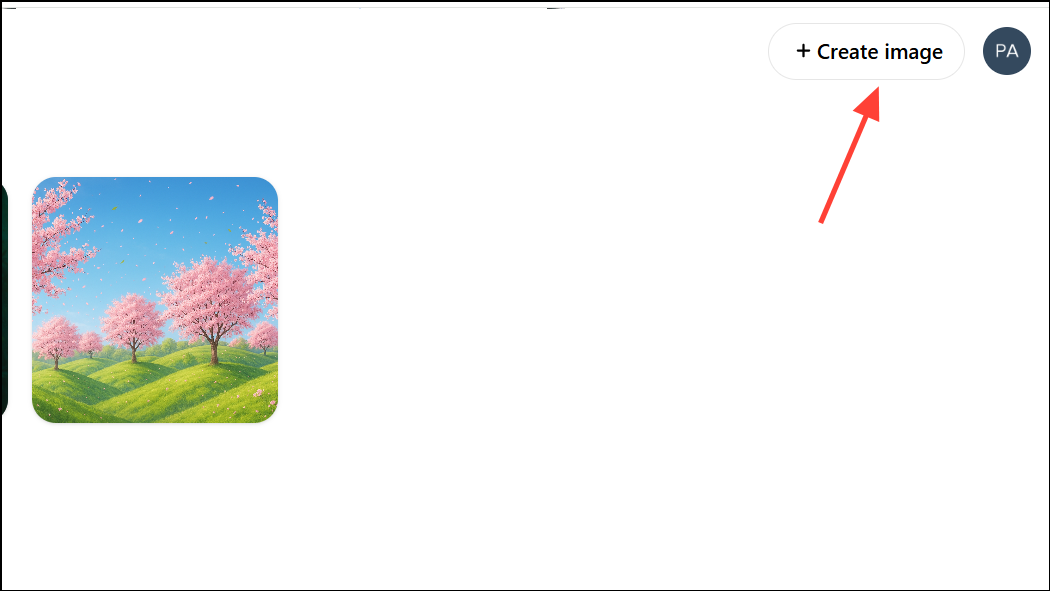
Step 2: To quickly create another image from within the Library, use the Create image button at the top right of the Library screen. This initiates a new image generation workflow without leaving your gallery.
Viewing, Editing, and Reusing Images
Step 1: Select any image in your Library to open it. Here, you can view the image in detail, see its automatically assigned title, and use navigation arrows to scroll through your gallery.
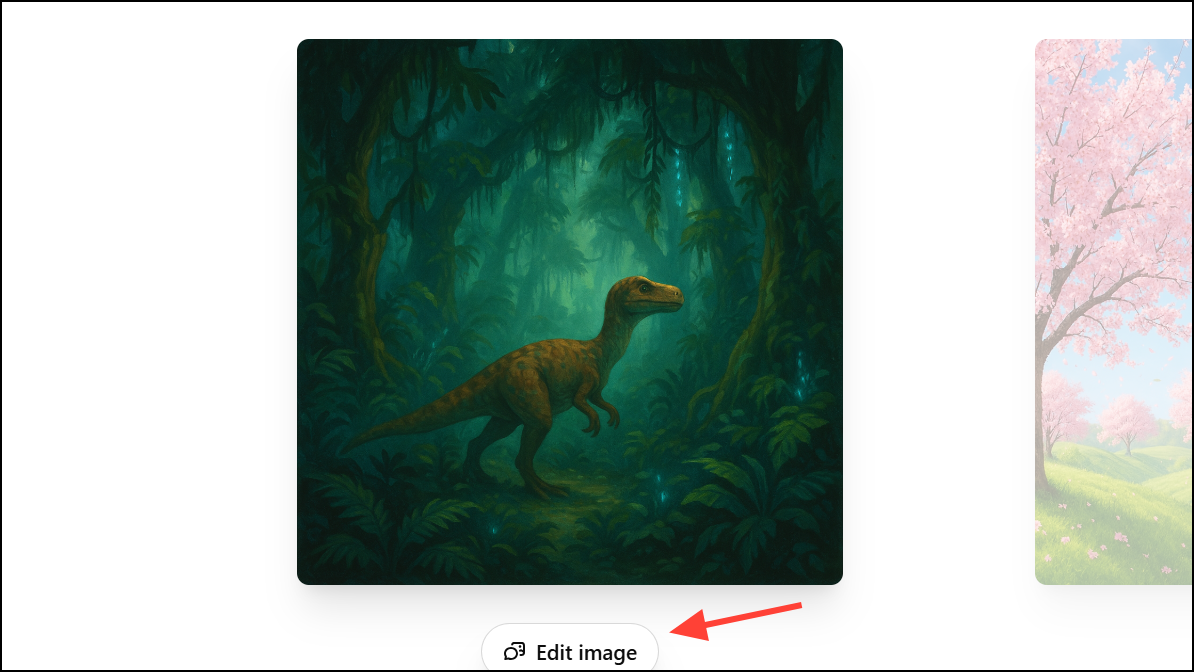
Step 2: To edit an image, use the Edit button. This lets you provide a new prompt for modifying the existing image, such as changing colors, adding objects, or altering the style.
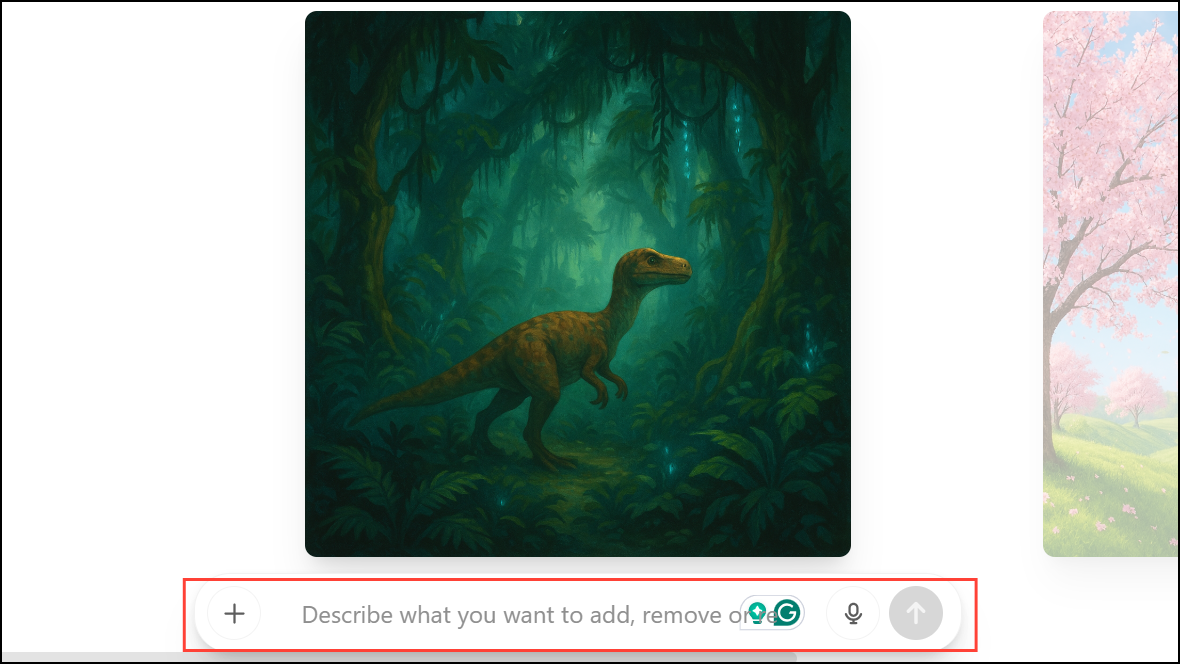
Step 3: You can make changes to the selected image by describing them in the prompt box at the bottom. The edit function also offers a selection tool, allowing you to highlight specific parts of the image to target for changes. Adjust the selection size with the slider and use undo and redo buttons as needed.
Step 3: If you want to save or share an image, press and hold (on mobile) or right-click (on web) to open the menu. Choose Save to download the image to your device, or Share to send it directly to another app or contact. The Copy option lets you copy the image for easy pasting elsewhere.
Deleting Images from the Library
Step 1: To remove an image, you must delete the conversation where the image was originally created. The Library does not have a standalone delete button for individual images. On the web, hover over the conversation title in the sidebar, click the three dots (...), and select Delete. On mobile, press and hold the conversation title and tap Delete in the pop-up menu.
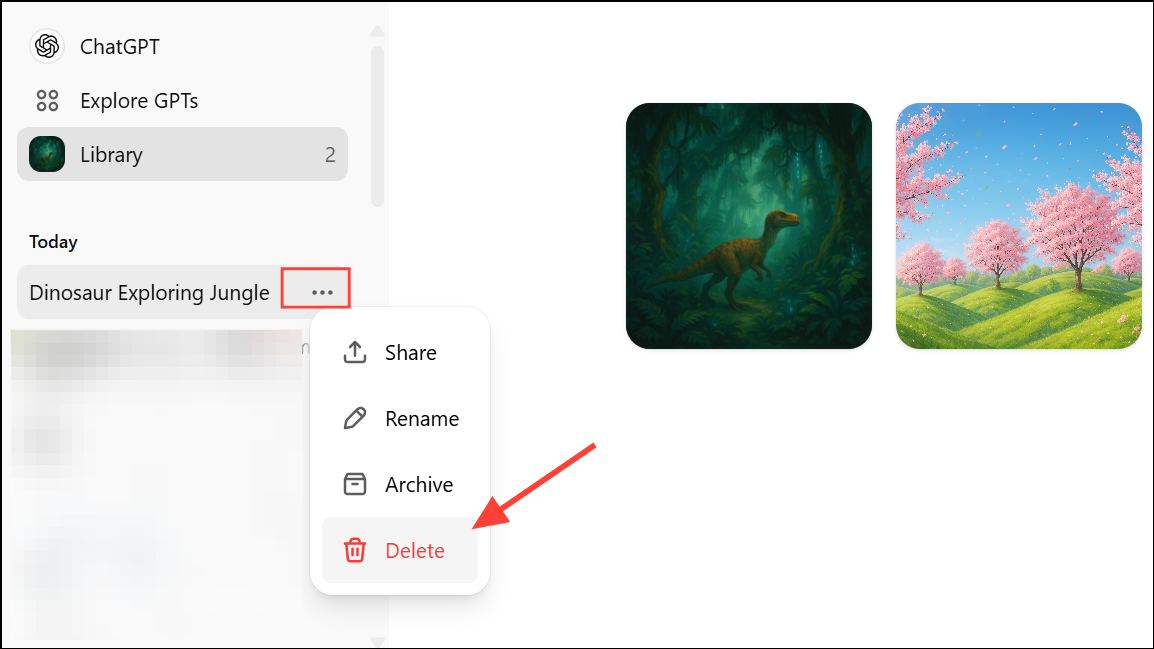
Step 2: Be aware that archiving a conversation will not remove its images from the Library. Only full deletion clears the associated images.
What’s Included and What’s Not
The Library catalogs images created with the latest ChatGPT image generation engine—specifically, those made with the GPT-4o model. Images generated by legacy DALL·E or via Custom GPTs are not included. OpenAI is currently working to backfill older images, but it may take a few days for all eligible images to appear in your Library.
The Image Library in ChatGPT streamlines your creative workflow, making it much easier to organize, edit, and reuse AI-generated images. As OpenAI continues to improve this feature, expect even more ways to manage your visual content efficiently.