
Voice access in Windows 11 lets users control their computers and write text entirely through voice commands. This built-in accessibility feature is especially useful for those with mobility disabilities, but it's also handy if you simply prefer a hands-free way to use your computer. Voice access doesn't even require an internet connection after initial setup, thanks to advanced on-device speech recognition technology.
Check Your Windows Version and Requirements
Before you begin, ensure your Windows 11 is updated to version 22H2 or later, as voice access isn't available on previous versions. To verify your Windows version, open "Settings", select "System", and click "About". Here, you'll see your current Windows version. If you need an update, navigate to "Settings", select "Windows Update", and click "Check for updates".
How to Set Up Voice Access in Windows 11
Setting up voice access is straightforward, but you'll need an internet connection for the initial configuration to download language files. Follow these steps to complete the setup process:
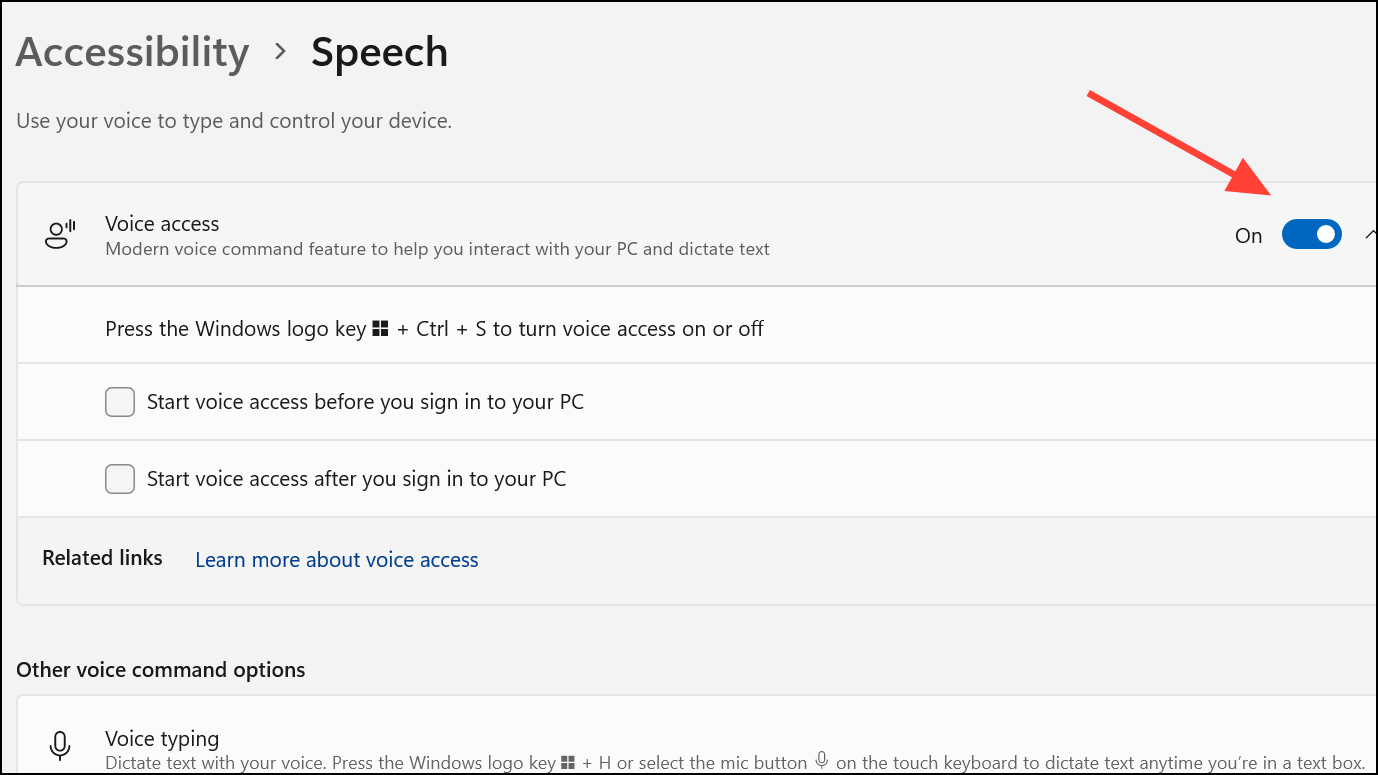
Step 1: Open "Settings" by pressing Windows key + I. Navigate to "Accessibility", then select "Speech".

Step 2: Turn on the toggle labeled "Voice Access". You’ll be prompted to download the necessary language files. Click "Download" to proceed. The download typically takes a few minutes.
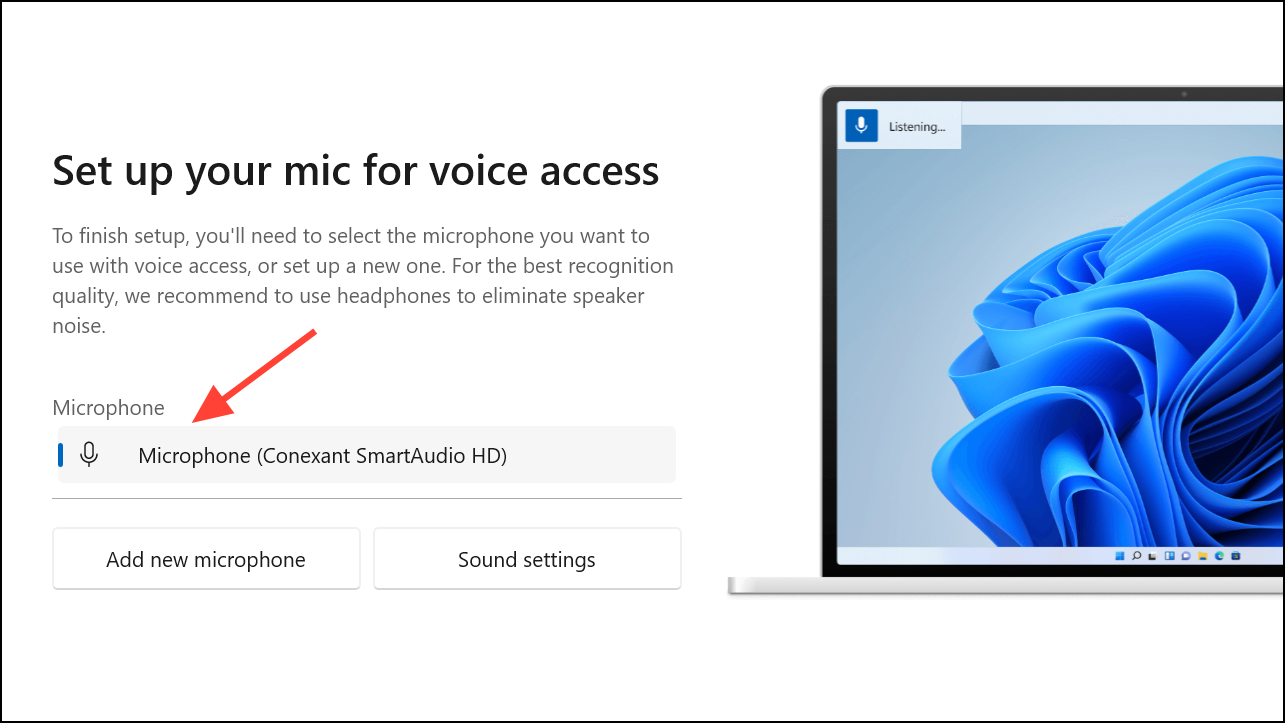
Step 3: After downloading the language files, you'll be asked to select your microphone. Choose your preferred microphone from the dropdown list. If your microphone isn't listed, click "Add new microphone" and follow the prompts.
Step 4: Click "Next", and then "Done" to complete the setup. You can now start using voice access immediately or open the interactive guide to learn basic commands.
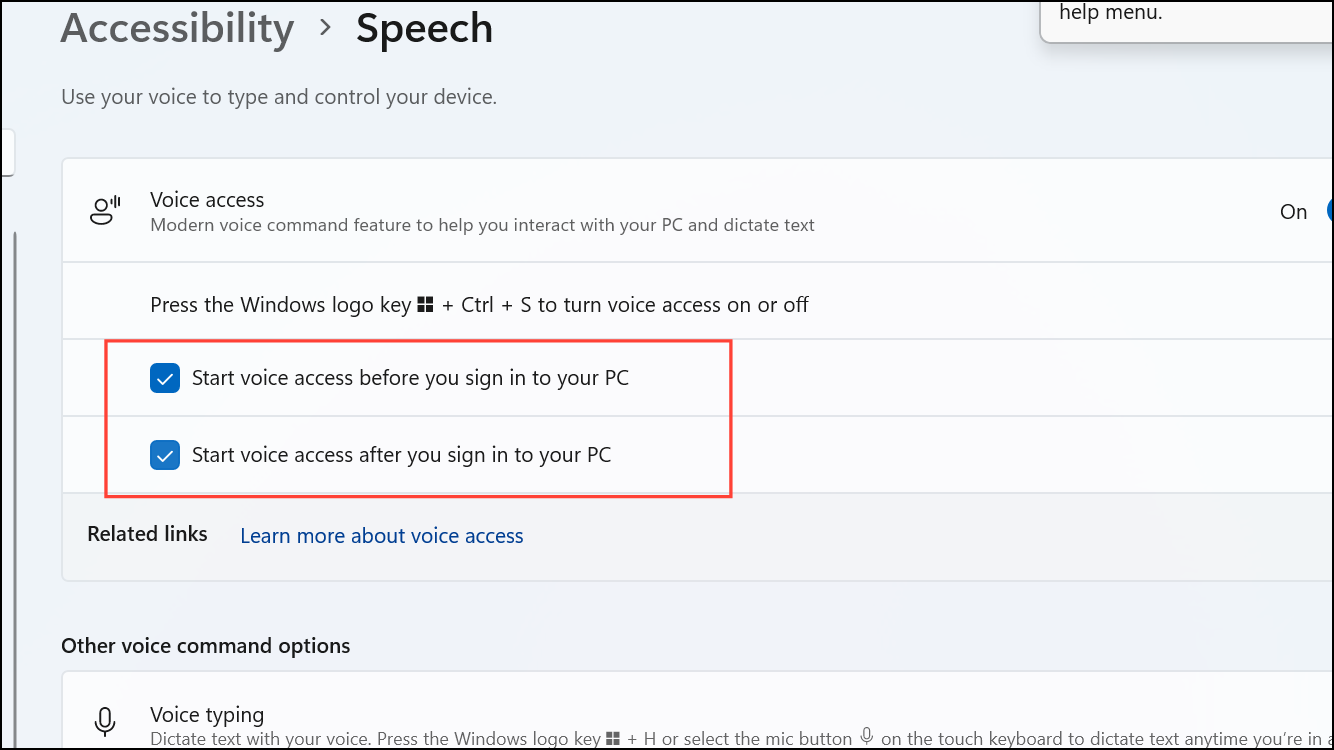
Step 5: If you want voice access to start automatically whenever you log in, simply check the option "Start voice access before or after signing into your PC".
Understanding the Voice Access Interface
Once voice access is active, you'll see a small bar docked at the top of your screen. This bar provides visual feedback, displays your spoken commands as text, and indicates the current microphone status. It also includes quick buttons for accessing settings and help resources.
Voice access operates in three microphone states:
- Listening state: Actively listens and executes valid commands.
- Sleep state: Temporarily pauses voice access, only responding to a wake command.
- Microphone off state: Completely disables voice access until manually reactivated.
You can switch between these states using voice commands, keyboard shortcuts, or mouse clicks:
- To activate listening state, say "Voice access wake up" or press
Alt+Shift+B. - To put voice access to sleep, say "Voice access sleep," or press
Alt+Shift+Bagain. - To turn off the microphone completely, say "Turn off microphone" or press
Alt+Shift+C.
Essential Voice Access Commands for Windows 11
Voice access includes multiple commands to help you navigate your PC, interact with apps, and dictate or edit text. Here are some essential commands to get started:
- "Open [app name]" to launch applications.
- "Click [item name]" to interact with buttons and links.
- "Show numbers" to display numbers next to clickable items, then say "Click [number]" to select.
- "Show grid" to overlay a numbered grid for precise cursor placement.
- "Switch to [app name]" to move between open applications.
- "Scroll up" or "Scroll down" to navigate webpages or documents.
- "Dictation mode" to dictate text without triggering commands.
- "Commands mode" to issue commands only without dictating text.
- "Default mode" to seamlessly dictate text and issue commands.
For a full list of commands, say "What can I say" or click the help icon in the voice access bar.
Dictating and Editing Text with Voice Access
Voice access makes it easy to write and edit text hands-free. To dictate text, simply place your cursor in any text box and start speaking clearly. For editing, use commands such as:
- "Delete that" to remove recently dictated text.
- "Select [word or phrase]" to highlight specific text.
- "Bold [text]" or "Italicize [text]" to apply formatting.
- "New paragraph" or "New line" to structure your text.
Speak clearly and naturally, and voice access will transcribe your speech accurately.
Customizing Voice Access Settings
To optimize your voice access experience, you can adjust settings by clicking the Settings icon in the voice access bar. Available options include:
- Select the default microphone or add new microphones.
- Enable automatic punctuation for smoother dictation.
- Filter profanity in dictated text.
- Set voice access to start automatically during login.
- Switch between supported languages.
Adjusting these settings can significantly improve your experience by tailoring voice access to your specific needs and preferences.
Troubleshooting Common Issues
If you encounter issues with voice access, consider these quick troubleshooting steps:
- Ensure your microphone is properly connected and selected in settings.
- Minimize background noise for better voice recognition accuracy.
- Check your microphone permissions under Settings > Privacy & security > Microphone.
- Restart voice access or your computer if commands aren't recognized consistently.
Voice access in Windows 11 can dramatically simplify how you interact with your PC, making everyday tasks quicker and more accessible. Give it a try and see how smoothly your computer can respond to your voice.