
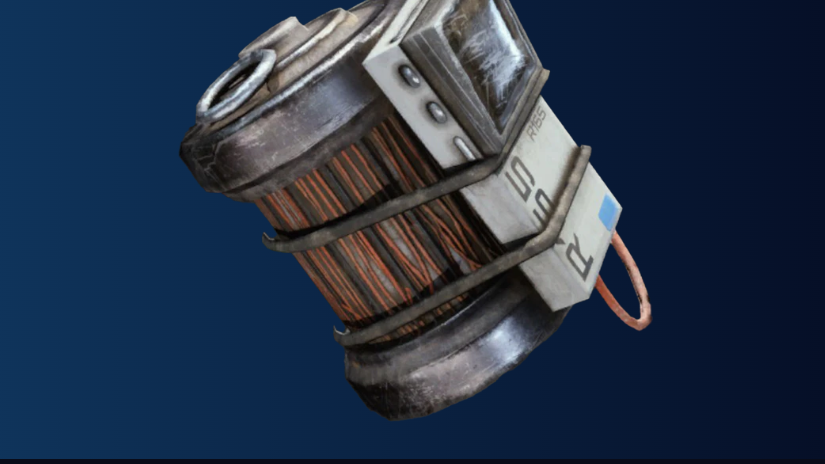
Trigger 'Nades are rare, remote-detonated grenades in Arc Raiders that stick to surfaces and ARC units, then explode on command. Understanding exactly how they arm and detonate is the difference between deleting a Hornet on cue and getting blown up on an extract call box.
Trigger 'Nade basics
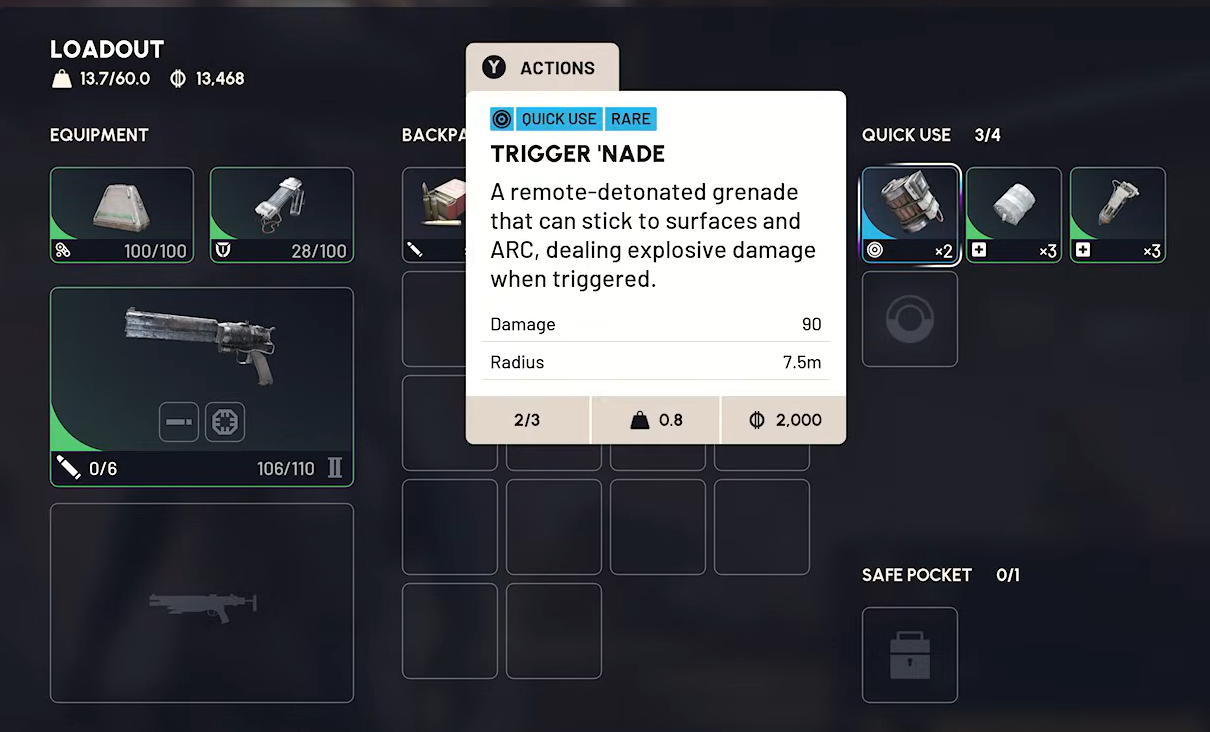
Trigger 'Nades are a Quick Use, Rare grenade. Each one:
- Deals 90 damage in a 7.5m radius.
- Weighs 0.4 and stacks up to 3.
- Sticks to world surfaces and ARC enemies instead of bouncing.
- Is detonated remotely rather than on a timer or proximity trigger.
They can be found through scavenging or crafted once you have the blueprint. Crafting a single Trigger 'Nade at an Explosives Station II consumes 2x Crude Explosives and 1x Processor.
How Trigger 'Nade detonation works
Trigger 'Nades are not proximity mines. They do nothing until they are both armed and then manually detonated, or until another explosion sets them off.
Arming: Throwing a Trigger 'Nade automatically arms it once it sticks. You do not need to press a separate “arm” key, but you must still be alive and in the raid for your nades to be usable.
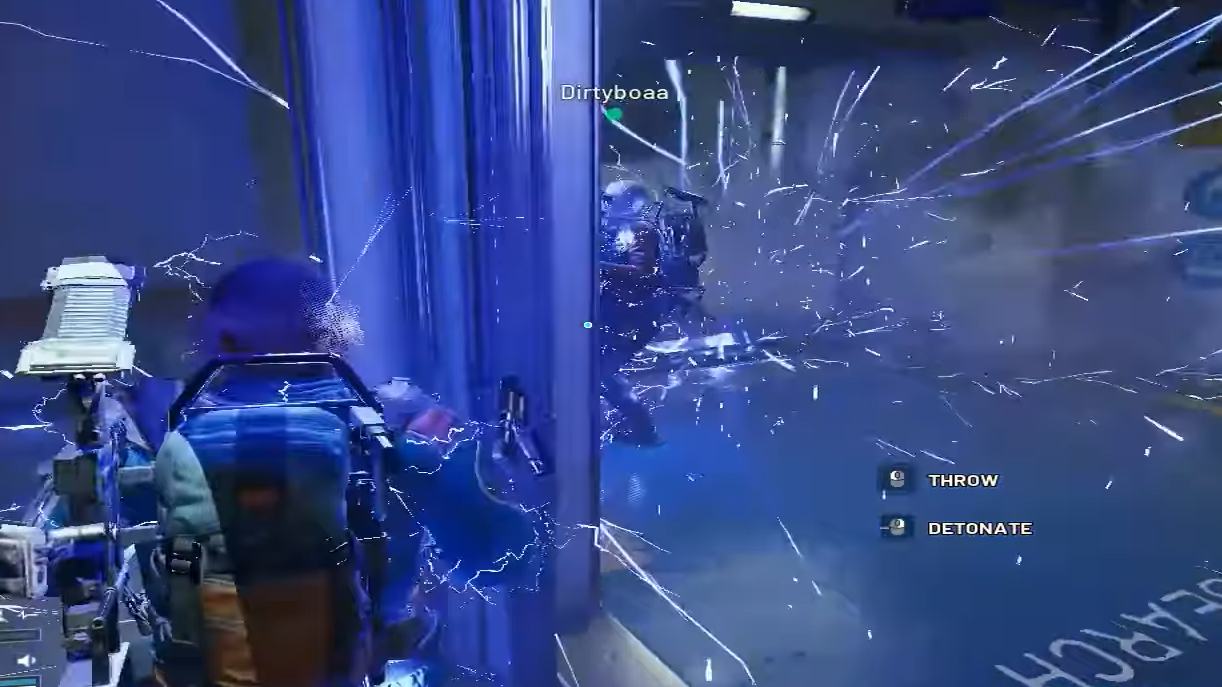
Primary detonation method: After throwing one, you detonate it with the same input you use to aim the grenade while it is selected in Quick Use. On keyboard and mouse, this is the aim button; on controller, the equivalent aim/left trigger. If you swap away from the grenade, you can swap back to it, and you will again have the option to trigger the explosion.
Chain reactions: Trigger 'Nades can also be set off when caught inside another explosion, such as a Rocketeer blast. In that case, the blast radius overlaps the mine and detonates it even if the owner never manually hits the trigger.
Owner dependency: The detonation itself is owner-controlled. If the Raider who placed the Trigger 'Nade dies without causing any chain reaction, their surviving mines will stay on the surface, but will not spontaneously explode on you by themselves. They only go off if:
- The owner hits the detonate input while alive and in the raid, or
- A separate explosion reaches them and triggers a chain reaction.
Trigger 'Nades cannot be reliably shot to detonate with regular bullets. Treat them as manually triggered explosives, not as classic red-barrel style hazards that always pop when sprayed.
How to throw and detonate Trigger 'Nades reliably
Step 1: Put Trigger 'Nades in your Quick Use slot (or Safe Pocket if you want to protect them) before deployment. This ensures you can access and reuse them during the raid without digging through your inventory mid-fight.
Step 2: When you want to use one, select it in Quick Use, aim at a nearby surface, and throw. The grenade will stick to walls, doors, trees, cover edges, and ARC bodies rather than bouncing away.
Step 3: After it lands and sticks, keep the grenade selected. When your target walks or flies into the blast radius, press and hold or tap the aim/trigger input for grenades to detonate. This input is the same one you use to “prepare” the grenade in your hand.
Step 4: If you had to swap away to heal or shoot, reselect the Trigger 'Nade. Once it is active in Quick Use again, the detonation input will control already placed mines instead of preparing a new throw, as long as a live mine from you exists.
Using Trigger 'Nades to kill Hornets for Apollo
Trigger 'Nades are central to Apollo’s Sparks Fly mission, where you must kill a Hornet with either a Trigger 'Nade or a Snap Nade. Apollo supplies several of each to complete the task, and later rewards you with the Trigger Nade Blueprint once you succeed and extract back to Speranza.
Step 1: Take the Sparks Fly mission from Apollo at Grenades and Gadgets in Speranza, then load into a map with decent Hornet density, such as Dam Battlegrounds or The Blue Gate.
Step 2: Equip the Trigger 'Nades Apollo gave you in your Safe Pocket or Quick Use so you do not risk losing them early. Bring extra Shield Recharges and Bandages because Hornets can strip shield and health quickly.
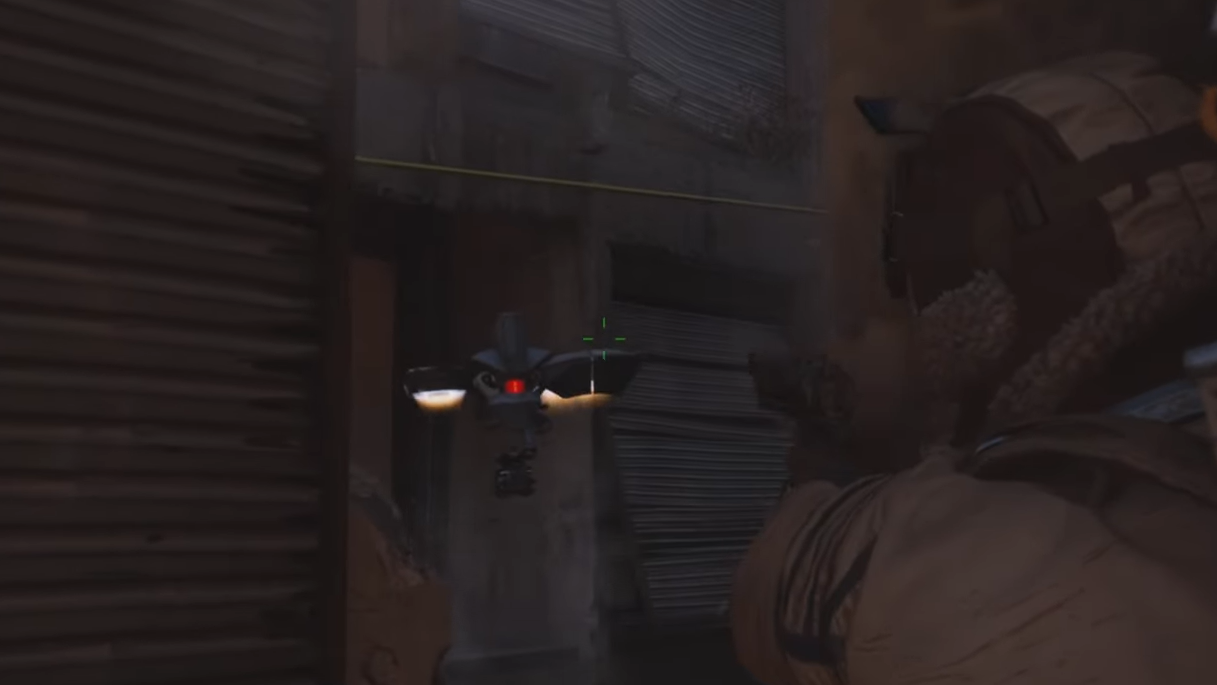
Step 3: Find a Hornet by scanning the sky. They have a black, box-like frame similar to Wasps but bulkier, and use a taser that wipes your shields, chunks your health, and briefly stuns you. Make sure you are not confusing them with larger Rocketeers.
Step 4: Tag the Hornet and pull it to a spot with cover, ideally near a doorway or wall. Shoot it once to get its attention, then move to your chosen ambush point.
Step 5: Throw a Trigger 'Nade onto a surface where the Hornet will pass or hover, like the edge of a doorway, a wall corner, or a tree trunk in its path. Once it closes in and crosses the nade’s 7.5m radius, hit your detonation input. A single well-timed blast is usually enough to destroy a Hornet.
Step 6: Once the Hornet dies from the grenade, finish the raid by extracting. Back in Speranza, return to Apollo in the Traders area to hand in Sparks Fly and consume the Trigger Nade Blueprint he grants so you can craft them yourself at Explosives Station II.
Trigger 'Nades on extract call boxes
One of the most notorious uses of Trigger 'Nades is “paste” camping extraction call boxes. Raiders stick one or more grenades directly on the extract button, then wait for another team to rush in and press it. Because Trigger 'Nades have an orange blink when armed, a careful player can spot extra lights on the panel or hear the electronic beeping before pressing.
In this scenario, detonation still follows the same rules: the camper must be alive and manually trigger the nades, or a stray explosion must set them off. The mines do not automatically explode the moment you touch the button; they only go when the owner pulls the trigger or a blast chain hits them.
To avoid dying to these traps:
- Pause before hitting the button and visually check for small blinking orange lights around the call box.
- Listen for extra beeping layered on top of the standard extract sounds.
- Expect campers at night or in high-traffic extracts and avoid sprinting straight into the panel.
How Trigger 'Nades compare to other grenades
Trigger 'Nades sit in a different role from timed or proximity explosives like Snap Nades or Heavy Fuze grenades. They:
- Match or exceed other grenades in raw damage while keeping the same listed explosion radius.
- Offer full control over when the blast happens, which makes them extremely efficient against players and predictable ARC movement.
- Rely on manual input, so mis-timing the trigger or panicking under fire is the main way to “waste” them.
This combination of high damage, generous radius, and controllable timing explains why they feel so punishing at extract points and chokeholds. From a mechanical point of view, though, they still behave like any remote explosive: they must be placed, then consciously detonated or caught in another blast.
Once you internalize that Trigger 'Nades only go off when their owner pulls the trigger or when a chain explosion hits them, they stop feeling mysterious. You can then use them as intended—precise, on-demand bombs for ARC machines—or at least stop walking blind into blinking orange lights on the extract button.