
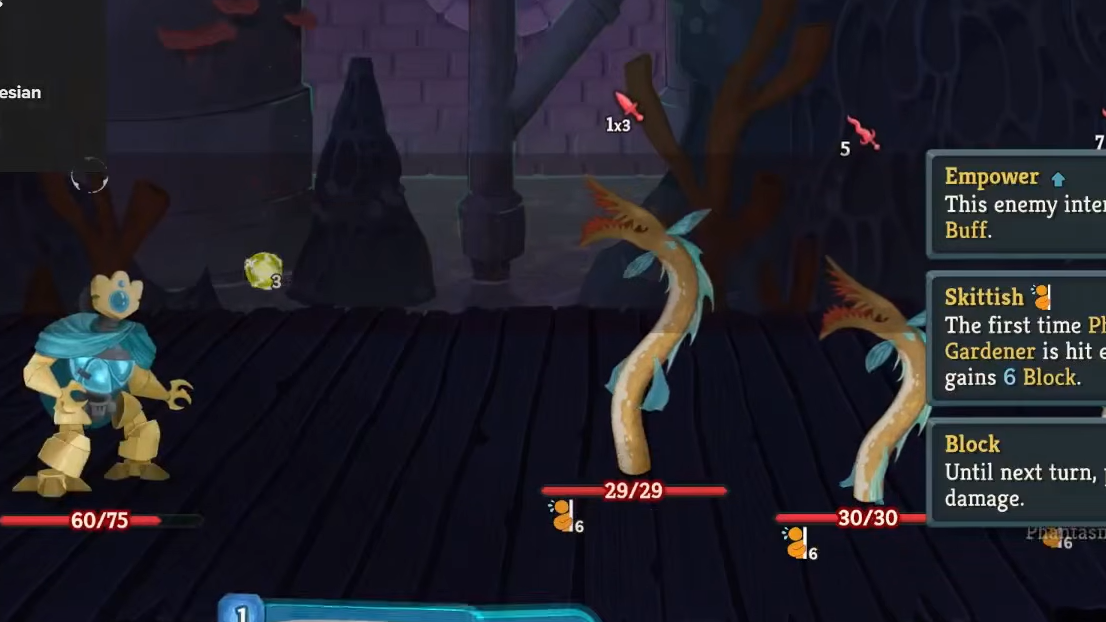
Slay the Spire 2 introduces Ancients — powerful NPCs that replace Boss Relics from the original game — and one of the most interesting choices they present comes from Tezcatara in Act 2. Selecting Tezcatara's Toy Box blessing rewards you with four Wax Relics: fully functional Relics that behave exactly like their permanent counterparts, except they're made of wax and will gradually melt away as you fight.
Quick answer: Wax Relics are temporary Relics obtained from the Ancient Tezcatara at the start of Act 2. You receive four of them, and one melts after every three combat encounters, starting with the leftmost Relic in your inventory. All four will be gone after roughly 12 fights.

How Wax Relics Melt
The melting mechanic follows a strict, predictable pattern. Every three combat encounters you complete, the leftmost Wax Relic in your Relic bar disappears permanently. After six fights total, a second one goes. The cycle continues until all four are gone — meaning the full set lasts for a maximum of 12 combat encounters.
A critical detail many players overlook: the order in which you pick your Wax Relics during the selection screen determines their position in your Relic bar. The first Relic you choose sits on the far left and melts first. The last one you choose sits on the far right and survives the longest. This gives you meaningful control over which effects stick around for the toughest fights.

Wax Relic Pick Order Strategy
Because the leftmost Relic melts first, you should think carefully about which effects you need immediately versus which ones you want to carry further into your run. Place Relics with front-loaded, one-time benefits at the start of your pick order, and save sustained or scaling effects for last.
| Pick Position | Melts After | Best For |
|---|---|---|
| 1st (leftmost) | 3 fights | Immediate one-time bonuses (e.g., Whetstone, Orrery) |
| 2nd | 6 fights | Early Act 2 support effects |
| 3rd | 9 fights | Mid-Act scaling or economy Relics |
| 4th (rightmost) | 12 fights | Sustained effects you want through the Act 2 boss |
Best Wax Relics to Look For
Since Wax Relics are randomly assigned, you can't guarantee specific ones. But some Relics deliver outsized value in a temporary slot because their effects trigger on pickup or create permanent changes to your deck or economy. Even after the Relic melts, you keep whatever it already gave you.
| Relic | Effect | Why It's Strong as Wax |
|---|---|---|
| Frozen Egg | Auto-upgrades Power cards when added to your deck | Upgrades are permanent — the Relic can melt and you keep every upgraded Power |
| Whetstone | Upgrades 2 random Attacks on pickup | Entire value is delivered instantly; melting costs you nothing |
| Orrery | Gain 5 card rewards on pickup | All cards are added immediately, so the Relic's job is done before it melts |
| Prayer Wheel | Normal enemies drop an extra card reward | Generates extra card choices across multiple fights while active |
| Amethyst Aubergine | Enemies drop more gold | Accumulates gold over several encounters; value compounds |
| Shovel | Dig at Rest Sites to find Relics | If you hit a Rest Site before it melts, you gain a permanent Relic |
Relics like Whetstone and Orrery are ideal in the first pick slot because they deliver their full payload the moment you receive them. Relics with ongoing effects — like Prayer Wheel or Amethyst Aubergine — benefit from sitting in later slots so they remain active across more encounters.
When Toy Box Is the Right Choice
Tezcatara offers multiple blessings, and Toy Box competes against options like The Golden Path (which creates an easier map route) and Heap of Coals (which powers up your Strikes but locks them into your deck permanently). Wax Relics shine in specific situations.
Four simultaneous Relics represent a massive power spike. If your deck is underpowered heading into Act 2 — maybe you didn't find strong cards or your energy economy is weak — Wax Relics can stabilize your run through the most dangerous stretch of the game. Act 2 is notorious for its difficulty jump, and having four extra Relics working for you during early and mid-Act fights can be the difference between dying to an elite and cruising through.
Wax Relics also pair well with aggressive pathing. If you plan to take on multiple elite fights early in Act 2, the temporary power boost helps you survive those encounters and collect the permanent rewards (Relics and upgraded card selections) that elites drop. You're essentially borrowing power now to invest in long-term gains.

When to Skip Wax Relics
The trade-off is real. Choosing Toy Box means you won't have a permanent Ancient Relic from Act 2. By the time you enter Act 3, all four Wax Relics will likely be gone, leaving you with nothing to show for your Tezcatara encounter — unless you picked Relics with lasting on-pickup effects.
If your build is already scaling well and you're comfortable with Act 2's difficulty, a permanent blessing from Tezcatara (or another Ancient's offering) may serve you better in the long run. Wax Relics don't help with late Act 2 boss fights if they've already melted, and they contribute nothing to Act 3 consistency or final boss preparation.
Can Wax Relics Reach Act 3?
Technically, yes. Since only combat encounters advance the melt timer, a player who carefully avoids unnecessary fights — taking event nodes, shops, and Rest Sites instead — can stretch their Wax Relics well beyond Act 2. The fourth Relic (picked last) needs 12 total combat encounters to melt, and if you're selective about your path, it's possible to carry at least one or two Wax Relics into the early portions of Act 3.
This requires deliberate pathing and some luck with map generation, but it's a viable strategy for players who want to squeeze every last drop of value from Toy Box. Just be aware that avoiding fights also means fewer card rewards and less gold, so there's a cost to extending Wax Relic lifespan.
Wax Relics occupy a unique design space in Slay the Spire 2 — they're powerful enough to reshape your Act 2 experience but temporary enough that they force meaningful decisions about pick order, pathing, and when to fight. Any character can benefit from them, and with the right combination of on-pickup effects and smart routing, the Toy Box blessing can carry a struggling run through its most dangerous stretch.