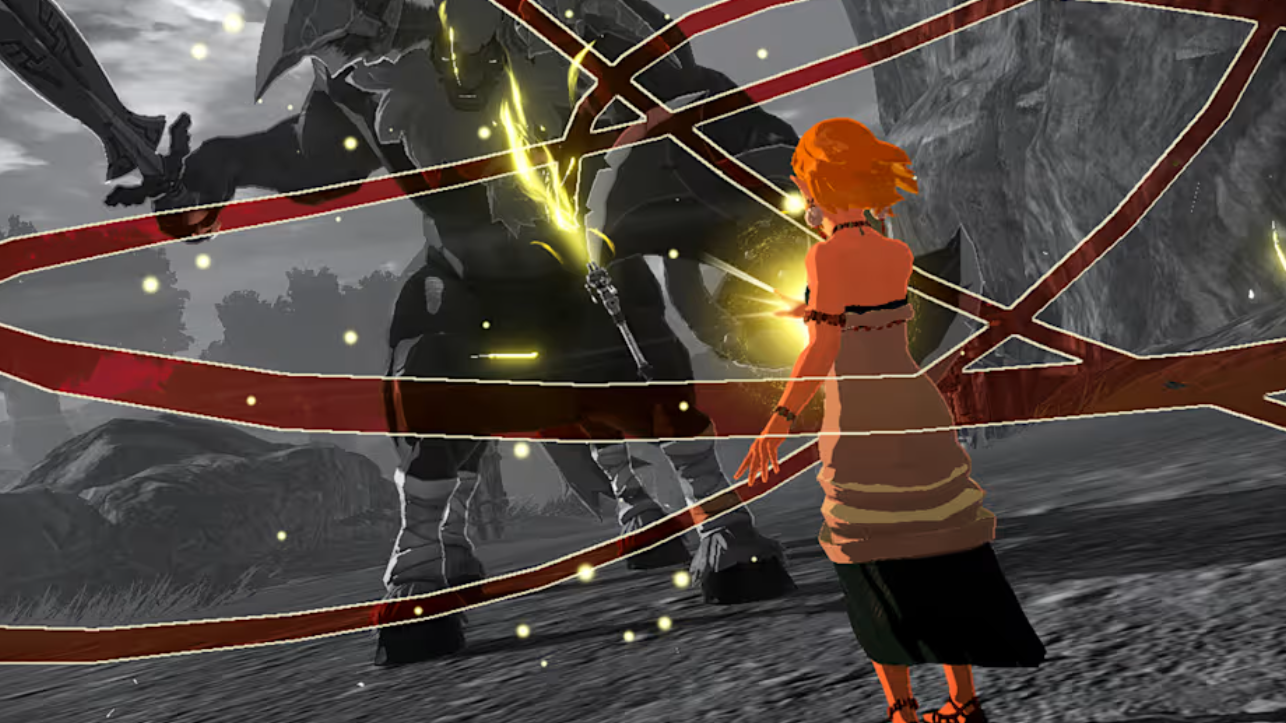
Hyrule Warriors: Age of Imprisonment gives you four difficulty settings that meaningfully change how fights play, from enemy durability to how forgiving the Weak Point system is. Here’s what each mode actually tweaks, how camps behave on tougher settings, whether rewards scale, and when it makes sense to bump things up or down.
Difficulty options and what they change
Enemy health and damage scale up across the tiers. The window to break and smash a Weak Point Gauge narrows as you climb, so sloppy strings stop working and precise dodges and counters matter. On higher settings, enemies push harder, boss patterns are less forgiving, and you’ll need to plan your Zonai device usage rather than spamming whatever’s on your quick bar.
| Mode | Enemy damage/HP | Weak Point timing | Camp benefits (in‑mission) | Best for |
|---|---|---|---|---|
| Easy | Low damage, low durability | Very generous | Most generous refills and buffs | Story focus, fast farming, learning a moveset |
| Normal | Moderate damage and durability | Forgiving | Standard refills and buffs | First playthrough with room to experiment |
| Hard | Higher damage, spongier enemies | Narrow | Reduced refills (healing may be limited) | Players comfortable with combos and counters |
| Very Hard | High damage, very durable enemies | Tight | Minimal refills; healing may be disabled | Mastery runs and optimized builds |
On Normal, many battles are forgiving enough that under‑leveled characters can still clear missions with smart item use. Hard and especially Very Hard demand consistent Weak Point pressure, cleaner dodges, and smarter device rotations to avoid running dry on battery mid‑boss.

Do higher difficulties give better rewards?
No. Base mission rewards are the same regardless of difficulty. Pick a setting that matches your goal for that session. If you’re progressing the story or farming materials, Easy or Normal will save time. If you’re stress‑testing a build or practicing a character at their ceiling, Hard and Very Hard deliver the intended pushback without dangling extra loot.
How to change difficulty (and when you can’t)
You can’t adjust difficulty during a battle. Switch outside of missions:
- Press the
(‑)button to open the System Menu. - Open Options → General → Difficulty Setting.
- Select Easy, Normal, Hard, or Very Hard, then apply.
The change takes effect on your next mission.
Camp behavior changes with difficulty
Camps are a powerful safety valve on default settings: you can set them up to get pre‑mission buffs and, on the map types that support it, pop in during a mission to top up hearts and recharge your Zonai battery. On tougher modes, those in‑mission refills are scaled back—healing can be curtailed or unavailable, and you may only get battery or partial replenishment. Separate upgrade quests can increase ration capacity and healing potency, but the core scaling remains: the harder the mode, the less the camp bails you out mid‑fight.
When to move up to Hard or Very Hard
Move up once you’re consistently:
- Breaking Weak Point Gauges without overcommitting or whiffing the smash window.
- Dodging boss strings on reaction and converting dodges into damage, not just safety.
- Weaving Zonai devices into combos rather than using them as panic buttons.
- Finishing missions with battery and rations to spare.
Expect spikes on Very Hard. Early missions can be manageable, but bosses with shield phases or rushdown patterns punish mistakes heavily. Fights like Growing Suspicion hit much harder at that tier, especially if you reach the boss with no rations or a low battery.
Difficulty-driven tactics that actually help
These mechanics scale well as you push the difficulty:
- Use Zonai devices to force openings. Time Bombs and elemental tools can interrupt, strip armor, or freeze enemies long enough to expose the Weak Point Gauge. Save a battery charge for boss second phases.
- Trigger sync attacks often. They do the heavy lifting in this game; once the gauge is ready, detonate it on the nearest commander or boss. You can also link with allied commanders on the field, not just your party.
- Spend specials instead of hoarding them. Specials are less dominant here than in prior entries, so use them to stabilize a fight, not as your only nuke.
- Open the full quick menu when you need it. You aren’t limited to your hot‑bar; press right on the D‑pad to access all actions and devices. Note: using the full menu pauses the action, and in split‑screen co‑op it pauses both players.
On Very Hard, treat Flurry Rush as a bonus, not a plan. The timing window is stricter than you might expect, and fishing for it can get you clipped. Build routes that crack Weak Points without requiring perfect dodges.

Who should pick which difficulty?
- Pick Easy if you want to blitz side missions, experiment with new characters, or farm without friction.
- Pick Normal for a first run that still lets you bring under‑leveled characters and learn device synergies.
- Pick Hard once you’ve unlocked fuller movesets and can reliably cash in Weak Points.
- Pick Very Hard when you want every mistake to matter and you’re comfortable budgeting rations and battery with no mid‑battle heals.
There’s no penalty for changing your mind between missions. If a map rolls modifiers that counter your kit or you burn too many resources before the boss, step back, swap difficulties, and come back later with stronger gear or a different character.
Age of Imprisonment is flexible by design: it won’t pay you more for suffering, but it will push back exactly as much as you ask it to. Use that to your advantage—tune difficulty to your goal, and don’t be afraid to move the dial as your roster and comfort grow.

