
Armor is one of the biggest survival upgrades in Hytale’s early access build. Once you unlock the Armorer’s Workbench, you can start turning raw metals, fibers, and monster drops into full gear sets that boost health, resist damage, and add useful bonuses at higher tiers.
How the Armorer’s Workbench works in Hytale
The Armorer’s Workbench is a dedicated crafting station used only for defensive gear. It is where you turn refined ingots and supporting materials into armor pieces.
To build an Armorer’s Workbench, you first need access to a normal Workbench. From there, you craft the armor station using:
- 2 Copper Ingots
- 10 Tree Trunks
- 5 Stone
Step 1: Use a normal Workbench and select the recipe for the Armorer’s Workbench. Provide 2 Copper Ingots, 10 Tree Trunks, and 5 Stone.
Step 2: Place the Armorer’s Workbench in your base or any safe area where you want to craft gear.
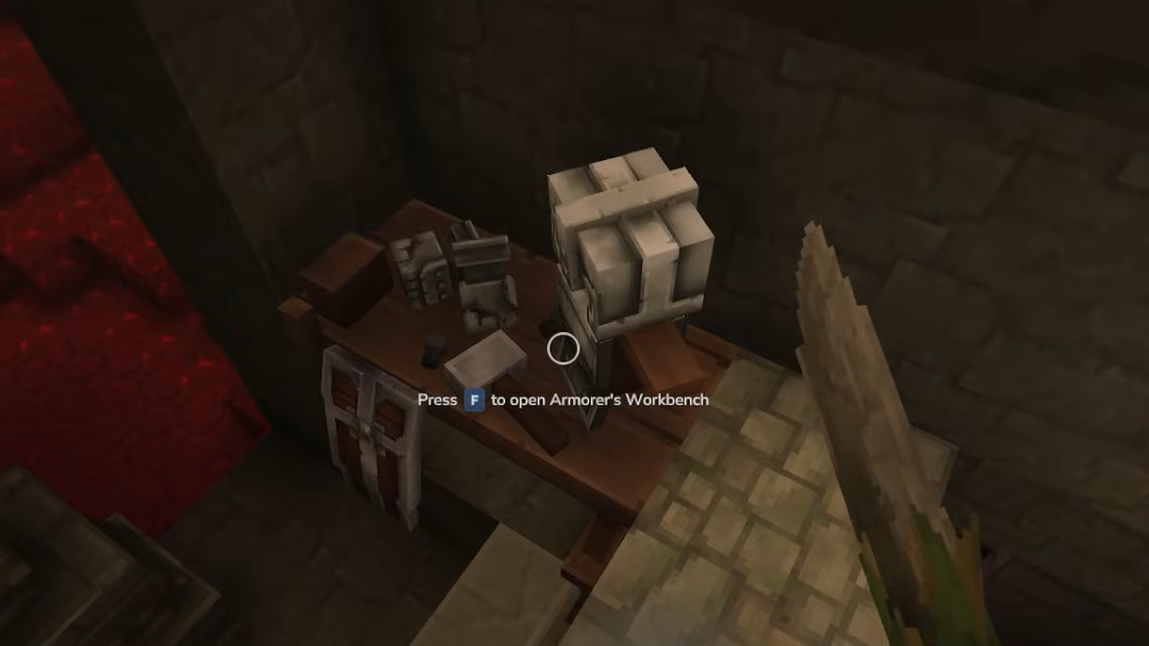
Step 3: Interact with the Armorer’s Workbench to open the armor menu. This screen shows every armor recipe you can currently craft with your materials.
At the Armorer’s Workbench, you can craft five equipment categories: Helm, Cuirass, Gauntlets, Greaves, and Shields. Shields use their own recipes and are separate from the four armor pieces that make up a standard set.
Armor slots and rarities in Hytale
Each armor set in Hytale uses four core slots:
- Helm – head protection.
- Cuirass – chest and torso.
- Gauntlets – hands and forearms.
- Greaves – legs.
Armor pieces are defined by their main metal. The current material tiers are:
- Copper
- Iron
- Thorium
- Cobalt
- Adamantite
- Mithril
On a Tier 1 Armorer’s Workbench, you can craft Copper and Iron gear once you have refined ingots. Higher-tier armor (Thorium, Cobalt, Adamantite, Mithril) requires upgraded versions of the Armorer’s Workbench (Tier 2 and Tier 3), as well as rarer supporting materials like better leathers, special cloths, and Essence of the Void.
How to craft armor pieces cleanly
Each armor recipe follows the same basic structure: a core stack of metal ingots supported by fibers, leather, cloth scraps, and sometimes monster drops for higher tiers.
Step 1: Interact with the Armorer’s Workbench.
Step 2: Choose the armor slot you want to craft (Helm, Cuirass, Gauntlets, or Greaves).
Step 3: Select the specific material tier (for example, Iron Cuirass) from the list of available recipes.
Step 4: Make sure you have the exact ingots and extra components in your inventory, then confirm the craft.
Step 5: If the corresponding armor slot on your character is empty, the new piece will equip itself automatically; otherwise, it goes into your inventory.
Every recipe below assumes you already have the required ingots and other materials. If a recipe lists a workbench tier, you must upgrade your Armorer’s Workbench to that tier before the option appears.
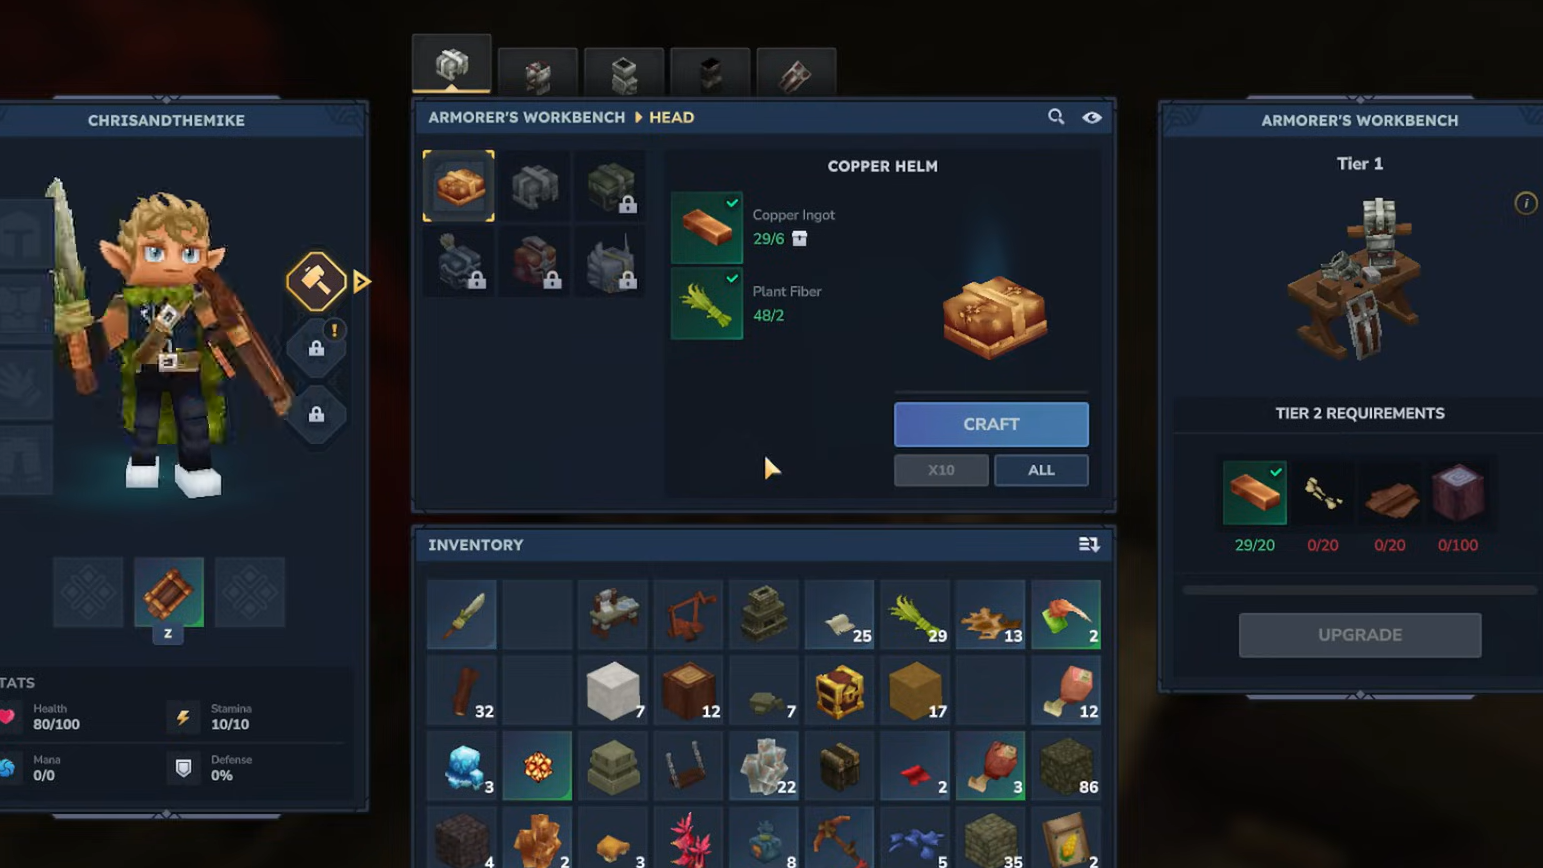
Hytale helm recipes
Helms are usually the cheapest way to get into a new metal tier, since they consume fewer ingots than cuirasses or greaves.
| Helm | Workbench requirement | Materials |
|---|---|---|
| Copper Helmet | None | Copper Ingot ×6, Plant Fiber ×2 |
| Iron Helmet | None | Iron Ingot ×9, Light Leather ×4, Linen Scraps ×3 |
| Thorium Helmet | Armorer’s Workbench Tier 2 | Thorium Ingot ×11, Medium Leather ×4, Linen Scraps ×4, Venom Sac ×2 |
| Cobalt Helmet | Armorer’s Workbench Tier 2 | Cobalt Ingot ×12, Heavy Leather ×4, Shadoweave Scraps ×4 |
| Adamantite Helmet | Armorer’s Workbench Tier 3 | Adamantite Ingot ×15, Heavy Leather ×5, Cindercloth Scraps ×4 |
| Mithril Helmet | Armorer’s Workbench Tier 3 | Mithril Ingot ×12, Storm Leather ×4, Essence of the Void ×40 |
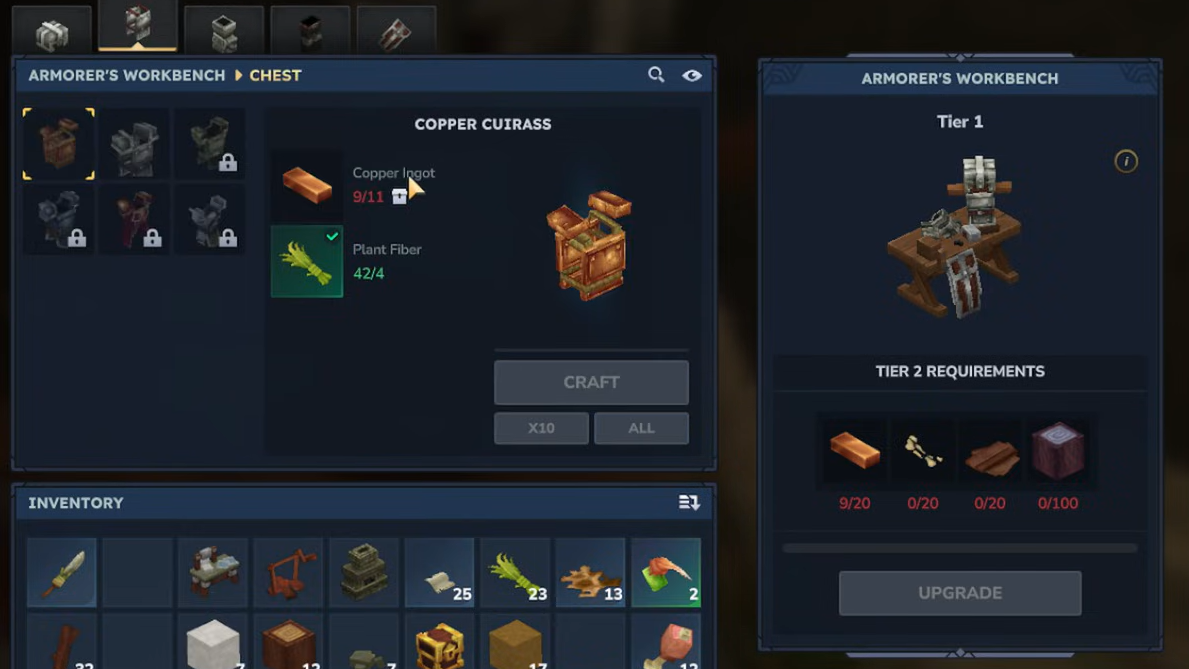
Hytale cuirass recipes
The Cuirass provides the largest single defensive boost in a set, but also costs the most metal and supporting materials.
| Cuirass | Workbench requirement | Materials |
|---|---|---|
| Copper Cuirass | None | Copper Ingot ×11, Plant Fiber ×4 |
| Iron Cuirass | None | Iron Ingot ×16, Light Leather ×7, Linen Scraps ×6 |
| Thorium Cuirass | Armorer’s Workbench Tier 2 | Thorium Ingot ×20, Medium Leather ×7, Linen Scraps ×7, Venom Sac ×4 |
| Cobalt Cuirass | Armorer’s Workbench Tier 2 | Cobalt Ingot ×24, Heavy Leather ×7, Shadoweave Scraps ×7 |
| Adamantite Cuirass | Armorer’s Workbench Tier 3 | Adamantite Ingot ×28, Heavy Leather ×8, Cindercloth Scraps ×7 |
| Mithril Cuirass | Armorer’s Workbench Tier 3 | Mithril Ingot ×24, Storm Leather ×8, Essence of the Void ×80 |
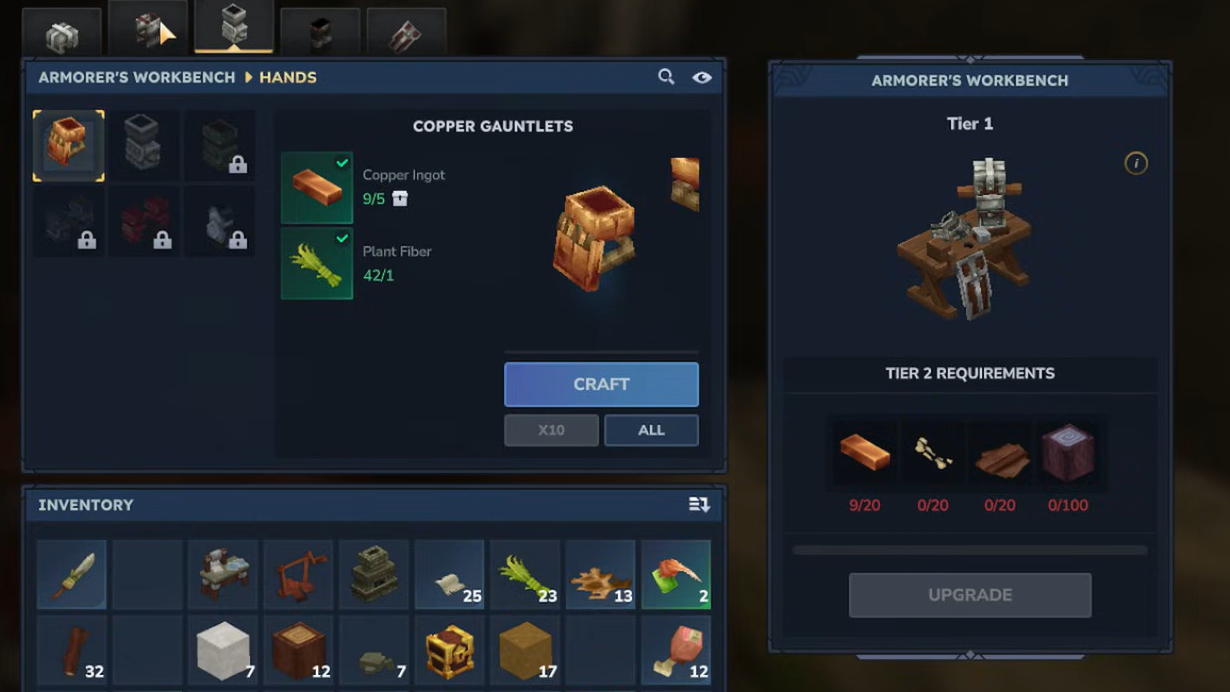
Hytale gauntlet recipes
Gauntlets offer smaller numbers than cuirasses and greaves but are cheaper to craft, which makes them an efficient way to start upgrading into a new metal tier.
| Gauntlets | Workbench requirement | Materials |
|---|---|---|
| Copper Gauntlets | None | Copper Ingot ×5, Plant Fiber ×1 |
| Iron Gauntlets | None | Iron Ingot ×7, Light Leather ×3, Linen Scraps ×3 |
| Thorium Gauntlets | Armorer’s Workbench Tier 2 | Thorium Ingot ×9, Medium Leather ×3, Linen Scraps ×3, Venom Sac ×1 |
| Cobalt Gauntlets | Armorer’s Workbench Tier 2 | Cobalt Ingot ×8, Heavy Leather ×3, Shadoweave Scraps ×3 |
| Adamantite Gauntlets | Armorer’s Workbench Tier 3 | Adamantite Ingot ×12, Heavy Leather ×4, Cindercloth Scraps ×3 |
| Mithril Gauntlets | Armorer’s Workbench Tier 3 | Mithril Ingot ×8, Storm Leather ×2, Essence of the Void ×20 |
Hytale greaves recipes
Greaves round out your armor set with leg protection. They usually sit between helms and cuirasses in total material cost.
| Greaves | Workbench requirement | Materials |
|---|---|---|
| Copper Greaves | None | Copper Ingot ×9, Plant Fiber ×3 |
| Iron Greaves | None | Iron Ingot ×13, Light Leather ×6, Linen Scraps ×4 |
| Thorium Greaves | Armorer’s Workbench Tier 2 | Thorium Ingot ×15, Medium Leather ×6, Linen Scraps ×6, Venom Sac ×3 |
| Cobalt Greaves | Armorer’s Workbench Tier 2 | Cobalt Ingot ×18, Heavy Leather ×6, Shadoweave Scraps ×6 |
| Adamantite Greaves | Armorer’s Workbench Tier 3 | Adamantite Ingot ×22, Heavy Leather ×7, Cindercloth Scraps ×6 |
| Mithril Greaves | Armorer’s Workbench Tier 3 | Mithril Ingot ×18, Storm Leather ×6, Essence of the Void ×60 |

How armor tiers scale in Hytale
Armor progression follows a clear arc from early-game survivability to late-game specialization. Copper and Iron sets focus on straightforward health and damage resistance. Thorium, Cobalt, and Adamantite add extra bonuses such as poison resistance or increased damage with specific attack types. Mithril generally sits at the top of the current progression, with recipes that demand large amounts of rare materials such as Essence of the Void.
Upgrading piece by piece is often more practical than waiting for a full set. For example, crafting Iron Gauntlets and an Iron Helm gives a noticeable survivability bump for a relatively low cost, while you continue gathering enough ingots and leather for an Iron Cuirass and Greaves.
Once you have a reliable source of higher-tier ingots and monster drops, you can target specific set bonuses that match your playstyle, such as damage-focused Cobalt or Adamantite pieces or more defensive Thorium options with strong poison protection.
With the Armorer’s Workbench in place and a steady flow of metals and crafting components, building out complete armor sets becomes a predictable, resource-driven process rather than a guessing game. That makes it much easier to decide when you are ready to move into more dangerous zones and take on tougher enemies.