
Hytale’s console is the control room for your world. With a few commands you can ban griefers, clone builds, fix stuck players, or instantly flip a survival server into a creative sandbox. The key is knowing what each command category does and how permissions work.
How Hytale console commands and permissions work
Hytale splits commands into rough groups: basic player utilities, admin/server control, world and builder tools, and creative-focused options. Almost all of them are locked behind permissions, so the very first step is making yourself an operator.
Becoming an admin on a dedicated server
Step 1: Join the Hytale server with the account that should have admin access.
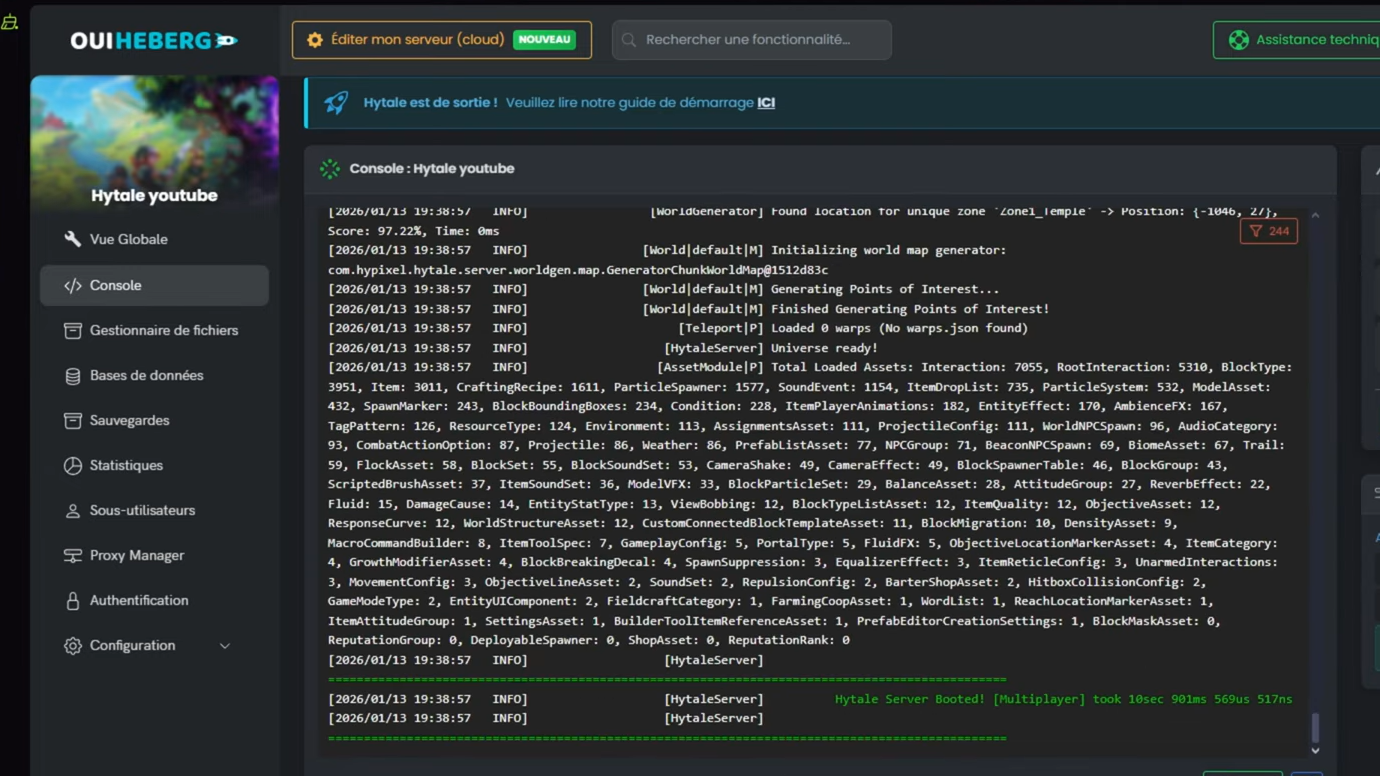
Step 2: Open your hosting panel’s server console (for example, the console view in a game panel).
Step 3: Run op add <username>, replacing <username> with your Hytale name.
Step 4: Check for a confirmation message that the player is now an operator.
On singleplayer worlds, you can skip the external console and just use:
/op selfOnce you’re an operator, you gain the permission to use high‑impact commands like /ban, /gamemode, /backup, or the full set of builder tools.
Using UUIDs for offline players
Every Hytale account has a UUID such as 34ef6c2d-13be-3de0-ba01-6bca1d9af96b. You can promote players who are not currently online using:
op add <UUID>Tip: The server stores player data in its universe folder (the exact path depends on your setup). Player entries there include the UUIDs you can reuse for permissions.
How permissions files behave
Hytale keeps permission groups and operator status in JSON configuration files such as permissions.json. These are loaded on startup and then written back when you change permissions via commands like /op or /perm. Editing them while the server is running is risky, because the server may overwrite your manual changes when it saves.

Core player commands everyone should know
Player-focused commands are available in any mode once a user has the right permission level. They cover movement, status checks, and simple quality‑of‑life operations.
| Command | What it does | Example |
|---|---|---|
/emote |
Plays an emote or animation on your character. | /emote wave |
/help |
Lists available commands or shows help for one command. | /help ping |
/ping |
Shows your latency and tick information, with an optional graph view. | /ping graph |
/who |
Shows who is online in the current world. | /who |
/whoami |
Displays your player info and permission level, or another player’s when given a name. | /whoami PlayerName |
/whereami |
Prints your current coordinates and chunk position. | /whereami |
/spawn |
Teleports you back to the world’s main spawn. | /spawn |
/warp |
Controls named warp locations for quick travel. | /warp list (subcommands vary) |
/damage |
Inflicts damage on a target player. | Used mainly by admins or map makers |
/kill |
Kills and respawns the selected player. | /kill PlayerName |
/mount |
Dismounts players or checks mount status. | Used to fix stuck mounts or dismount a group |
/help is context‑aware. If you’re in creative mode or have specific plugins installed, it will show additional subcommands that match your environment.Admin commands for player and server control
Admin commands let you moderate players, configure plugins, and control the server lifecycle. These require elevated permissions and should be restricted to trusted staff.
| Command | Purpose |
|---|---|
/op |
Grants or removes operator status. On servers use op add <username/UUID> or op remove <username/UUID>; on singleplayer use /op self. |
/ban / /unban |
Permanently bans a player from the server, or restores their access. |
/kick |
Instantly disconnects a player without banning them. |
/whitelist |
Controls who is allowed to join when a whitelist is enabled. |
/auth |
Manages server authentication state or related settings. |
/maxplayers |
Sets the maximum player count for the server. |
/gamemode |
Changes a player’s game mode (for example, switching someone into creative for building). |
/give / /spawnitem |
Spawns specific items for a player using item IDs, optionally with a quantity argument. |
/heal / /neardeath |
Restores a player to full health and stamina, or drops them to 1 health for scripted events. |
/backup |
Creates a snapshot of the current world state. |
/stop |
Forces the server to shut down. Always warn players first and ensure backups are recent. |
/perm |
Edits user and group permissions without touching the JSON files directly. |
/plugin |
Lists, configures, or reloads plugins that extend your server. |
/sudo |
Executes any command as if it came from another player. |
/say |
Broadcasts a message to everyone on the server with a server prefix. |
/tp / /unstuck |
Teleports a player to a location, another player, or the nearest safe space at their position. |
/unban |
Removes a previous ban so the player can rejoin. |
/backup with scheduled tasks from an external server manager if you want automated nightly world snapshots without typing commands each time.World commands for time, weather, and environment
World commands reshape the environment in ways that affect everyone: time of day, weather patterns, loaded chunks, and NPC paths. These tools are ideal for adventure servers and carefully curated realms.
| Command | What it controls |
|---|---|
/time |
Sets or adjusts the world time. For scripted events, pairing this with /noon or similar presets keeps lighting consistent. |
/weather |
Switches and locks weather patterns such as clear or stormy conditions. |
/ambience |
Adjusts overall ambience, which can affect mood via lighting, sound, or both. |
/world |
Handles multi‑world setups, including creating or managing additional worlds. |
/block |
Retrieves or modifies block data at coordinates, including block states. |
/chunk |
Shows chunk information and can control loading or debugging of specific chunks. |
/fluid |
Manipulates fluids like water or lava in a specified area. |
/lighting |
Reports or tweaks world lighting information for debugging or stylistic changes. |
/path |
Defines or edits patrol paths used by NPCs. |
/worldmap |
Controls world map visibility, such as discovering all zones for players. |
These commands are especially powerful when combined. For example, an adventure hub might use /time, /weather, and /ambience to lock in a permanent dusk storm, then rely on /path to stage NPC patrols through a town.

Builder commands for fast construction
Hytale’s builder toolkit is essentially an integrated world editor. Instead of placing every block by hand, you define selections and apply operations such as copy, paste, fill, replace, and stack.
| Command | Role in building |
|---|---|
/pos1 & /pos2 |
Set the first and second corners of a selection box. Almost every builder command works on this region. |
/copy / /cut |
/copy stores the selected region in your clipboard, while /cut stores it and clears the original. |
/paste |
Places the clipboard contents relative to your current position and orientation. |
/fillblocks |
Fills air inside the selection with a specific block, perfect for mass‑placing floors or walls. |
/replace |
Swaps certain block types in the selection for another type, used for palette swaps or terrain tweaks. |
/undo / /redo |
Reverts recent edits or reapplies them. You can control how many actions are tracked with /settoolhistorysize. |
/setblocks |
Sets every block in the selection to a single block type. |
/shift |
Moves the selection box itself without moving blocks, useful for scanning large builds. |
/stack |
Duplicates the selected structure multiple times in a given direction, letting you rapidly extend roads or walls. |
/prefab & /editprefab |
Save selections as reusable prefabs, list them, load them back into worlds, or edit their details. |
/repairfillers |
Repairs filler blocks within a selection when terrain generation or previous edits left gaps. |
/pos1 and /pos2 carefully before using destructive commands like /cut or /setblocks. A well‑tuned /settoolhistorysize gives you enough undo depth to recover from mistakes without bloating memory.Creative mode commands and examples
Creative mode opens up the full building and scripting toolkit. Many of the commands above work identically, but creative adds more nuanced controls for blocks, ambience, and scripted systems.
Switching yourself into creative
Step 1: Ensure your account is an operator with /op self or through the server console.
Step 2: Use the in‑game control bound to cycling modes after you are an operator (by default, this is the O key in some setups), or rely on /gamemode if configured.
Once in creative, you can combine the builder commands with more granular world controls.
| Command | Creative‑focused usage | Example |
|---|---|---|
/block |
Directly sets, queries, or changes block states at coordinates. | /block set <x> <y> <z> <block_type> |
/ambience |
Tightens control over audio‑visual atmosphere in scenes and builds. | Exact parameters vary; often used by map creators per area |
/npc |
Controls NPC behaviour, such as forcing them to attack or follow patterns. | /npc attack |
/objective |
Handles objectives in adventure maps, including completing or resetting them. | /objective complete |
/memories |
Interacts with the Memories system for progression or unlocks. | /memories unlockall |
/noon |
Snaps the world to noon and can hold time there for consistent lighting. | /noon |
/curses |
Applies curses to the item you are currently holding, for custom gear or scenarios. | Run while holding the target weapon or tool |
/camshake |
Adjusts camera shake for cinematic sequences or intense events. | Tuned by level designers per scene |
/worldmap tools to reveal or hide areas depending on how you want players to explore your custom maps. Combined with objectives and NPC control, this turns creative servers into full‑blown adventure games.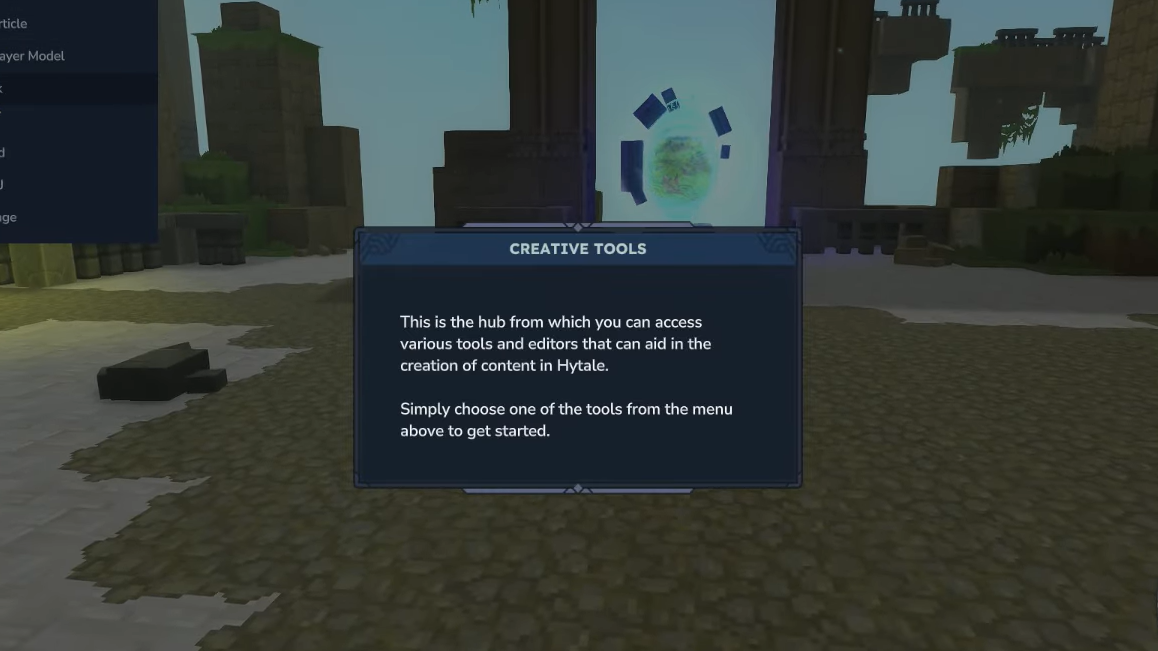
Running and networking a dedicated Hytale server
The command set makes the most sense in the context of a properly configured server. Hytale servers are standard Java processes, so they benefit from the same basic tuning as other Java‑based games.
Basic server requirements
- At least 4GB of memory.
- Java 25 installed on the host machine.
- x64 or arm64 CPU architecture.
Resource usage depends heavily on player count, NPC and mob density, view distance, and whether players explore in a tight group or scatter across the world. High entity counts stress CPU, while large loaded areas require more RAM.
-Xmx flag, you may see high CPU from garbage collection even on an otherwise idle server. Experiment with -Xms and -Xmx until CPU and memory usage look stable for your typical play session.Obtaining official server files
There are two supported ways to get dedicated server files and assets:
- Copy the
Serverfolder andAssets.zipfrom your local Hytale launcher installation to your server directory for quick testing. - Use the Hytale Downloader CLI for production servers, which keeps everything updated with OAuth2 authentication. The official download is available as a
hytale-downloader.ziparchive for Linux and Windows.
With the downloader unpacked, core commands include:
./hytale-downloader                # Download the latest release
./hytale-downloader -print-version # Show game version only
./hytale-downloader -check-update  # Check for downloader updates
./hytale-downloader -download-path game.zip
./hytale-downloader -patchline pre-release
./hytale-downloader -skip-update-check
You authenticate once through the CLI flow, then reuse it to keep multiple servers updated.
Networking and authentication basics
Hytale servers communicate with clients over QUIC on UDP, not TCP. Any firewall or router in front of your host must allow the chosen UDP port for external players to connect. Servers also authenticate with central APIs to support features like platform‑level sanctions and future discovery systems, and each Hytale game license is limited to a fixed number of servers before you need either additional licenses or a server‑provider arrangement.

Using server managers and automation
Beyond the in‑game console and raw Java command line, web‑based server managers can orchestrate downloads, backups, scheduled tasks, and plugin browsing for Hytale servers.
Typical capabilities include:
- Creating and managing multiple Hytale server instances from a browser dashboard.
- Scheduling automatic tasks such as backups, restarts, or recurring commands.
- Providing a file manager to edit configuration or log files without SSH.
- Offering player management, permissions roles (admin, moderator, viewer), and activity logs for staff actions.
- Configuring backup destinations on local storage or over protocols like FTP.
These managers sit on top of Hytale’s standard server binaries and console, so everything covered earlier — from /op and /backup to creative builder commands — still runs exactly the same. The manager just automates when and how those commands are executed.
The quickest way to get comfortable with Hytale’s console is to promote a test account, open a small private world, and work through the main groups: player utilities, admin and moderation, world controls, and builder tools. Keep /help open in another window, make frequent use of /backup and /undo, and treat commands as a toolkit you can combine rather than isolated tricks. Once those combinations become muscle memory, running a server — or building an entire adventure hub — turns into a much smoother operation.