
Ore progression in Hytale is straightforward on paper—copper to iron to thorium or cobalt to adamantite—but actually finding the right veins can be the difference between cruising through early access and stalling out in underpowered gear. Ore is tied to both biome and depth, and some resources are far more concentrated in specific regions than others.
Cave layers, biomes, and how ore distribution works
Hytale worlds use two main rules for ore placement. First, many ores favor specific biomes. Second, caves are effectively stacked in three rough layers that repeat under each biome.
Layer 1 (surface caves). These are the shallow tunnels just below ground level. You usually enter them through small openings in hillsides or sinkholes. Copper is common here, with a little iron mixed in.
Layer 2 (mid-depth caves). Deeper down, but not yet at lava. This layer carries more of the “mid-tier” ores and significantly more iron, and is usually the most efficient place to mine once you can survive a few tougher mobs.
Layer 3 (lava layer). At the bottom of each biome, just above bedrock, you hit the lava layer. Nearly every region except the dedicated lava/volcanic islands uses a classic molten cave zone as its final layer. This is where higher-tier ores, gold, and silver start to appear in larger quantities, alongside stronger enemies and environmental hazards.
Because ore nodes do not respawn, it’s worth thinking about each cave system as a finite resource. Strip-mining the easiest deposits near your base feels good at first, but it can leave you starved when you need large quantities of a specific metal later.
Hytale ore summary by biome and best farming spots
| Ore | Best biomes / regions | Typical deposits |
|---|---|---|
| Copper | Starting Forest, Desert, Snow | Layer 1–2 caves, cliff faces |
| Iron | Forest, Desert (Badlands-style areas) | Layer 2–3 caves, desert mineshafts, sandstone cliffs |
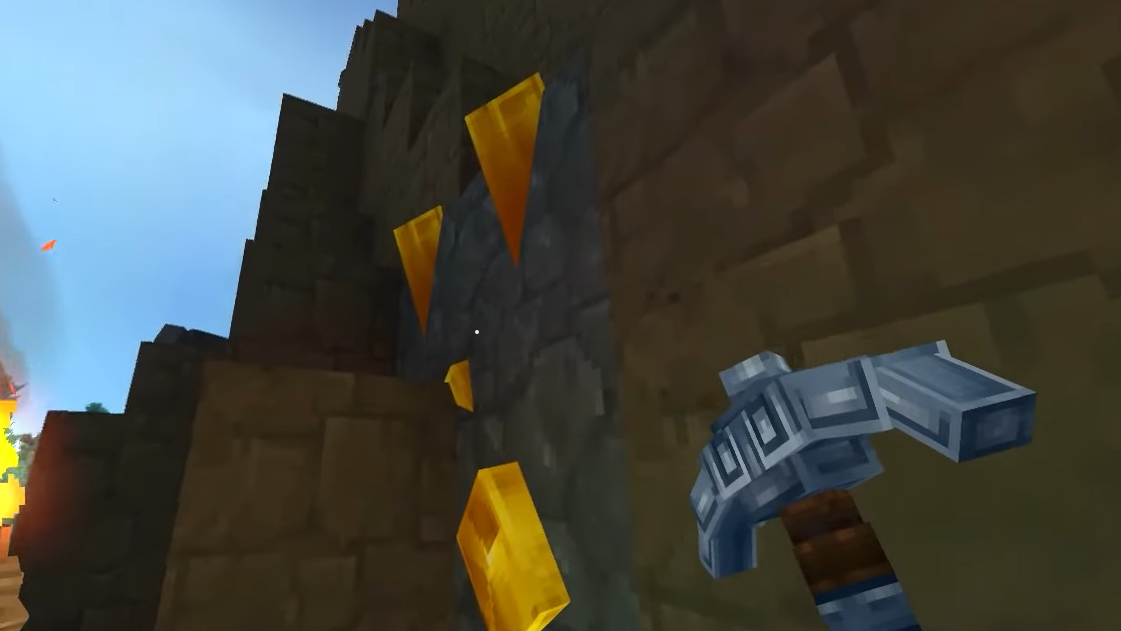
| Gold | Desert, Snow | Desert surface and caves, lava layers under deserts and snowy biomes |
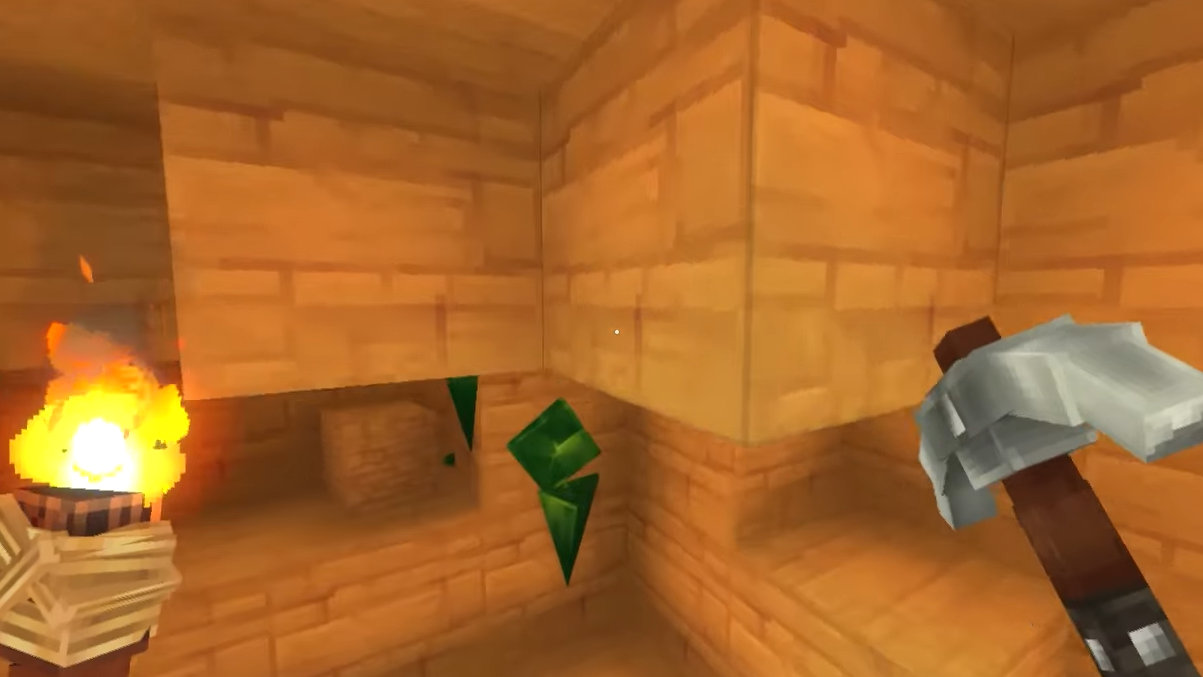
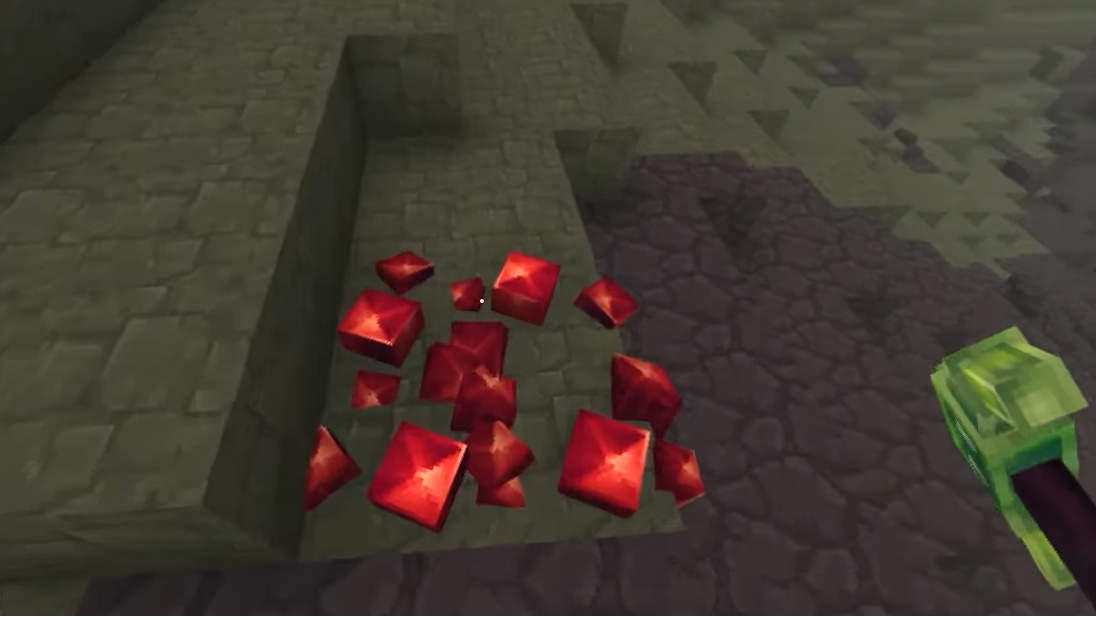
| Thorium | Desert (Badlands, Sunscorch-like deserts) | Green ore in sandstone cliffs, desert hills, layer 2–3 desert caves |
| Silver | Desert, Snow / Tundra | Mountain and hill cliff faces, cold-region caves, lava layers |
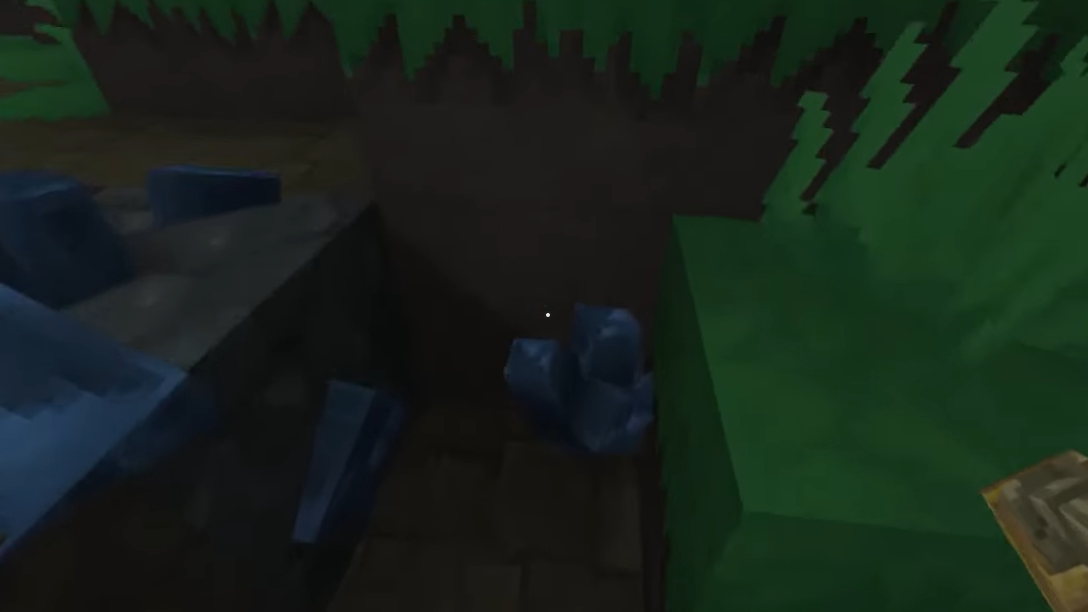
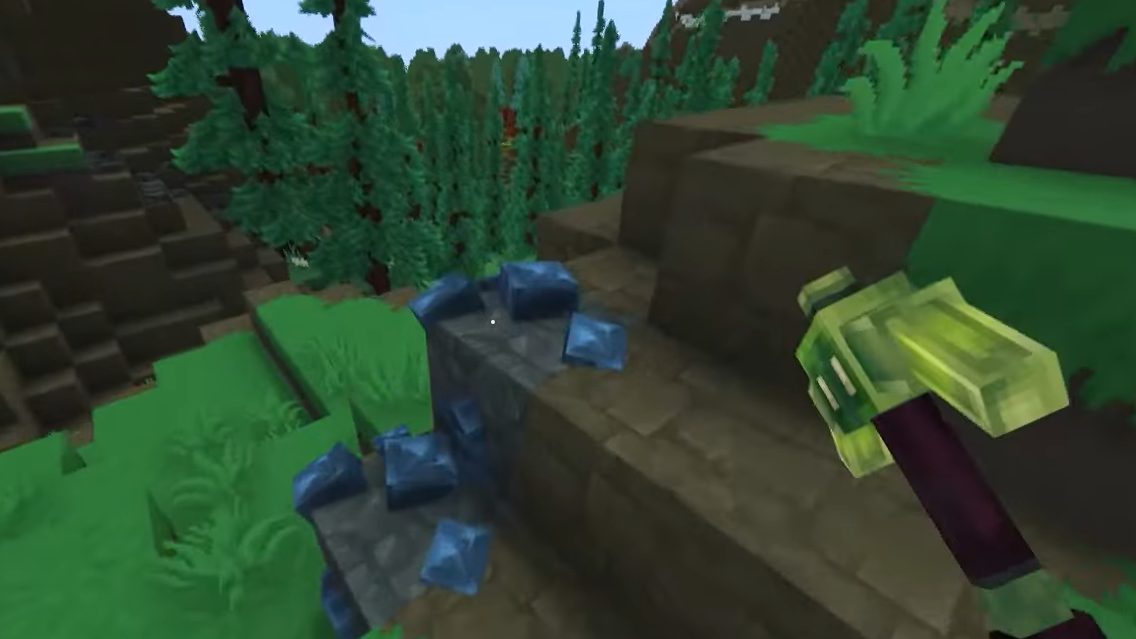
| Cobalt | Snow / Tundra | Mountain cliffs and ridges, snowy and tundra caves |
| Adamantite | Volcanic Islands / “Death Valley” style lava zones | Near lava pools in Cinder Waste, surface veins, final cave layer jungles |
| Mithril | Volcanic Islands (deep), caves beneath Tundra | Rare nodes in bottom layers, occasional drops from volcanic island mobs |
Copper ore locations and early-game farming
Copper is your first real upgrade material, and it’s designed to be everywhere once you start looking underground.
Where copper spawns. Copper ore appears throughout the upper layers of most biomes, especially:
- Layer 1 caves under the starting Forest biome
- Layer 1–2 caves in Desert biomes
- Cliff sides and caves in snowy regions
Visually, copper nodes are stone blocks with distinct brownish rocks embedded in them. They often dot the walls of the first cavern you hit after digging down from the surface.
Efficient early-game method to get copper and ingots.
Step 1: Craft a crude pickaxe from your inventory using 2 rubble, 2 plant fiber, and 2 sticks. Rubble comes from the loose pebbles around rocks; plant fibers and sticks are easy to gather from plants and small trees.
Step 2: Dig straight down or at a shallow angle near your spawn until you break into your first underground cavern. Stay within the first depth layer to avoid unnecessary danger.
Step 3: Mine any copper-bearing blocks in the walls and floor. Aim for at least 12 copper ore so you can immediately craft a copper pick, copper hatchet, armorer’s bench, smith’s bench, and stove when you return to base.
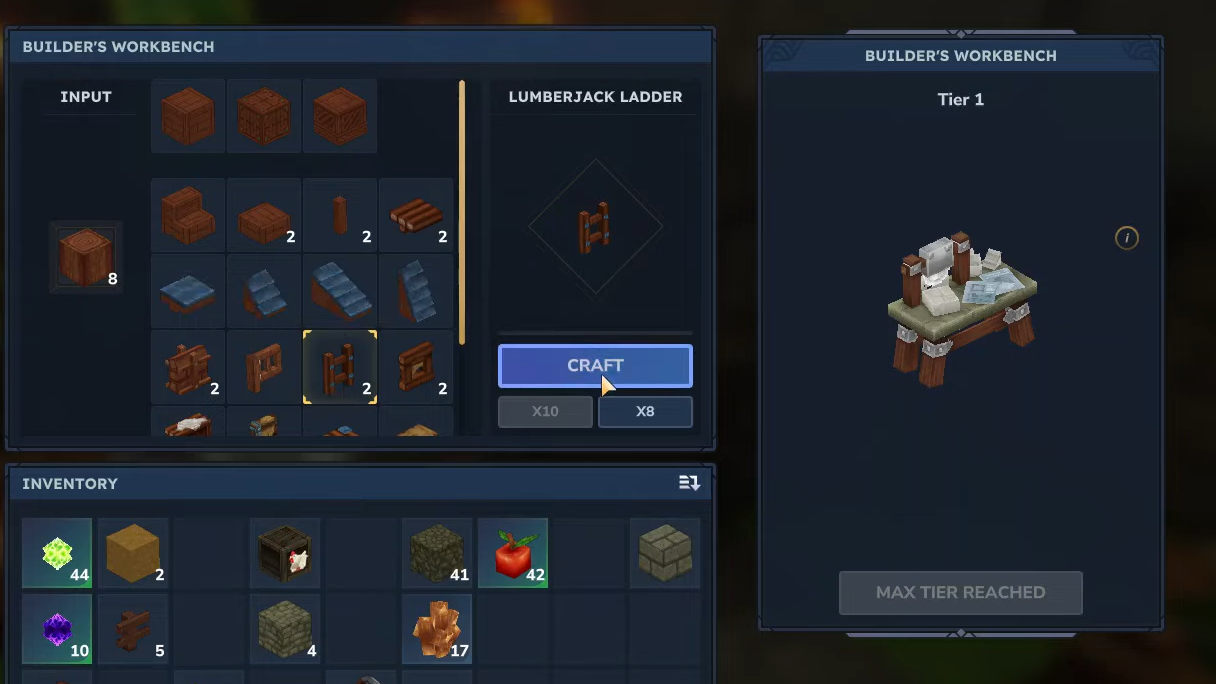
Step 4: Build a Workbench using 4 tree trunks and 3 stone, then place it at your base. From that menu, craft a Furnace with 6 tree trunks and 6 stone.
Step 5: Place the Furnace, feed it tree trunks as fuel, and drop copper ore into the input slot. Once it smelts, collect the copper ingots from the output and start upgrading tools and basic stations.
Because copper and iron can both be mined with basic tools, you do not need to rush into copper pickaxes; often, it’s better to prioritize weapons and armor for survivability.

Iron ore locations, desert mineshafts, and when to transition
Iron is the first real defensive and offensive spike in Hytale. You can find it in many biomes, but the density varies dramatically.
Universal iron spawns. Iron nodes show up as darker metal-laced stone. They can appear:
- Sporadically in layer 2 caves beneath the starting Forest
- Embedded in the walls of lava layers under most biomes
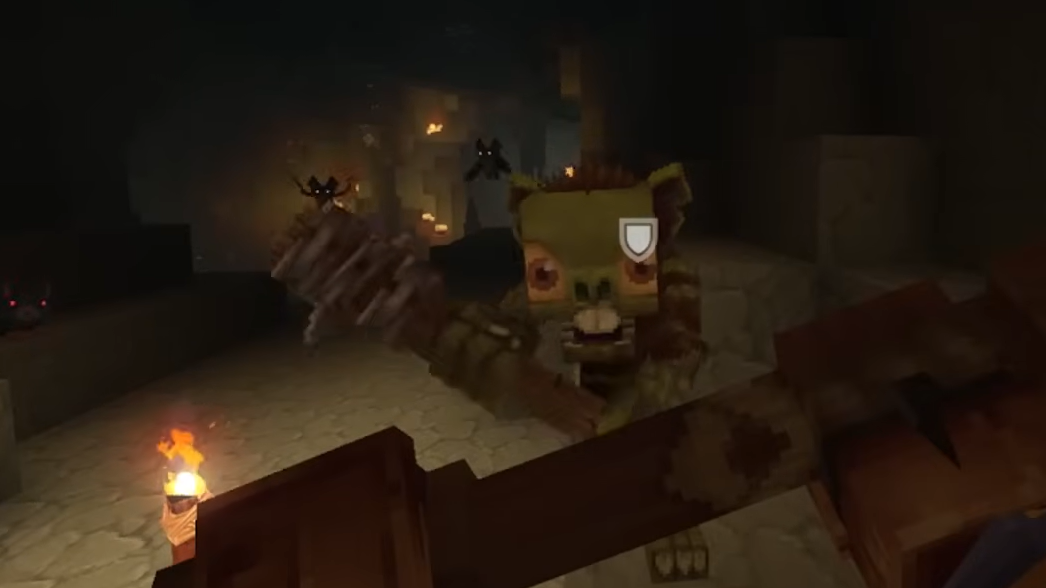
Those lava-layer deposits are tempting but guarded by tougher enemies and lava hazards, so they are better once you are already in full copper gear and have enough healing.
Best iron farming region: Desert and Badlands mines. The most efficient source of iron is the Desert biome, usually located to the south of your starting area. Within it, look for:
- Sandstone cliffs and ravines with exposed veins of iron
- Badlands-like sub-biomes with darker red or brown rock
- Large pre-built mineshaft structures jutting out of mesas and cliffs
Those mine entrances are unmistakable: wooden scaffolding, rails, and open shafts leading deep underground. They are packed with iron both on the surface around the entrance and along the tunnels inside.
Step 1: Gear up to at least full copper armor and a solid melee weapon. Ideally, craft a crossbow and a good supply of crude arrows before heading into desert mines; ranged damage lets you deal with tight corridors and tougher mobs safely.
Step 2: Ride or travel to a desert region and scout for Badlands areas with towering sandstone formations. Look for wooden structures that mark the mine entrances.
Step 3: Mine the visible iron nodes around the entrance first. These surface deposits are essentially free ore before you even fight your way in.
Step 4: Clear the first few levels of the mine, moving carefully and lighting as you go. Focus on visible iron in walls and floors rather than tunneling; these handcrafted mines tend to have a high concentration of ore already exposed.
A single desert mining trip, especially in and around a large mineshaft, can easily supply several full stacks of iron. That is usually enough to upgrade into a full iron armor set, iron weapons, and the Tier 2 workstations you need for the next tier of metals.
Gold and silver: where they appear and why they’re sidegrades
Gold and silver exist more as side resources than as clear steps in armor and weapon progression. They show up while you chase other metals and are worth gathering, but you do not need to seek them out aggressively to move through the main gear tiers.
Gold. Gold ore can be seen as bright yellow metal and tends to spawn:
- On the surface and shallow caves of Desert biomes
- Inside desert cave systems, especially closer to the lava layer
- Occasionally in caves under snowy biomes
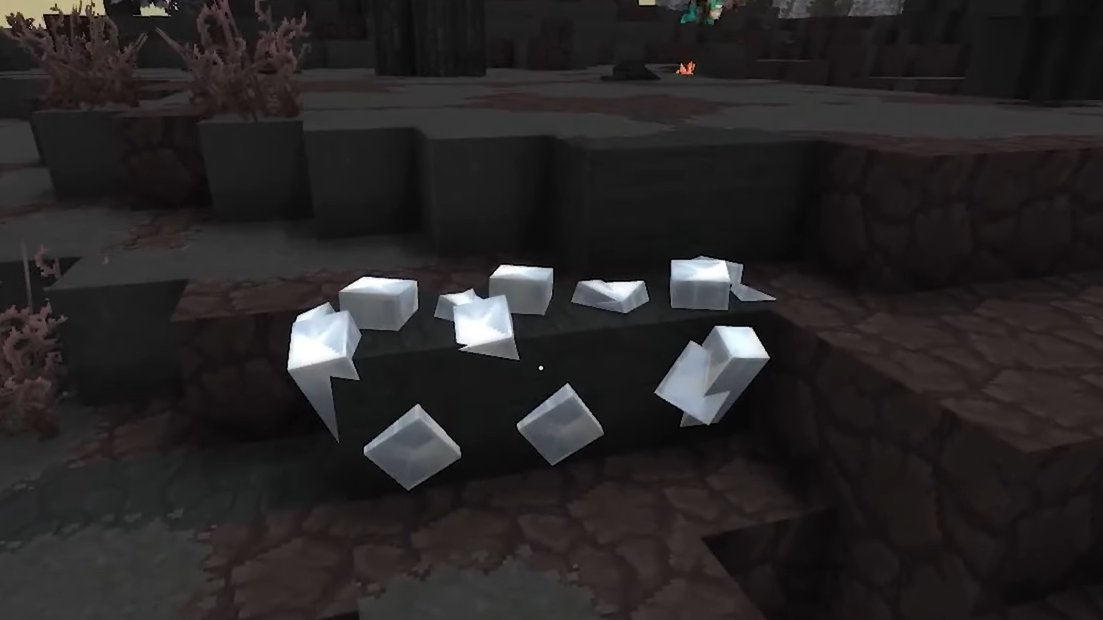
Silver. Silver is a bright, almost shimmering white ore. It is most common:
- On the cliff sides and upper slopes of desert hills and mountains
- On snowy and tundra mountain faces near the summit
- Inside Snow and Tundra caves, especially at mid and lower depths
In practice, most players accumulate silver and gold as a byproduct of chasing thorium, cobalt, and adamantite rather than farming them in isolation.
Thorium ore locations and farming in desert regions
Thorium is the first “specialized” ingot in Hytale. It sits above iron in power and unlocks a full set of midgame armor, weapons, tools, and workstation upgrades.
Where thorium spawns. Thorium only appears in meaningful quantities in desert biomes, including areas like the Badlands and Sunscorch-style deserts. Its key traits:
- Distinct bright green ore embedded in rock
- Common on sandstone cliff sides and hills in desert regions
- Very dense in layer 2 and lava-layer cave systems under deserts
On the surface, thorium often dots steep desert hills and mountainous ridges, visible from a distance if you pan your camera along cliff faces.

Step 1: From your base, travel to a major desert region. Prioritize areas with steep sandstone hills and canyons rather than flat dune fields.
Step 2: Circle the bases and sides of desert hills, scanning for green ore nodes exposed in the rock. Climb when needed—Hytale lets you scramble up three-block-high ledges by holding the jump key against them.
Step 3: Once surface veins thin out, move into nearby cave entrances in the same desert. Work through layer 2 down toward the lava layer, collecting thorium wherever it appears in walls and ceilings.
Step 4: Optionally, visit volcanic islands and hunt armored skeletons. These mobs can drop thorium ingots directly, which is useful if you prefer combat over mining.
Thorium can be mined even with lower-tier picks, but an Iron Pickaxe speeds up the process significantly and survives longer. If you plan a long desert run, pack a few repair kits or spare picks so you do not have to retreat after every break.
Back at your base, smelt thorium ore in a Furnace just like copper or iron. Thorium ingots then feed into a large set of Tier 2 recipes across the Armorer’s Workbench, Blacksmith’s Anvil, Arcanist’s Workbench, and standard Workbench, including a full thorium armor set, multiple weapon types, a thorium pickaxe, and a thorium hatchet.
Snow and Tundra: cobalt and silver on the mountaintops
While thorium leans heavily on deserts, cobalt is the cold-region counterpart. Both sit in the same rough tier as iron and function more like horizontal choices than strict upgrades over each other.
Where cobalt spawns. Cobalt veins appear primarily in:
- Snow biomes and tundra regions, often north of the starting area
- Mountain and hill cliff faces in these cold zones
- Snow and Tundra cave systems at mid depths
On the surface, cobalt shows up as blue-streaked rock on steep snowy slopes and ridges. It often spawns near or alongside silver and occasional gold, so a single mountain run can fill multiple metal needs at once.
Step 1: Travel toward the northern, snowy portion of your world until you reach a tundra or Snow biome with prominent mountains.
Step 2: Hug the sides of tall peaks and ridgelines, looking for blue cobalt nodes and bright white silver nodes in the exposed stone. Be ready for yetis, wolves, and other aggressive wildlife.
Step 3: Once surface veins thin out, drop into cave entrances on those same mountains. Work through layer 2, mining both cobalt and silver as you go.
Cobalt appears as the same blue ore underground as it does on the surface. Because enemies hit harder in these regions, carrying a crossbow and plenty of arrows makes a noticeable difference; you can thin out yetis and wolves from a distance before closing in.
Mechanically, cobalt gear tends to trade different defensive stats and bonuses compared with thorium at a similar health increase. That allows you to choose between resistances and special effects rather than chasing a single “best” set.
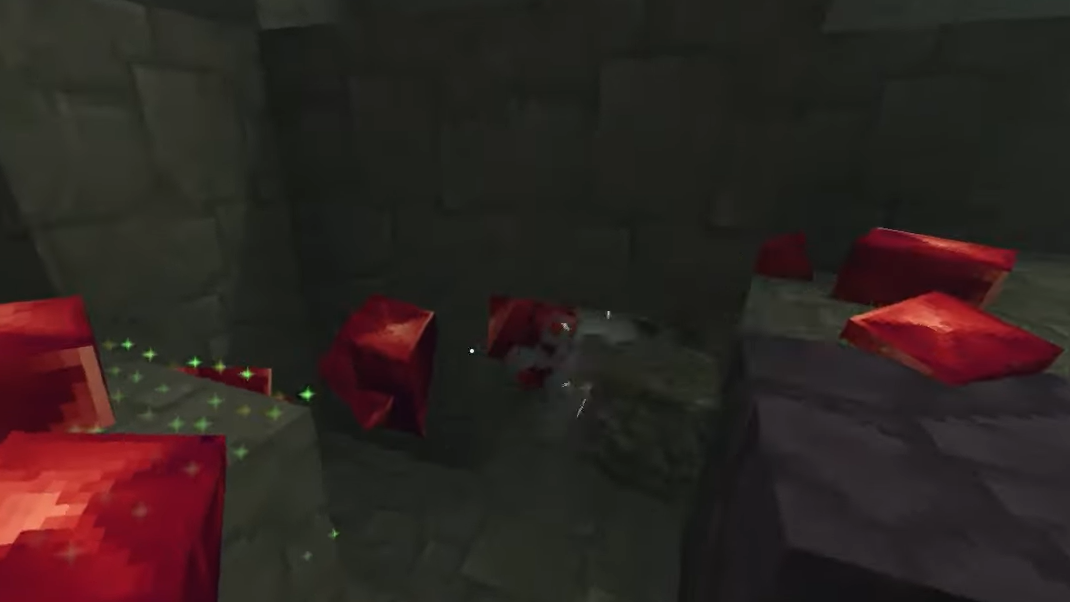
Adamantite locations on volcanic islands and Cinder Waste
Adamantite is the current endgame metal in Hytale early access. It powers the strongest tools and armor available and lives entirely in the most hostile regions of the map.
Where adamantite spawns. Adamantite can be found in and around Volcanic Islands—the lava-dominated landmasses that sit out in open water. Within those islands, the best places to look are:
- The Cinder Waste, the red and purple surface region around lava pools
- Exposed veins along cliffs and ravines in those lava areas
- Underground cave networks beneath the volcanic surface
- The final cave layer beneath lava zones, which opens into a lush subterranean jungle
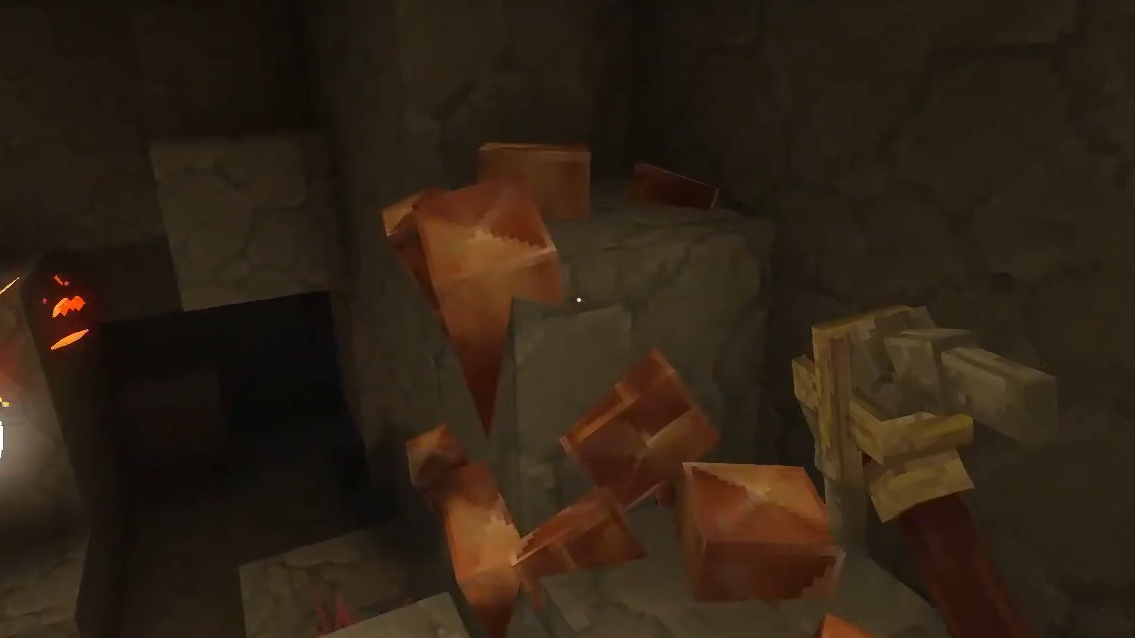
On the surface, adamantite is hard to miss: vivid red ore nodes that stand out against the dark volcanic rock. It is often scattered along “river”-like channels of corrupted red or purple terrain near lava.
Step 1: Wait until you are in full thorium or cobalt gear with good weapons before attempting adamantite. Bring generous food, healing, and ranged weapons.
Step 2: Swim or sail to a Volcanic Island region. Once you land, move toward the red/purple Cinder Waste zone where lava pools cluster.
Step 3: Sweep the edges of lava pools and ravines, mining any bright red adamantite nodes you can safely reach. Stay aware of footing; a misstep into lava can wipe an entire trip’s progress.
Step 4: For larger hauls, dig down through the volcanic layers to the final cave level. Beneath the usual lava zone, these islands can open into huge underground jungles with beaches, bungalows, and dense pockets of ore, including adamantite, cobalt, and silver.
Structurally, the main bottleneck for adamantite progression is often workstation upgrade requirements rather than the ore itself. The surface and deep caves of volcanic regions are surprisingly generous with nodes once you can survive there.
Mithril: current rare spawns and drops
Mithril sits beyond the main copper–iron–thorium/cobalt–adamantite ladder. It does exist in early access but does not yet have a clear, reliable farming loop at the same level as other ores.
Players have found Mithril:
- In scattered nodes on the bottom layers of Volcanic Islands (zone 4 regions)
- In caves underneath tundra biomes
- As rare drops from certain volcanic island enemies, including boss-class skeletons
The current advice is simple: treat Mithril as a rare bonus while you focus on the guaranteed ores. Mine it whenever you see it and loot it from high-end mobs, but do not plan your entire route around it yet.
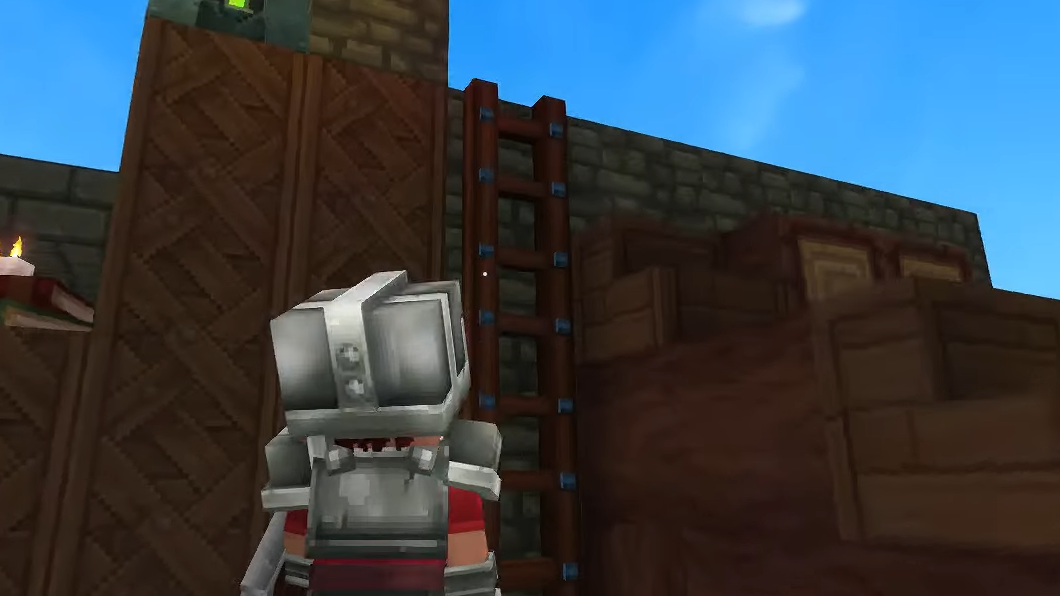
Safe vertical mining and why ladders matter
Moving between cave layers efficiently is as important as knowing which biome to be in. The fastest way to hit mid and lower layers is to dig largely straight down, but that is only safe if you control your descent.
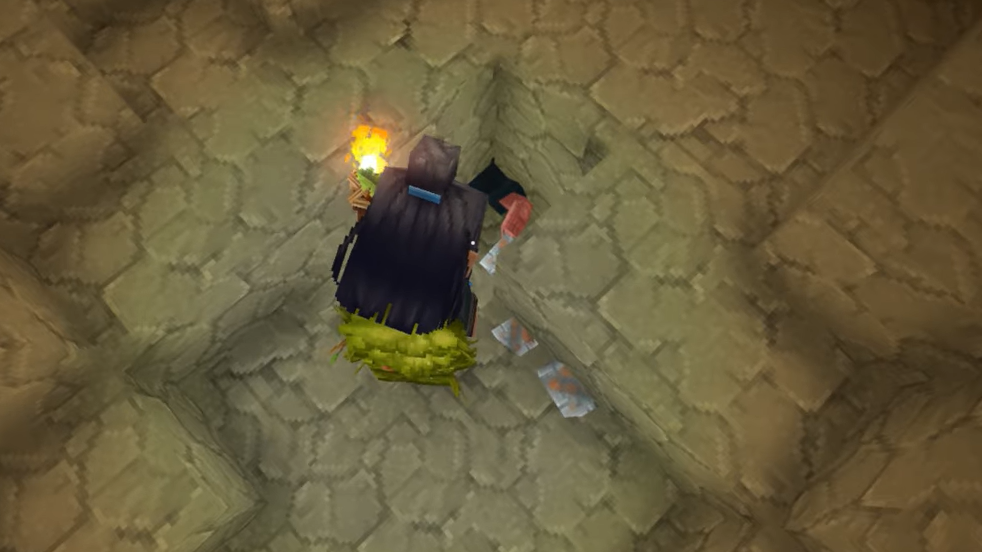
Step 1: Craft a large stack of ladders before any major mining trip. Ladders are cheap compared with the time you save.
Step 2: Start a vertical shaft in a safe area near your base or at the edge of your target biome. Drop into the shaft and immediately place ladders on one wall as you descend.
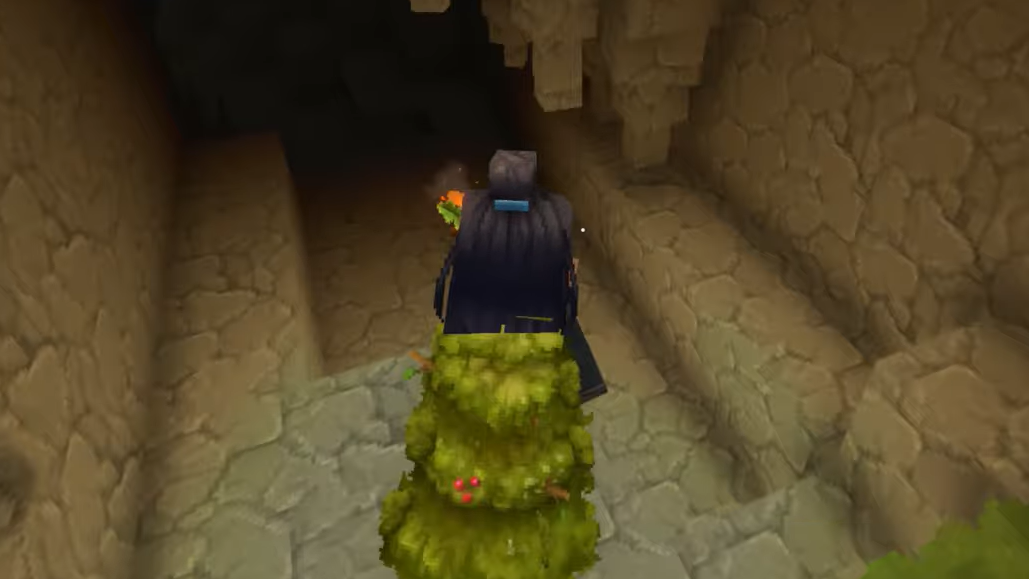
Step 3: While standing on a ladder, continue mining the blocks beneath you. Hytale allows you to break blocks and place additional ladders while attached to the ladder, so you can extend the shaft continuously.
Step 4: If you break into an open cave, bridge gaps with blocks and extend your ladder line across before resuming the descent on the other side.
Lava only appears in the final layer, so a controlled vertical shaft with ladders is a practical way to reach ore-rich depths without getting surprise-dropped into molten pools. Once your shaft hits the target layer for a given biome, you can branch mine horizontally from that central elevator.
Hytale’s ore progression is less about memorizing exact coordinates and more about understanding the relationship between tier, biome, and depth. Copper and iron live close to home in early caves and deserts, thorium and cobalt ask you to specialize into hot or cold regions, and adamantite and Mithril wait at the edges of the map, deep under volcanic islands and tundra. With a reliable ladder shaft, a pack horse, and a base stocked with chests near your mining routes, the climb from crude tools to endgame metal becomes a steady, predictable loop instead of a guessing game.