
Mining is one of the fastest ways to power up in Hytale. Eight different ores are spread across Orbis, and each one is tied to specific zones and biomes. Knowing where to go and what pickaxe to bring saves a lot of wandering and wasted trips back to base.
All ore types in Hytale
Hytale features eight mineable metal ores that feed into its crafting and progression systems:
- Copper
- Iron
- Cobalt
- Silver
- Gold
- Thorium
- Mithril
- Adamantite
Ore blocks generate both underground and on exposed surfaces such as cliff faces or mountain sides. Once mined, they can be smelted into bars and then turned into weapons and armor. In general, rarer ores craft stronger gear, and they appear deeper in the world or in more dangerous regions.
Pickaxes and mining requirements
Every ore can be mined with an Iron Pickaxe. That makes iron tools a safe long-term choice if you do not want to carry multiple pickaxes.
For early progression:
- The starting Crude Pickaxe can mine Copper and Iron.
- Iron Pickaxe is recommended for Cobalt, Silver, Gold, Thorium, Mithril, and Adamantite.
Copper ore locations and basic smelting
Where copper spawns
Copper is your entry-level metal and the first meaningful upgrade from starter tools and clothes.
- Found in Zone 1, the starting forest biome where you spawn.
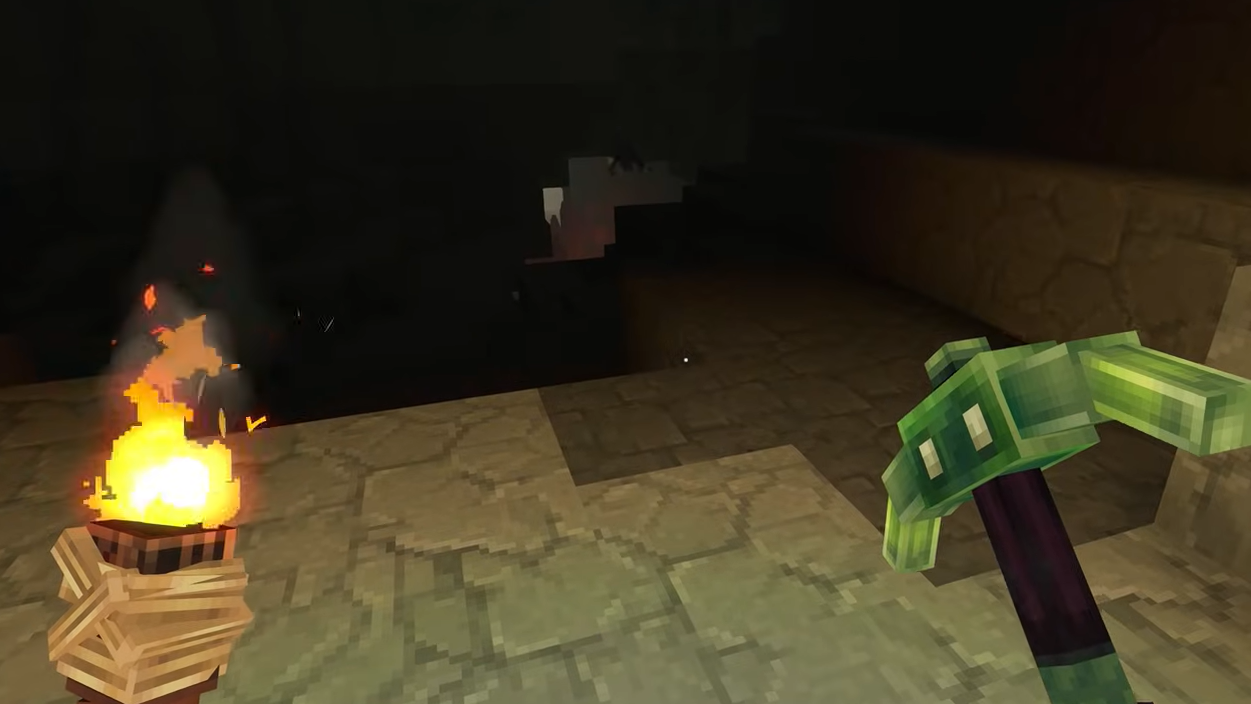
- Common inside caves and underground caverns rather than on open ground.
- Appears as stone blocks with distinct brown copper fragments protruding from the surface.
You can mine copper with a Crude Pickaxe or anything stronger. It is especially useful for early armor and basic weapons.

Getting to your first copper vein
Step 1: Craft a Crude Pickaxe using 2 rubble, 2 plant fiber, and 2 sticks. Rubble looks like small pebbles near larger rocks; plant fiber comes from plants or grass, and sticks drop from foliage or small trees.
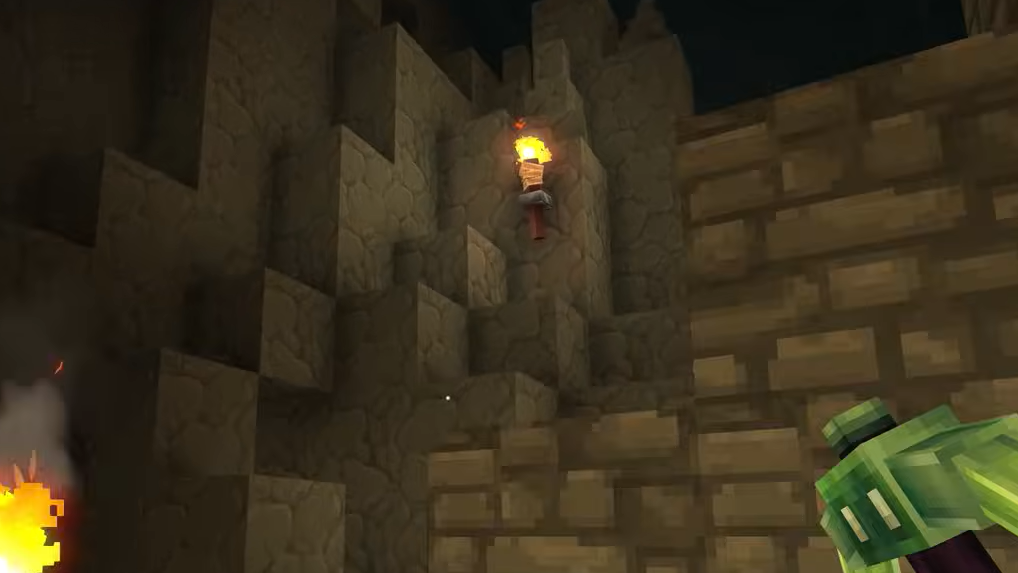
Step 2: Explore the surrounding terrain and look for cave entrances or dig straight down carefully until you break into a natural cavern or a large cave.
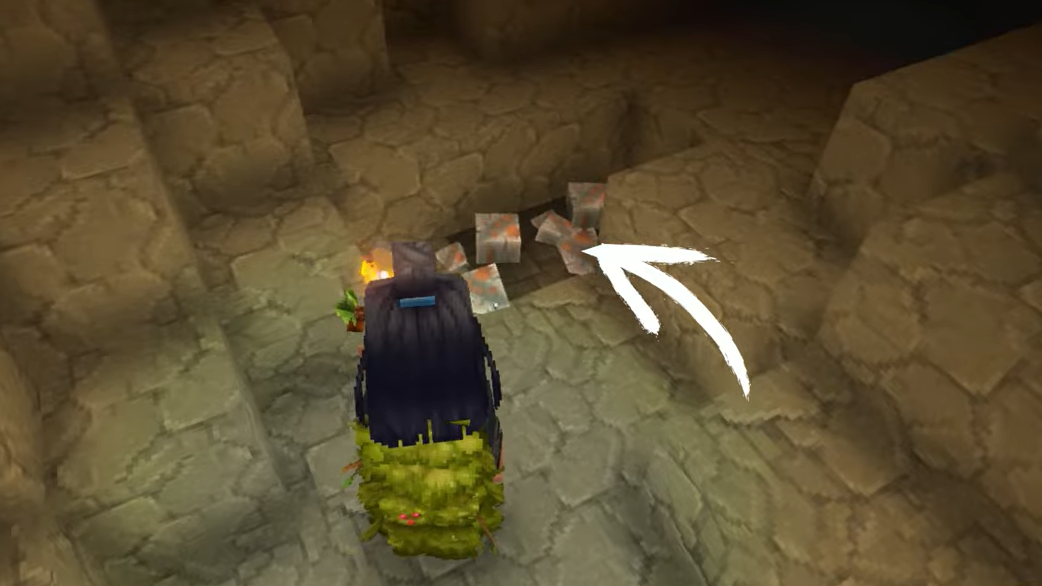
Step 3: Once underground, scan the walls and floors for the brown-flecked copper blocks. Mine every exposed vein you see and let the ore drops fall to the ground so you can collect them.
For an efficient first run, aim for roughly 10–15 copper ore before returning to your base. That is enough to cover starter tools and a bit of armor.
Crafting a Workbench and Furnace
To turn raw copper into usable ingots, you need a Workbench and a Furnace.
Step 1: Build a Workbench from your inventory using 4 of any Tree Trunk and 3 of any Stone. Tree Trunks come from chopping down trees with a crude hatchet; stone comes from mining regular rock blocks.

Step 2: Place the Workbench at your base and interact with it to unlock expanded crafting menus, including smelting infrastructure.
Step 3: Craft a Furnace using 6 Tree Trunks and 6 Stone. Place it near your Workbench for easy access.
Smelting copper into ingots
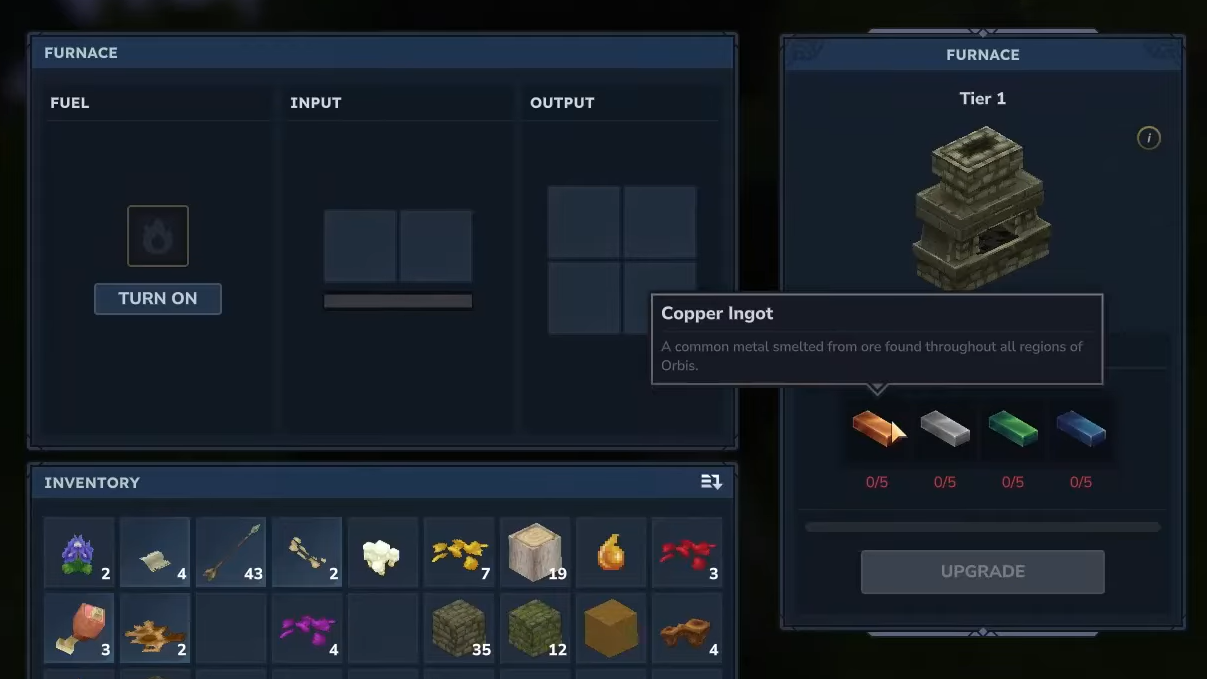
Step 1: Interact with the Furnace. You will see a Fuel slot, an Input area, and an Output area.
Step 2: Place Tree Trunks or other burnable fuel into the Fuel slot and start the furnace so the fire is active.
Step 3: Put your copper ore into the Input area and wait while the Furnace converts it into copper ingots. When the process finishes, move the ingots from the Output area into your inventory.
Those ingots can now be used at the Workbench to craft copper tools, weapons, and armor pieces for a much smoother early game.
Iron ore locations (Howling Sands and early caves)
Iron is the baseline for “serious” mining in Hytale. It unlocks the Iron Pickaxe, which can handle every ore tier found so far.
Where iron spawns
- Appears in Zone 1, including caves beneath the starting forest biome.
- Heavily concentrated in Howling Sands, a desert region (Zone 2) with sand dunes and sandstone formations.
- Common inside caves throughout Howling Sands and in underground areas beneath the desert.
Once in Howling Sands, moving deeper into the desert and following cave systems usually yields richer iron deposits. Some iron can also appear exposed on cliff faces or rock walls.
Tool requirement
Iron ore can be mined with the starting Crude Pickaxe, but a Copper Pickaxe or better speeds things up. Carry at least one reliable pickaxe before committing to long cave routes in the desert.
Gold and Thorium ore locations (desert rock formations)
Gold and Thorium sit a step above iron in rarity and value. Both are tied to the same desert zone as iron, but they show up in slightly different spots.
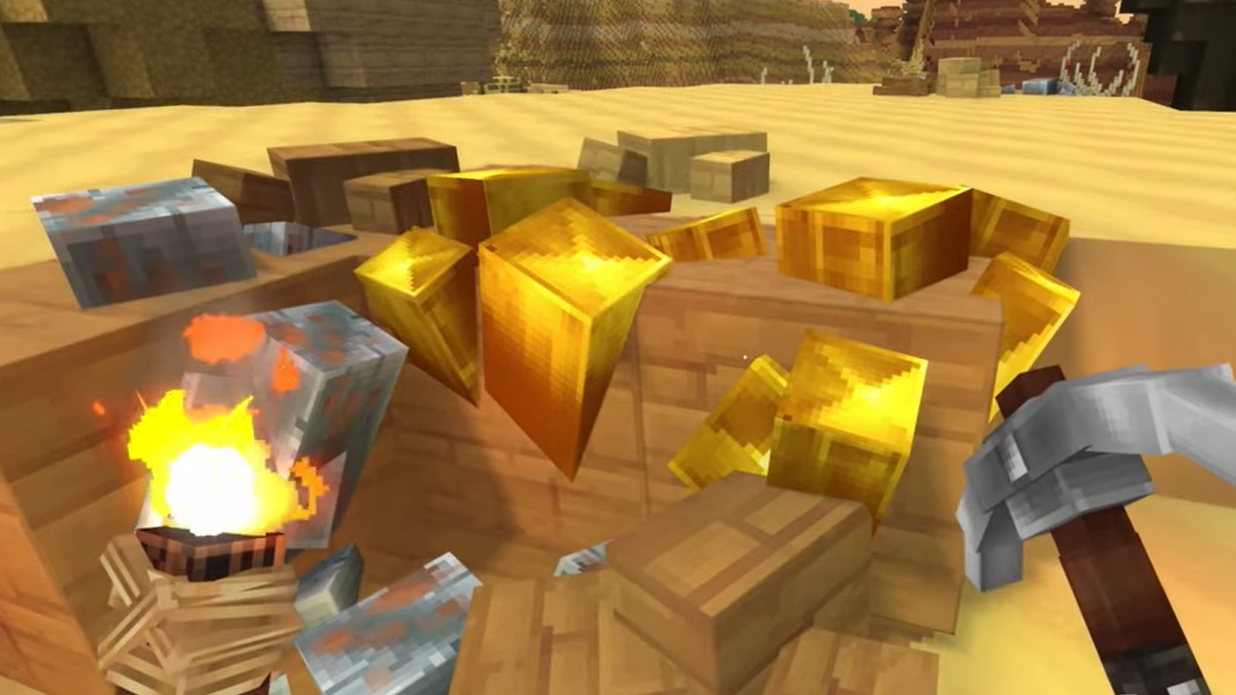
Where gold spawns
- Found in the Howling Sands desert region.
- Clustered around rock formations that resemble mushrooms when viewed from above on the map.
- Often located on the surface of these rock “caps” rather than deep underground.
Gold ore has a bright, shiny appearance that stands out against sandstone. An Iron Pickaxe mines it quickly.
Where Thorium spawns
- Also linked to Howling Sands.
- Common in caves and along desert cliffsides.
- Recognizable by its shiny green glow, which makes it easy to notice even at a distance in darker areas.
Exploring the edges of ravines, cliff walls, and the interior of desert caves is an efficient way to gather both gold and Thorium in a single run, especially once you already have an Iron Pickaxe from earlier iron mining.
Cobalt and Silver ore locations (snow biome)
Cobalt and Silver push you into colder territory. Both sit in the same general region and use similar visual cues, which makes combined runs efficient.
Where Cobalt spawns
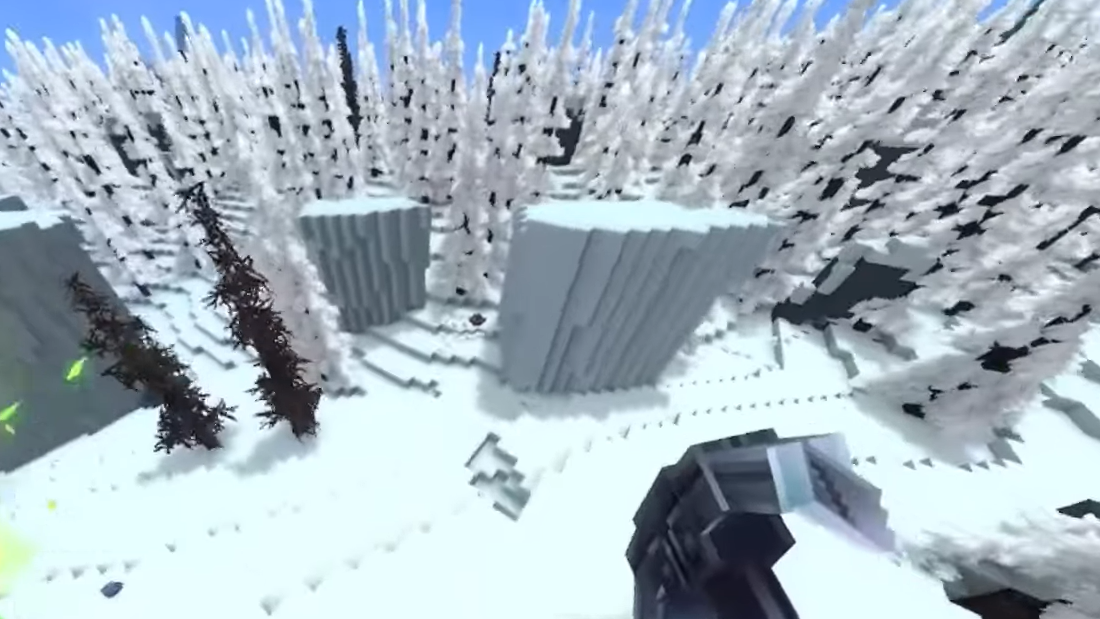
- Located in the Snow Biome, which lies in a colder zone than the starting forests and deserts.
- Found inside caves and on the sides of mountains and cliffs.
- Shows up as ore blocks with a dark blue coloration.
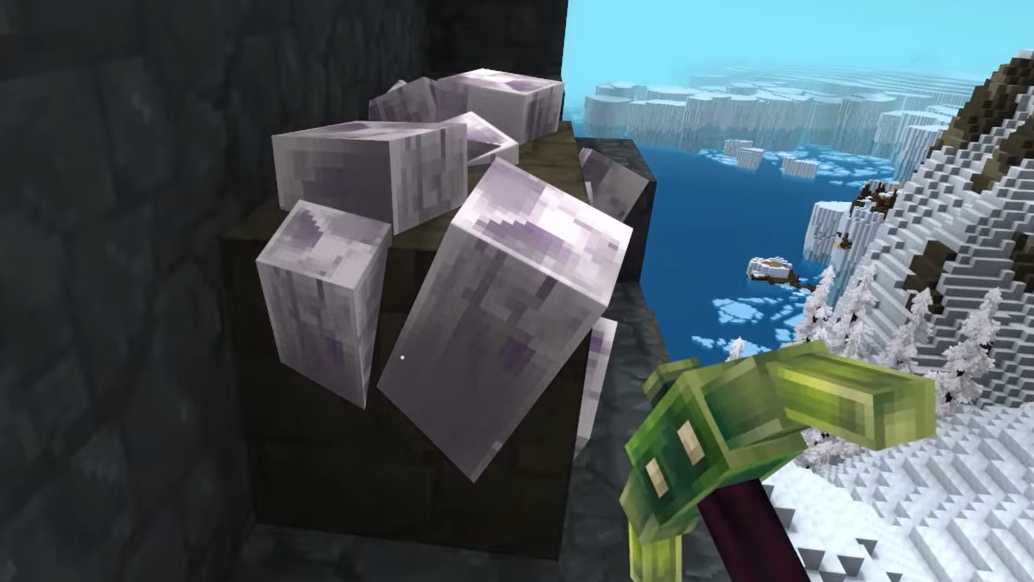
Where Silver spawns
- Also spawns in the Snow Biome.
- Appears both in underground cave systems and on mountain surfaces, often near Cobalt.
- Stands out with a bright, shiny metallic look.
Tool requirement and search strategy
Both Cobalt and Silver should be mined with an Iron Pickaxe. When exploring the Snow Biome, look for large mountain chains and explore their sides and interiors. Climbing high ridges exposes wide rock faces where Cobalt veins can appear; cave networks below often hold Silver veins.
Mithril ore locations (Zone 4 Tundra and Volcano)
Mithril sits near the top of Hytale’s ore ladder. It is both rarer and more dangerous to acquire than the earlier metals.
Where Mithril spawns
- Found in Zone 4, particularly in Tundra and Volcano biomes.
- Appears as ore veins in the rocky and volcanic terrain of these regions.
Zone 4 is significantly more hostile than early zones, so expect tougher enemies when hunting for Mithril.
Boss drop source
Mithril is not limited to ore veins. A large skeleton boss in Zone 4 also drops Mithril ore when defeated, giving combat-focused players another path to the material without relying solely on mining.
Adamantite ore locations (Cinder Islands and lava pockets)
Adamantite is one of the rarest and most dangerous ores to collect. It shares Zone 4 with Mithril but appears in more extreme terrain.
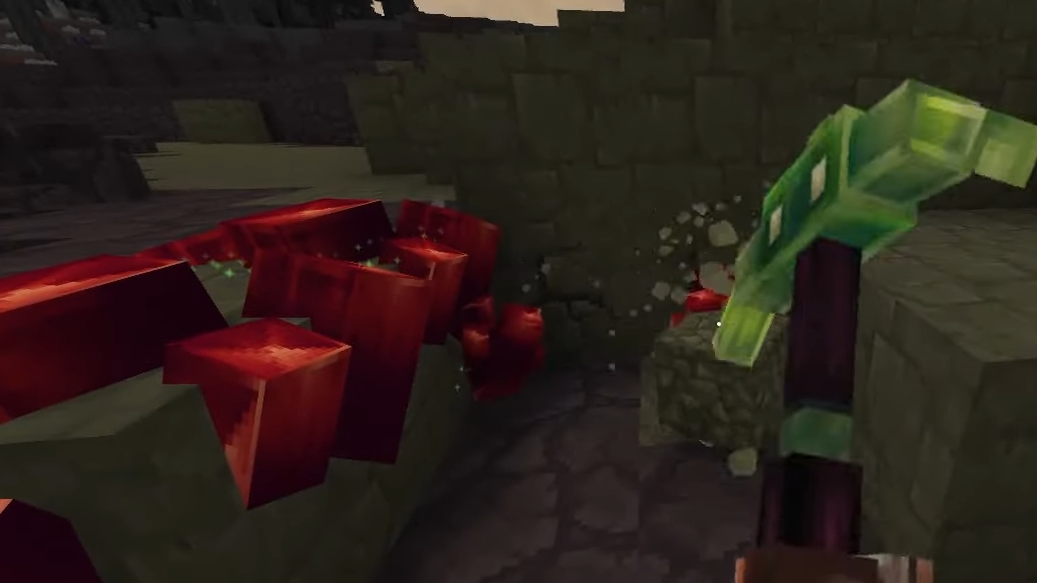
Where Adamantite spawns
- Found in Zone 4, with strong concentration in the Cinder Islands area.
- Appears around and above lava pockets, both on the surface and underground.
- Recognizable as stone blocks with red fragments or spikes embedded in them.
Tool requirement
You need at least an Iron Pickaxe to mine Adamantite. Using a higher-tier metal pickaxe is safer and faster, especially given the hostile environment and the risk of falling into lava.
Search strategy
When you reach the Cinder Islands, seek out visible lava pools and follow them along their edges. Adamantite often generates in the stone surrounding these pools. Digging beneath or behind lava pockets can reveal additional veins, but be careful not to break blocks that allow lava to flood your tunnel.
Mining workflow and progression tips
Because ore locations are tied tightly to zones, mining is naturally woven into Hytale’s world progression.
- Start in Zone 1 caves to secure Copper, then push into early desert caves for Iron.
- Use Iron gear to safely explore Howling Sands rock formations for Gold and Thorium.
- Move on to the Snow Biome once you have solid armor, collecting Cobalt and Silver on mountains and in ice caves.
- With strong equipment and plenty of healing items, venture into Zone 4 for Mithril and Adamantite, using both mining and boss drops where available.
Keeping a Furnace and Workbench active at your base, plus an Iron Pickaxe in your inventory, lets you convert every ore vein you find into a direct upgrade path. Once that loop is in place, each new biome and zone becomes less of a wall and more of an opportunity to climb into the next tier of tools and armor.