
Hytale does not drop you straight into a random landscape. Every session starts with a world you define, from its core mode to how harsh death feels. A few minutes on the setup screen determines whether the game plays like a relaxed sandbox or a punishing survival run.
World generators and what they mean for new worlds
Hytale currently uses two generations of world tech. The first generator, often called V1, was built between 2016 and 2020 and already supports a wide range of biomes and content in Exploration mode. A newer system, V2, has been in development since 2021 to support more complex zones, better biome control, and deeper creator tools.
Exploration mode launches on V1 because it is content-ready today. Over time, the V2 generator will take over as the main way the game builds its world of Orbis. Existing V1 worlds will remain accessible even after V1 stops generating new chunks, so anything you create now is not discarded when the tech stack moves forward.
Players can already encounter early V2 content through Gateways inside Exploration worlds, visiting fragments of Orbis that are still under construction. Later, a dedicated pre-release build will be used to test the full Orbis experience built on V2.

How to create a world in Hytale
Step 1: Launch Hytale and wait until the Home Screen loads. From here, you control all game modes and world management.
Step 2: Select the Worlds option in the main menu. This opens the list of worlds you have already created and the controls to add new ones.
Step 3: Choose the game mode for the new world. During Early Access you will see Exploration and Creative as playable options, while Adventure is listed but unavailable.
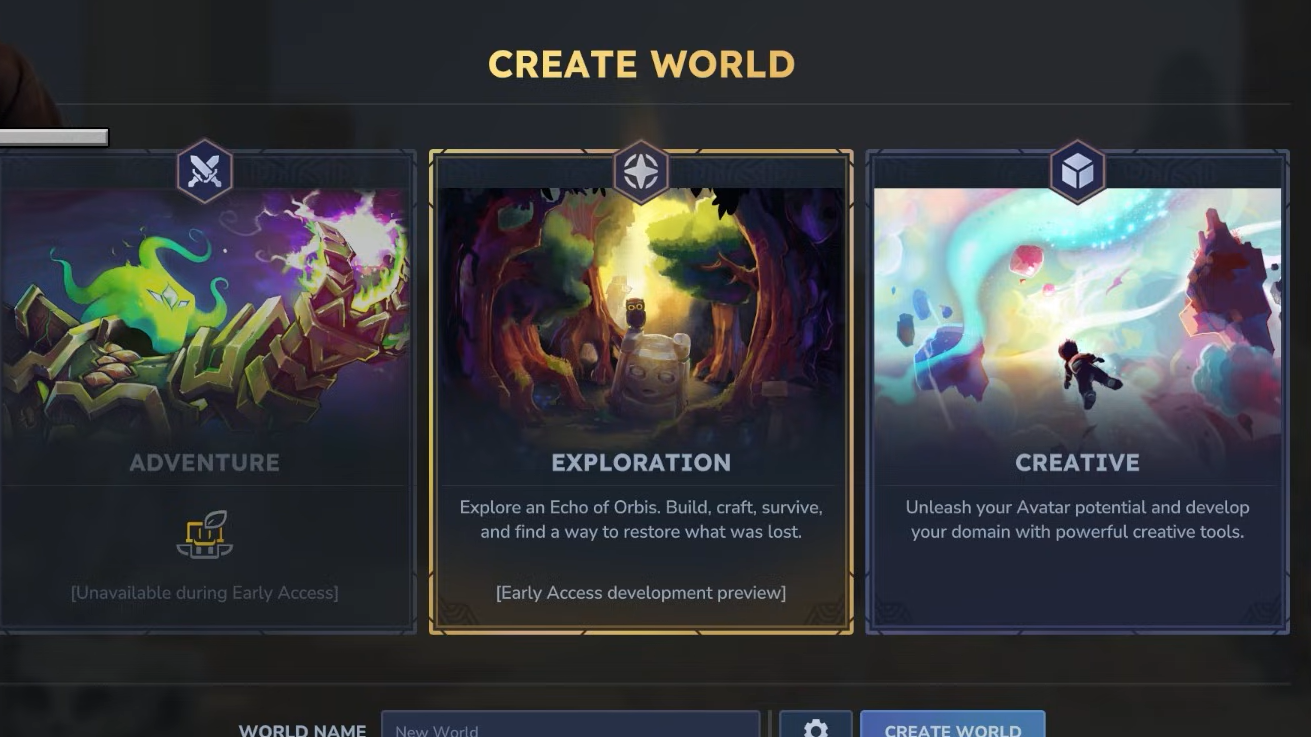
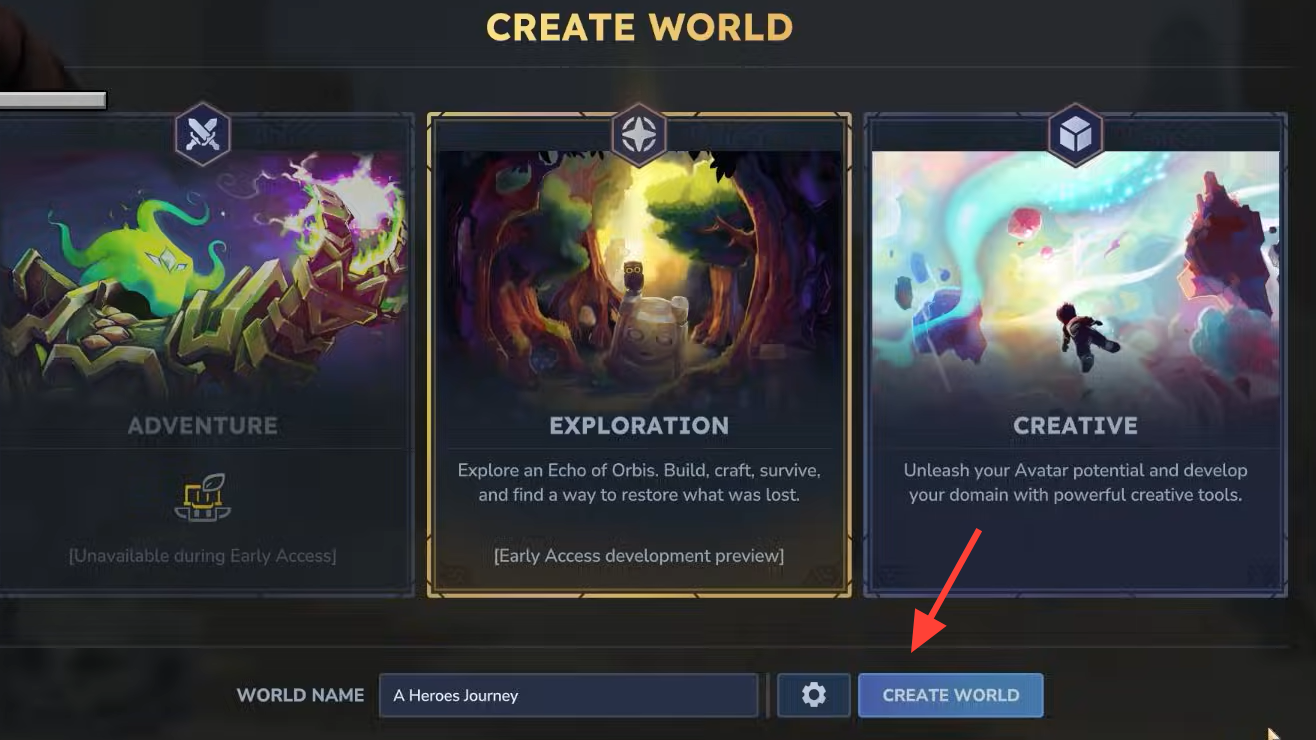
Step 4: Enter a World Name in the text box. This is how the save will appear in your Worlds list, so pick something you can easily recognize.
Step 5: Click the gear icon under the mode portrait to open the world settings panel. This is where difficulty, penalties, and time behavior are configured.
Step 6: Adjust the settings you want for this world, then select Apply Settings. Changes are not stored until you confirm them here.
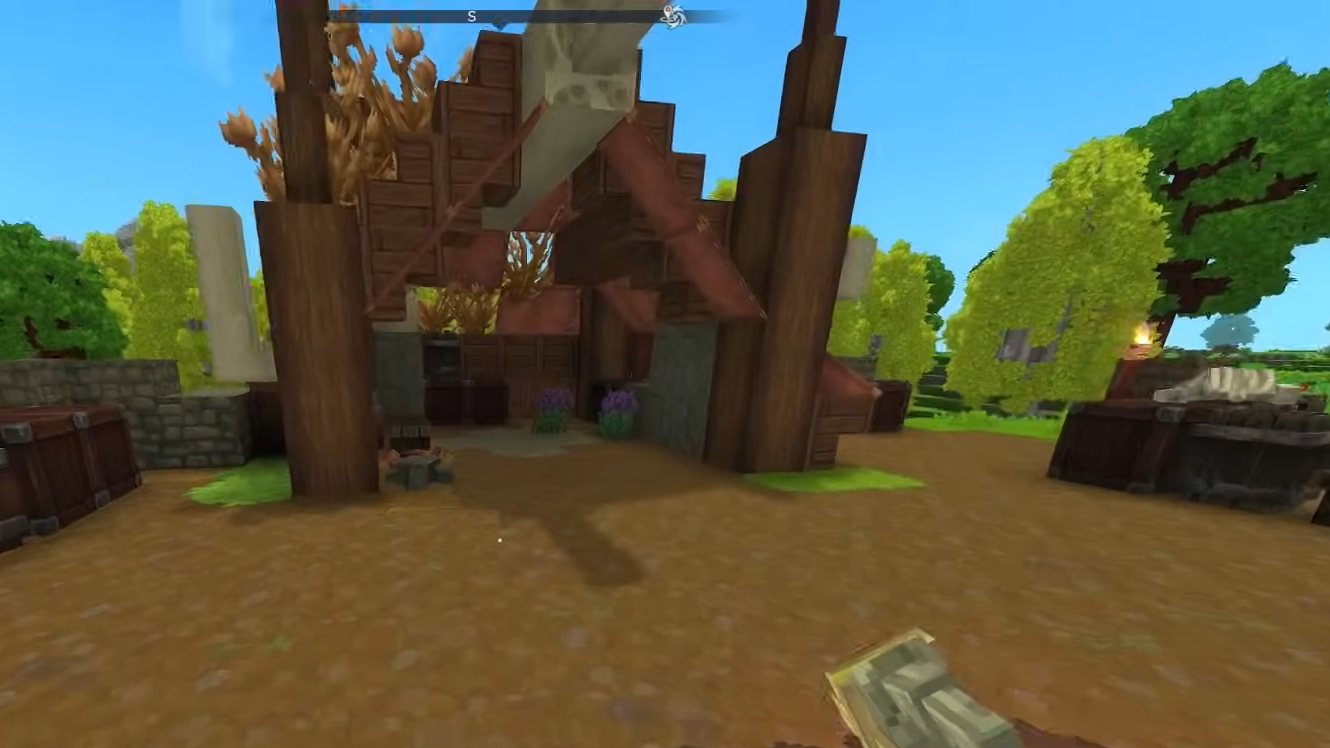
Step 7: Choose Create World. The game will show a loading bar and a “booting server” style message while the world is generated. Once loading finishes, you enter the world and can begin playing.
Exploration mode world settings
Exploration mode is built for survival-style play: roaming, fighting, gathering, and progressing. Its settings let you adjust how punishing or relaxed that survival feels.
World Name is the label for your save. It does not affect gameplay, but it keeps your sessions organized if you maintain multiple runs with different rules.
PvP controls whether players can damage each other. Enabling it turns the world into a shared survival or competitive space; disabling it keeps all combat focused on the environment and NPC enemies.
Fall Damage decides if falling from a height reduces health. With fall damage on, long drops can kill outright, which makes cliffs, caves, and tall builds significantly riskier. Turning it off removes that risk entirely, which is helpful for casual group sessions or building-focused play within Exploration.
Day/Night Cycle adjusts how fast time passes. The options include 0.5x, 0.75x, 1x (the default speed), 1.5x, and 2x. Slower cycles give you more real-world time per in-game day for gathering and building, while faster cycles bring night (and everything it implies) around more often.
Inventory Penalty on Death defines what happens to your items when you die. Three choices are available:
- None keeps your inventory intact after death. There is no item loss, only a time setback.
- Drop All places every carried item on the ground at the death location. You must return to recover them, and failure to do so means permanent loss.
- Partial Drop splits the penalty between losing some items and degrading others, with extra sliders to fine-tune the impact.
When Partial Drop is selected, two additional controls appear. Resource Loss % on Death specifies what percentage of your carried resources you lose permanently when you die. Durability Loss % on Death defines how much wear is applied to your items, increasing the chance that gear must be repaired or replaced over time. Both of these sliders only apply under the Partial Drop option and are ignored for None and Drop All.
Combined, these settings can make Exploration mode feel like a gentle tour or a severe survival environment. Disabling fall damage, turning off PvP, and setting Inventory Penalty to None removes most friction. Enabling all penalties and raising loss percentages pushes the game toward high-stakes play where every encounter matters.
Creative mode world settings
Creative mode shifts Hytale into a construction and experimentation space. Combat and survival fade into the background so you can focus on building worlds, testing ideas, or prototyping content.
World Name again is only an identifier, but it is useful to distinguish different projects, such as a biome testbed versus a large collaborative build.
Creative Mode in the settings is a selector for three subtypes of creative worlds:
- Creative Hub places you in a hub area where you can access different biomes. It is a convenient starting point for sampling environments or staging builds in varied locations.
- Generated World creates a more traditional, procedurally built landscape for you to explore and edit, similar to Exploration but with creative tools active.
- Flat World gives you a largely empty, level plane. This is ideal for controlled builds, redstone-style logic experiments, or showcasing structures without terrain noise.
NPCs determine whether non-player characters are allowed to spawn in the creative world. Leaving NPCs enabled lets you test interactions, layouts, and combat spaces with living entities present. Disabling them keeps the environment clean and purely structural.
Pause Time stops the day/night cycle when enabled. With time paused, lighting stays fixed, which makes it easier to work on detailed builds, take consistent screenshots, or examine shadows and atmosphere without the sky changing around you.
Creative worlds also provide access to builder tools such as object spawning and developer-style utilities. These options are available regardless of whether you choose a hub, generated, or flat layout, which lets you carry the same toolset across different terrain contexts.

How world generation V2 changes creation for builders and modders
The V2 world generator does more than improve the raw look of landscapes. It is tightly connected to a visual node editor that lets creators shape terrain, biomes, and structures without writing code.
In the node editor, the world can live-reload in-game as you edit, so adjustments to terrain masks, materials, or placement rules appear directly in front of you. Biomes are treated like tiles that fit together inside zones, and zones themselves are tiles within the broader world. That structure makes it straightforward to slot in new content, such as an extra biome or a themed prefab set.
Terrain is controlled with high precision. Each biome can define its own height shapes, and transitions between biomes blend smoothly instead of cutting sharply. Near biome borders, special rules can further customize how cliffs, slopes, or riverbanks evolve.
Material choices are handled by configurable Material Provider nodes that consider context like block depth or the amount of empty space above. For example, you can ensure grass does not appear when there is less than a certain number of air blocks overhead, keeping underground spaces appropriately rocky.
On top of the terrain, props place local details such as vegetation, points of interest, and decorations. They are distributed over a procedural grid, and each potential placement uses rules to decide what fits best there. Content can come from prefabs or further procedural logic, depending on how much variety or control you want.
Every biome used in Orbis is planned to be shared with players, so you can open the official content in the node editor, dissect how it works, and blend it with your own creations. That same pipeline is also exposed to code-based mods through V2’s APIs, which are designed to plug into the node system and run across multiple threads automatically.

Editing and managing existing worlds
Worlds in Hytale are not fixed after that first configuration. Returning to the Worlds menu lets you revisit and manage earlier saves.
You can open a world’s settings again to change many of the options described above, then apply the new configuration going forward. You can also delete worlds you no longer need, or start fresh runs with different rules without touching your existing saves.
This flexibility lets you iterate quickly: create a forgiving Exploration world to learn the systems, then spin up a harsher variant with steeper death penalties once you are comfortable. Or maintain separate Creative worlds for biomes, flat showcases, and generated test environments, each with NPC and time behavior tuned to your goals.
Hytale’s world setup screen is more than a formality. Between mode selection, survival rules, and creative tools, it is the main lever you have to decide what kind of experience you want. A few deliberate choices there make the difference between a calm building session, a shared sandbox with friends, or a world where every fall and every death has real consequences.