
Jinming Pool: Petalfall Banquet is a Lost Chapter quest in Where Winds Meet set in Kaifeng's Jadewood Court area. This multi-stage mission involves infiltration, puzzle-solving, and a two-phase boss fight against Murong Yuan and her Wooden Eagle. Completing it unlocks the Vendetta Inner Way and rewards including the Eagle Ring accessory.
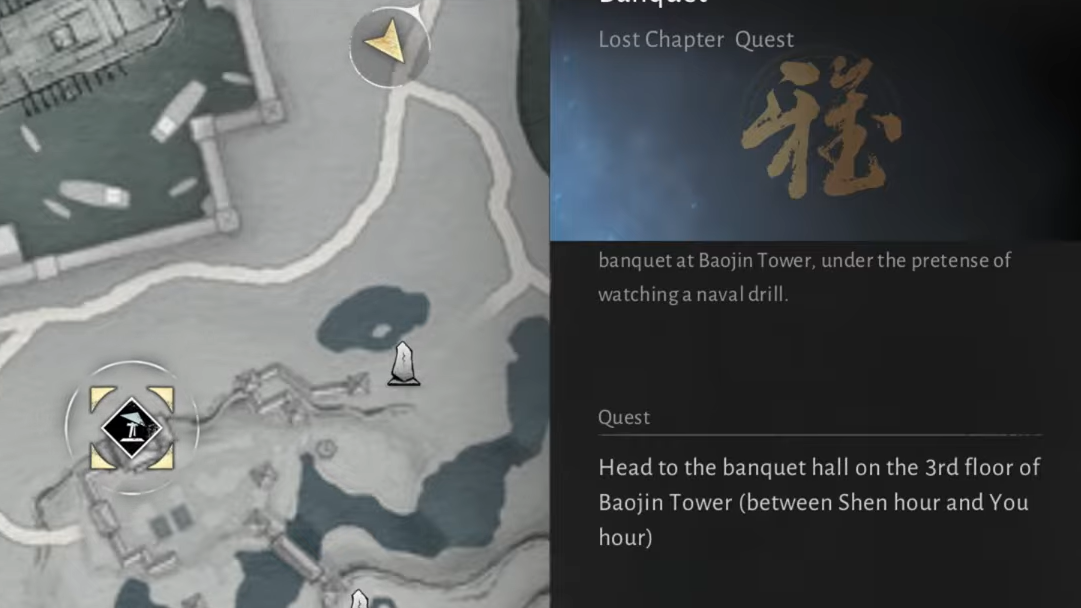
Quick answer: Start the quest by visiting the third floor of Baojin Tower between Shen Hour (15:00–17:00) and You Hour (17:00–19:00) after unlocking Kaifeng at level 32.
Quest Requirements and Starting Location
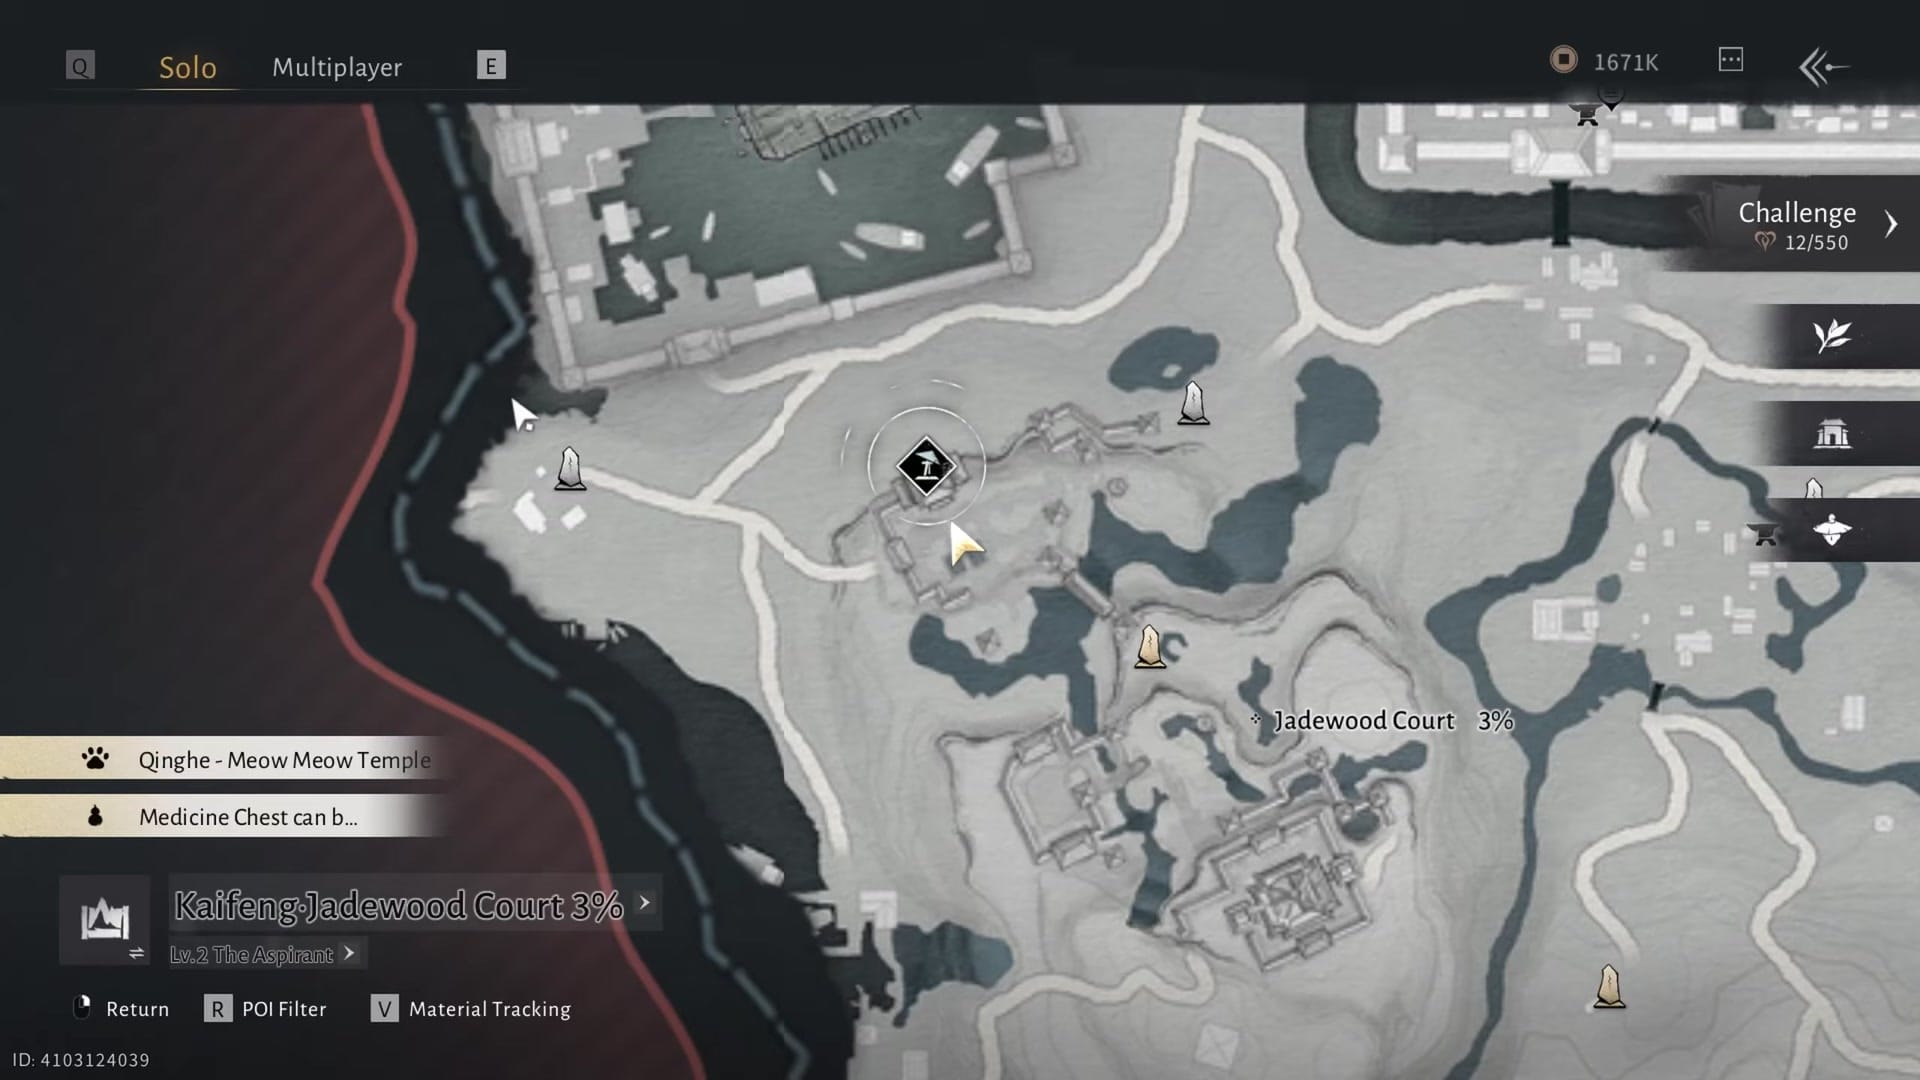
Jinming Pool becomes available after completing all main story quests in Kaifeng. The quest marker appears north of Jadewood Court. You must be at least level 32 to access the Kaifeng region.
Travel to Baojin Tower and ascend to the third floor. The quest will not trigger outside the designated time window—use the in-game time adjustment menu to set the hour to Shen or You if needed.
Banquet Preparation Phase
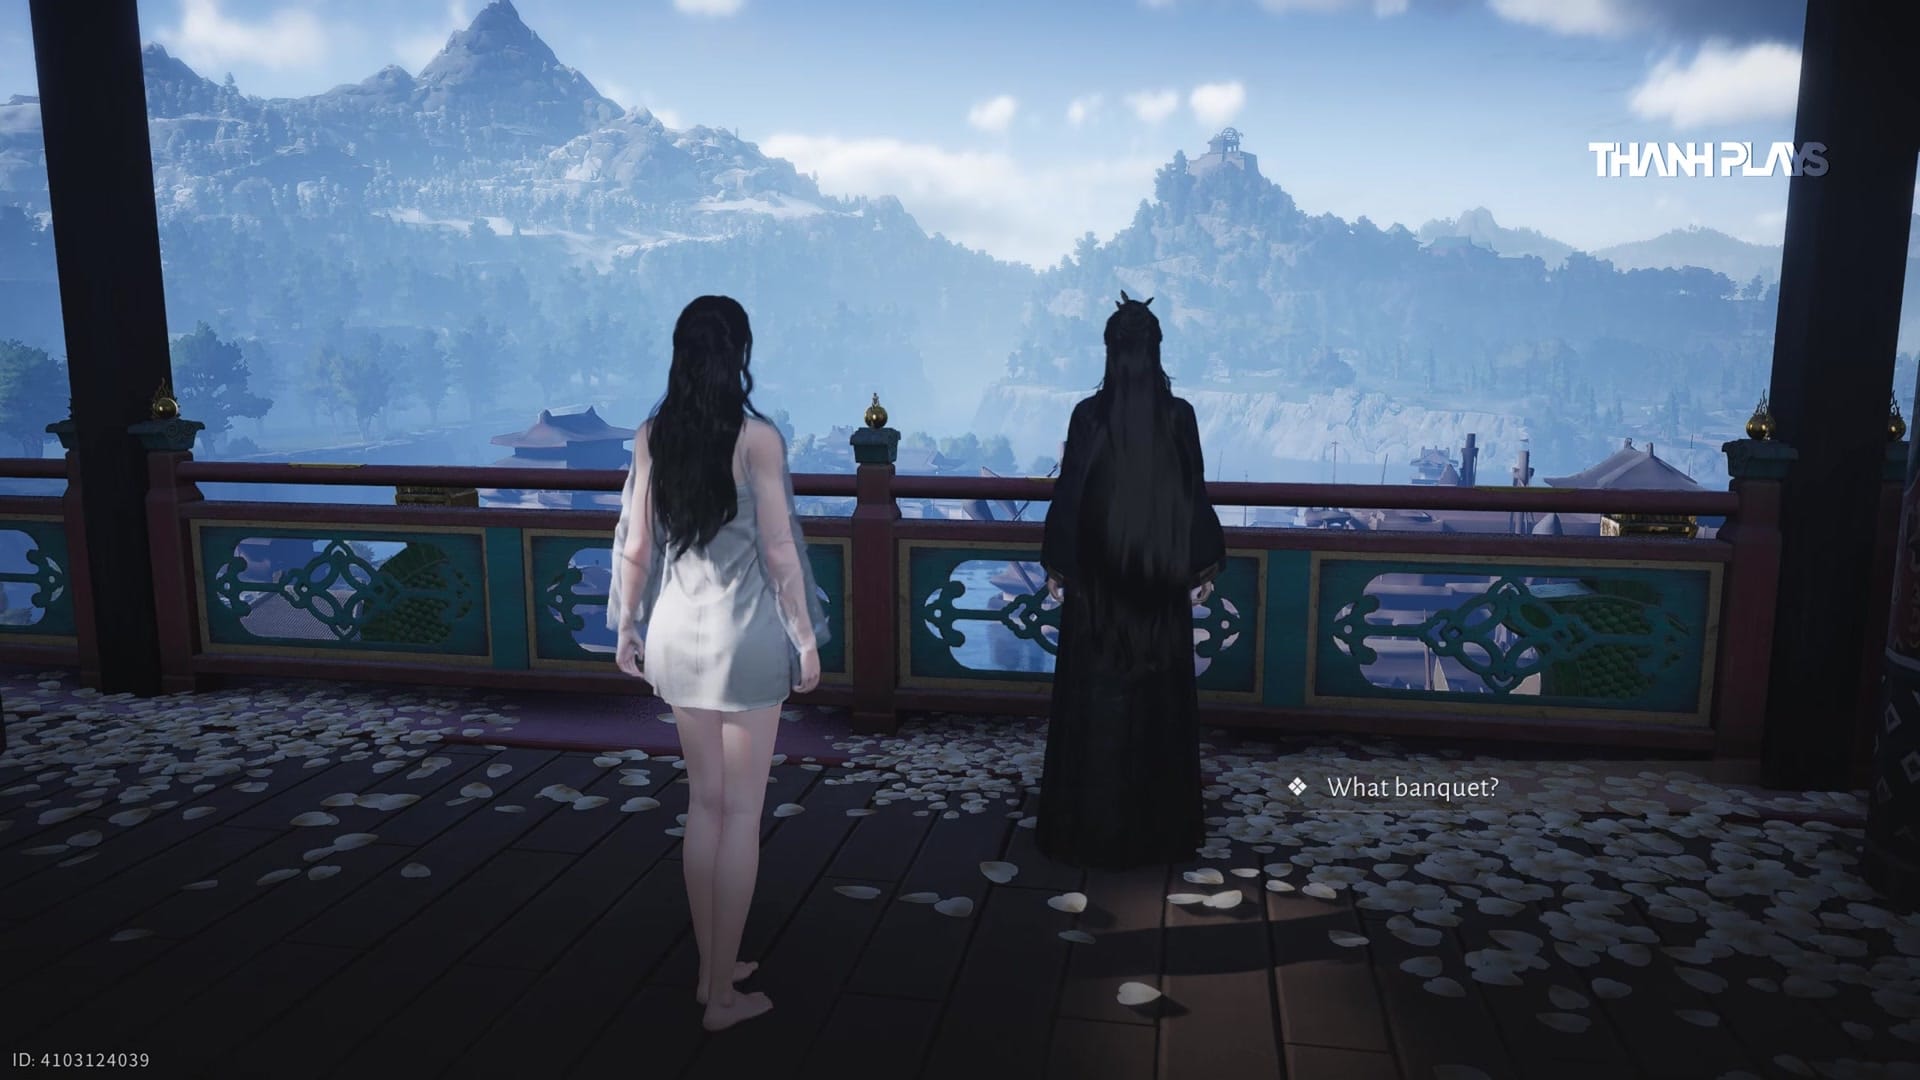
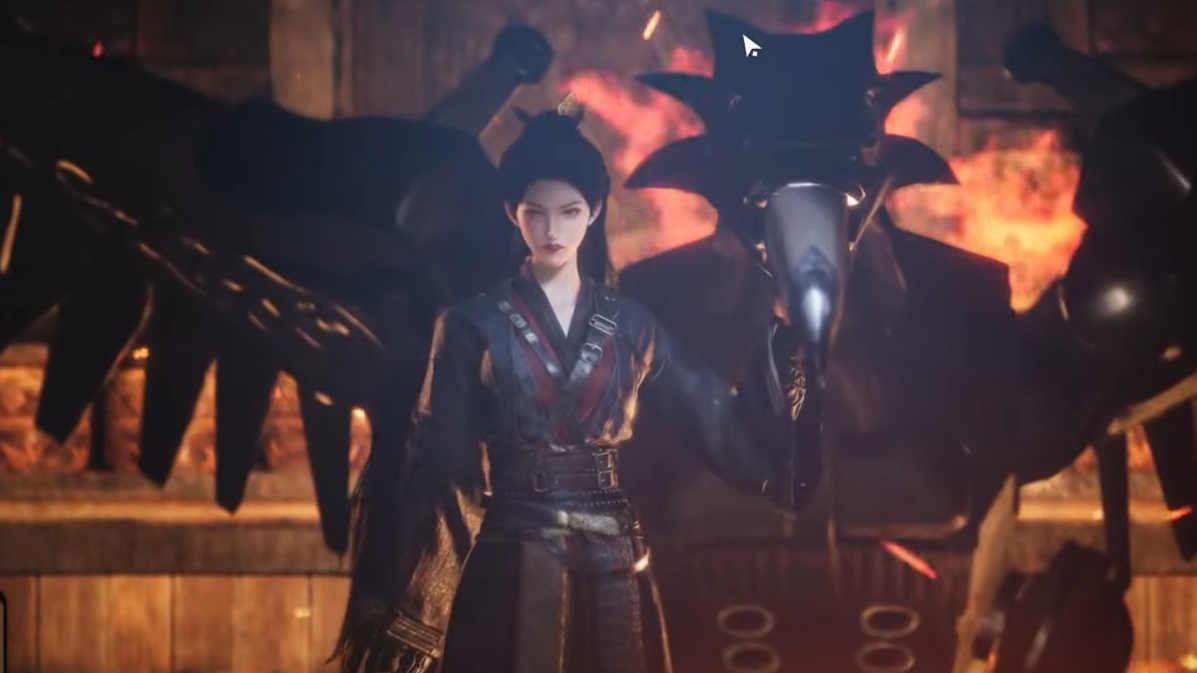
Step 1: Speak with Murong Yuan on the balcony overlooking Jinming Pool. She demonstrates her mechanical wooden bird and explains the naval drill banquet. Accept her request to deliver invitations to three guests.
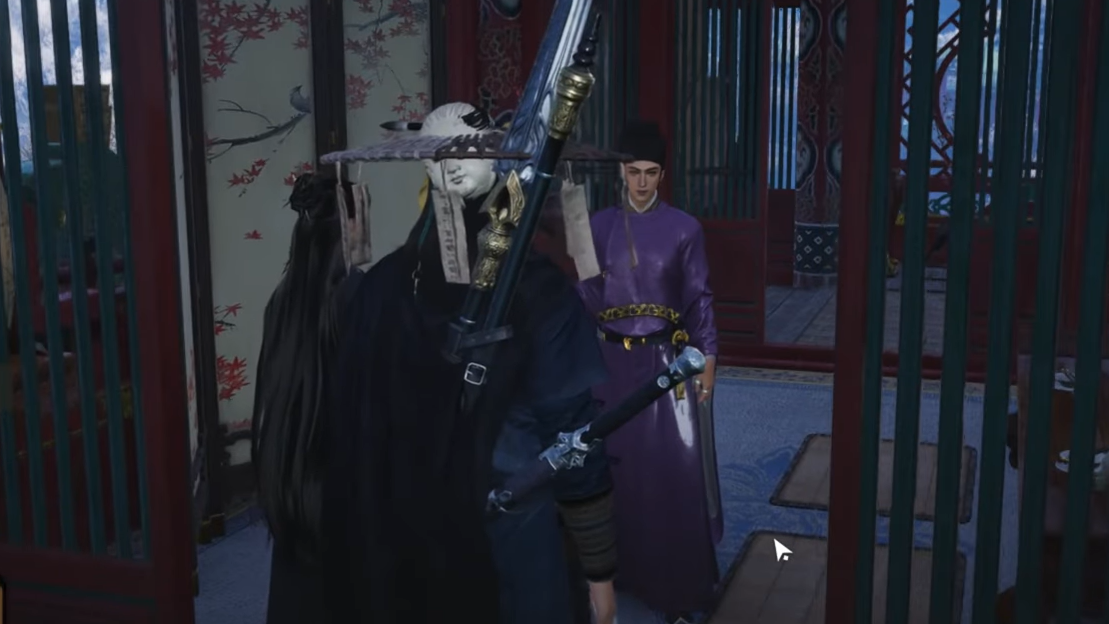
Step 2: Locate and invite the three guests at Jadewood Court. The envoy from Shu (Meng Xuanzhe), envoy from Tang (Gu Yi), and Black Armor General Shi Shouxin are all marked on your map. Speak to each in any order to deliver the invitations.
Step 3: Return to Baojin Tower and initiate the banquet. During the cutscene, repeatedly select the dialogue option to drink wine until the scene progresses. Zhao Guangyi will discuss the Quintadent Warship construction with the guests.
Step 4: After the banquet concludes, speak with Murong Yuan and Zhao Guangyi in the center of the hall. Murong Yuan will take you by boat to Jinming Pool—the boat travels automatically.
Jinming Pool Infiltration
Step 1: Climb the stairs at the observation platform and mark five surveillance points with Murong Yuan. These include a boat with soldiers, a building with soldiers, a patrol route, ship masts, and an underwater outlet. The map is disabled during this segment.
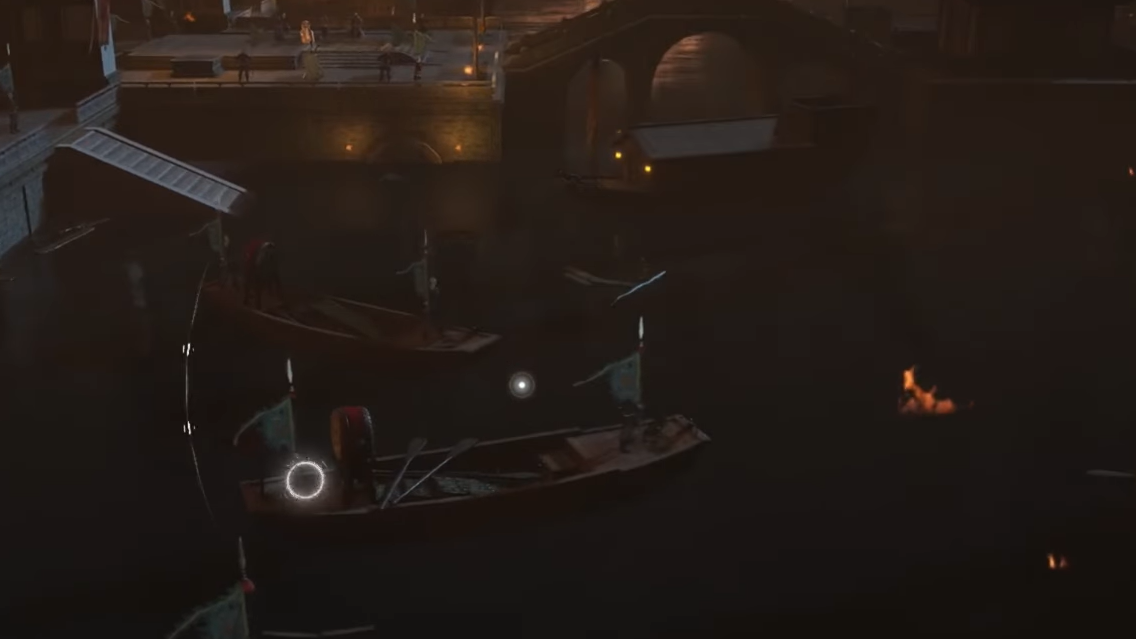
Step 2: Jump into the water and dive immediately to avoid detection. Swim to the underwater outlet directly beneath the palace square where the Shu envoy stands. A cutscene will trigger when you reach the correct position.
Step 3: Exit the water and climb onto nearby rooftops. Equip the Cloud Steps mystic skill to traverse jump points efficiently. Follow the Shu envoy as he moves across the rooftops, stopping periodically to converse with his bodyguard.
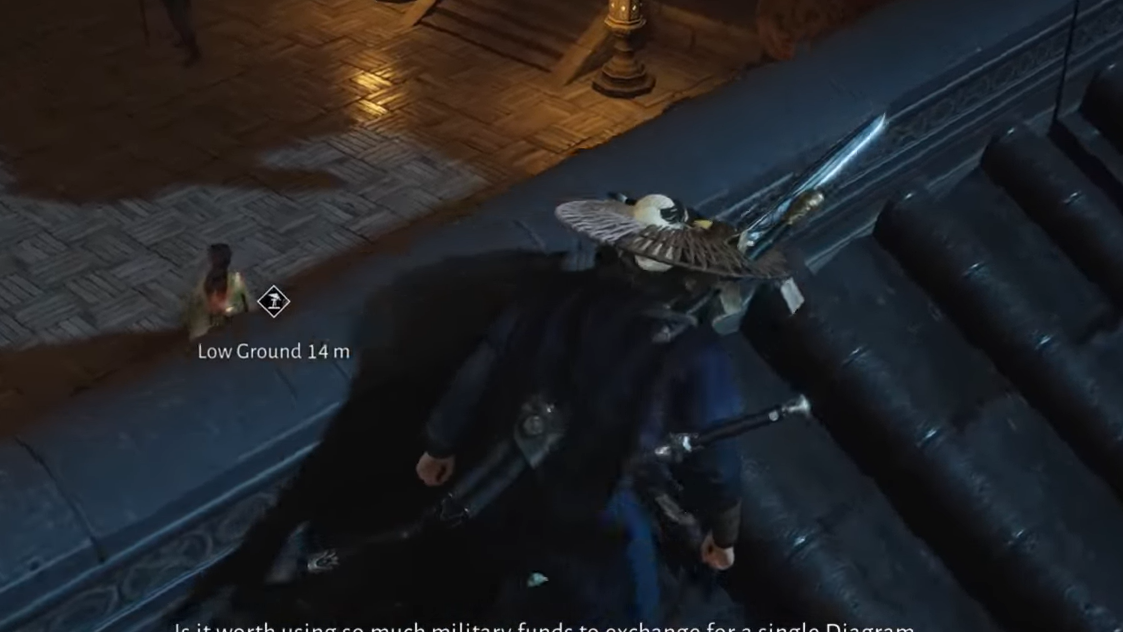
Step 4: Continue tracking the envoy until he reaches the docks. Use Cloud Steps to leap between boat masts and maintain visual contact. Alternatively, drop into the water and follow from below. A cutscene will play when he reaches his destination.
Boarding the Quintadent Warship
After the cutscene, you have five minutes to complete three objectives. Stealth is no longer required for this segment.
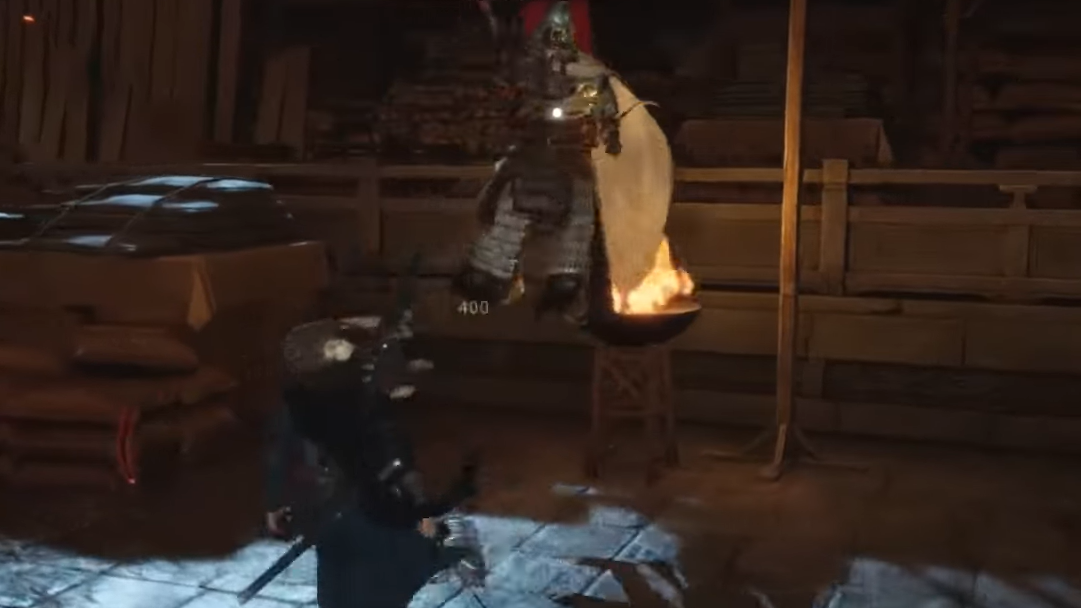
Step 1: Drop from the masts and approach the Shu envoy. Use the Touch of Death mystic skill to knock him unconscious and obtain the Boarding Tally. Use Cloud Steps to quickly cross the boats toward the next dock area.
Step 2: Proceed to the large dock area and defeat Commander Hao, the guard captain. He is supported by ranged soldiers, but they will stop fighting once Commander Hao is defeated. Collect the Guarding Tally from his body.
Step 3: Move to the next area and use the complete Tally at the marked location to activate the Flying Rope. Stand near the edge of the platform as it moves—standing in the center may cause you to fall through a bug. If you fall, use the lever to the right of the tally to recall the platform. Board the Quintadent Warship through the door.
Command Room Puzzle
Step 1: Navigate through the Living Cabin, using stealth or combat to bypass patrolling soldiers. Reach the large elevator and pull the lever to ascend to the Command Room.
Step 2: Interact with the gold bell to trigger a cutscene with General Murong Yanzhao. After the scene, examine the painting depicting a wheelchair-bound figure. Ask the General about each painting to learn the names associated with them—these names correspond to statues you must place.
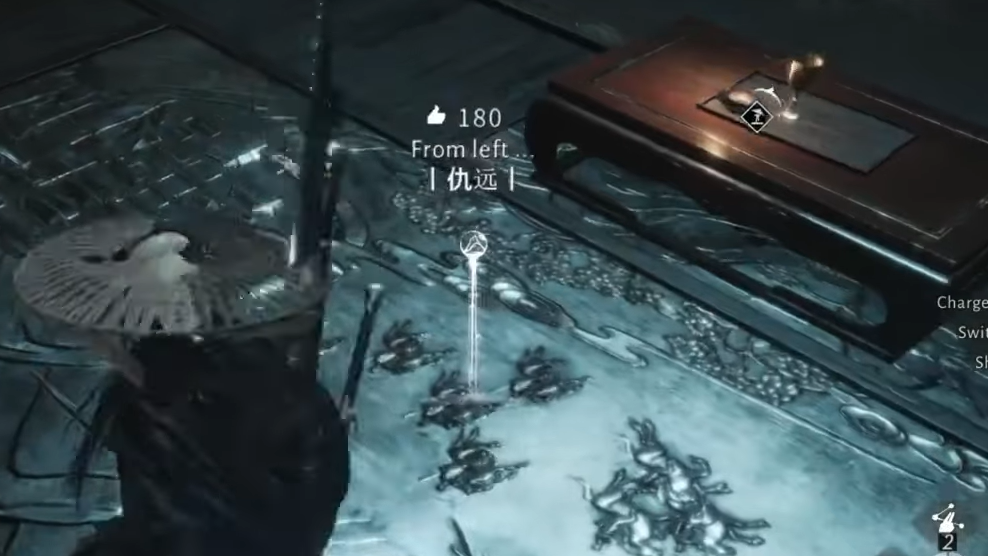
Step 3: Collect the Zhao Statue from in front of the fourth painting and place it before the first painting (Yellow-Robed Emperor). Find the Shi Statue in a small alcove on the left side of the room and place it before the second painting (figure holding a sword).
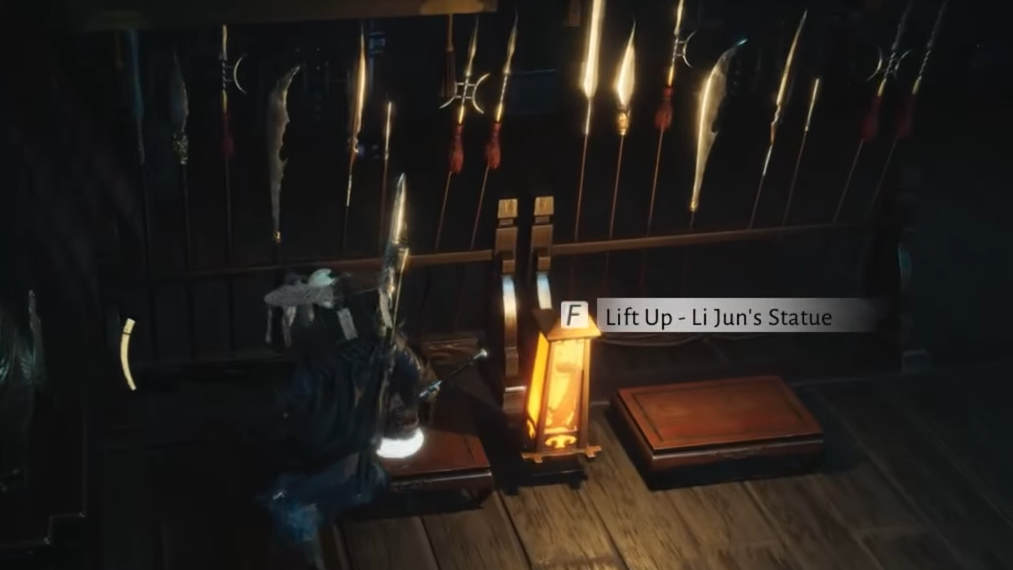
Step 4: Locate the Li Jun Statue on the left side near a lion statue and place it before the third painting (burning gravestone). To find the Murong Statue, go behind the paintings to the back room. In the right room, shoot the bell to make it resonate with the golden door knocker, then use Meridian Touch on the knocker to unlock the door.
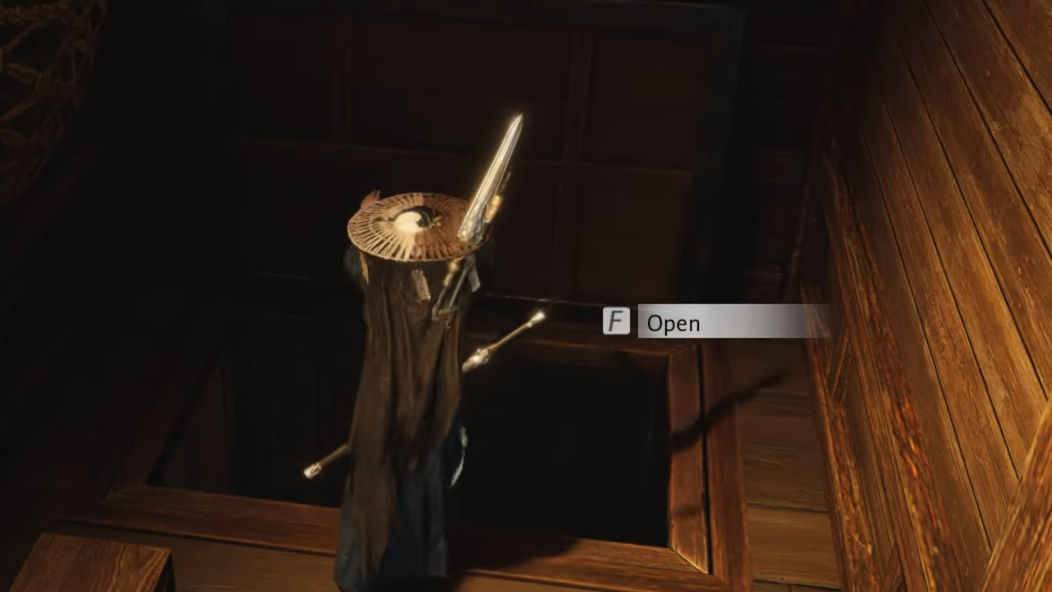
Step 5: Climb into the small room to retrieve Murong's Statue. Return to the paintings and place it before the fourth (rightmost) painting. This completes the puzzle and opens the secret chamber.
Secret Chamber and Warship Descent
Step 1: Enter the secret chamber and investigate four points of interest: the desk, the floor, books on the ground, and the bookshelf's secret compartment. Collect the Wooden Eagle Diagram from the books near the stairs—you will need this item later for the Soaring Eagle encounter, which becomes available after completing the Wandering Tale "The Eagle's Shadow."
Step 2: Open the floor panel and drop down to the next level. Continue descending through additional floor panels, defeating or avoiding Imperial Soldiers. In the last room before the final descent, open the chest by the cannon and defeat the elite enemy in the left room. Remove the bar from the door—the floor will collapse, dropping you into a flooded cabin.
Water Weight Cabin Navigation
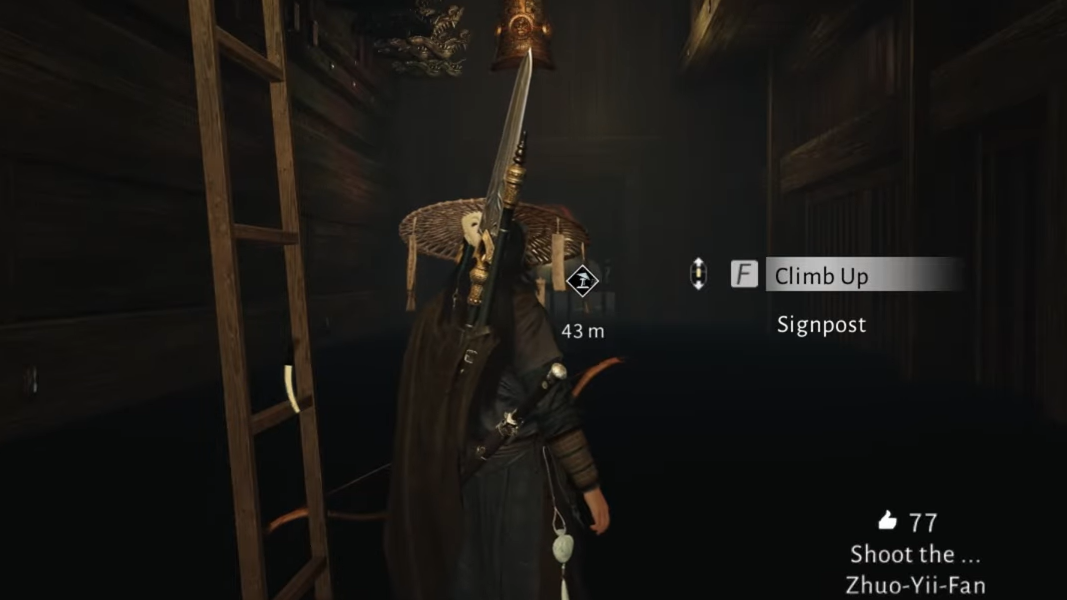
Step 1: Pull the lever on the central platform to raise the water level. Enter the lower right cabin with a ladder. Instead of climbing, shoot the bell in the middle of the hallway and use Meridian Touch to destroy the lock on the gate. Pull the lever inside.
Step 2: Swim to the opposite cabin and shoot the bell in its hallway. Quickly climb the ladder and use Meridian Touch to destroy the lock on that gate. Pull the lever inside.
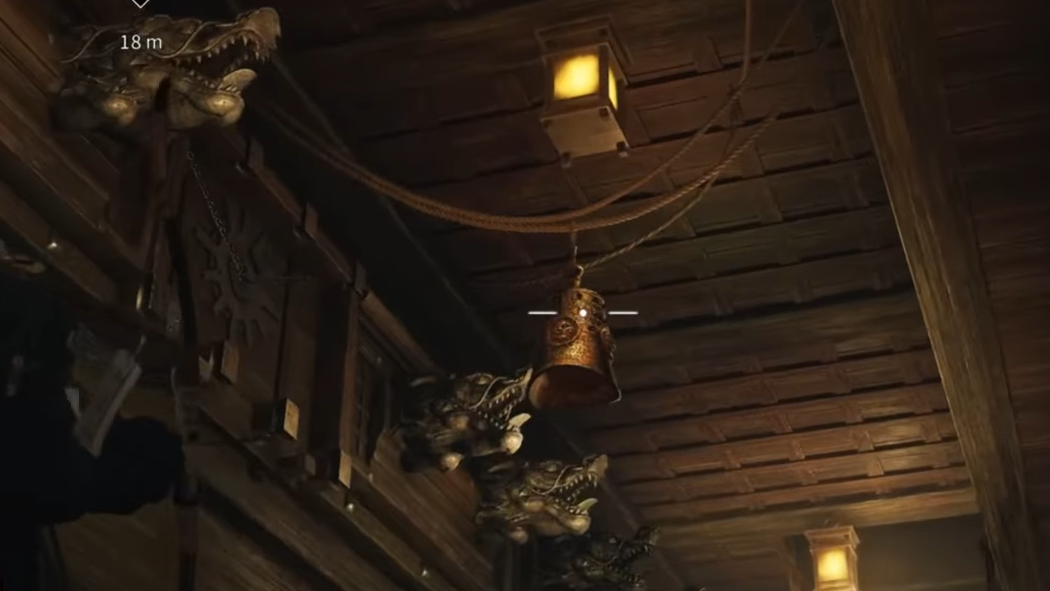
Step 3: Enter the newly opened back cabin and ride the small platform on the derailleur to reach the top. Hop across the spinning platforms to reach the other side. Shoot the bell on the ceiling opposite the locked door and use Meridian Touch to destroy the lock. Pull the lever to fix the water level in the main cabin.
Step 4: Leave the cabin and climb the ladder. Defeat the two enemies near the top and unlock the door to reach the main upper area. Drop down the central area and defeat the two shielded enemies at the bottom. Open the large doors to initiate the boss fight.
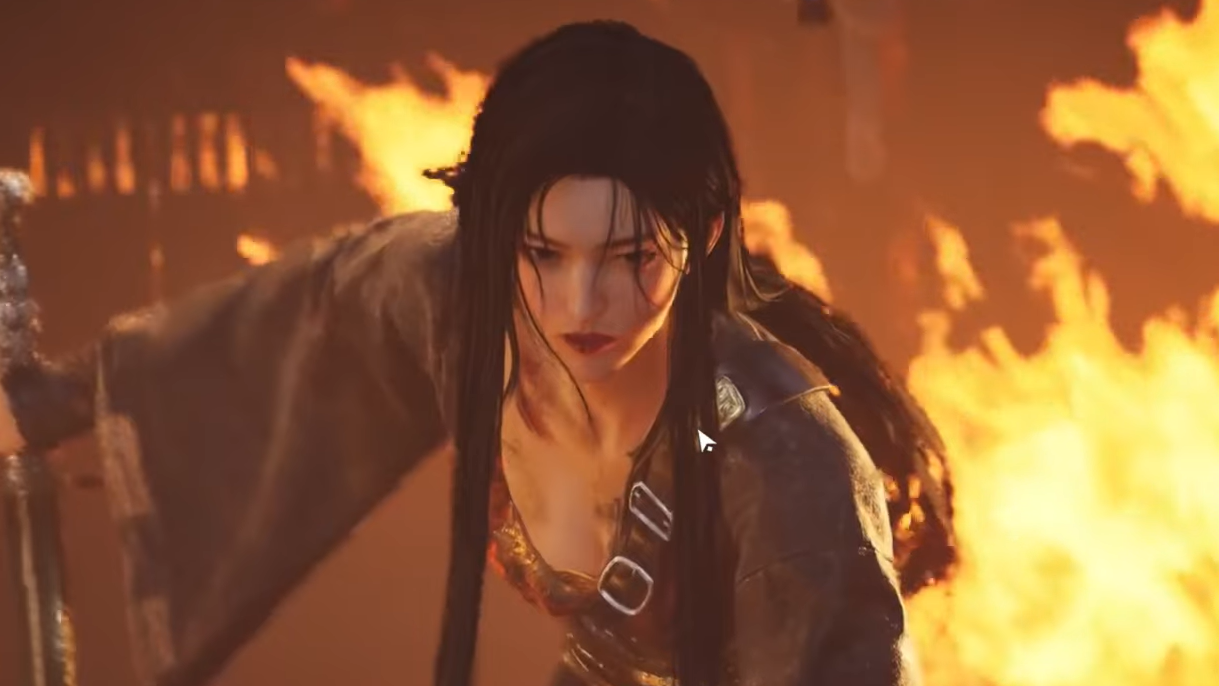
Murong Yuan Boss Fight (Phase One)
Murong Yuan fights alone in the first phase. Her primary threats are speed and range—she can close distance quickly and strike from farther than her sword's apparent reach. However, her attack startup is slow enough that you can pressure her with continuous attacks before she completes her animations.
When her sword glows yellow, she is charging an unblockable attack. Most yellow-glowing attacks must be dodged, though a few can be blocked with precise timing. The safest approach is to dodge as soon as you see the yellow glow. Alternatively, use Meridian Touch to interrupt the charge, but the timing window is very short.
Murong Yuan has a parry stance where she blocks with her sword and retaliates with an extremely fast unblockable counterattack. This counterattack cannot be canceled with Meridian Touch. Stop attacking or dodge to the side when she raises her sword in a defensive posture.
Murong Yuan Boss Fight (Phase Two)
The Wooden Eagle joins the fight in phase two. It attacks primarily with ranged projectiles and occasional melee swoops. The camera will automatically focus on the Eagle when it targets you. Do not prioritize damaging the Eagle—you only need to deplete Murong Yuan's health to win. The Eagle will disengage periodically and circle the arena.
When the Eagle attacks, focus on blocking, parrying, or dodging its strikes. Once it disengages, immediately return to attacking Murong Yuan. Murong Yuan's moveset remains similar to phase one, with the addition of coordinated attacks where the Eagle assists her. These combined attacks can be parried, leaving her vulnerable, but the timing is difficult.
The battle ends when Murong Yuan's health reaches zero. You do not need to defeat the Wooden Eagle.
Quest Completion and Rewards
After the boss fight cutscene, head north and jump into the water. You will be prompted to either gather the remains of the Wooden Eagle or let them drift in the sea. Collect the fragments to complete the quest.
Quest rewards include the Vendetta Inner Way tome, Eagle Ring accessory, one Medicinal Tales item, five Oscillating Jade, 55 Echo Jade, 105 Kaifeng Exploration points, 100 Enlightenment Points, 45,000 Character EXP, and 45,000 Coin. Additional rewards during the quest include two Swallowcall Set pieces, a Jinming Pool Cosmetic Chest, a Crimson Leaves Chest, two Bamboocut Wind Tips, and two Oscillating Jade.
Completing Jinming Pool unlocks the Wandering Tale "The Eagle's Shadow." After waiting one real-world day, the Encounter "Soaring Eagle" becomes available. You must give Zhenzhen the Wooden Eagle Diagram you collected from the secret chamber to progress that encounter.