
Jujutsu Zero leans heavily on Cursed Techniques. Weapons exist, but the strongest builds revolve around two good techniques, a strong clan, and an offense‑focused skill tree. The rankings below focus on damage in raids, reliability in PvP, and how many usable moves each technique actually brings to a fight.
Overall Jujutsu Zero Cursed Technique tier list
| Tier | Cursed Techniques | High‑level role |
|---|---|---|
| SSS / SS | Limitless | Best-in-slot main technique, only Domain Expansion |
| S | Shrine, Disaster Flames | Top raw DPS, raid and PvP carry options |
| A | Star Rage, Blood Manipulation | Safe ranged DPS or high damage with more execution cost |
| B | Ratio, Straw Doll | Beginner‑friendly or secondary techniques, good for early raids |
| C | Cursed Speech | Low damage, situational support or PvP control |
| D | Exploding Flesh | Outclassed in almost every situation, short‑term filler only |
Technique power scales aggressively with your skill tree. Offense nodes for flat ATK are the main priority, then Vitality for survivability in harder raids, with Cursed Energy and cooldown reduction coming later. Techniques with inherently high crit scaling, like Shrine and Disaster Flames, spike even harder when paired with crit‑heavy clans and offense trees.
Limitless (top tier with Domain Expansion)
Limitless sits alone at the top because it is currently the only Cursed Technique with a Domain Expansion and still matches the best kits for damage.
Core strengths: Reversal Red is a fast, wide burst that works in every mode, from farming mobs to extending PvP combos. Lapse: Blue and Maximum Blue are slower, but they give strong area control for grinding and 1v1 fights. Hollow Purple is one of the highest burst tools in the game, with excellent range and area, which makes it ideal for shredding raid bosses during safe windows.
Domain Expansion – Unlimited Void: The Domain is a permanent stun for NPCs and a huge slow for players while it’s active. That crowd control alone pushes Limitless over every other technique in raids and coordinated PvP. Against bosses, it effectively removes their threat for a window, letting your whole group dump damage safely.
Practical use: Limitless is the best primary technique when you can get it. It has answers for close and long range, crowd control, and huge burst, and it doesn’t require any specific clan to function. The Domain Expansion unlocks once Limitless reaches Mastery 100 and you spend a Domain Shard from raid chests in the Techniques menu.
Shrine (S-tier raid and PvP slasher)
Shrine does not currently have a Domain Expansion, but its kit can match or even surpass Limitless in raw damage when built around critical hits and offense nodes.
Core strengths: Cleave is fast, has strong range, and is ideal for raid patterns where you weave in and out of danger. Dismantle gives quick extra hits and combo extension. Web Slam supplies a solid area option for farming and skirmishes. Fuga fires a long‑range beam that lets you maintain DPS while kiting bosses or staying out of melee-heavy brawls.
Why it’s top tier: Shrine’s damage comes out quickly and reliably, which matters a lot in high‑level raids where long channels are punished. With a crit‑focused build, it can outdamage Limitless over sustained fights; what it lacks is Limitless’ Domain crowd control. For players who prefer constant pressure and sharp spacing over big set‑ups, Shrine is often the more comfortable pick.
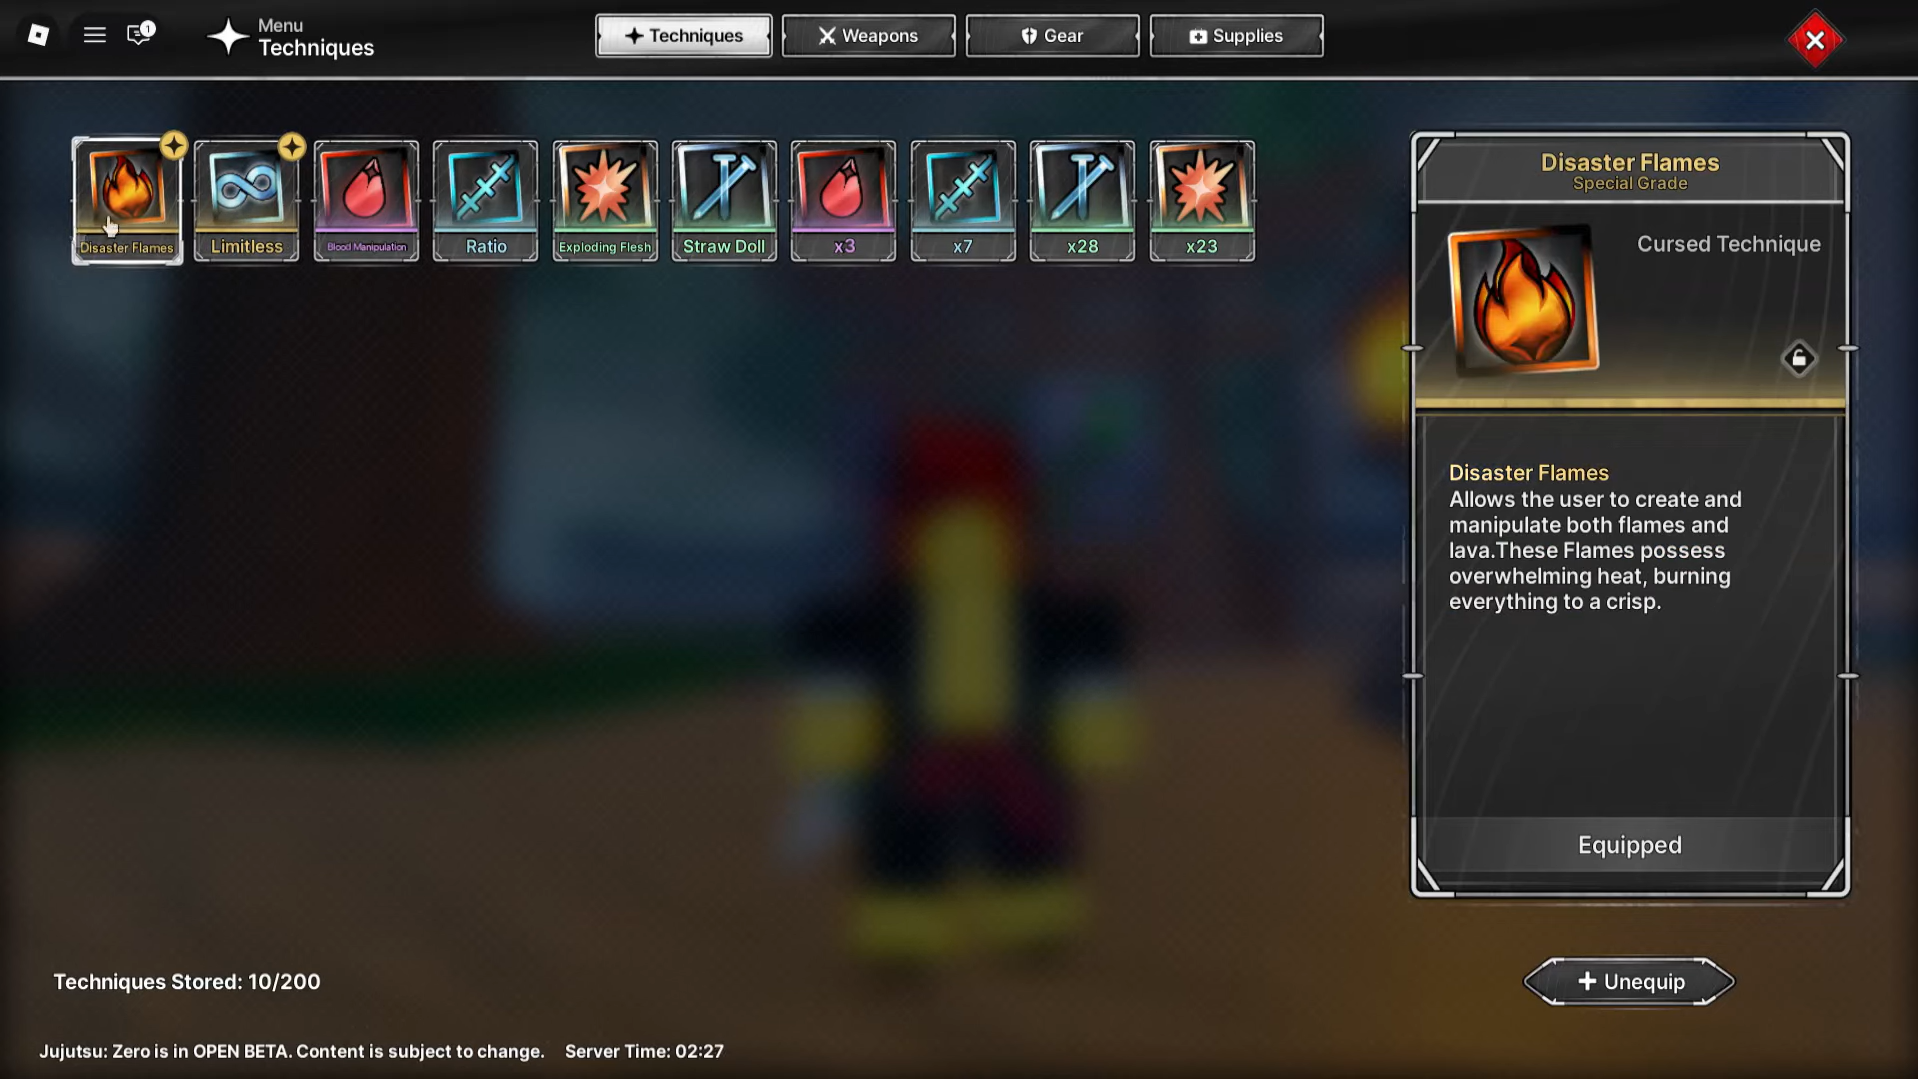
Disaster Flames (S-tier AoE and raid nuker)
Disaster Flames is built almost entirely around area fire damage. It has less utility than Limitless or Shrine, but its raw output makes it one of the best techniques for raids and mob grinding.
Core strengths: Molten Ray is easy to land repeatedly from range and stays safe even in chaotic boss arenas. Flame Fields is a quick area cast that works in every mode and helps control space in PvP. Meteor Smash has a noticeable startup that makes it hard to land on players, but it performs well against predictable raid bosses and clustered mobs. Maximum Meteor hits extremely hard, trading some range versus the ultimate moves on Shrine and Limitless for an easier time connecting in PvP.
Damage profile: With a heavy Offense skill tree and crit scaling, Disaster Flames climbs toward the very top of the damage charts. It lacks a Domain Expansion and strong defensive tools, so you need better positioning and timing than with Limitless, but in the hands of a careful player, it deletes raid health bars.
Star Rage (A-tier safe ranged DPS)
Star Rage is the reliable ranged option. It does not spike as hard as Shrine or Disaster Flames, but it lets you stay safer at a distance in higher raid difficulties.
Core strengths: Bullet and Punch offer high damage at range while keeping you mobile. Black Hole creates a dangerous projectile that explodes on impact and can even be used in mid‑air during retreats, which is important when bosses or enemy players collapse on your position. Densify adds a large circular area hit for clustered enemies.
When to use it: Star Rage shines when you struggle to stay alive in Hard or Nightmare raids. The ability to kite bosses and still maintain solid DPS often matters more than chasing the absolute highest numbers. In PvP, its ranged pressure lets you keep trading damage while backing off from ganks instead of committing to risky melee.
Blood Manipulation (A/B-tier hybrid depending on context)
Blood Manipulation has some of the hardest hitting moves outside the special grades, but it is tied to awkward animations and channels that demand more precision.
Core strengths: Blood Whip hits very hard, but it is a melee strike with a long windup that leaves you open. Blood Rain is the opposite: a quick area cast with good range and consistent damage, easily the most comfortable part of the kit. Blood Orbs deliver strong single‑target damage from a safe distance, though you are locked in place while channeling.
Key upgrade: Piercing Blood is the move that makes the technique feel complete. It sends a fast projectile that pierces targets, adding reliable ranged burst and pushing Blood Manipulation close to the higher tiers in raid and PvE content.
How it plays: In raids and PvE, Blood Manipulation works well once you learn boss timings and know when you can afford a Blood Whip or Blood Orbs channel. In PvP, the long windups and stationary casts are easier to punish, so it sits a step below the most dominant options.
Ratio (B-tier beginner and secondary pick)
Ratio is built around simple, fast moves with honest damage rather than crazy burst. That makes it a strong early‑game technique and a useful secondary pick even later.
Core strengths: Fraction is a quick circular hit that gives instant area damage without committing to a long animation. Dividing Lunge combines forward movement with damage in a line, doubling as mobility and engage. Split Barrage adds more coverage and movement for chase or escape.
Role in your kit: Ratio generally lags behind top techniques in total damage, but its moves come out quickly and have forgiving hitboxes, which is valuable in PvP. It also works well as a second slot in raids, where you can use Dividing Lunge and Fraction to reposition and clean up mobs while your main technique handles big cooldowns.
Straw Doll (B-tier ranged starter)
Straw Doll is a straightforward ranged kit that works well when you are still learning boss patterns or just need something simple to farm with.
Core strengths: Nail Gun fires a fast three‑shot burst from long range and doubles as a combo extender in PvP. Piercing Rain drops multiple large projectiles in front of you, covering an area for comfortable farming; the channeling requirement, however, makes it dangerous into bosses and active players. Resonance deals strong damage but is easy to interrupt if you are hit mid‑cast.
Use cases: Straw Doll leans toward PvE and early grinding. As you move into harder raids and higher‑level PvP, its channels and limited area coverage become more of a liability, but it is more than enough to carry the early game while you spin for better techniques.
Cursed Speech (C-tier damage, situational control)
Cursed Speech currently has a small move set and lower damage than other techniques, but its area control can still matter in specific situations.
Core characteristics: The technique revolves around short‑range or area casts that disrupt enemies rather than deleting them. That gives it some support value as a secondary pick, especially if you are helping control crowds while another technique handles burst.
Where it fits: For most players, Cursed Speech is a temporary tool. It can serve as a secondary support technique in early grinding or for players who enjoy control‑heavy PvP playstyles, but it is eventually outclassed by more complete kits with better damage and more moves.
Exploding Flesh (D-tier fallback)
Exploding Flesh offers a few area attacks but is simply weaker than nearly every other option across both damage and utility.
Core characteristics: Atomic Press, Final Trick, and Flesh Firebomb all create explosions around or near you, but their numbers and reliability trail behind what comparable moves on other techniques deliver. There is no standout skill that justifies building around it once you unlock alternatives.
When to move on: Treat Exploding Flesh as a stopgap. It can fill a secondary slot when you are just starting and have nothing else, but you should replace it as soon as you spin any of the higher‑tier techniques.
How to get and reroll Cursed Techniques
Step 1: Open the technique spin menu by clicking the star icon in the top‑left of the screen. This brings up the banner where you can spend Lumens.
Step 2: Spend Lumens on spins to roll for new Cursed Techniques. Every roll has a chance to land a higher‑grade technique, with special grades like Limitless, Shrine, and Disaster Flames being the rarest.
Step 3: Equip up to two techniques once you have them. Keep in mind that Mastery is tied to each technique, so changing mains later means re‑levelling that Mastery bar.
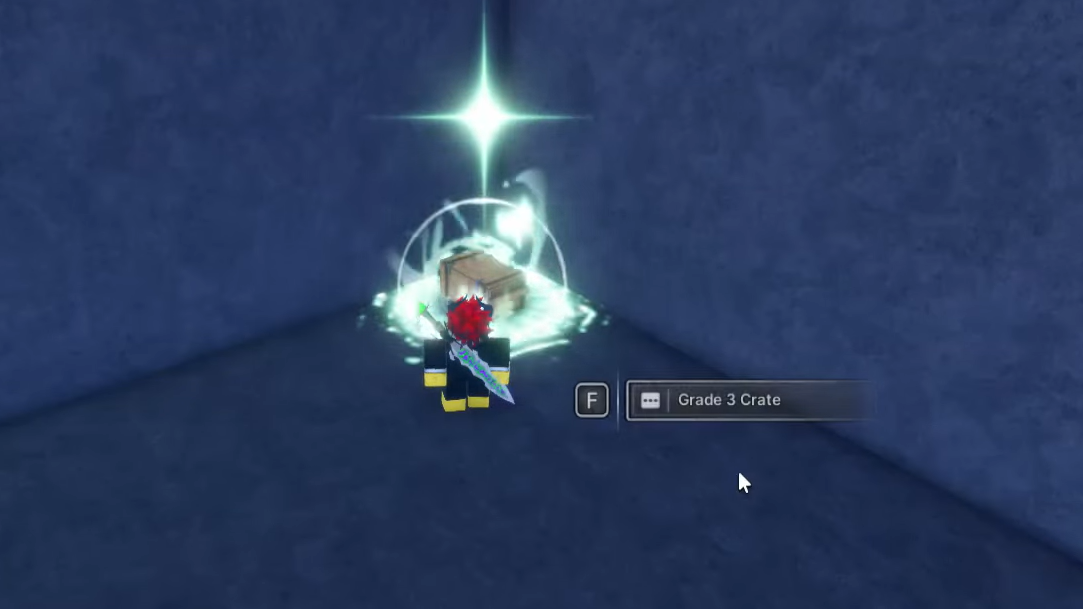
Lumen income comes from several sources: one‑time world chests with large Lumen drops, raid rewards across all difficulties, AFK Realm spins earned by being idle, and quest progress. Lumens can also be bought with Yen or Robux, though Yen is more valuable early on for unlocking Masteries.
Skill tree priorities for Cursed Techniques
Across almost every technique, Offense is the dominant skill tree investment because its ATK nodes scale all of your damage, whether it comes from techniques or weapons.
Step 1: Push Offense nodes first until you are satisfied with your raw output. For most players that means spending the majority of early points in Offense.
Step 2: Add Vitality once raids start threatening to one‑shot you. Extra HP and damage reduction help you survive mistakes on higher raid difficulties long enough to use your big cooldowns.
Step 3: After you feel stable in Easy and Medium raids, start adding Cursed Energy and cooldown nodes. Those stats let spam‑heavy kits like Disaster Flames and Shrine stay active longer and bring ultimate abilities up more often.
Some techniques, especially those with strong crit multipliers, scale exceptionally well with crit rate and crit damage from clans and tree nodes. Disaster Flames is a good example; paired with a crit‑focused build, it jumps from strong to terrifying.

The current meta revolves around Limitless for its Domain Expansion and versatile kit, with Shrine and Disaster Flames sitting just behind as pure damage monsters. Star Rage and Blood Manipulation round out the viable top end, while Ratio and Straw Doll give newer players dependable options to progress raids and PvP until rarer techniques drop. As more techniques and Domains are added, the exact order will shift, but the basic pattern stays the same: fast, high‑range damage and reliable area tools dominate both raids and competitive fights.