
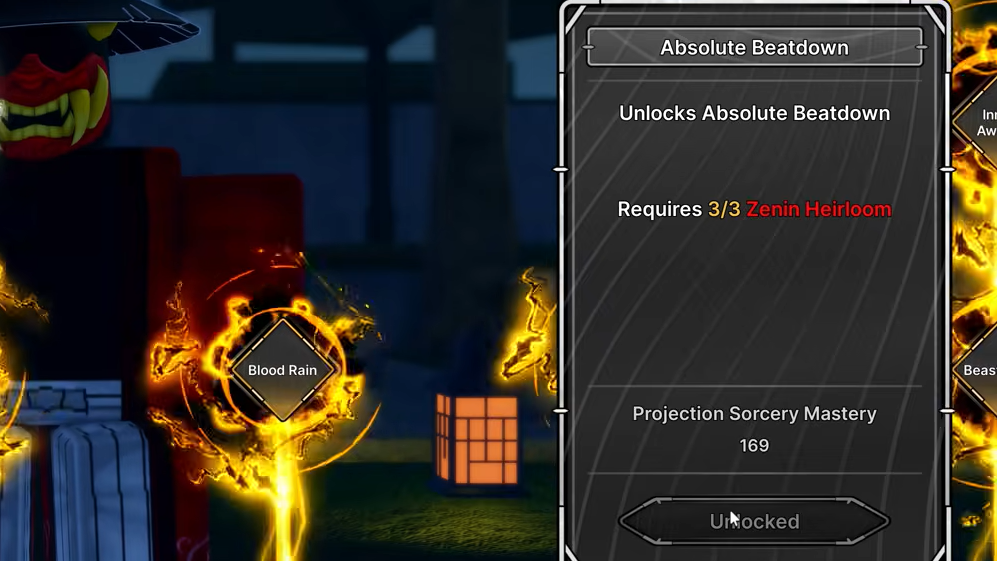
Absolute Beatdown is a cutscene finisher for Projection Sorcery in Jujutsu Zero, added as part of the Valentines Update. It's one of the strongest single-target skills in the game, working on both bosses and players. Unlocking it requires completing the full Zenin quest line — three sequential quests given by the Zenin Elite NPC (Naoya), each rewarding a Zenin Heirloom. Once you have all three heirlooms, the finisher becomes available through the Mastery menu.
Quick answer: Complete all three Zenin Elite quests to earn three Zenin Heirlooms, then unlock Absolute Beatdown in your Mastery menu. You need to be around Level 500 to finish everything in one run.
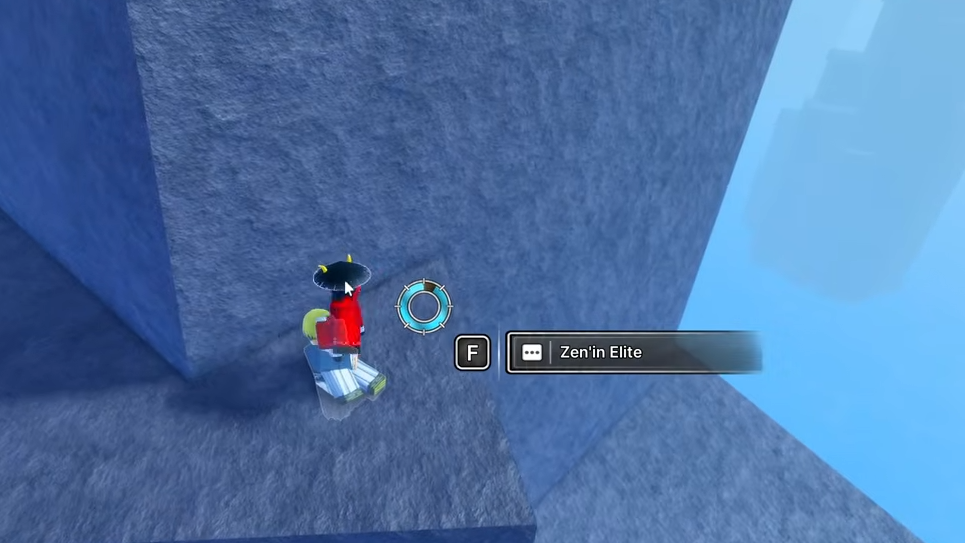
Finding the Zenin Elite NPC
Naoya, the Zenin Elite NPC, sits on top of a rock in the ocean in the Level 400–500 quest zone on the bottom-right side of the map. His exact coordinates are 3007, 376, 1088. While you can technically reach him earlier, the third quest has a Level 500 requirement, so grinding to that level before starting saves you a return trip. Talk to him to begin the first quest.
Quest 1 — Metal Relic I (Level 400+)
Step 1: Teleport to the TP3 Teleport Point. Head left from the teleport and look for a waterfall. Walk behind the waterfall to find a cave entrance near the Instructor NPC.
Step 2: Enter the cave and walk straight toward the back wall. As you approach the end, thick fog will fill the area and obscure your vision. There are two known ways to clear it. One method is opening and closing the Mastery/Stats menu, which can glitch the fog out. The other — and more reliable — trick is activating any domain. The moment a domain triggers, the fog disappears entirely, making navigation far easier.

Step 3: With the fog cleared, look for an opening in the ground. Drop into it and move left. After falling once, you'll reach an edge. Here's where most players get lost: instead of continuing forward, you need to reverse direction and drop back toward the wall you originally came from. It's a small, easy-to-miss opening. If you fall past it into the deep pit below, you'll need to teleport back to TP3 and start the cave section over.
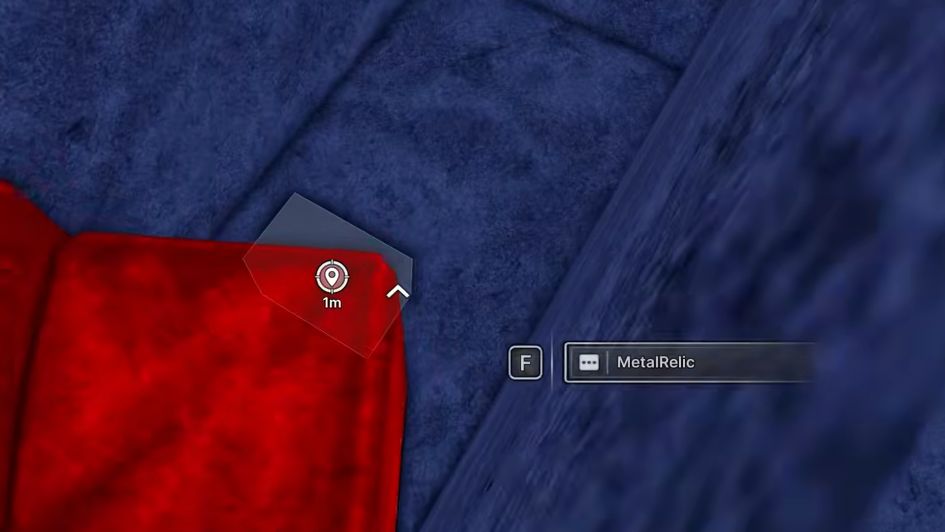
Step 4: After making it through the backward path, you'll land on a broken series of platforms. Jump to the third tile, then drop down into the pit below it. Metal Relic I is sitting there. Grab it and return to Naoya to receive your first Zenin Heirloom.
Quest 2 — Metal Relic II (Level 450+)
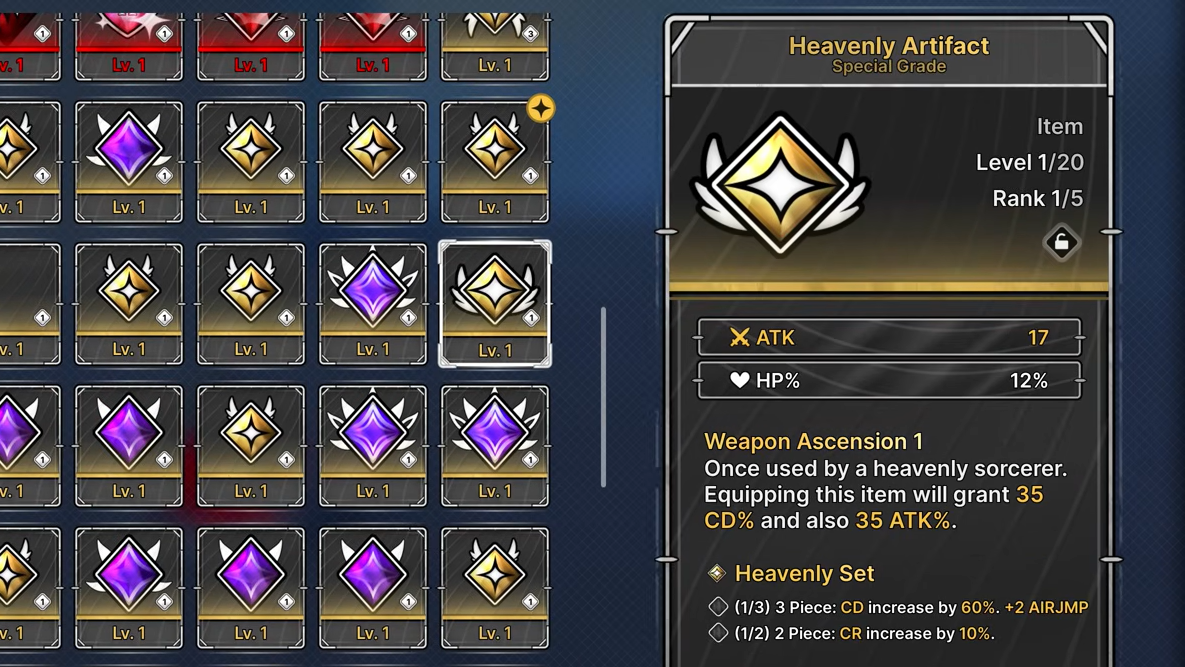
Step 1: Accept the second quest from Naoya, then teleport to the TP5 Teleport Point. Before you start climbing, equip three pieces of Heavenly Gear. The specific pieces don't matter — the goal is activating the set bonus that grants extra air jumps, which are essential for reaching the relic.
Step 2: Climb the bridge in front of the teleport point and jump to the peak of the nearby mountain. From there, you can see the relic's location on the highest mountain in the game. Don't try to jump straight to it. The relic sits near the map boundary, and an invisible wall will knock you back if you approach head-on.
Step 3: Use the smaller surrounding mountains as stepping stones, working your way upward at an angle. Gradually gain altitude until you're positioned as close as possible without hitting the invisible barrier. From your final perch, time a jump toward the relic and grab it mid-air. The extra air jumps from Heavenly Gear make the difference between a clean grab and a frustrating fall.

Return to Naoya with the relic to claim your second Zenin Heirloom.
Quest 3 — Domain Fragment and Invertion (Level 500+)
The final quest doesn't send you to a hidden location. Instead, Naoya asks you to hand over two specific items: a Domain Fragment and an Invertion.
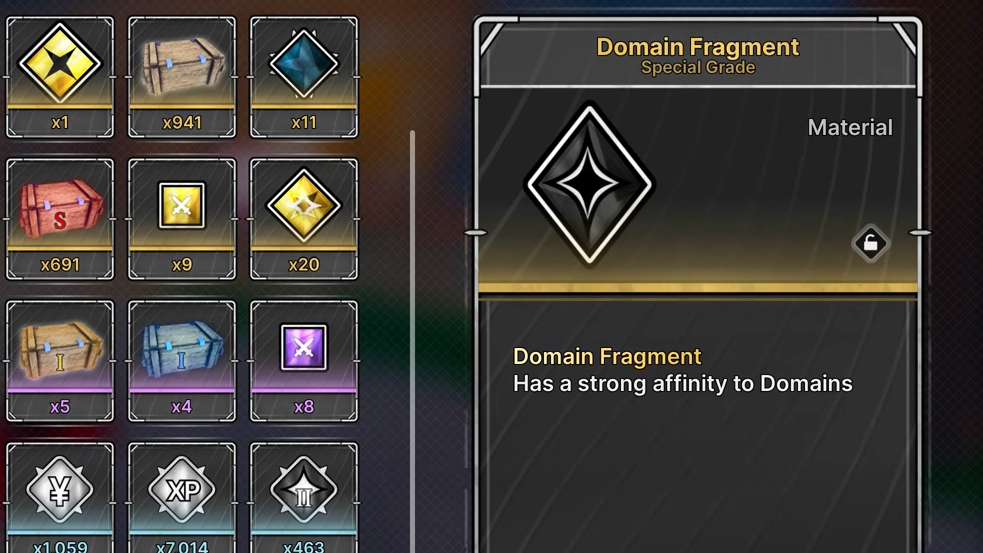
Getting a Domain Fragment
If you've been playing through endgame content, you may already have a Domain Fragment in your inventory. If not, they drop from several crate types, including Flame Crate, Volcanic Crate, Strengthen Crate, and Daily Crate. These crates accumulate naturally through raids and daily activities, so targeted farming isn't usually necessary.
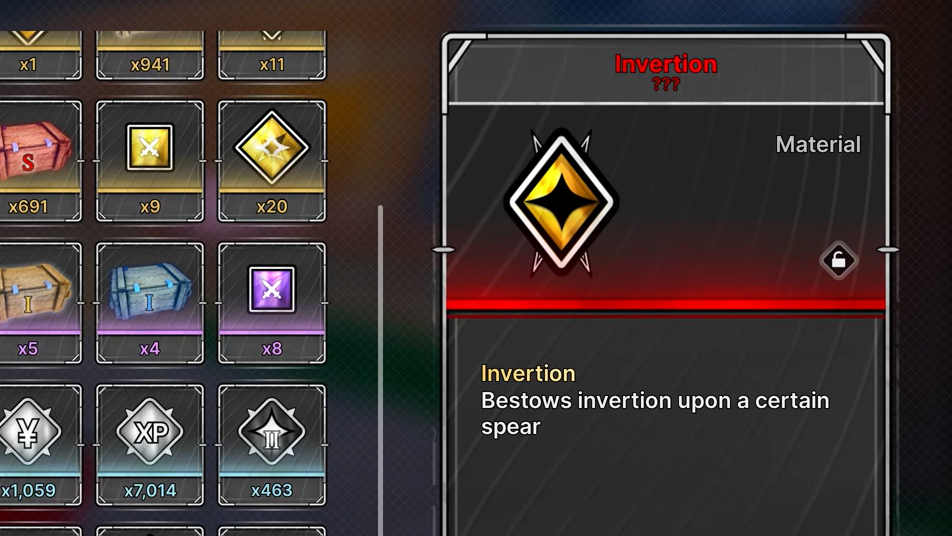
Getting an Invertion
Invertion is the trickier item. The primary farming method is the Toji mini-boss inside the Tomb of the Stars, located in the pit area. Toji spawns every 20 to 30 minutes and drops Invertion at roughly a 10 percent rate. There's also a chance for the boss to drop the Inverted Spear of Heaven, which comes with an Invertion as well.
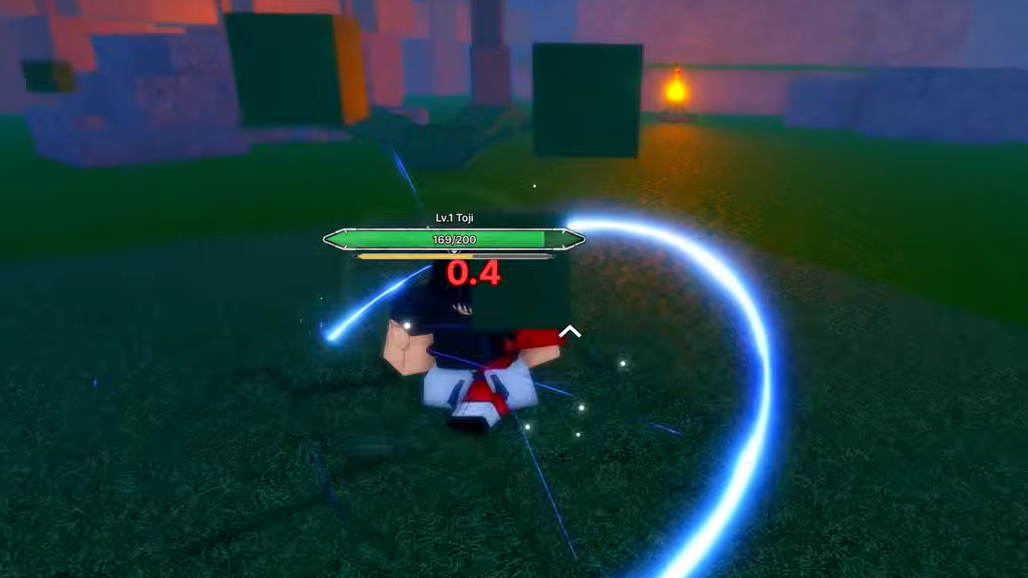
Toji hits hard, so use a domain to lock him down while you burst him. Server hopping is the fastest way to find an active or soon-to-spawn Toji — lower population servers often have the boss available. Note that you need to have Tomb of the Stars unlocked to access this area. If you haven't done that yet, it's a prerequisite worth completing since the Tomb is a core endgame progression hub.
Two alternative quest paths also reward Invertion. The Physical Heavenly Restrictor (PHR) Teacher quest grants one upon completion. At Level 300 and above, the Supply Exchanger NPC hidden inside the Tomb of the Stars can also reward Invertion. These alternatives are useful if Toji isn't cooperating or if you need multiple Invertions for other upgrades like Celestial Slam.
Activating Absolute Beatdown
Once you turn in both items to Naoya, you receive the third and final Zenin Heirloom. With all three heirlooms in your inventory, open the Mastery menu to unlock Absolute Beatdown for Projection Sorcery. You'll know it worked when the finisher appears in your skill loadout.
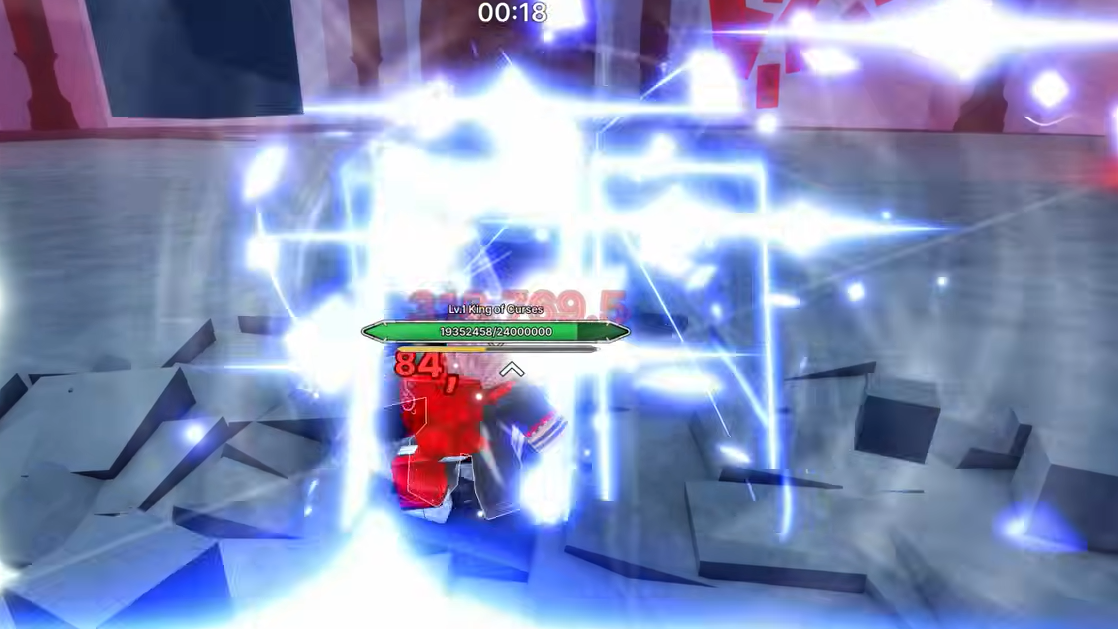
Absolute Beatdown is a full cutscene finisher that delivers massive single-target damage. It synergizes naturally with Projection Sorcery's existing kit, which revolves around teleporting, target-sticking, and sustained pressure. For late-game Projection Sorcery users, it meaningfully improves raid damage output and PvP finishing potential.
The Zenin quest line looks intimidating on the surface, but each step has a specific trick that makes it manageable — clearing cave fog with a domain, using Heavenly Gear for extra jumps on the mountain, and server hopping for Toji spawns. Once you know the mechanics, the entire chain can be completed in a single session, and the payoff is one of the hardest-hitting finishers currently in Jujutsu Zero.