
Jurassic World Evolution 3 moves population growth out of the lab and into the enclosure. Dinosaurs can now breed naturally, males and females are present, and offspring inherit traits and markings from their parents. Juveniles come with stricter needs, different behaviors, and a major impact on guest appeal—great when managed well, costly when ignored.
Breeding methods: natural nests vs. Hatchery synthesis
You can expand a species in two ways: let compatible adults breed in a Nesting Area inside their territory, or synthesize eggs in a Hatchery. Natural breeding favors long-term park appeal and genetics that develop in your enclosures. The Hatchery gives you direct control over traits, sex, and visuals before release.
| Method | How it works | Control | Where juveniles appear | Best for |
|---|---|---|---|---|
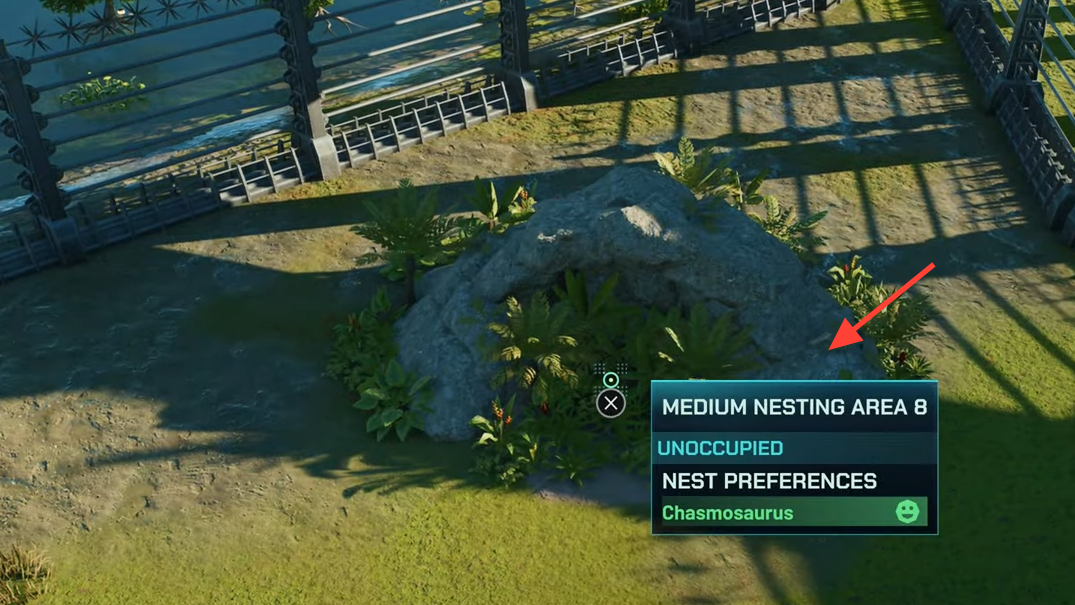
| Natural nesting | Place species-appropriate nests; compatible pairs claim nests and lay clutches that incubate over time. | Low control over traits; influenced by parent genetics and compatibility. | Hatch directly in the enclosure as juveniles. | Ongoing population growth, higher guest appeal from naturally bred dinos. |
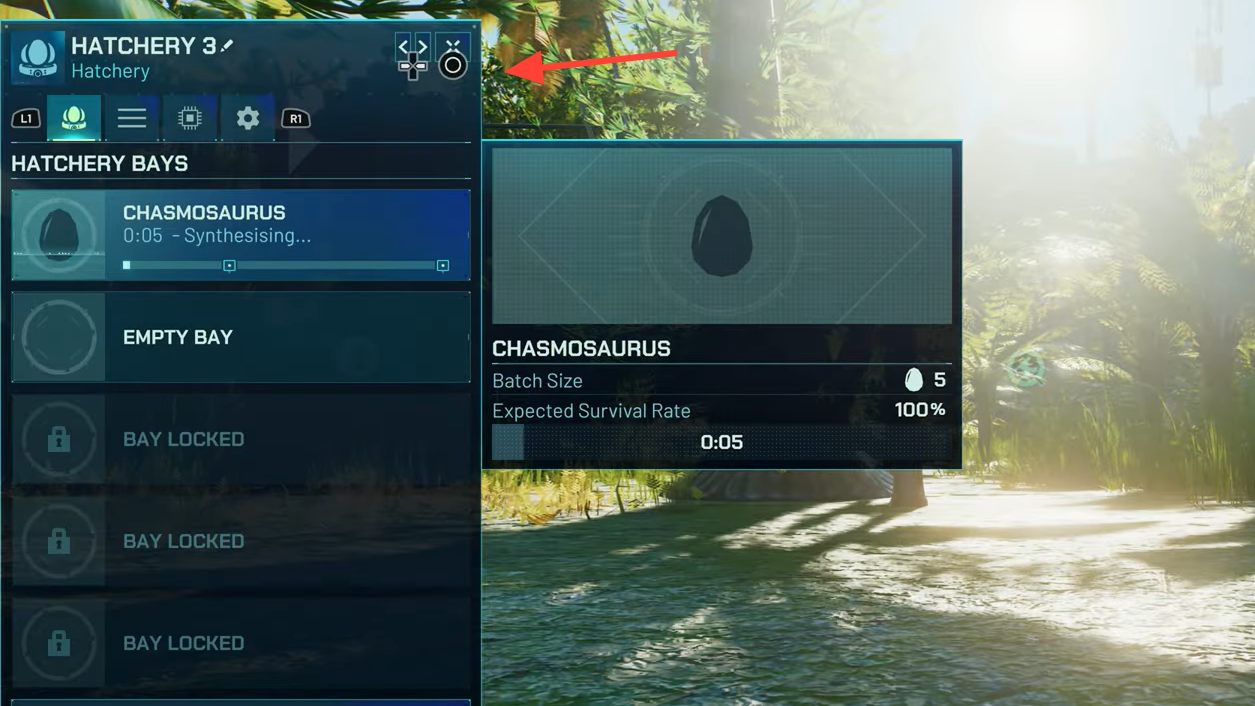
| Hatchery synthesis | Collect fossils, research traits, synthesize eggs, and hatch them once incubation completes. | High control over sex, traits, and appearance; requires genome progress and research. | Manually released from the Hatchery into the enclosure. | Targeted traits, guaranteed males/females, kickstarting new populations. |
Acquire males to enable breeding
Males are rarer than females, but you have options. You can capture wild animals that wander near your park, purchase males from the in-game marketplace once unlocked, or synthesize them from fossils in the Hatchery. When planning an enclosure, ensure at least one male lives with eligible females so pairs can claim empty nests.
Meet nesting requirements first
Breeding won’t start until a pair’s basic needs and nest preferences are satisfied. Different species prefer different nest placements—some want privacy away from guests; others prefer clustered nests for security.
| Requirement | What to check | How to resolve |
|---|---|---|
| Male + female present | At least one male sharing territory with compatible females. | Capture, buy, or synthesize a male; avoid overcrowding males if social needs are strict. |
| Fertility & compatibility | Each dinosaur’s fertility rating and pair compatibility. | Prefer higher-fertility individuals; avoid pairing traits that reduce compatibility. |
| Comfort & welfare | Comfort levels for both partners; disease status. | Match paleo needs (food/terrain/water), treat illness, reduce stressors. |
| Territory size | Enough area now and at adulthood. | Expand fences early; plan for fully grown space requirements. |
| Species-appropriate nests | Nest type and placement preferences (privacy vs. clusters). | Build the right nest; adjust placement. Use Ranger Teams to confirm preferences. |
Prepare the enclosure for juveniles
Baby dinosaurs change how a habitat runs. They are more fragile, more curious, and more likely to get into trouble.
- Space planning: Size for adulthood, not just for hatch day.
- Habitat setup: Add foliage, water, and species-specific needs once territories form.
- Health checks: Dispatch medical teams to screen juveniles for disease after hatching.
- Infrastructure: Cover fences and key buildings with Maintenance and Ranger Posts; expect curious juveniles to test boundaries.
- Security: Upgrade fencing if you’re growing a large herd.
- Visibility: Install or reposition Viewing Galleries so guests can see the babies—juveniles drive significantly more appeal and revenue than adults.
Monitor fertility and manage population growth
Every dinosaur has an inspectable fertility profile. Use it to decide when to encourage breeding—or when to pause it.
| Tool | What it shows or does | When to use it |
|---|---|---|
| Eggs icon (individual) | Base breeding chance, active modifiers, and a life-stage fertility chart. | Identify prime breeding windows; spot low-fertility outliers. |
| Breeding Heatmap | At-a-glance breeding chances across the enclosure. | Find stress hotspots or underperforming habitats quickly. |
| Contraceptives (per dinosaur) | Temporarily disables breeding for selected animals. | Prevent trait propagation or curb population spikes without splitting groups. |
If fertility looks low, re-check comfort, space, and untreated diseases. Individual traits can also boost or suppress reproductive success.
Structured breeding programs (selecting parents at the nest)
Once you have candidates, you can formalize pairings. Select an empty nest and assign eligible parents to guide the next clutch. Structured programs help emphasize desirable traits and minimize undesirable ones across generations. Combined with genome-modified founders from the Hatchery, this lets you build easier-to-manage lineages—more docile, hardier, or with lower area needs. Naturally bred animals contribute more park appeal than fully synthetic ones, so shaping genetics in-enclosure pays off.
Genome modification in the Hatchery
Use fossils to raise genome completion, then research specific upgrades before applying them to synthesized eggs. You can tune stats, environmental requirements, and behavioral traits, and set cosmetic options, including distinct male and female looks. Release these customized dinosaurs, let them reach maturity, and fold them into structured breeding to pass traits forward.
Traits to research first
These gene modifications create more forgiving enclosures and cut down on micromanagement.
| Gene modification | Primary characteristic | Practical outcome in enclosures |
|---|---|---|
| Cross-Species Adaptation | Raises Tolerance; increases odds of the Tolerant trait. | Stable mixed-species habitats; fewer cohabitation conflicts. |
| Group Adaptation | Influences Sociability; lowers chance of Antisocial. | Larger groups without stress penalties; smoother herd dynamics. |
| Positive Temperament | Improves Comfort; boosts chance of Accommodating. | Less sensitive to imperfect terrain/foliage setups; less terraforming overhead. |
| Confined Space Adaptation | Improves Humility; increases odds of Humble. | Lower area needs; combine with the two adaptations above to fit more animals safely. |
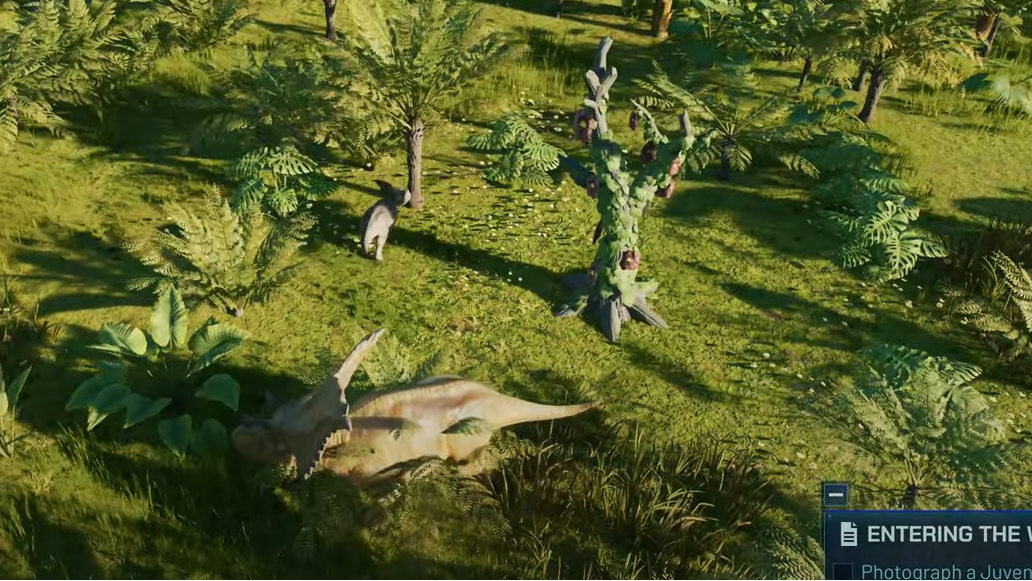
Juveniles, families, and behavior
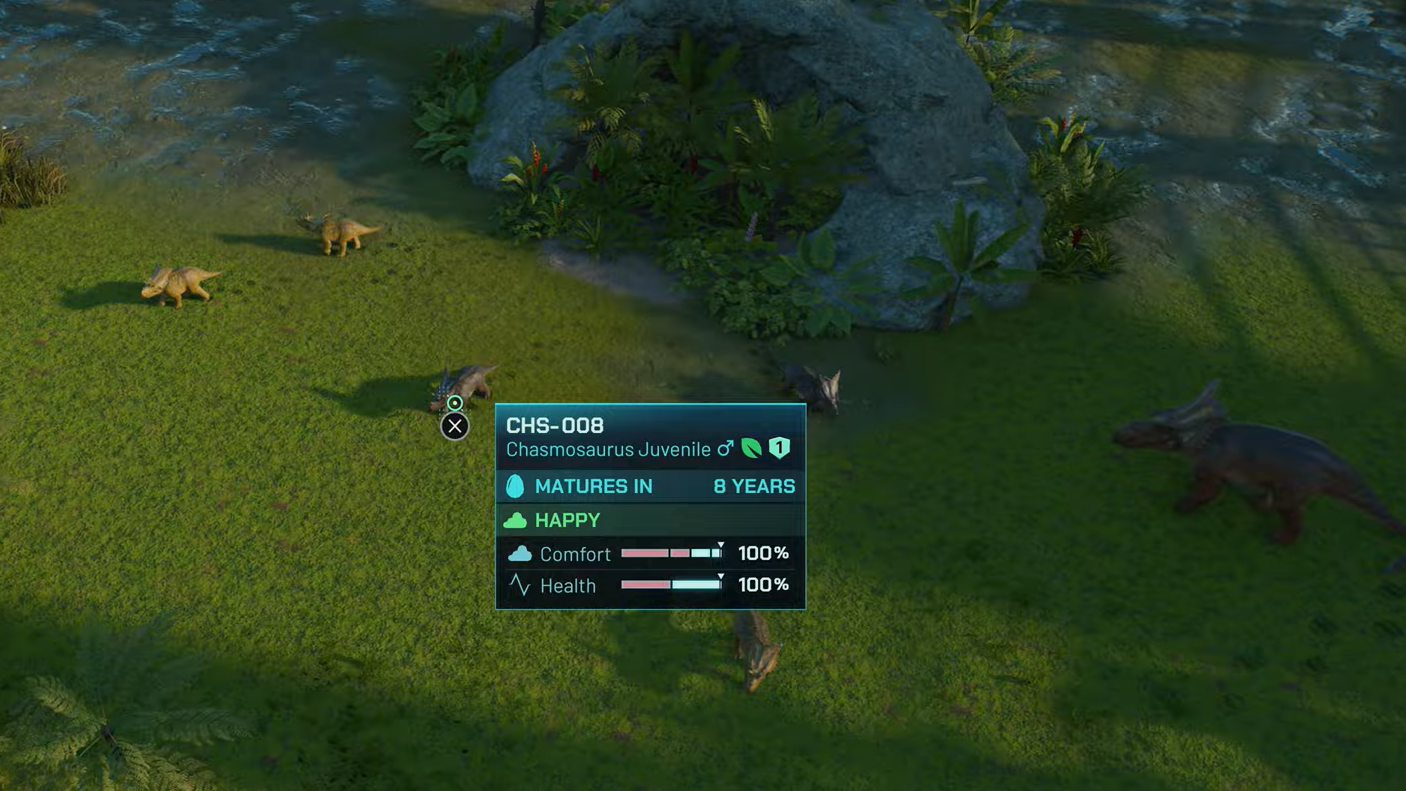
Offspring hatch into family units whose structure depends on species and traits. Some juveniles stick close to parents; others follow the herd—or any adult they fancy. Expect playful curiosity that can escalate into problems if left unchecked. Juvenile needs are not identical to adults, and their welfare can change how parents behave; some adults become distressed when their young aren’t comfortable.
Keep an eye on two need categories: paleo (food types, terrain, and water volumes) and social (group composition, which can be as specific as the number of males in a territory). Raise content juveniles and you’ll see benefits later—when they mature, they can gain bonuses from a strong upbringing and continue a healthy breeding cycle.
Breeding in Jurassic World Evolution 3 is a systems loop: secure a male, satisfy species-specific nesting needs, protect juveniles as they settle, and use genetics—both natural and engineered—to steer the lineage. Do that well and the babies won’t just survive; they’ll turn into the backbone of your park’s appeal for years of in-game time.