
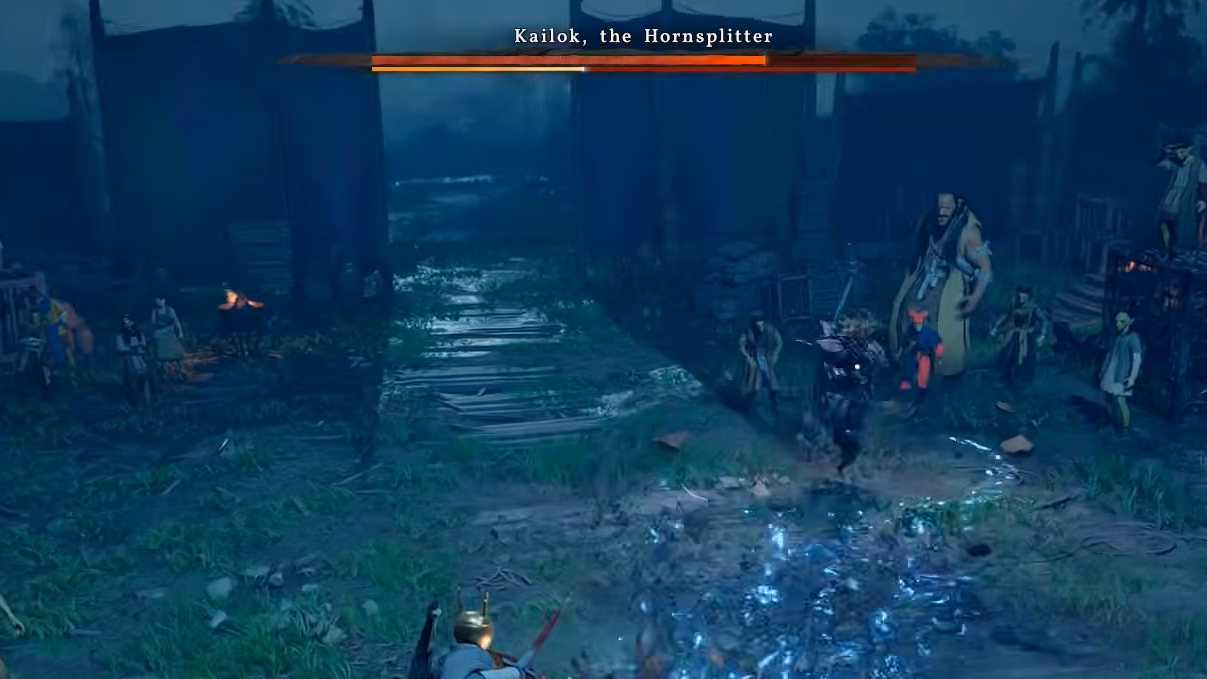
Kailok the Hornsplitter is the first real skill check in Crimson Desert, and he arrives with almost no difficulty ramp to prepare you. He's fast, aggressive, and his attack chains can stun-lock Kliff if you let your guard down for even a moment. Many players hit a wall here after breezing through everything before it. The fight is entirely winnable once you understand what Crimson Desert actually wants you to do — which the game does a poor job of explaining.
Quick answer: Keep your shield raised with L1 for the entire fight, use Force Push (R3) after he finishes an attack chain to stun him, land two heavy attacks (R2), then back off. Bring plenty of cooked food and manage your stamina above all else.
Why Kailok feels harder than he should
Crimson Desert's combat has a distinctive input model that trips up players coming from Elden Ring, Dark Souls, or even The Witcher 3. Tapping buttons produces sluggish, delayed-feeling responses. The game is designed around holding inputs — hold the dodge button for a full evasive roll, hold attack buttons for charged swings. If you're tapping as you would in a Souls game, Kliff will stand there looking confused while Kailok carves you up. Internalize the hold-to-act philosophy before anything else.
Another critical difference: unlike Elden Ring, stamina regeneration is not slowed while your shield is raised. This completely changes the defensive calculus. You can and should keep L1 held down for the vast majority of the fight without worrying about a stamina penalty for doing so.
Preparation before the fight
Before you step into the ring, take care of two things. First, use your artifacts to upgrade Kliff's stamina pool. The large blue upgrade near the top of the upgrade tree is the priority. Stamina is the single most important resource in this encounter — if it runs dry mid-combo, you can't block, and Kailok will chain multiple hits into you while you're staggered.
Second, stock up on cooked food. Simple recipes work fine; basic cooked meat or apples restore 80–100 HP each and are cheap to make at any campfire. Bring as much as you can carry. On console, tap right on the D-pad to consume food mid-fight, or hold it to swap between equipped food items. On PC, tap F3 to eat and hold F3 to select a different item. Having a deep supply of healing lets you brute-force through mistakes while you learn the patterns.
Kailok's attack patterns
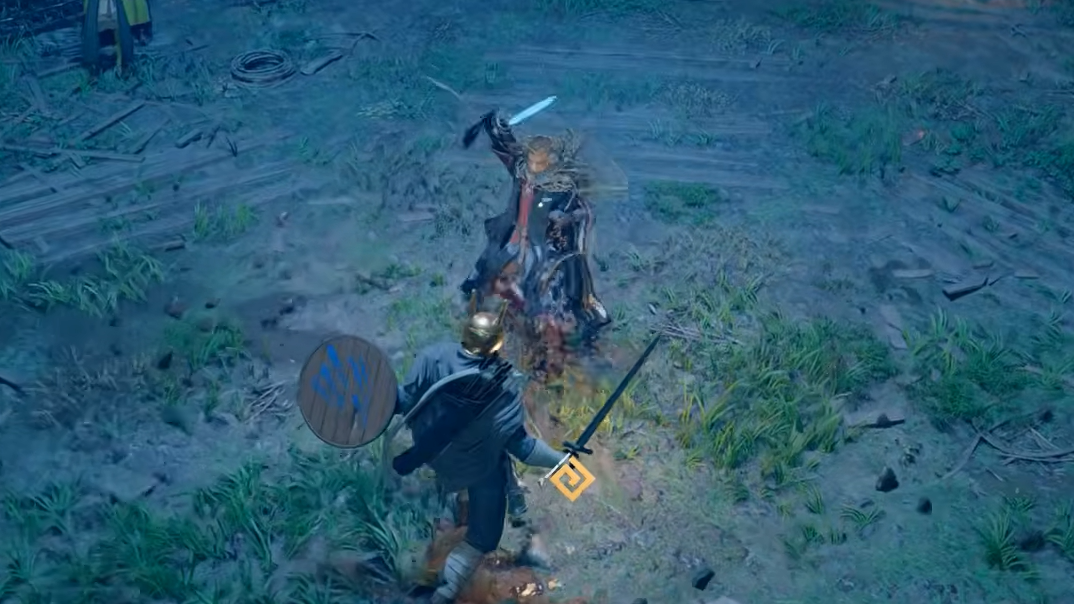
Kailok cycles through three to four primary attack chains. Most are fast melee combos with his weapon, and one is a deceptive sequence of three quick hits, a brief pause, then a fourth strike. That delayed fourth hit is a trap — if you drop your shield or try to Force Push during the gap, you'll eat the final swing and likely get staggered into his next combo.
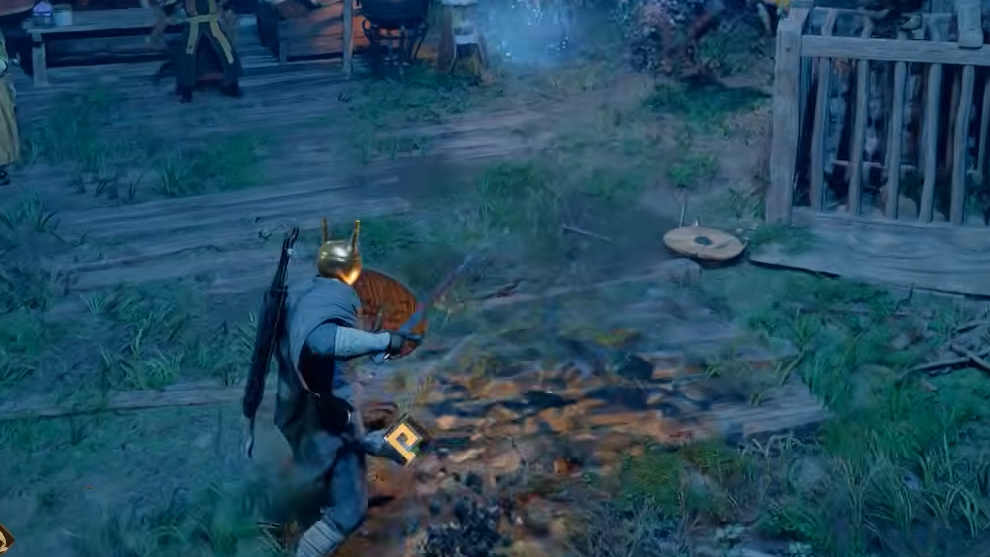
He also uses a ranged magic attack that sends force waves (blue energy along the ground) toward you. These can be blocked with your shield, though you'll take a small amount of chip damage. Jumping over them is inconsistent — some players report success with precise timing, but blocking is the more reliable option. When you see the blue floor effect, keep your shield up rather than trying to dodge or jump.
His sword swings have strong tracking, meaning simple sidestep dodges often fail. If you need to evade rather than block, hold the dodge button for a full roll instead of tapping for a half-step. Double-tapping dodge can also produce a quicker roll in some situations.
Core strategy: Block, Force Push, punish
This is fundamentally a block-and-punish fight. Do not chase Kailok around the arena. Do not try to trade hits with him — his attacks will interrupt yours almost every time. Patience wins.
Step 1: Hold L1 to keep your shield raised. Lock onto Kailok using down on the D-pad (console) or the lock-on key (PC). Consider turning off the roaming camera during lock-on in the settings to reduce camera fighting.
Step 2: Block or parry his full attack chain. Wait for the combo to truly end — remember the three-hit-pause-fourth-hit pattern. Only attempt a punish if your stamina was high when you started blocking. If stamina is low after absorbing the chain, back off and let it regenerate (your shield can stay up while it refills).
Step 3: Once his chain ends and your stamina is healthy, hit him with Force Push (R3 on controller). This stuns him for a few seconds. Immediately follow up with two heavy attacks (R2). Do not get greedy and go for a third — he recovers quickly and will punish overcommitment.
Step 4: Roll backward and reset to a defensive stance. Raise your shield again and wait for his next chain. Repeat the cycle.

Building his stun gauge
Kailok has a yellow stun bar that fills as you land hits, especially Force Push and light attacks. Try to push him into a full stun state when your stamina is near maximum, so you can unload several free attacks during the stun window. Finish the stun phase with an R1 + R2 finisher when the prompt appears on screen — missing this prompt means leaving significant damage on the table.
The "Stab" thrust attack is also effective here. It deals solid damage and applies a bleed effect that ticks away at his health while you're playing defensively. If you have it available, weave it in during punish windows.
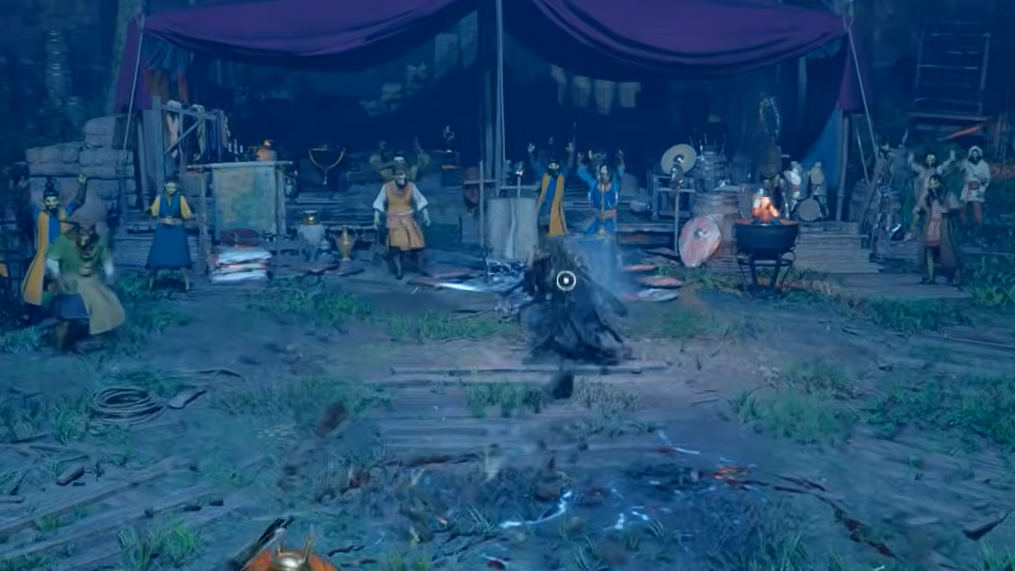
Ring-out trick and edge positioning
The arena is surrounded by a crowd, and Kailok can be knocked out of bounds. If you Force Push him toward the edge of the ring and into the spectators, he takes a few seconds to jump back in. During that window, you can land free attacks without retaliation. It's not a guaranteed exploit, but keeping the fight near the ring's perimeter gives you more opportunities to push him out and create safe damage windows.
Weapon choice and alternative approaches
The default sword works, but a longsword — purchasable from merchants for roughly 1.5 silver — gives you better reach and heavier charged attacks. Some players who struggled for dozens of attempts with the starting weapon found the longsword made a dramatic difference, particularly when cornering Kailok with charged R2 swings.
Dual-wield swords are another option if you prefer faster attacks and want to build his stun bar more quickly. The trade-off is less blocking stability, so you'll rely more on dodging and Force Push timing.
Revive stones as a safety net
If you have revive stones in your inventory, they restore you to 30% HP on death. They're a legitimate fallback — plenty of players have beaten Kailok by burning through three to five revives while learning his patterns in real time. There's no shame in using every resource you have for this fight, especially since the game provides no meaningful difficulty curve leading up to it.

Learning the Evasive Roll skill from Kailok
Kailok can teach you the Evasive Roll skill if you trigger him to perform it twice during the fight. The trick is to hit him with a heavy attack followed by a lariat grapple — he'll perform the evasive roll in response almost every time. Do this twice before finishing him off, and you'll learn the skill without spending an artifact. If you kill him too quickly, you'll miss the opportunity, so hold back on damage if you want the skill.
PC keyboard controls
Keyboard and mouse players face additional friction in this fight. Dodge is bound to ALT by default, which is awkward to reach during intense combat, and healing on F3 requires lifting your hand off movement keys. A controller is strongly recommended for boss encounters. If you're committed to keyboard, consider rebinding dodge and heal to more accessible keys before attempting the fight.

Kailok the Hornsplitter is a sharp difficulty spike that forces you to engage with Crimson Desert's combat system on its own terms rather than relying on habits from other action RPGs. Once the block-and-punish rhythm clicks and you stop tapping inputs in favor of holding them, the fight becomes manageable — demanding, but fair. Stock up on food, keep that shield raised, and let him come to you.